Blog

  • Salted Peach Frozen Custard

    I believe that some of the best recipes are only completed when they are changed by time. The development of this ice cream has relied on me chasing a memory, striking a balance between matching the beautiful flavor I remember with the skills and knowledge I’ve accumulated that allow me to make better ice cream than I used to. After much testing and research, I can finally say that—when using peaches at the peak of their season—this tastes exactly like that humid evening in July six years ago when this was first made after a perfect afternoon of picking peaches on Sauvie Island with a good friend of mine.


    salted_peach_ice_cream_01.jpg

    Salted Peach Frozen Custard

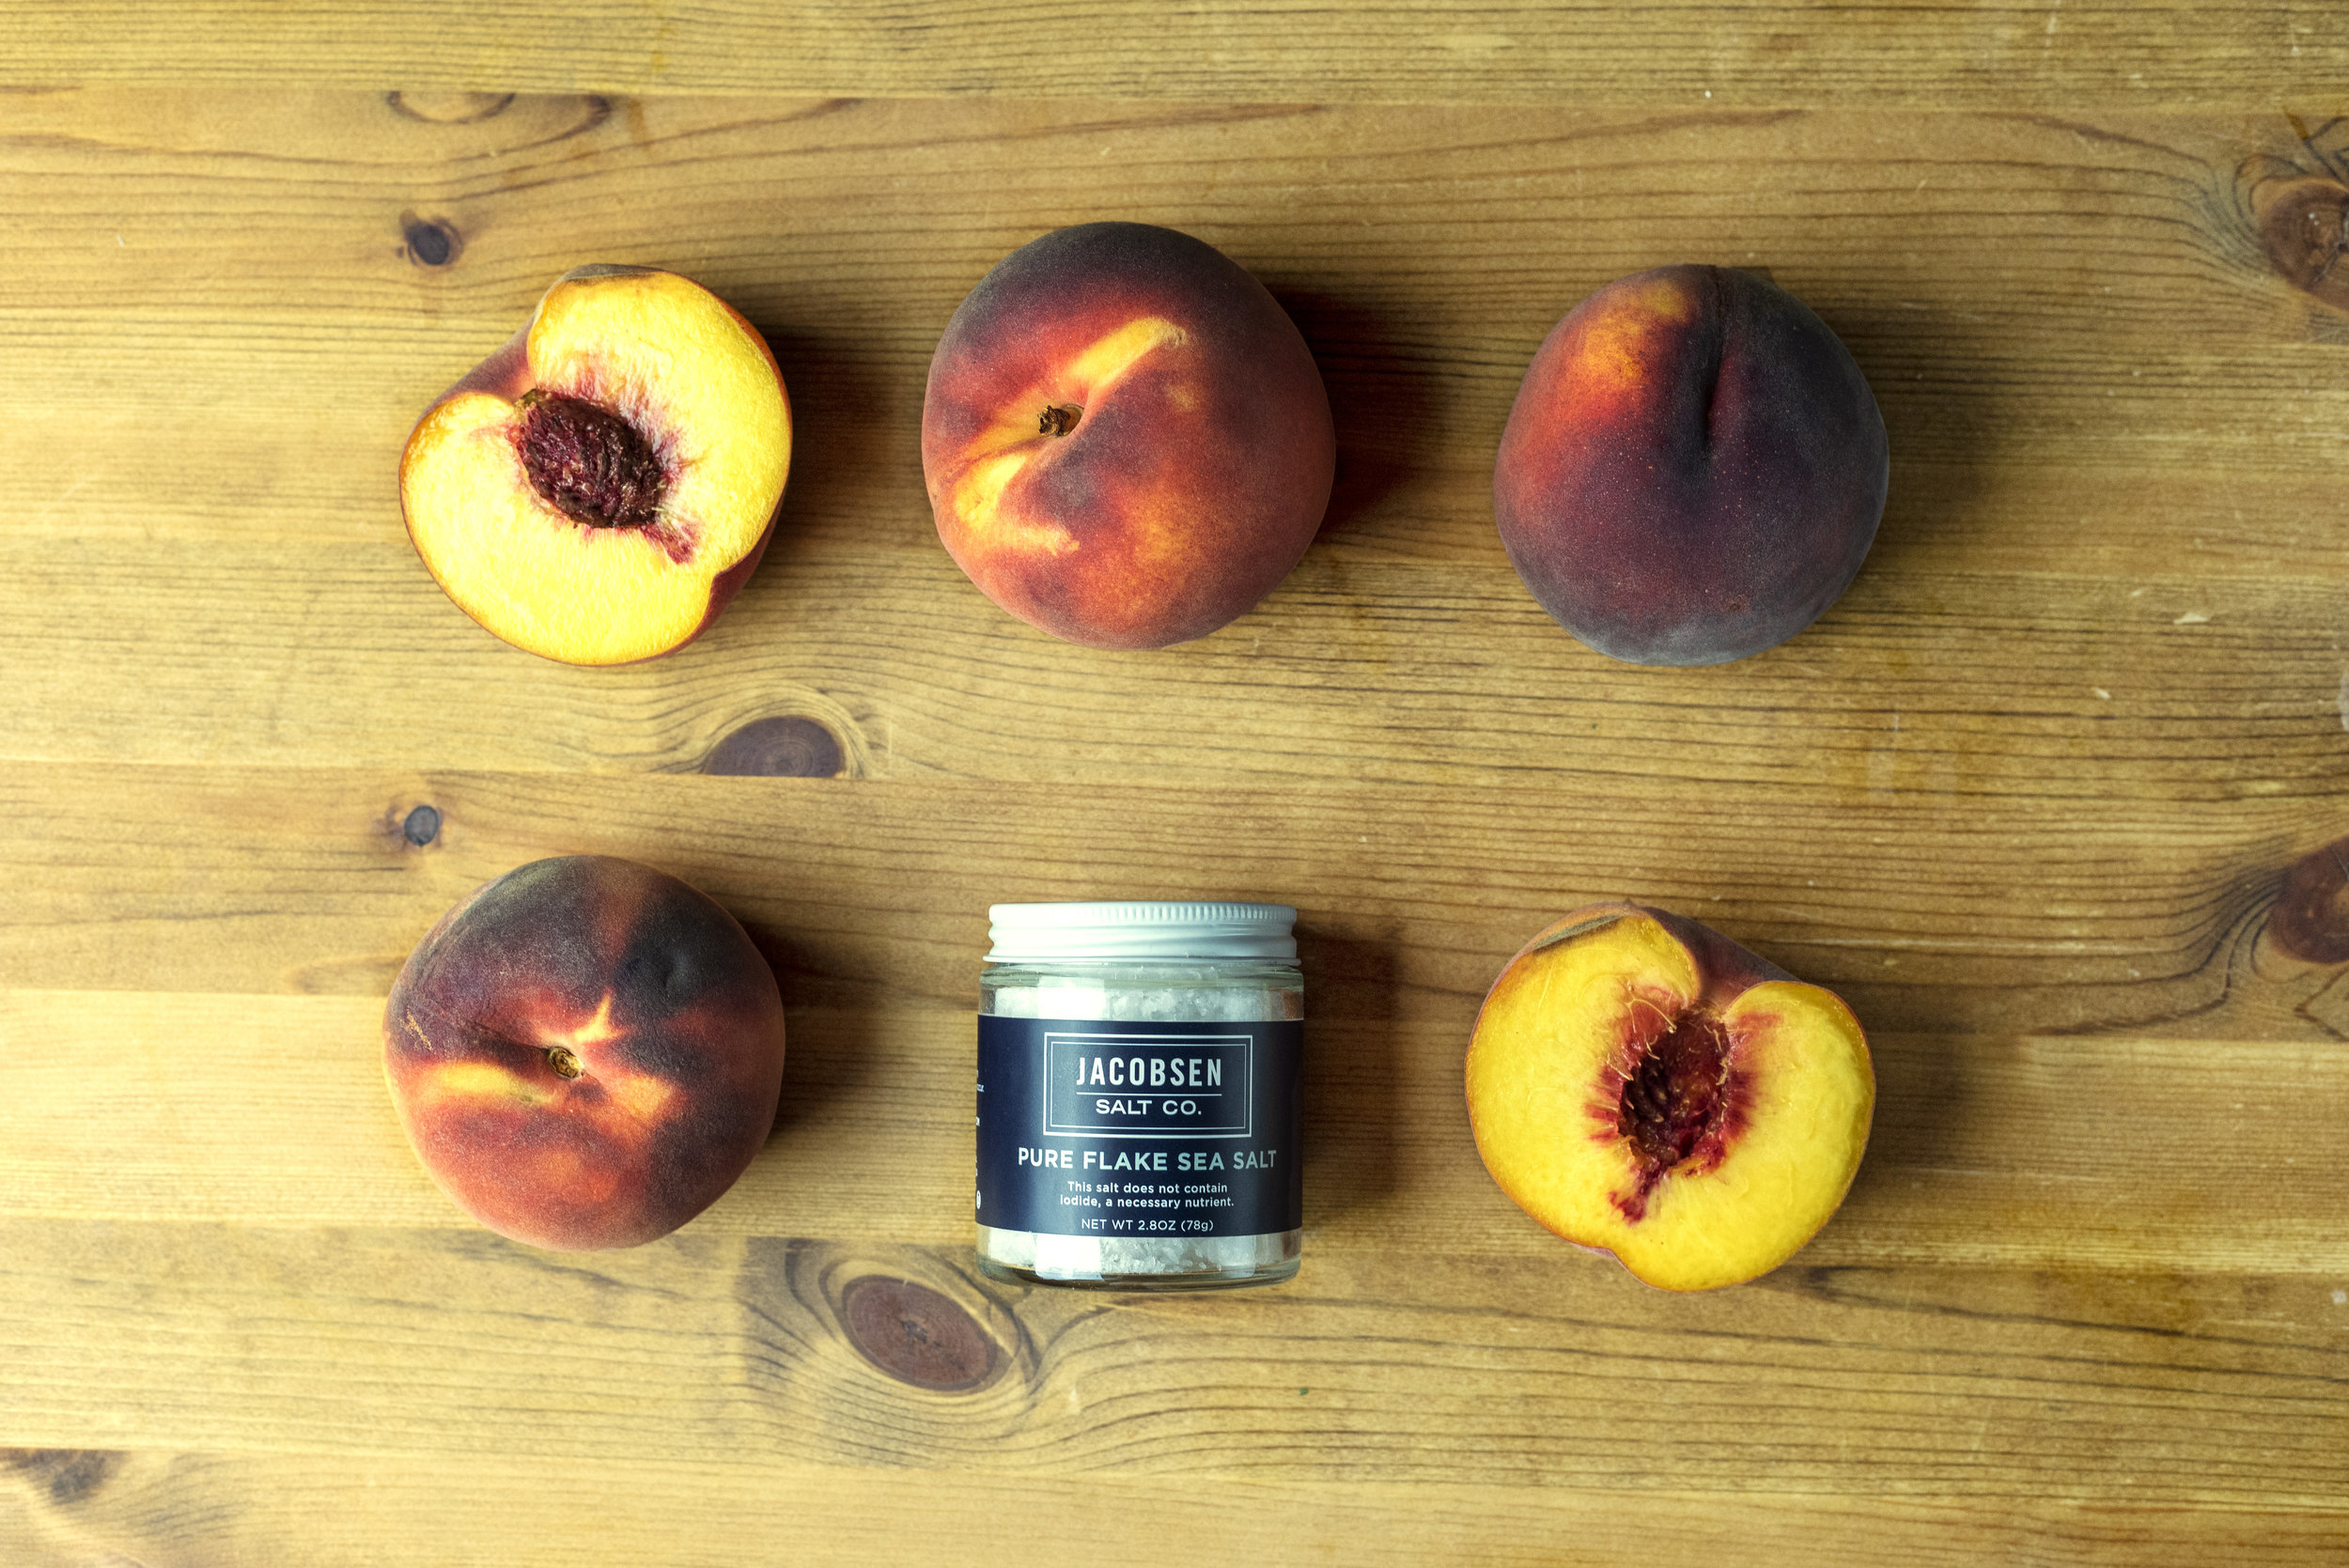
    • 3-4 achingly ripe peaches, skins and stones removed
      Note: Peaches vary in size; just keep in mind that your end goal is to have about 2 cups of fresh peach puree. For this batch, we used four and only had a little bit of puree leftover.

    • 2 cups heavy whipping cream

    • 1 cup milk

    • 5 egg yolks

    • ⅔ cup sugar

    • ⅓ cup light corn syrup

    • 1 teaspoon vanilla extract

    • 3 teaspoons of high quality wide flake Jacobsen sea salt, OR sea salt to taste.

    Note: We used finishing sea salt from Jacobsen Salt for this recipe, and if you can acquire this, that would honestly be ideal. Naturally, we don’t expect you to be able to find this specific brand wherever you are, but do try and buy good salt for this. Instead of blindly dumping in three teaspoons of whatever salt you acquire, use it intuitively, tasting as you go. You’ll want to push it right to the edge of being savory; think of it like you’re making salted caramel.

    Do not use kosher salt as a shortcut. Your dessert will be unbearably salty as a result (yes, different kinds of salts are saltier than other salts) and you’ll also miss out on the nuanced flavors that high quality sea salt provides, which take this ice cream to the next level. 

    Don’t even think about using table salt for this. If you do, I will find you.

    In a blender, blend all of the peaches that you recently processed until they are completely smooth (no lumps!). Reserve 2 cups of the fresh peach puree and set aside. Store the remainder in the fridge, or discard.

    In a large bowl that’s big enough to hold all of your ingredients, whisk the egg yolks, sugar, corn syrup, and vanilla extract together until everything becomes thick, light yellow, and ribbony when it falls off the whisk. Set aside.

    In a sauce pan, add the cream and milk and heat until it gently simmers. Immediately remove the pan from the heat, then pour about half a cup of the hot cream base into the egg and sugar mixture and whisk it all together quickly to temper it. Keep adding and mixing all the cream into the eggs, then pour all of the custard base back into the saucepan and return it to the stove.

    Cook the custard on medium heat, stirring constantly with a spatula in an s-like movement until the base thickens and eventually reads to be about 180 degrees on a thermometer. Remove from the heat immediately once the custard reaches the right temperature and add the custard base to a bowl (I use the one I mixed the eggs and sugar in) pouring it through a mesh strainer to catch any pieces of cooked egg that may be in the mixture. Add the 2 cups of fresh peach puree and the sea salt to the custard, then mix until totally integrated. Be sure to taste test for salt at this point, and add more if you see fit, depending on what kind of salt you’re using. Store the peach ice cream base in an air-tight container and chill in the fridge until it is completely cold; I usually do overnight.


    salted_peach_ice_cream_02.jpg


    salted_peach_ice_cream_03.jpg

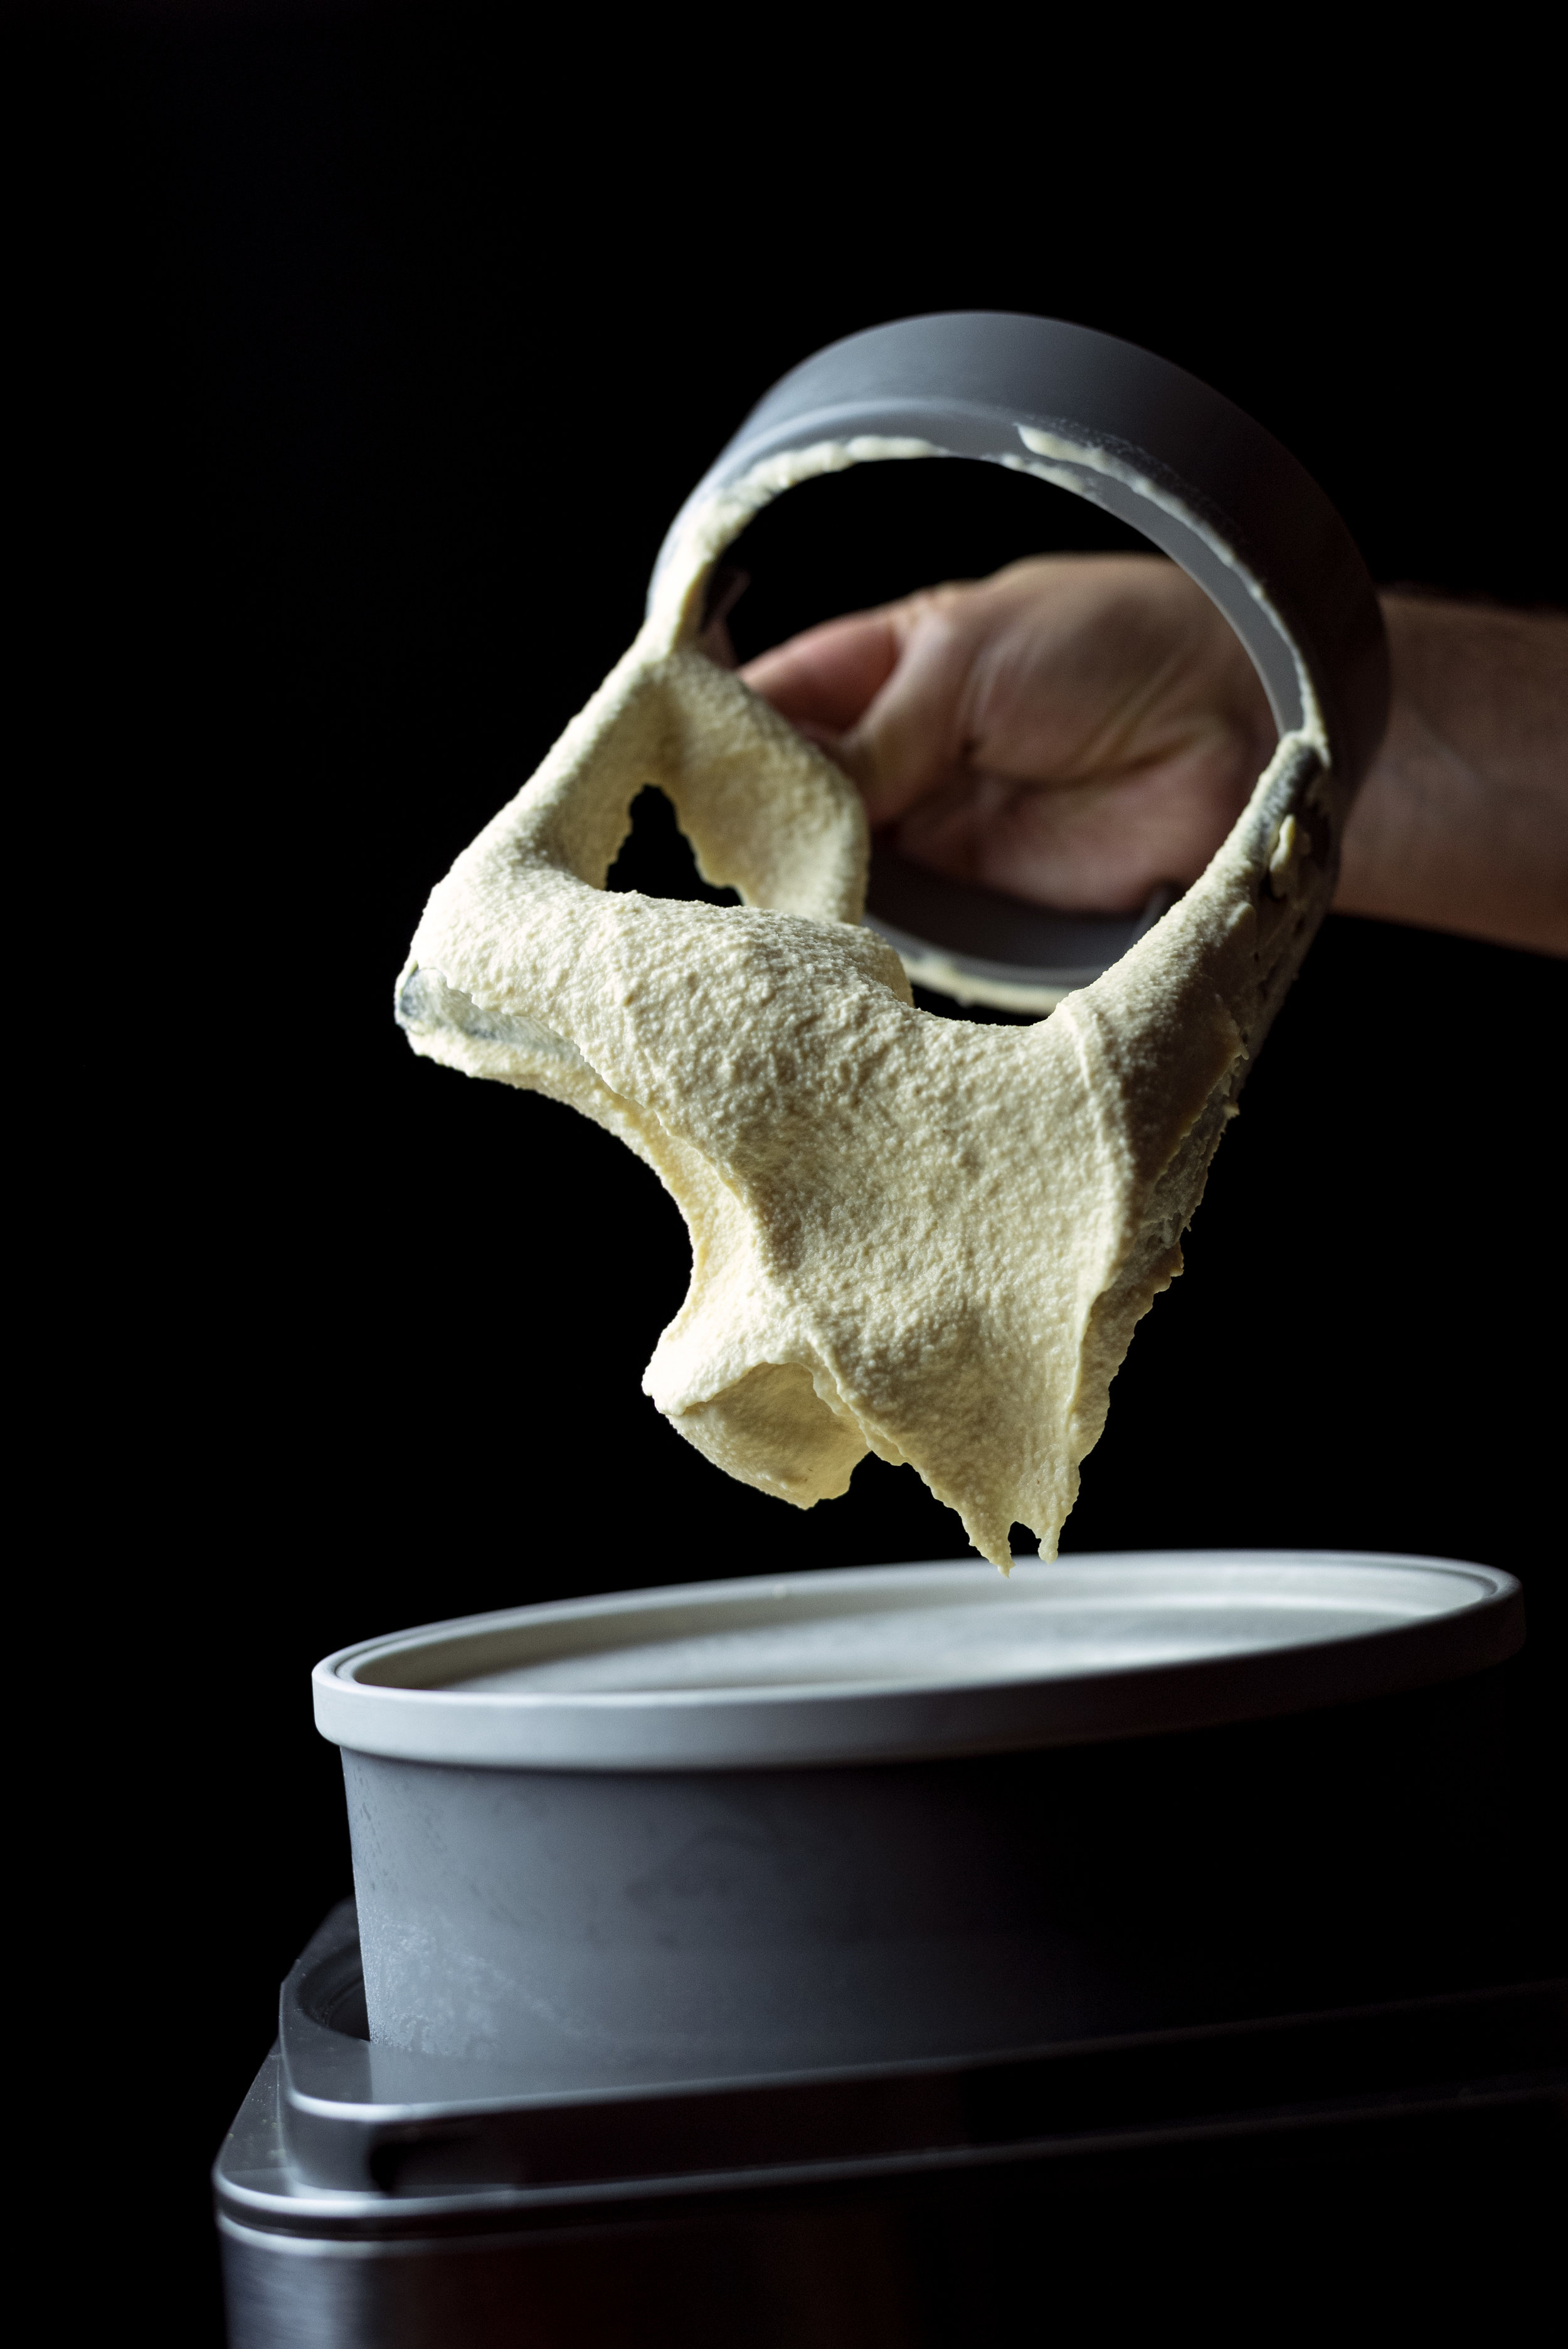
    To churn, follow your ice cream machine’s instructions and churn until the custard resembles soft serve. Remove your ice cream from your ice cream machine and store it in an airtight container with a layer of plastic wrap over the top of it, pressed directly onto entire surface the cream so that no air gets in, then freeze until ice cream totally sets.


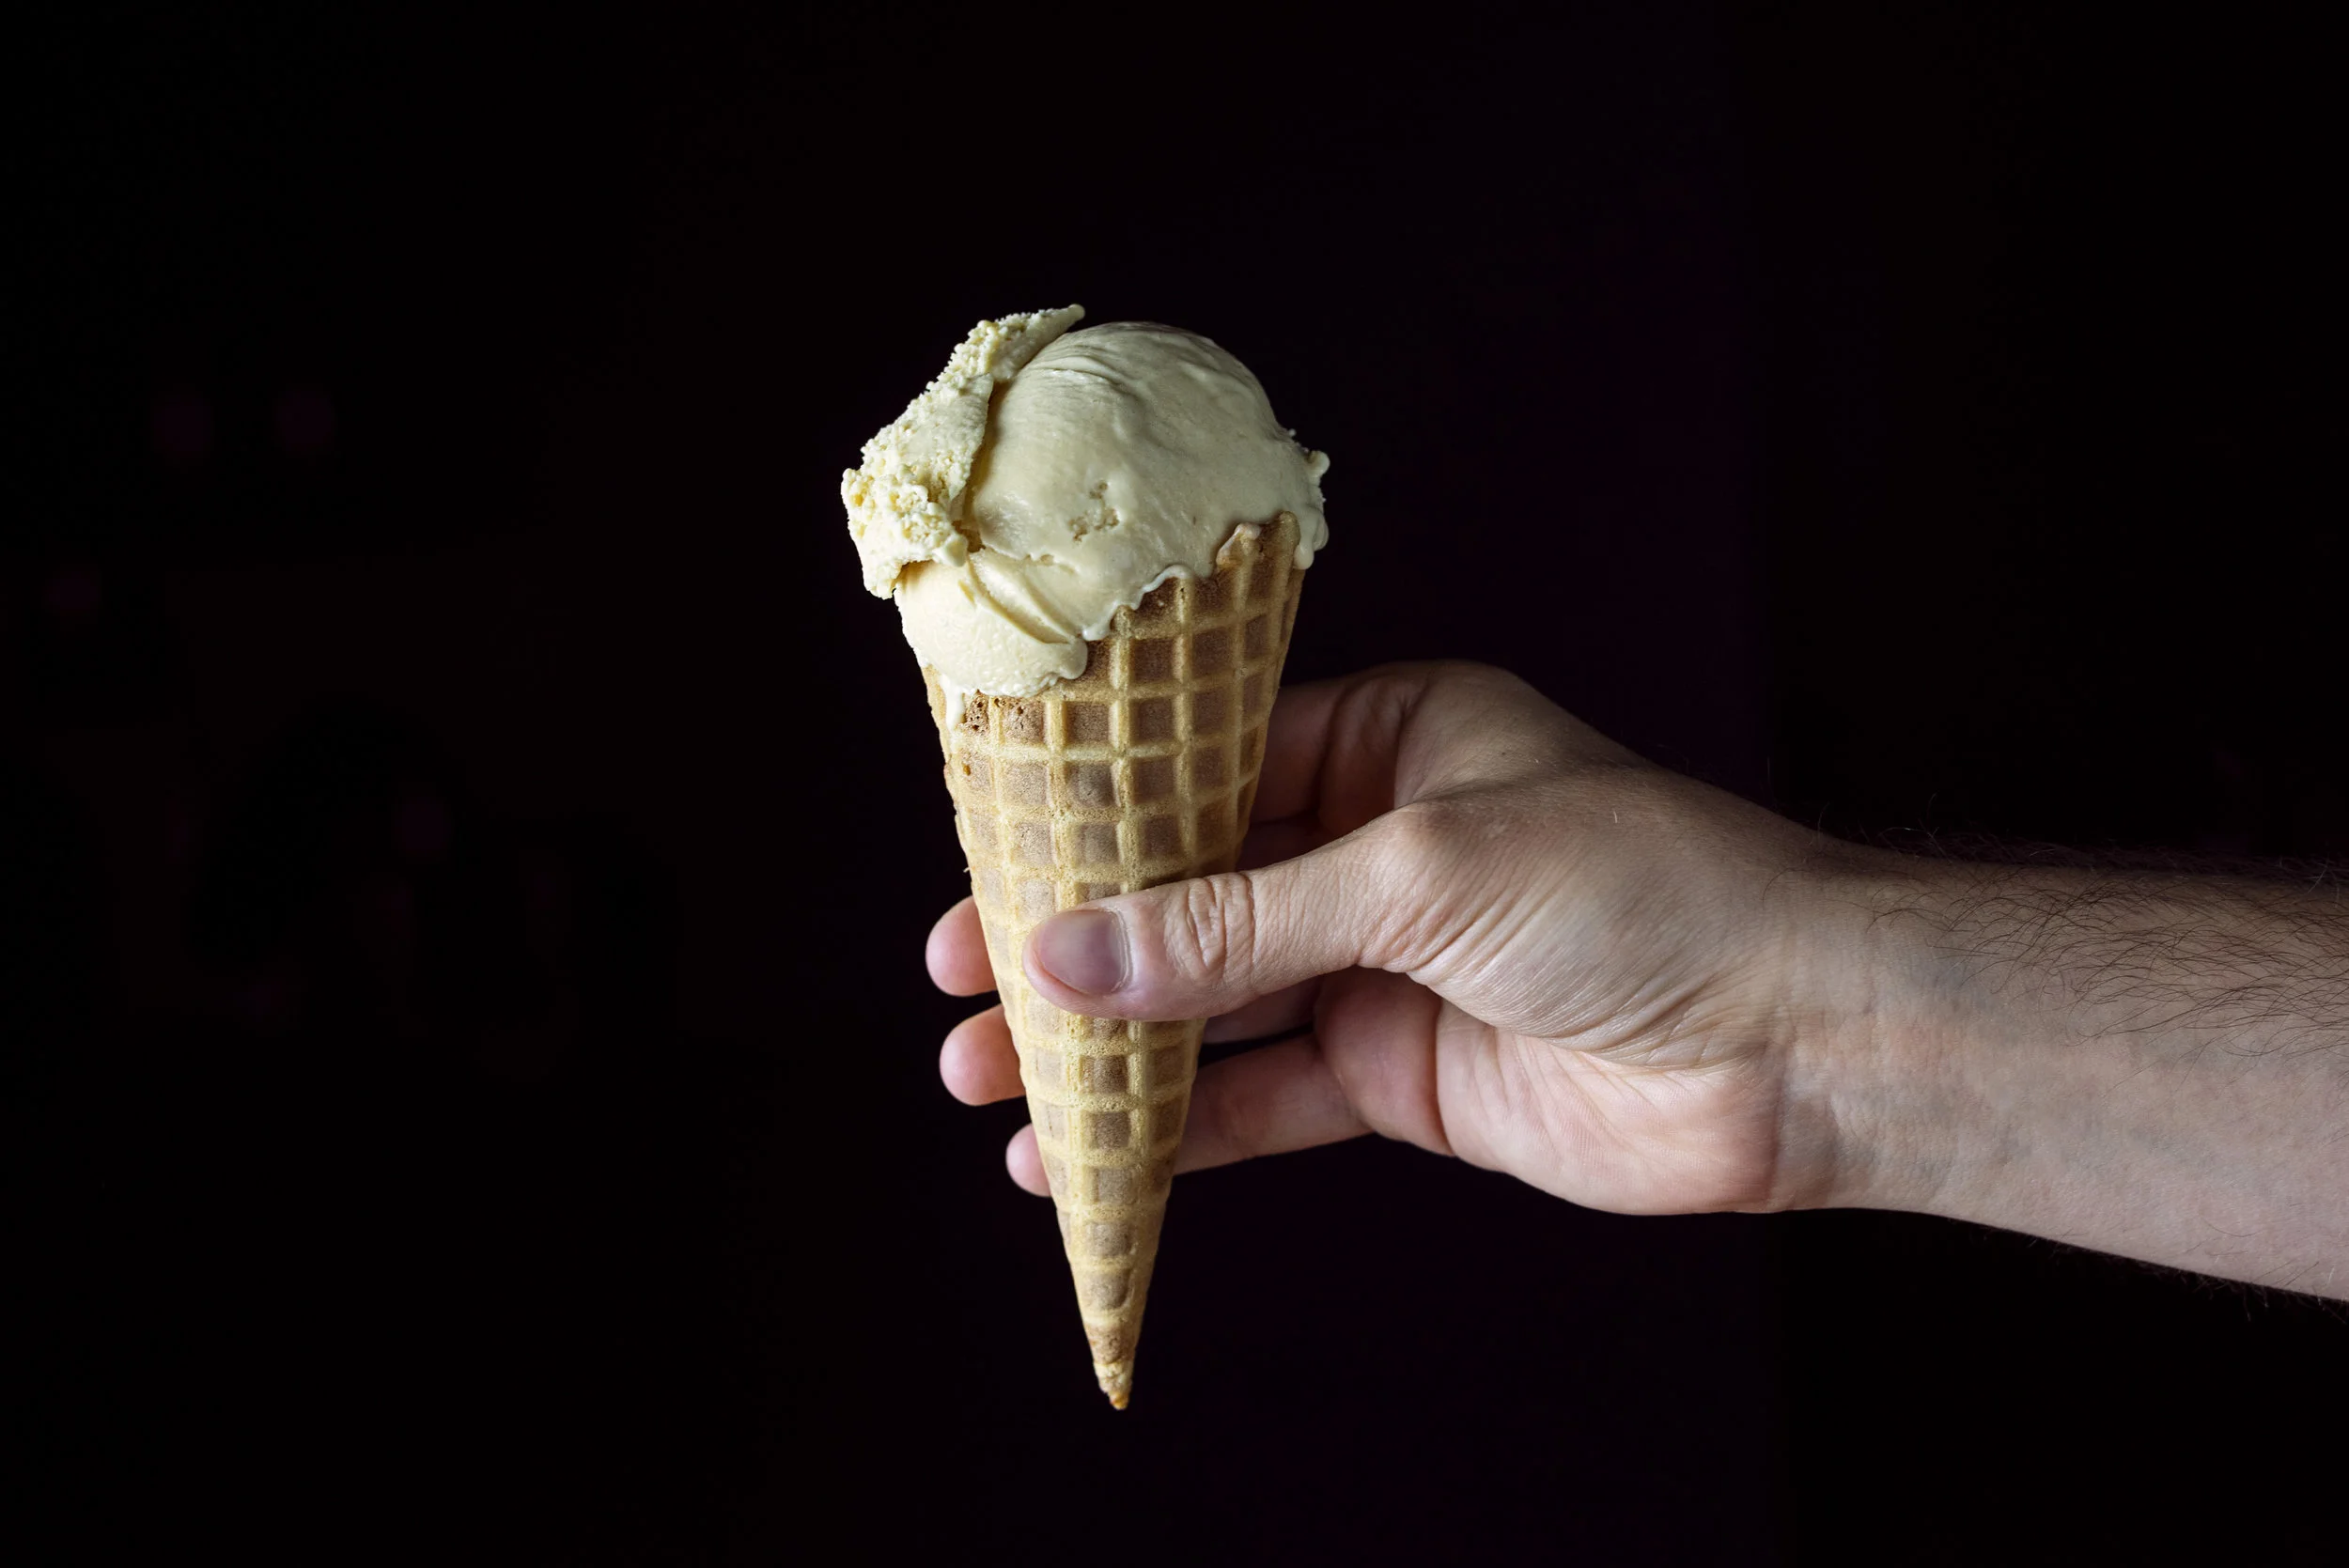
    Makes about 5 cups of ice cream.

  • Hurried Hummus

    I’ll be forward here: the best hummus recipe I’ve ever used is the one gifted to the world by Yotam Ottolenghi, originally published in his cookbook Jerusalem. I make it from time to time, and it’s not necessarily difficult, but you need to start making it the day before so that you can soak your chickpeas overnight, then you cook them, process them, THEN you can start making hummus. The results are out of this world, but it does take a lot of time and effort that—after a long day of work—a lot of people don’t have the energy for.


    hummus_01.jpg

    I will almost always advocate for taking the time necessary to produce something yourself, but sometimes there are shortcuts you can take that still promote a homemade food philosophy that may not be the best ever, but still good enough. Really delicious things don’t always take a lot of time, especially when dealing with humble foods like hummus.

    I really dislike store-bought hummus; there’s always a twinge in its flavor that suggests age and the presence of preservatives, and there is never ever enough lemon or fresh garlic in it. This recipe for hummus uses canned chickpeas. Splurge a little and buy a higher quality brand, and check to make sure that they haven’t been processed with an astronomical amount of sodium: Goya is the brand I tend to use. Making this involves throwing a few ingredients into a blender, then turning it on. That’s it. You’ll have hummus in about 10 minutes, and it’ll be enough to satisfy your craving for it now, and for later.


    hummus_03.jpg

    Hurried Hummus

    • 1 14-oz. can of chickpeas, strained and washed well

    • ⅓ cup tahini, homemade preferred

    • 2–3 large cloves of garlic, skins removed, whole

    • Juice of one large lemon (about ¼ cup)

    Note: You can adjust how much lemon you want in your hummus, but I wouldn’t add more than ¼ cup of juice to prevent it from getting too watery.

    • 1–2 tablespoons of water

    • Salt to taste

    In a food processor, add the chickpeas, tahini, garlic, and lemon juice and blend until everything becomes thick and totally integrated. At this point, add one tablespoon of water and blend it a bit. If your hummus is still a bit too thick for your taste, add the other tablespoon of water, then let the food processor run for about 5 minutes so that your hummus gets nice and creamy. Add salt to taste, blend it a final time, then serve.


    hummus_04.jpg

    Makes about two cups.

  • Make Your Own Damn Tahini

    One time I went to the store to buy tahini and discovered that, to purchase merely a cup of the stuff, it would cost me $11.

    $11.

    I bought it, but good God I was mad about it. When I went to use it, I discovered that not only was it exorbitantly expensive, it was also annoyingly bitter. But I was desperate, so I used it, and it ruined what I was making.

    I flew into a rage.

    I swore an oath.

    And then I went to an Asian grocery store.

    Did you know that you can buy a 4 lb bag of sesame seeds around the size of your torso for $11?

    Yeah. $11.


    Wanna know how much tahini that can make?

    Wayyyyyy more than a cup.

    Make your own damn tahini, kids. This recipe is easy, and although it does take a little bit of time, the results are totally worth it. It yields a ton of the blonde and buttery paste which can be used in so many recipes. After making this, you won’t need to make any more for months, and its shelf life is weirdly long. Seriously, it, like, never goes bad (if you refrigerate it, at least!).

    Note: You need a food processor for this one, guys; there’s no way around it.

    Homemade Tahini:

    • 2 lbs white sesame seeds, hulled preferred.

    There’s really only one step for this: dump the sesame seeds into a food processor and let it run, baby.

    Let. It. Run.

    Read a book. Play a few rounds of Smash Bros. Turn on an episode of Bob’s Burgers. I don’t know what you guys do; just buckle up cause it’s gonna be a bit.

    Important note! I don’t know exactly how long this is going to take for you. The last time I did this, the process took around 25 minutes in total. Make sure to feel your food processor from time to time because it’s going to warm up, both from the work you’re going to put the engine through, and also from the heat being generated inside of the bowl (seriously, we took the temperature of the tahini with a meat thermometer last time and it was 165 degrees when all was said and done). It will be necessary for you to give your food processor breaks so it can cool down; this recipe is not worth destroying your motor over.

    While I can’t give you a concrete time frame for this process, I can tell you the stages to expect as the seeds transform into your desired final product.

    At first, the seeds are going to rattle all over the place as they’re tossed around by the blade and slowly they’ll turn into a single glob that gets whirred around and around. If you see any stray seeds that haven’t joined the glob party, turn off the food processor and get in there with a spatula or a spoon, scraping down the sides of the bowl, then resume blending. If there are stray seeds right now, there will be stray seeds in your tahini.

    The glob will gradually start to flatten out as the seeds are cut finer and finer; this is where things get interesting (and hot). The seeds will have been processed so much that the natural oils in them will begin to seep out, which is when everything really starts to look like tahini. The blade will emulsify the oils back into the seed paste, plus the heat from the high amount of work will assist in the oil extraction. Keep blending until the paste looks like it won’t get any smoother (the smoother the better). Giving your food processor breaks at this stage is more important than ever. The bowl is hot, and it warms up the engine much faster than when you started out; you might even see steam coming out of the top of your food processor while doing this. When your tahini looks like really creamy natural peanut butter, remove it from the bowl and store it in an airtight container.


    tahini_04.jpg

    Makes about 3.5 cups.

  • Master Post: Everyday Noods

    This is our first post for a campaign that we are calling “master posts.” The goal with these is to help people understand that they can cook the elemental building blocks of cuisine that are perceived to be more technically advanced. If you get comfortable with them (and you really can), they can become habits, routines, skills, and traditions. Learning how to make some of the things we want to teach you here will help you make better food no matter what recipe you choose to make, and better food means better quality of life.

    In this post, we will help you, dear reader, learn that you can do hard things. At least, you may think that they’re hard, but they’re not. Not even a little bit.

    You, yes you, can make noodles. Good ones. Ones that taste like you went out to eat. Maybe better. It won’t even cost you a whole dollar. Hands on time to make them is about ten minutes; maybe even less.

    You can use these noodles for pretty much anything you want.

    Pasta dish? Damn right.

    Stir fried noods? For sure.

    Noodle soups? Ramen? Guuurl, do it.

    Intrigued?
    Then keep reading and grab all of the TWO ingredients you need.
    You probably already have them.

    Note: For this recipe, we wholeheartedly recommend that you get a pasta crank. No need for an extruder or any gadgets that cost hundreds of dollars. Just get a crank. They’re $30, and you might like this recipe so much that you’ll be making noodles a couple times a week. At that rate, it’ll more than pay for itself in time, and it opens up so many delicious doors for you. If you’re not totally sold on that idea, you can still roll this dough out by hand and cut it with a knife. Your noodles will probably be on the thicker side as a result, but thick noodles made with this dough make really excellent stir-frys, so keep that in mind if that’s the route you choose.

    Another note: This recipe is written for people without a Kitchen Aid, so it’s pretty hands on. But if you DO have one (like we do) just beat the eggs in the mixer with the paddle attachment, then add the flour and mix it until it all just starts to come together, then follow the resting and shaping instructions written below.

    Everyday Noods ingredients:

    • 2 cups flour

    • 3 fresh eggs

    Making the dough:

    In a bowl, add the flour and create a shallow well in the center with it for the eggs. Crack the eggs into the center of the well and beat them with a fork until they look like what you’d use for scrambled eggs.

    Gradually stir the flour into the eggs with the fork, moving more and more flour to the center of the well. When the eggs have absorbed most of the the flour and the fork can no longer help you mix, use your hands and finish mixing the dough. Once everything is integrated, remove the dough from the bowl and place it onto a working surface with a small dusting of flour.

    Knead the dough until all ingredients are just coming together. It might look a bit crumbly at this stage, but trust me, it’s ready. You can choose to knead the dough even further if you want a more toothsome noodle; this is especially a good idea if you are going to stir fry them since they need to hold up a little bit better to withstand the high heat and being tossed around. However, if you’re making a pasta dish where all you need to do is toss them in a sauce, I’d recommend kneading them less so your noodles retain a soft, gentle, and sexy texture. At the end of the day it’s all up to your own personal preference.

    Wrap the dough after you’ve kneaded it to your satisfaction in plastic wrap, leaving no scrap behind, and let it rest for at least half an hour. This step is critical: if you skip it, rolling out your dough is going to be a hellish experience, and by the time you’ve managed to make a single sheet of dough after wrestling with chunks constantly breaking off during the process, your noodles will be tough and gummy. After wrapping the dough in plastic wrap, you could also chuck the dough in the fridge for future use at this point; just keep in mind that you should use it within two days of making it since the dough begins to oxidize.

    Shaping your noods:

    Prepare a working surface by covering it with a thin layer of flour. Unwrap your dough, and cut it into four pieces, then proceed to turn one of the pieces into a sheet to cut into noodles.

    If you don’t have a crank, use a rolling pin and roll out your dough to your desired thickness, keeping the dough well floured to prevent sticking; aim to keep it long and rectangular to create a single sheet that’s about 6 inches wide. I’ve found that around two feet is a good length for all purpose noodles, but if you’re going to be making something like linguine or pappardelle, we recommend going as thin as you can. When it’s thin enough, cover one side of it with even more flour and gently fold the sheet in half. Cover the new surface with a little more flour, then fold it again. Repeat this step one to two more times until the dough is rolled small enough to where you can cut it comfortably with a chef’s knife. Choose your style of noodle, and cut the dough accordingly. After you’re done cutting, pick up the noodles and separate them, then cover them in even more flour and toss them to make sure that they don’t stick together. Now they’re ready to cook!

    If you do have a crank, run your dough through the first setting after flattening it a little bit with a rolling pin and covering both sides with a little flour. Proceed with the settings one by one until you get your noodles as thin as you want them, but experiment with what you like. For stir frys or hearty ramen noodles, I tend to stop at a 3, then run it through the spaghetti cutter. For linguine and pappardelle (or really fine noodles for a soup), my preferred setting is 6. If you’re going to be using this dough to make lasagna (it is a game changer, kids), I usually stop at a 5. Run your dough sheets through the cutter of your choice (I’d recommend cutting the longer dough sheets in half), or you can follow the folding and cutting instructions listed above if you prefer to cut them by hand. Be sure to toss your noodles in flour to make sure they don’t stick together.

    Cooking your noodles is a cinch. Bring a pot of water to a rolling boil and plop in your noodles. When they rise to the surface, they’re done. It takes a minute. A literal minute. Then fish ‘em out and use them however you see fit! Be sure to use them quickly since fresh pasta will stick to itself much quicker after it’s cooked than dried pasta will.

    Yields 4 servings.

  • Cucumber Salad with Feta and Herbs

    This salad is multi-purpose: it holds its own, and it can be a side dish; you could even treat it like a table salsa and make it for parties where you’ve got hummus, baba ghanouj, or labneh (or all three!) on your table. We like to use it almost like a relish, a spoonful of this on top of a humble meal brings such boost of freshness to whatever you’re eating. If you’re feeling creative, you can add some tomatoes or olives to this if you like; they’d be delicious additions and would add even more beautiful colors and textures to the dish.


    cucumber_salad_02.jpg

    Cucumber Salad with Feta and Herbs:

    • ⅔ cup crumbled feta cheese

    • ⅓ cup fresh Italian parsley, chopped

    • ⅓ cup fresh cilantro, chopped

    • ¼ cup fresh dill, chopped

    • 1 green onion, thinly sliced

    • 1 teaspoon dried oregano

    • ¼ cup olive oil

    • Zest and juice of one large lemon (ideally about ¼ cup of juice)

    • ½ large English cucumber, cut into cubes no larger than ½ inch

    • ¼ of a small red onion, finely diced (about ¼–⅓ of a cup)

    • Salt and pepper to taste


    cucumber_salad_03.jpg

    In a bowl large enough to hold all of your ingredients, add the feta, parsley, cilantro, dill, green onion, oregano, olive oil, lemon juice and zest and mix together. Allow the salt and acid to draw some of the moisture out of the herbs for a couple minutes.

    Add cucumber and red onion to the herb mixture and toss it until everything is coated in the fresh dressing. Add salt and pepper to taste, then serve. This salad keeps well in the fridge for a few days.


    cucumber_salad_04.jpg

    Makes about 3 cups.

  • The Best Mug Brownie Recipe on the Internet

    I worked really hard for this recipe.

    It’s been tested and tested and tested, and I have to say that, after comparing it to a multitude of other online mug treat recipes I tested alongside it, I feel like I can safely say that this is the best mug brownie recipe on the internet. It’s not too dense, not too sweet, packs a great chocolate flavor, and it’s coincidentally vegan. Also, since there are no raw ingredients to worry about during the cooking process, purposefully under-baking it by just a smidge turns this mug treat in something that resembles a self-saucing pudding.

    It’s entirely possible that this recipe may change your life.


    The Best Mug Brownie Recipe on the Internet:

    Dry ingredients:

    • 3 tablespoons sugar

    • 2 tablespoons flour

    • 2 tablespoons cocoa powder (dutch processed preferred, red cocoa is highly recommended)

    • 1/4 teaspoon salt

    • 1/4 teaspoon of baking powder

    • 1 tablespoon mini chocolate chips

    Note: Mini chocolate chips work best for this recipe. You can try larger ones, but they tend to sink while the batter is cooking; and while there’s a chance you might have a molten chocolate bottom, there’s also a chance that the chocolate can burn. It’s really satisfying to have melty chocolate moments evenly dispersed in the brownie while you eat it, so I’d recommend sticking with the minis for this recipe.

    Wet ingredients:

    • 1 tablespoon neutral oil (we recommend grapeseed or canola)

    • 3 tablespoons of water

    Note: You might think you can sex this recipe up by using milk, but I think that it changes the chemistry too much. The brownie becomes too heavy for my taste, but you’re welcome to experiment if you like. Alterations I would recommend are adding brewed coffee instead of water for a mocha style creation (it’s so goooood). I’ve also had intriguing and delicious results using brewed orange spice tea, as well as jasmine tea. Feel free to play around with this variable and customize to your taste.

    Combine the sugar, flour, cocoa powder, chocolate chips, salt, and baking powder in a mug (a standard 11 oz mug should work just fine) and stir until all ingredients are thoroughly integrated. Pour in the oil and the water and mix until the batter just starts to become homogenous (no clumps!). Don’t worry about over mixing; it’s just a mug brownie.

    Microwave the batter on high for one minute; no more, no less. The batter should puff up a bit, but the recipe is designed for it to not exceed the rim of the mug. There may be a very small amount of uncooked batter on the top, but don’t worry about that. The resting process gets rid of some of that, plus the batter is totally edible whether you bake it or not.

    Here comes the hard part: let the brownie sit and cool for 5 minutes. I’m serious. 5 minutes. It’s really hot, and this step also finishes off the baking process; you’ll thank me later.


    mug_brownie_03.jpg

    Serves 1.

  • Perfect Stovetop Mac and Cheese


    To this day, I still don’t know how I got so lucky with this recipe. I’ve been making it for years now, and it hasn’t really changed at all. Nate and I still swear that it’s the most satisfying mac and cheese we’ve ever had. It’s rich, tasty, and can be ready in about 10 minutes when you get comfortable with the recipe.

    No long list of sauce ingredients.

    No aggravating prep.

    No béchamel sauce.

    No baking.

    No fuss.

    It’s perfect.

    Perfect Mac and Cheese:

    • 2 oz elbow macaroni

    • ¼ cup whipping cream

    • 1 oz of a good melting cheese, shredded

    Note: You have a lot of freedom with this. Cheddar is the obvious choice, and it’ll come out great if you use it, but feel free to get creative here. We’ve made this recipe and yielded awesome results while using Gruyere, white cheddar, young Manchego, Jarlsberg, and Gouda. So go nuts and find whichever cheese/blend tastes the best for you; just make sure that it melt well before diving in.

    • Salt and pepper to taste

    Panko Crumb Topping:

    • ½ tablespoon panko crumbs

    • 1 teaspoon canola or other neutral oil

    Simultaneously bring a small pot of salted water to a boil along with warming the whipping cream in sauce pan on medium low heat. Add the macaroni to the boiling water and cook until al dente, then strain and toss the macaroni into the warm cream. Add the cheese right afterward and stir constantly until the cheese is incorporated and totally melted into the sauce, then remove the pan from the heat.

    The cream sauce will be pretty loose at first, but the starch from the noodles will eventually thicken things up over the next couple of minutes. This is a good time to season your noodles with salt and pepper (I like to use a loooooot of pepper). You should be able to drag a spoon or a spatula along the bottom of the pan and have it leave a clear path before serving the mac and cheese. If your noodles congeal a little too much, you can always add a little bit of water (or cream) to loosen it back up again. Stir them occasionally while you carry out the next step.


    IMG_3290.JPG

    While the noodles are cooling, heat a small, preferably non-stick pan on medium high heat with the canola oil in it, then and the panko crumbs. Be sure to toss them very frequently so that they get evenly coated in the oil and that everything browns consistently. Once your crumb topping is golden brown, remove it from the heat. Serve your mac and cheese in the serving vessel of your choosing and pour the golden panko crumbs on top (the sizzling sound is really satisfying if you do this right after the crumbs are done browning in the pan).

    Serves 1.

    • Pro tip: If you’re wanting to cook more than one portion of this, just stack the proportions for how many people you’re cooking for. This recipe cooks well in large batches.


    macncheese03.jpeg


    macncheese02.jpeg

  • Brothless Pho

    Sometimes our cravings are confusing.

    I want iced coffee! In December.

    I want a big bowl of steaming hot ramen! In July.

    I want ice cream! For breakfast.

    I want breakfast! At fucking midnight.

    Our cravings are never wrong, but sometimes they don’t give you the whole picture of what you truly want. Maybe there’s something entirely new that satisfies the craving that you never knew you had in the first place, and sometimes you have to create that entirely new thing yourself. We learned this recently when we had a craving for pho in the summer.

    Pho is amazing; it’s a beautiful, beautiful thing, and one day when Portland was flirting with triple digit heat we decided, for some idiotic reason, that it was the most delicious sounding thing to eat. However, there’s one problem with that: the broth.

    Imagine, if you will, being overheated, sweaty, and hiding away in your small apartment, not unlike a miserable long haired cat taking refuge underneath a car from the sun, all in vain. Now that you’re good and uncomfortable with that image in your mind, think about pounding a bucket of steaming hot, spicy, aromatic beef broth. Sound good?

    No, no it does not.

    And yet, it was what we wanted. If only we could get rid of the broth element, we thought, dinner could be perfect. So, I tinkered, I toyed, and I triumphed: brothless pho was born.

    Grind your own spices for this one and store the blend in the freezer if you don’t use it immediately. I’m sure there are pho spice blends out there that you can buy to make this, and I’m sure that your noodles would turn out fine if that’s the route you choose to take, but taking the time to do this step elevates the dish so much. It makes that pho flavor you’re seeking so much more vivid and delicious. It’s familiar enough to be comforting, strange enough to be exciting, and easy enough to be a weeknight dinner all at once.

    Pho Spice Blend:

    • 3 star anise, whole

    • 5 whole cloves

    • 1 heaping teaspoon fennel seed

    • 1 tablespoon coriander seed

    • 10 black peppercorns

    • ½ teaspoon ground cinnamon

    Brothless Pho:

    • ¼ lb ground beef

    • 1 Tbs neutral oil, like canola or grape seed

    • ¼ sweet onion, thinly sliced

    • About ½ cup of bean sprouts

    • 8–10 large holy basil (aka Thai basil) leaves, whole

    • 2 oz dried thin rice noodles

    • Salt to taste

    Sauce:

    • 1 Tbs soy sauce

    • 2 Tbs beef broth

    • 1 tsp pho spice blend

    • 1 tsp sugar

    • 1 tsp hoisin sauce

    • Chopped cilantro, thinly sliced jalapeño and/or chili paste, and a slice of lime for garnish

    Make the pho spice blend by toasting all the spices in a small pan on medium to medium high heat. Swirl them around in the pan to encourage even toasting and remove them from the heat once you begin to see some browning and the spices start to become heady and aromatic. Transfer the spices to a device that can grind them into a fine powder; our preferred gadget is a coffee grinder dedicated to spices. Blend until fine and use immediately. Store the excess in an airtight container in the freezer.

    Prepare your rice noodles by soaking them in water. If your noodles are really thin, use cold water. If they are thicker, use hot water. Allow them to sit for about 20 minutes or until they are very pliable, but not cooked through. If you’re using warmer water to hydrate your noodles and they finish softening up before you’re ready to use them, just strain them out, dump out the warm water and refill the vessel they were sitting in with cold water and put them back in. The cold water will halt the softening process while simultaneously preventing them from sticking together; just fish them out again when you’re ready to use them. Strain your noodles, making sure to shake them a few times in the strainer to get as much water out as you can and set them aside the moment you’re ready to start cooking.

    Bring a wok or skillet (cast iron is preferable) to medium heat and add in your oil, swirling it around the surface of the pan. Add the beef to the pan, making sure to separate it into lots of smaller pieces, and cook until the meat is no longer pink. Add the onions and give everything a quick stir. Once the heat from the pan starts to singe the onions a little, caramelizing them slightly, add the bean sprouts and holy basil. Cook the mixture for about 30 second or so, until the bean sprouts soften slightly. 

    Move everything in your pan over to one side, exposing about one half of the surface of your pan, then remove your pan from the heat and add the sauce to the naked side. The sauce will bubble profusely and reduce very rapidly, so keep and eye on it until it reduces by about half (this ought to happen in seconds). The inherited heat in your pan should be enough to reduce your sauce, but if it needs just a little more heat, put everything back on the stove and finish up the reducing process; just be sure to take your pan back off the heat when you’re finished. Once done reducing, toss in your rice noodles and mix them until everything is evenly coated and the ingredients are well dispersed, then serve immediately. Garnish with chopped cilantro, a lime wedge, and your desired amount of jalapeño or chili paste.

    Serves 1

  • Wild Mushroom Stroganoff with Red Miso

    People who love to cook often love to cook for other people, and the more comfortable and creative we get, the more adventurous we become with cooking for the ones we love. We start to tweak and mash recipes together in an effort to create something new, hoping that one of them will rise above and be a new favorite. I do this for Nate frequently; I’m always on the search for something that will become his new favorite recipe (unseating my homemade gnocchi’s top spot is no easy feat), and recently I struck gold: pure umami gold.

    This stroganoff recipe isn’t too far removed from all the usual suspects you’ll see floating all over the internet, but I will say that it has a twist. The mushrooms are submerged and simmered in sherry wine and broth to draw out more of their flavor into the sauce, and it’s finished with soy sauce and red miso added to the sour cream to boost its savory flavor even further.

    Note: This recipe can be easily made vegetarian if desired. Omit the beef and beef broth and include a handful of dried mushrooms to it instead. When you rehydrate the mushrooms in water, use the leftover quick broth to add to the confit. The sauce will turn out earthy, woodsy, and delicious.

    Wild Mushroom Stroganoff with Red Miso:

    • 1 lb of ground beef

    • 4 Tbs butter

    • 1/2 lb of wild mushrooms, left whole if small, halved or quartered if larger.
      Note: Use any kind of mushrooms you like. Personally, we love shiitakes when we can get them, but creminis or button mushrooms are still delicious mushrooms to use for this recipe.

    • 1 large shallot, minced

    • 4 cloves of garlic, minced

    • 1/2 cup of sherry

    • 1/2 cup of beef broth (or mushroom/vegetable broth)

    • 1 Tbs red miso

    • 1 Tbs soy sauce

    • 1/2 Tbs dijon mustard

    • 1 tsp Worcestershire sauce

    • 1/2 cup of sour cream

    • Salt and freshly ground black pepper to taste

    • 8 oz of dried egg noodles
      Note: Store bought noodles are fine for this, but we love making the noodles from scratch using our noodle recipe. A whole batch produces about a pound of pasta, which is perfect for this recipe.

    • About 1/2 cup of reserved noodle water

    • 1/2 cup chopped Italian parsley

    • Paprika for garnish

    In a large, deep sauce pan (we always use our cast iron skillet), cook the ground beef in a little bit of oil over medium high heat, then remove the beef from the pan once it’s all cooked through. Don’t worry about browning the meat since it’ll be cooked a little more later. Set aside.


    stroganoff_02.jpg

    In the same pan over medium high heat, melt the butter, then add the mushrooms. Allow the mushrooms to sear and become golden by not stirring them frequently. While the mushrooms cook, put a pot of water to boil. Once the majority of the mushroom flesh is golden in color, add your shallots and garlic to the pan and sauté until the shallots just become translucent. Deglaze the pan by adding all of the sherry and broth. Let this simmer for about 10 minutes, allowing the sauce to reduce and the alcohol to cook off.


    stroganoff_01.jpg

    If using dry noodles, start boiling them about 10–12 minutes before the mushrooms finish cooking. If using fresh noodles, keep in mind that fresh pasta cooks way faster, you’ll want to time this step later to make sure your noodles don’t sit out and stick together.

    In a small bowl, whisk together the red miso, soy sauce, dijon mustard, and Worcestershire sauce until everything is smooth and the miso is evenly incorporated. Add the sour cream to this mixture and whisk everything together. Once your sauce has simmered and reduced appropriately, reduce your heat to medium low and add the sour cream mixture to your pan. Stir the sauce together and let it simmer for a few more minutes while you taste the sauce and add salt along with a liberal amount of freshly ground black pepper. If you are cooking this recipe with beef, add it back into the pan as well. While the sour cream is bonding with the sauce is the perfect time to start cooking your fresh pasta if that’s what you’re using.

    Once your noodles are done cooking, strain them out and reserve about a cup of the cooking water. Remove your stroganoff sauce from the heat and add the noodles to the pan along with the chopped parsley. Gently stir and fold the noodles into the sauce, making sure that all the noodles get covered in it. The sauce will thicken up a lot during this process, so add splashes of your pasta water to the pan to loosen it up. By the end, everything should be evenly incorporated and the sauce should have a somewhat loose and velvety texture. Serve immediately with a little more freshly ground black pepper along with a dusting of paprika.


    stroganoff_05.jpg

    Serves 4.

  • Hearty Tomato & Orange Chowder


    This recipe is based on a soup that I remember loving as a kid, commonly known as Mama Leone’s Chicken Soup. It always seemed to be available in grocery stores, so I ate it a lot on the many road trips my family made, especially when we travelled to Eugene, Oregon. I had a recent craving for it, but I haven’t been able to find it readily available in stores, and when I looked up recipes online, I was sorely disappointed in what I was able to find. So, I sought out to make a soup that mimicked what my taste buds remembered from childhood, then I pushed it even further to make it reflect more flavors that I love now as an adult. It’s safe to say that what I’ve concocted is quite different from anything you might find calling itself “Mama Leone’s.” What I’ve ended up with is a creamy, spicy, and slightly smoky soup base with moments of satisfying acidity alongside gentle floral citrus stemming from the soup’s two star ingredients: tomatoes and orange zest.

    • 4 Tbsp butter

    • 1 large onion, diced

    • ½ cup dry sherry

    • 1 14.5-ounce can of diced tomatoes with juice (fire roasted preferred)

    • 8 ounces cherry tomatoes, halved

    • 1 tsp smoked paprika

    • 1 tsp dried oregano

    • 1 tsp dried tarragon

    • 1 tsp freshly ground black pepper

    • ¼ tsp red chili flakes

    • 4 cups chicken or vegetable broth

    • ½ cup heavy cream

    • 4 cloves of garlic, skins removed, thinly sliced

    • ½ tsp orange zest

    • Salt to taste

    Preheat a soup pot on the stove to medium heat, then add the butter and onions. Cook until translucent. Deglaze the pot with sherry and cook it until the smell of alcohol vanishes; this should take a couple of minutes. Add the canned tomatoes, the cherry tomatoes, smoked paprika, basil, tarragon, black pepper, and chili flakes, then simmer on medium heat for about 5 minutes, allowing the flavors to meld and the fresh tomatoes to break down a bit.

    Once the tomato mixture in your pot has reduced a bit and turned a deeper shade of red, add your stock and bring everything up to a simmer. Allow the simmering to continue on low heat for at least half an hour.

    Right before serving, take the soup off the heat and add the cream, garlic, and orange zest, then stir to incorporate. Let the soup sit for a couple minutes so that the garlic and orange zest can infuse a bit. Add salt to taste, then serve. Garnishes we like are fresh basil or parsley along with some more freshly ground pepper.


    chicken_tomato_soup_005.jpg

    The soup is delicious as is, but if you want to make it heartier (which we usually do), we like adding a carb to it. When serving, plop about a cup of pre-cooked rice into your bowl along with it. It tastes great, plus it matches the texture of the soup. Orzo or some other small variety of pasta would be a good addition to this as well if you wanted to use something else. Add a protein of choice (we prefer chicken) if you like, and you’re good to go.


    chicken_tomato_soup_004.jpg

    Pro tip: this soup is even better the day after and makes for an immensely satisfying lunch; like, damn.

    Serves 4.