Category: Vegetarian

  • Peanut Butter and Jelly French Toast


    As we play our way through Dragon Age Inquisition for the first time, I have to say that it puts us in a rather aggressive mindset. We feel the urge to go forth and conquer things and conform them to our ideologies for the sake of the “greater good.” We have applied such schools of thought to our cooking recently, and one of the things that we have “conquered” as of late has been something notorious for its (way too) sweet reputation: French toast. Usually covered in butter corn syrup (sweet), dusted in powdered sugar (sweeter), and often soaked in eggs saturated in sugar and cinnamon (just eat a Pillsbury cinnamon roll, for goodness sake), French toast hasn’t been something that we seek out. But one day, Nate made some incredible homemade bread and we had to use it up. We made a few tasty favorites with it, but still had some left. So, we decided to go outside our comfort zone and venture into enemy territory (sorry, sweet tooths [teeth?])…

    We decided to make French toast.

    After some research we decided to base our recipe on something we found in the vast archives of the Martha Stewart empire, but suppress most of the sugary influences (of course). That left us with the conundrum of toppings. We had maple syrup and powdered sugar on hand (we swear we don’t know how it got there), but we just couldn’t bring ourselves to use them. We knew we would be disappointed. In search of a solution, we got creative. We always have an overstock of peanut butter in the pantry, and having just returned from Sauvie Island, we had plenty of strawberry jam to use. And then we had a thought: What if we took a classic and made it better?

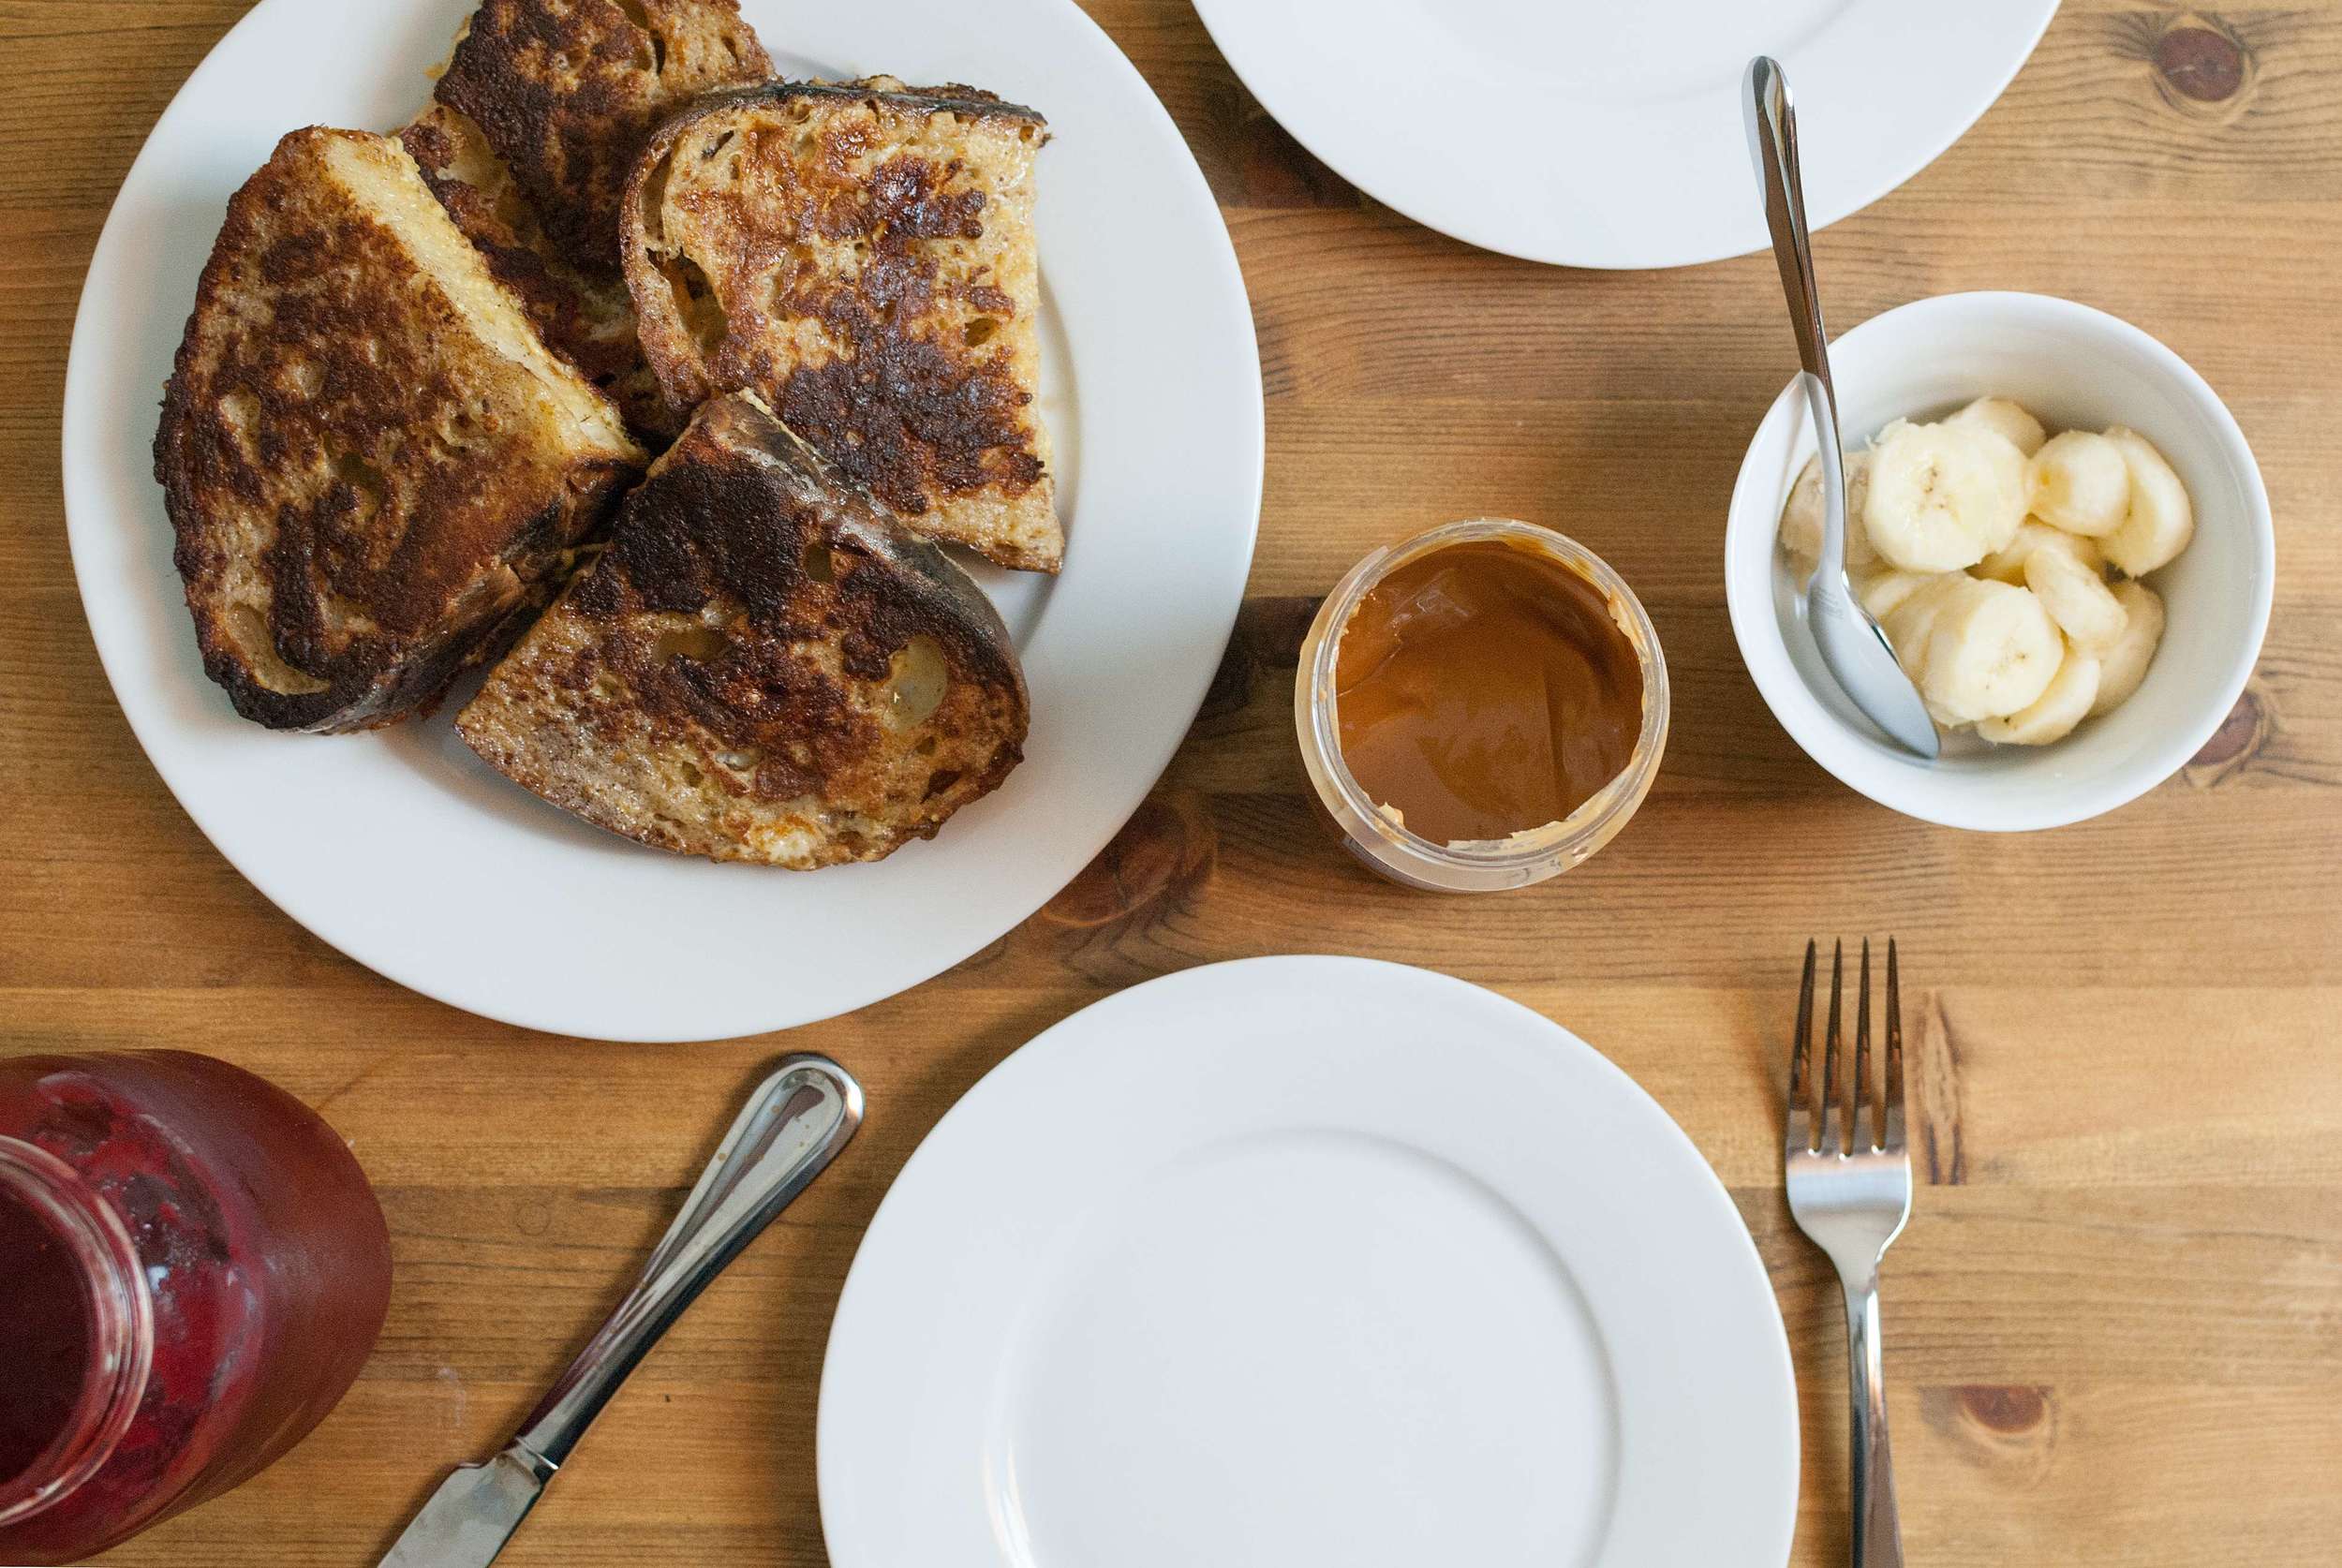
    What you see before you is how we will eat French toast for the rest of our lives. Salty peanut butter and seasonal jam on top of perfect french toast that is crisp on the outside, and almost like cake on the inside.

    • 2 eggs
    • ¼ cup half and half
    • ½ teaspoon vanilla extract
    • pinch salt
    • pinch ground cinnamon
    • 2 1-inch slices artisan bread (day old preferable)
    • Oil or butter for cooking
    • Peanut butter
    • Any seasonal jam/preserves/jelly/marmalade/etc.
    • Banana, sliced (optional)

    Whisk together egg, half and half, vanilla, salt, and cinnamon in a baking dish (big enough to hold all your bread). Soak bread in egg mixture for 10 minutes on each side. Heat a skillet and butter over medium low heat and cook each side of the bread for 2–3 minutes, until golden brown.
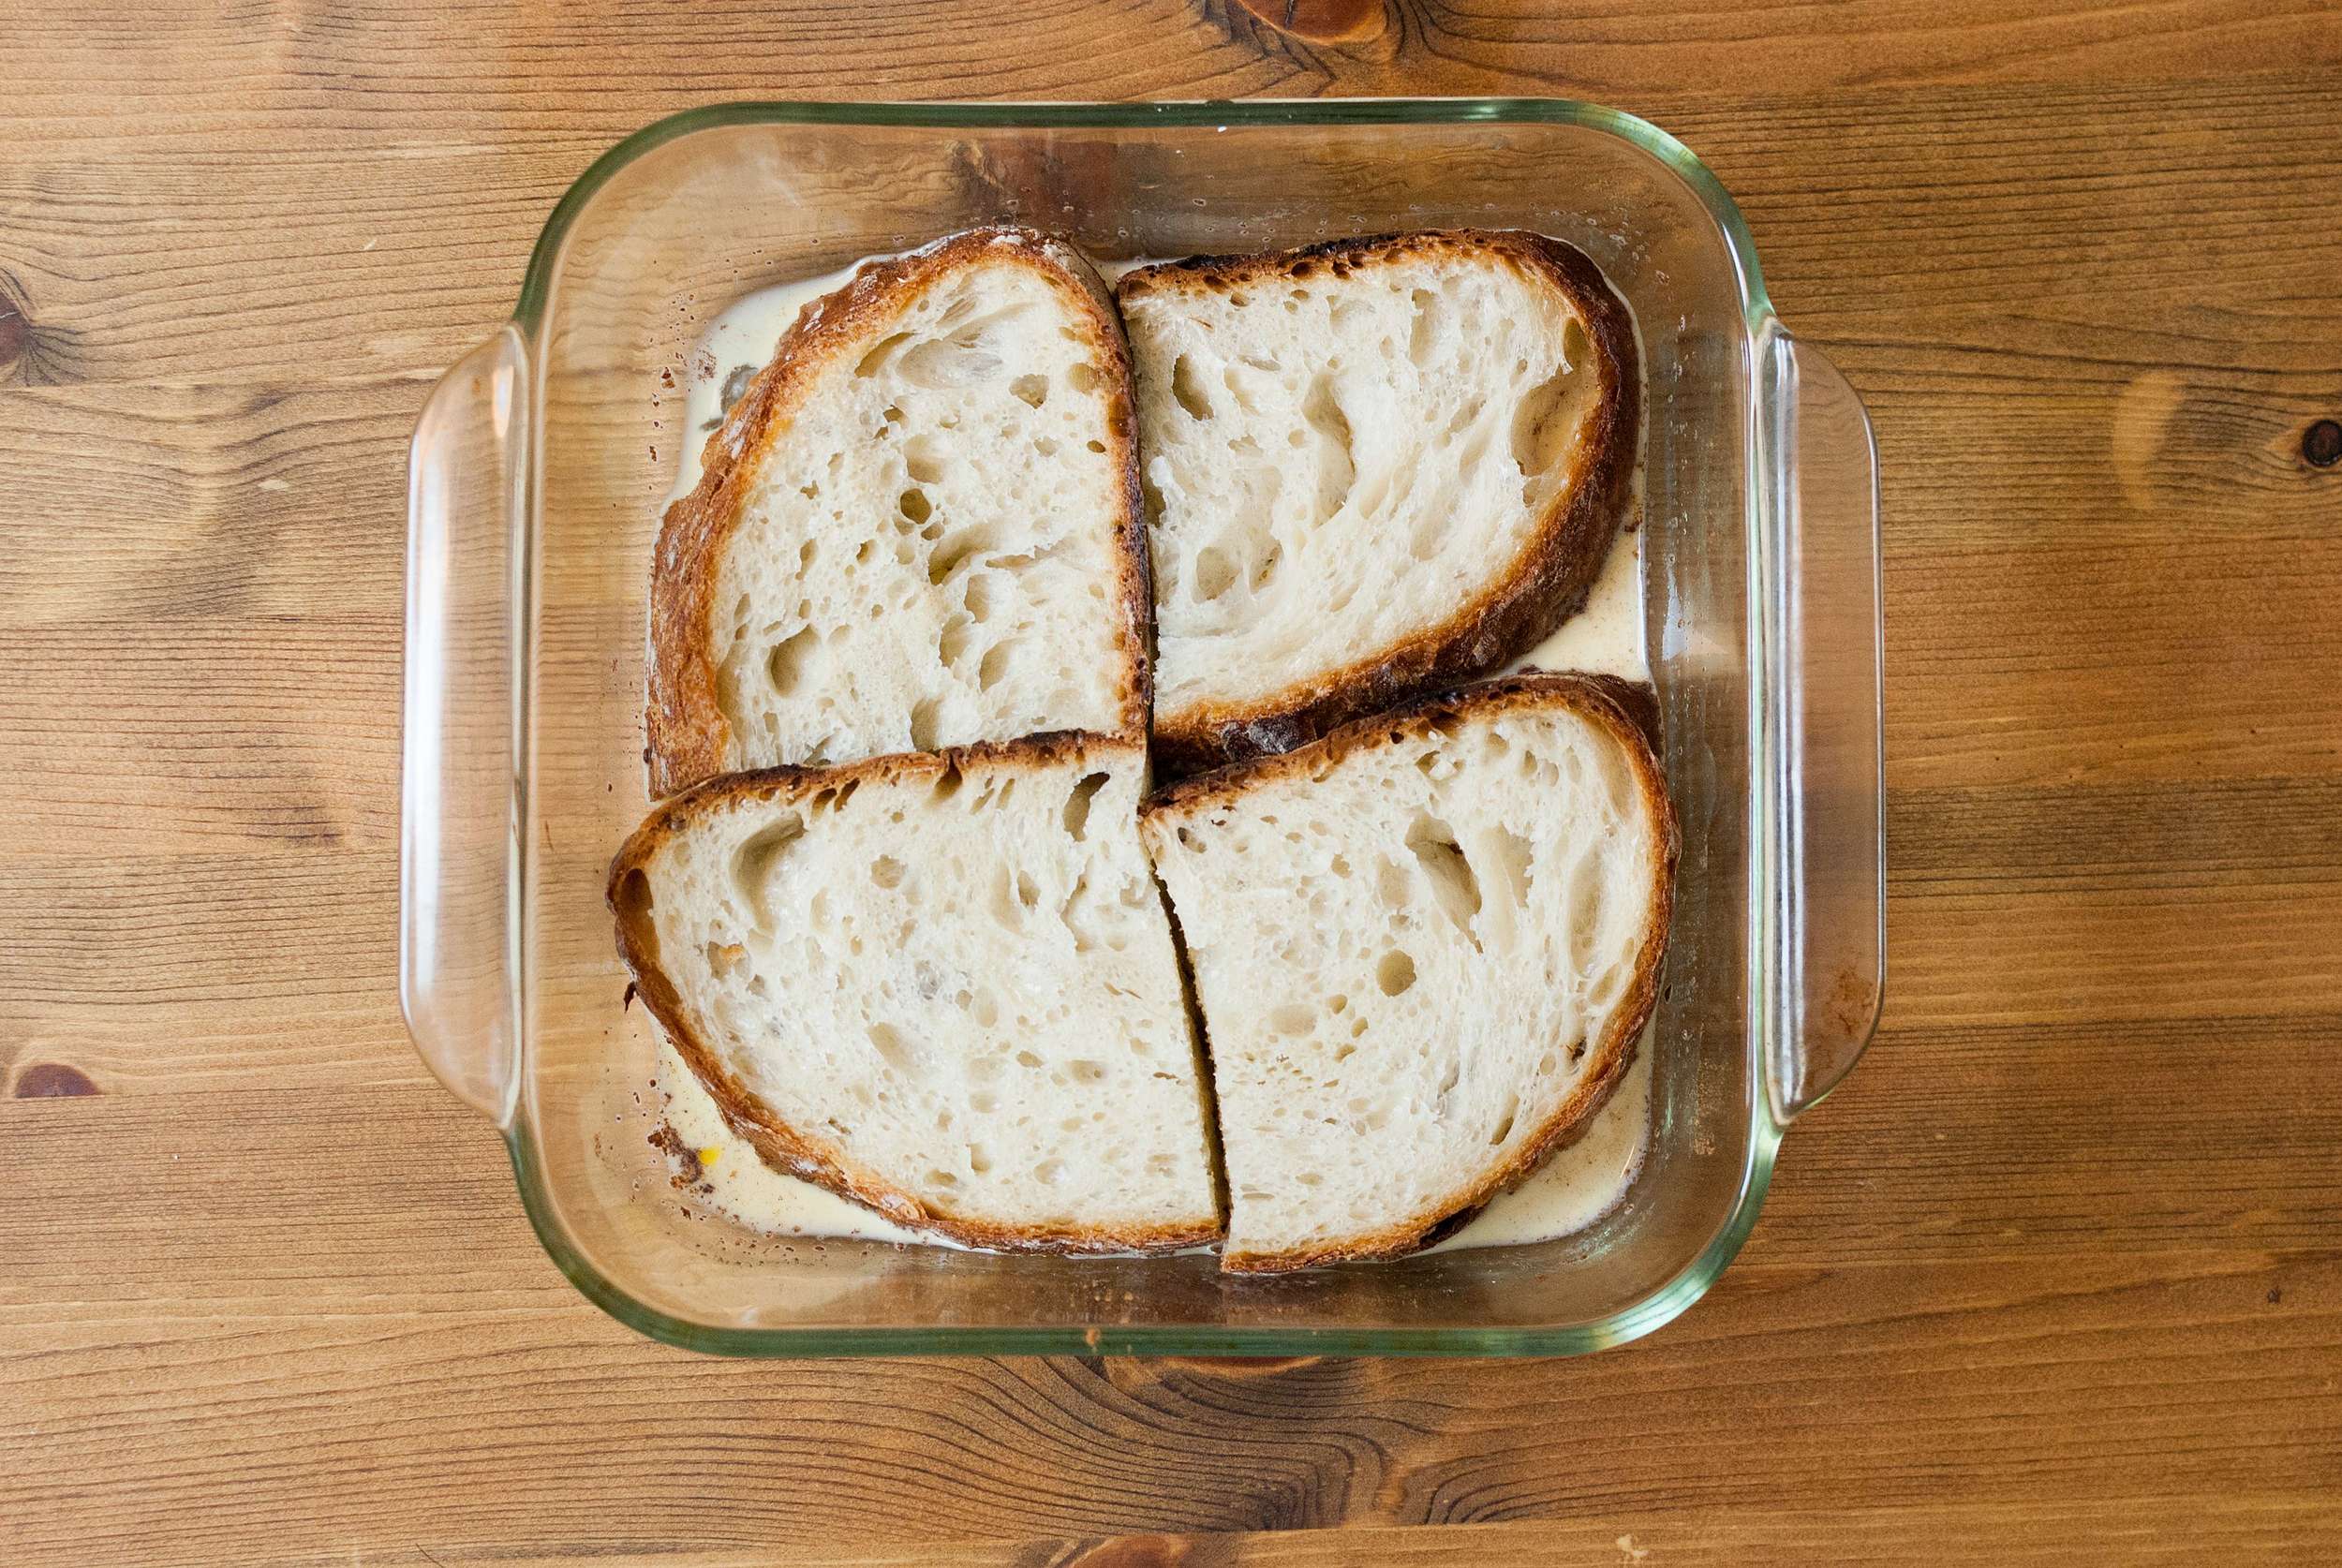

    peanut-butter-and-jelly-french-toast-01

    If making more than one batch, preheat oven to its lowest setting. Place a wire rack on a baking sheet in the oven. Remove from heat, and put in the oven until all your French toast is ready.

    Serve immediately with peanut butter, jam, or whatever you want on top.

    Serves 2.
  • Strawberry Jam


    strawberry-jam_021.jpg

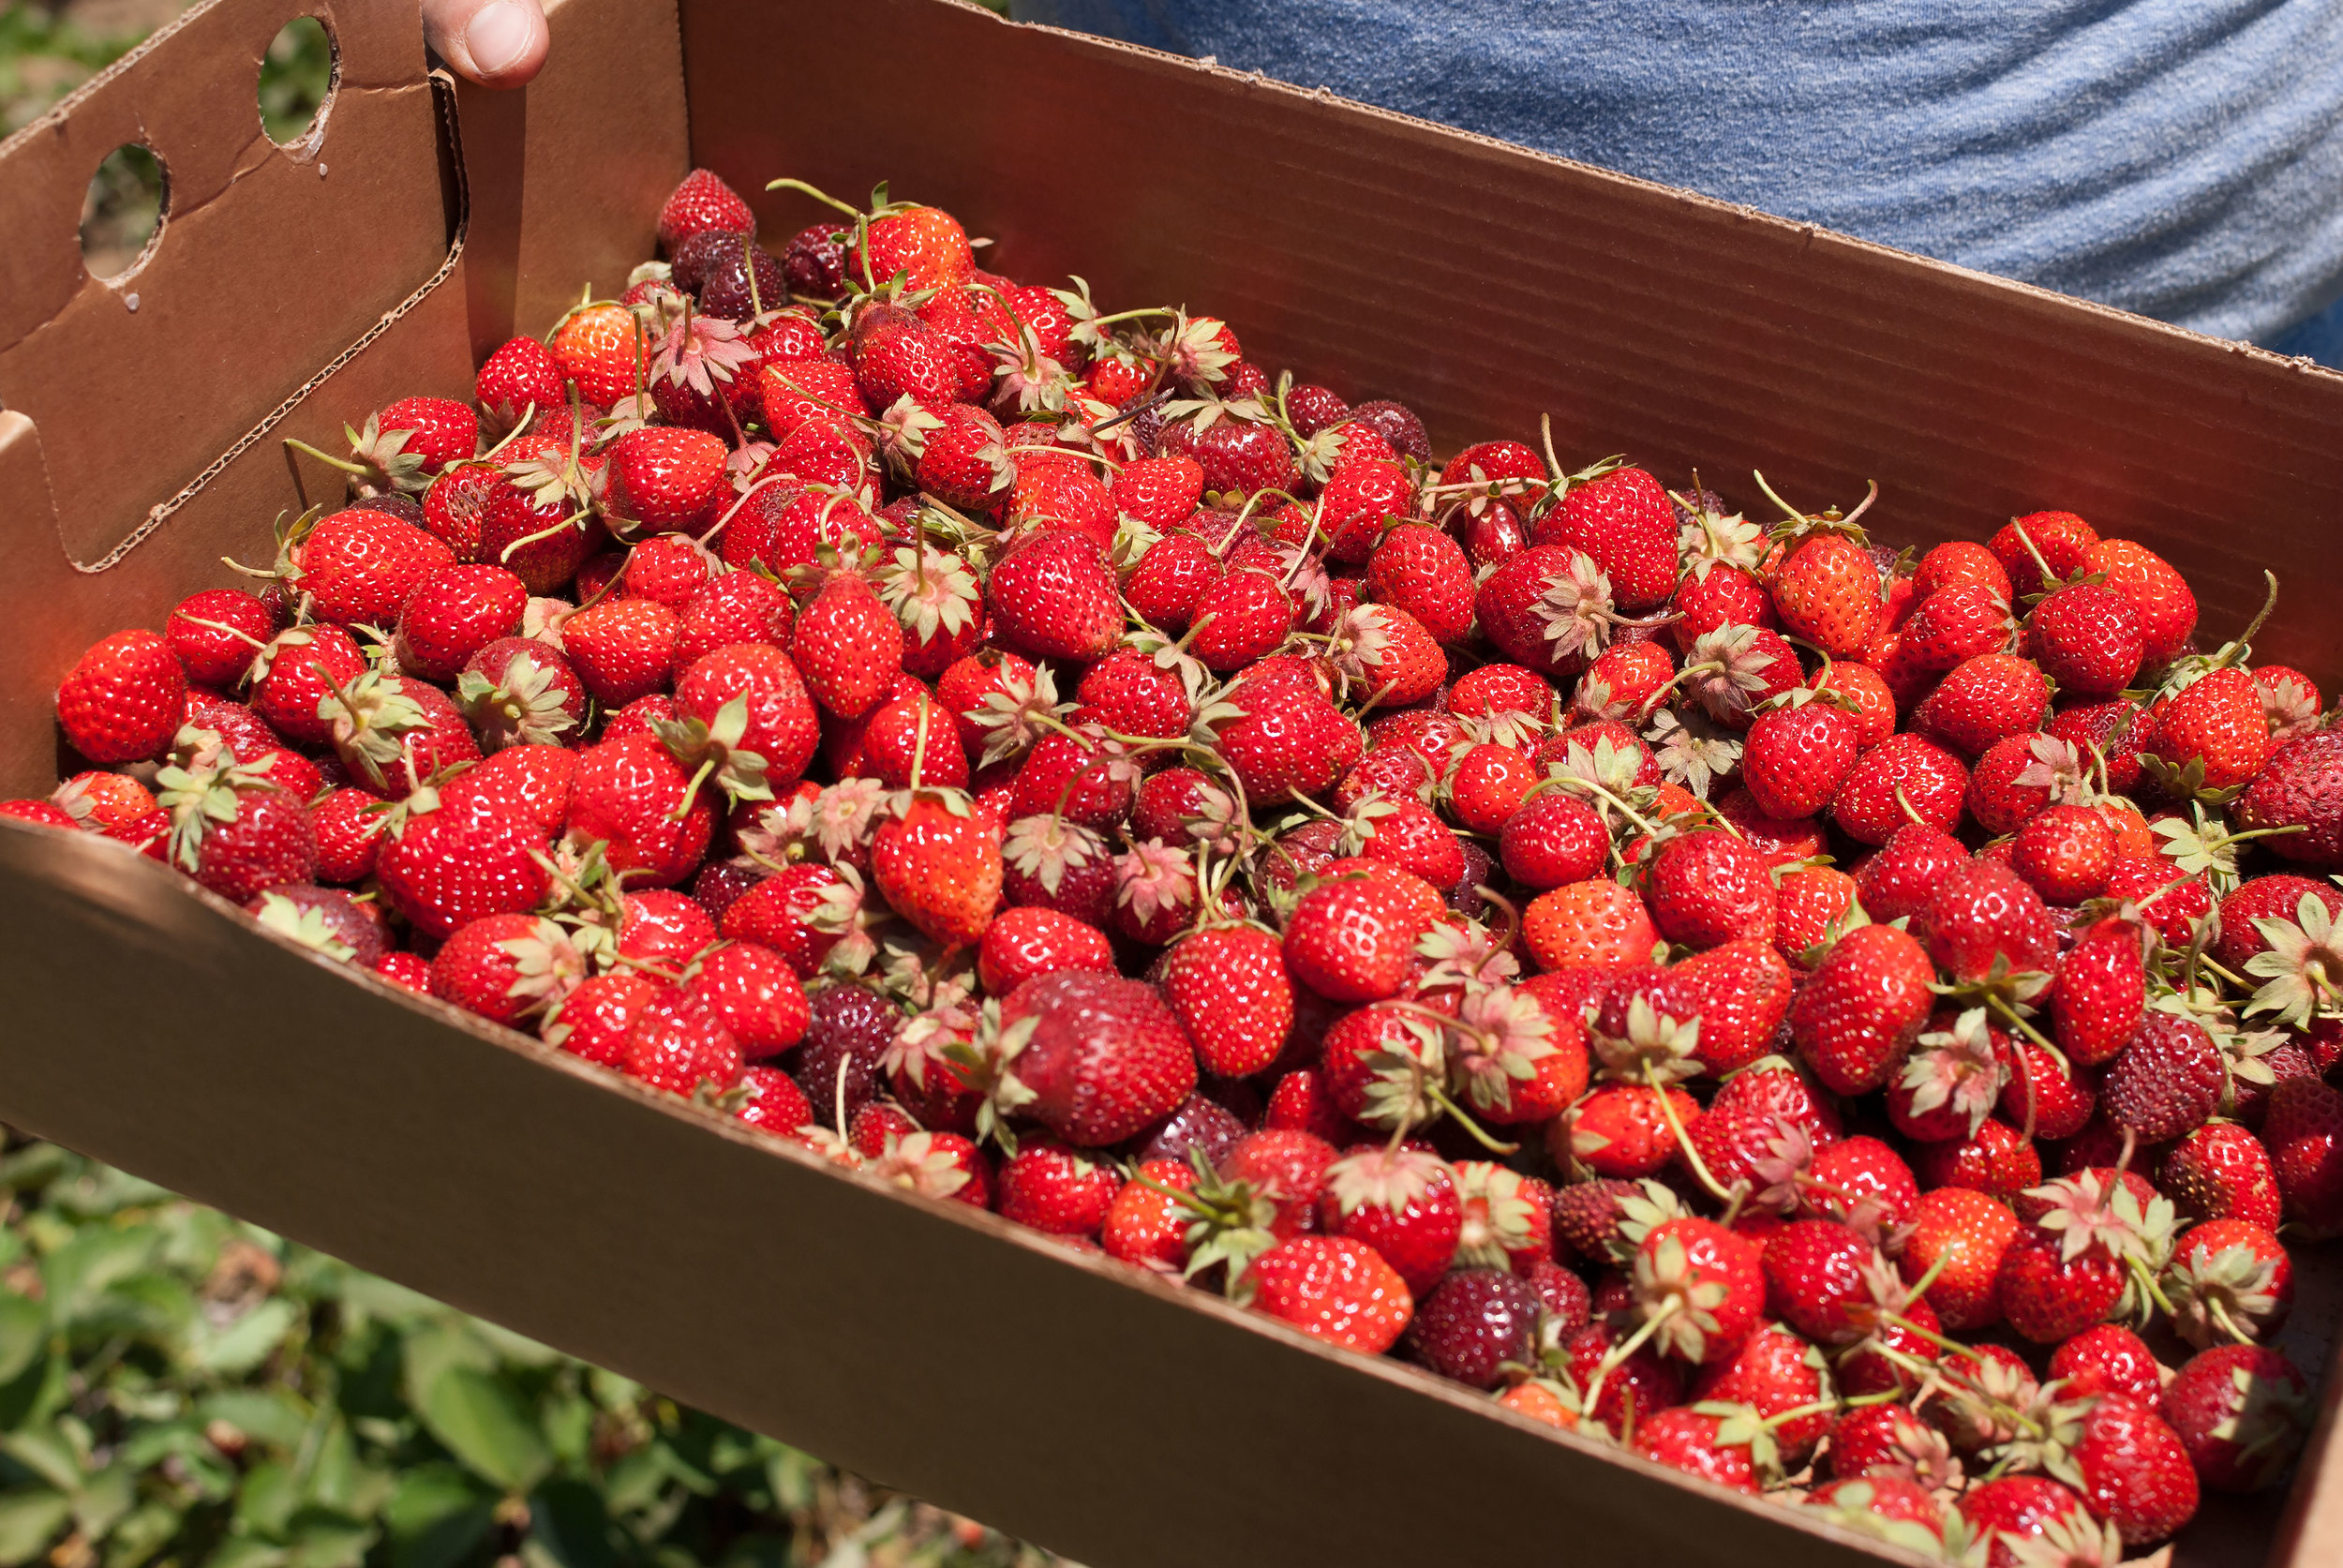
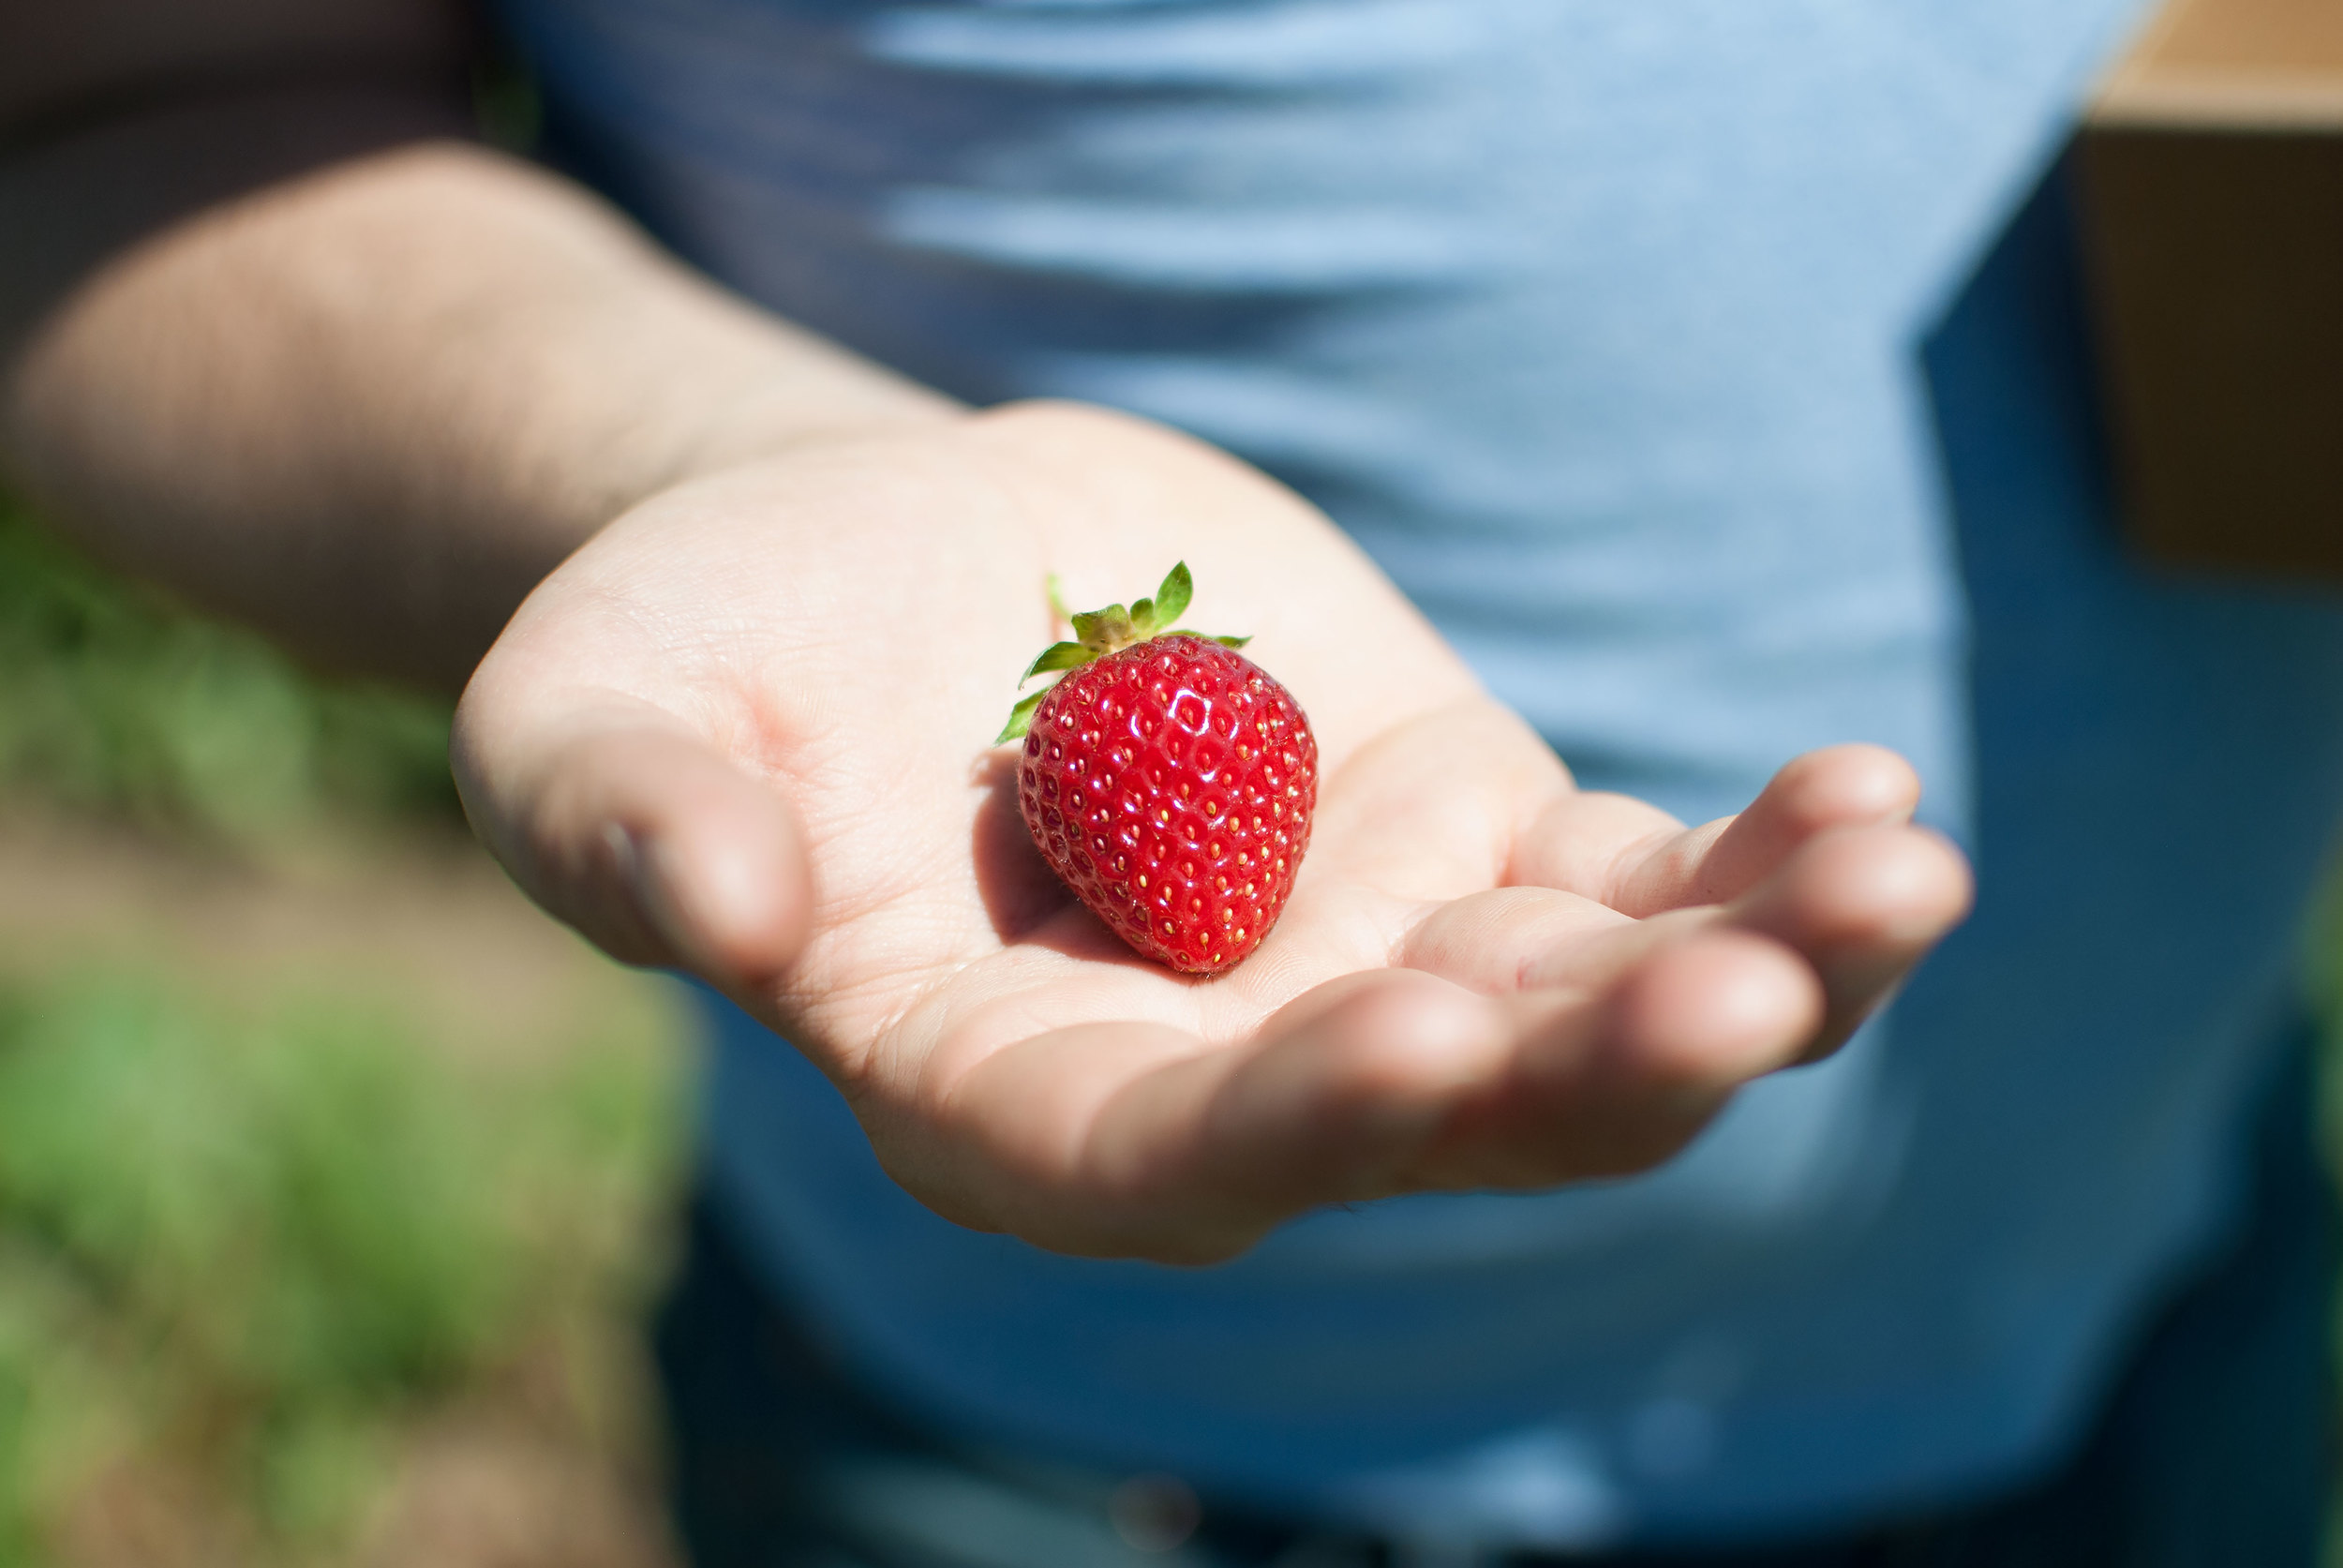
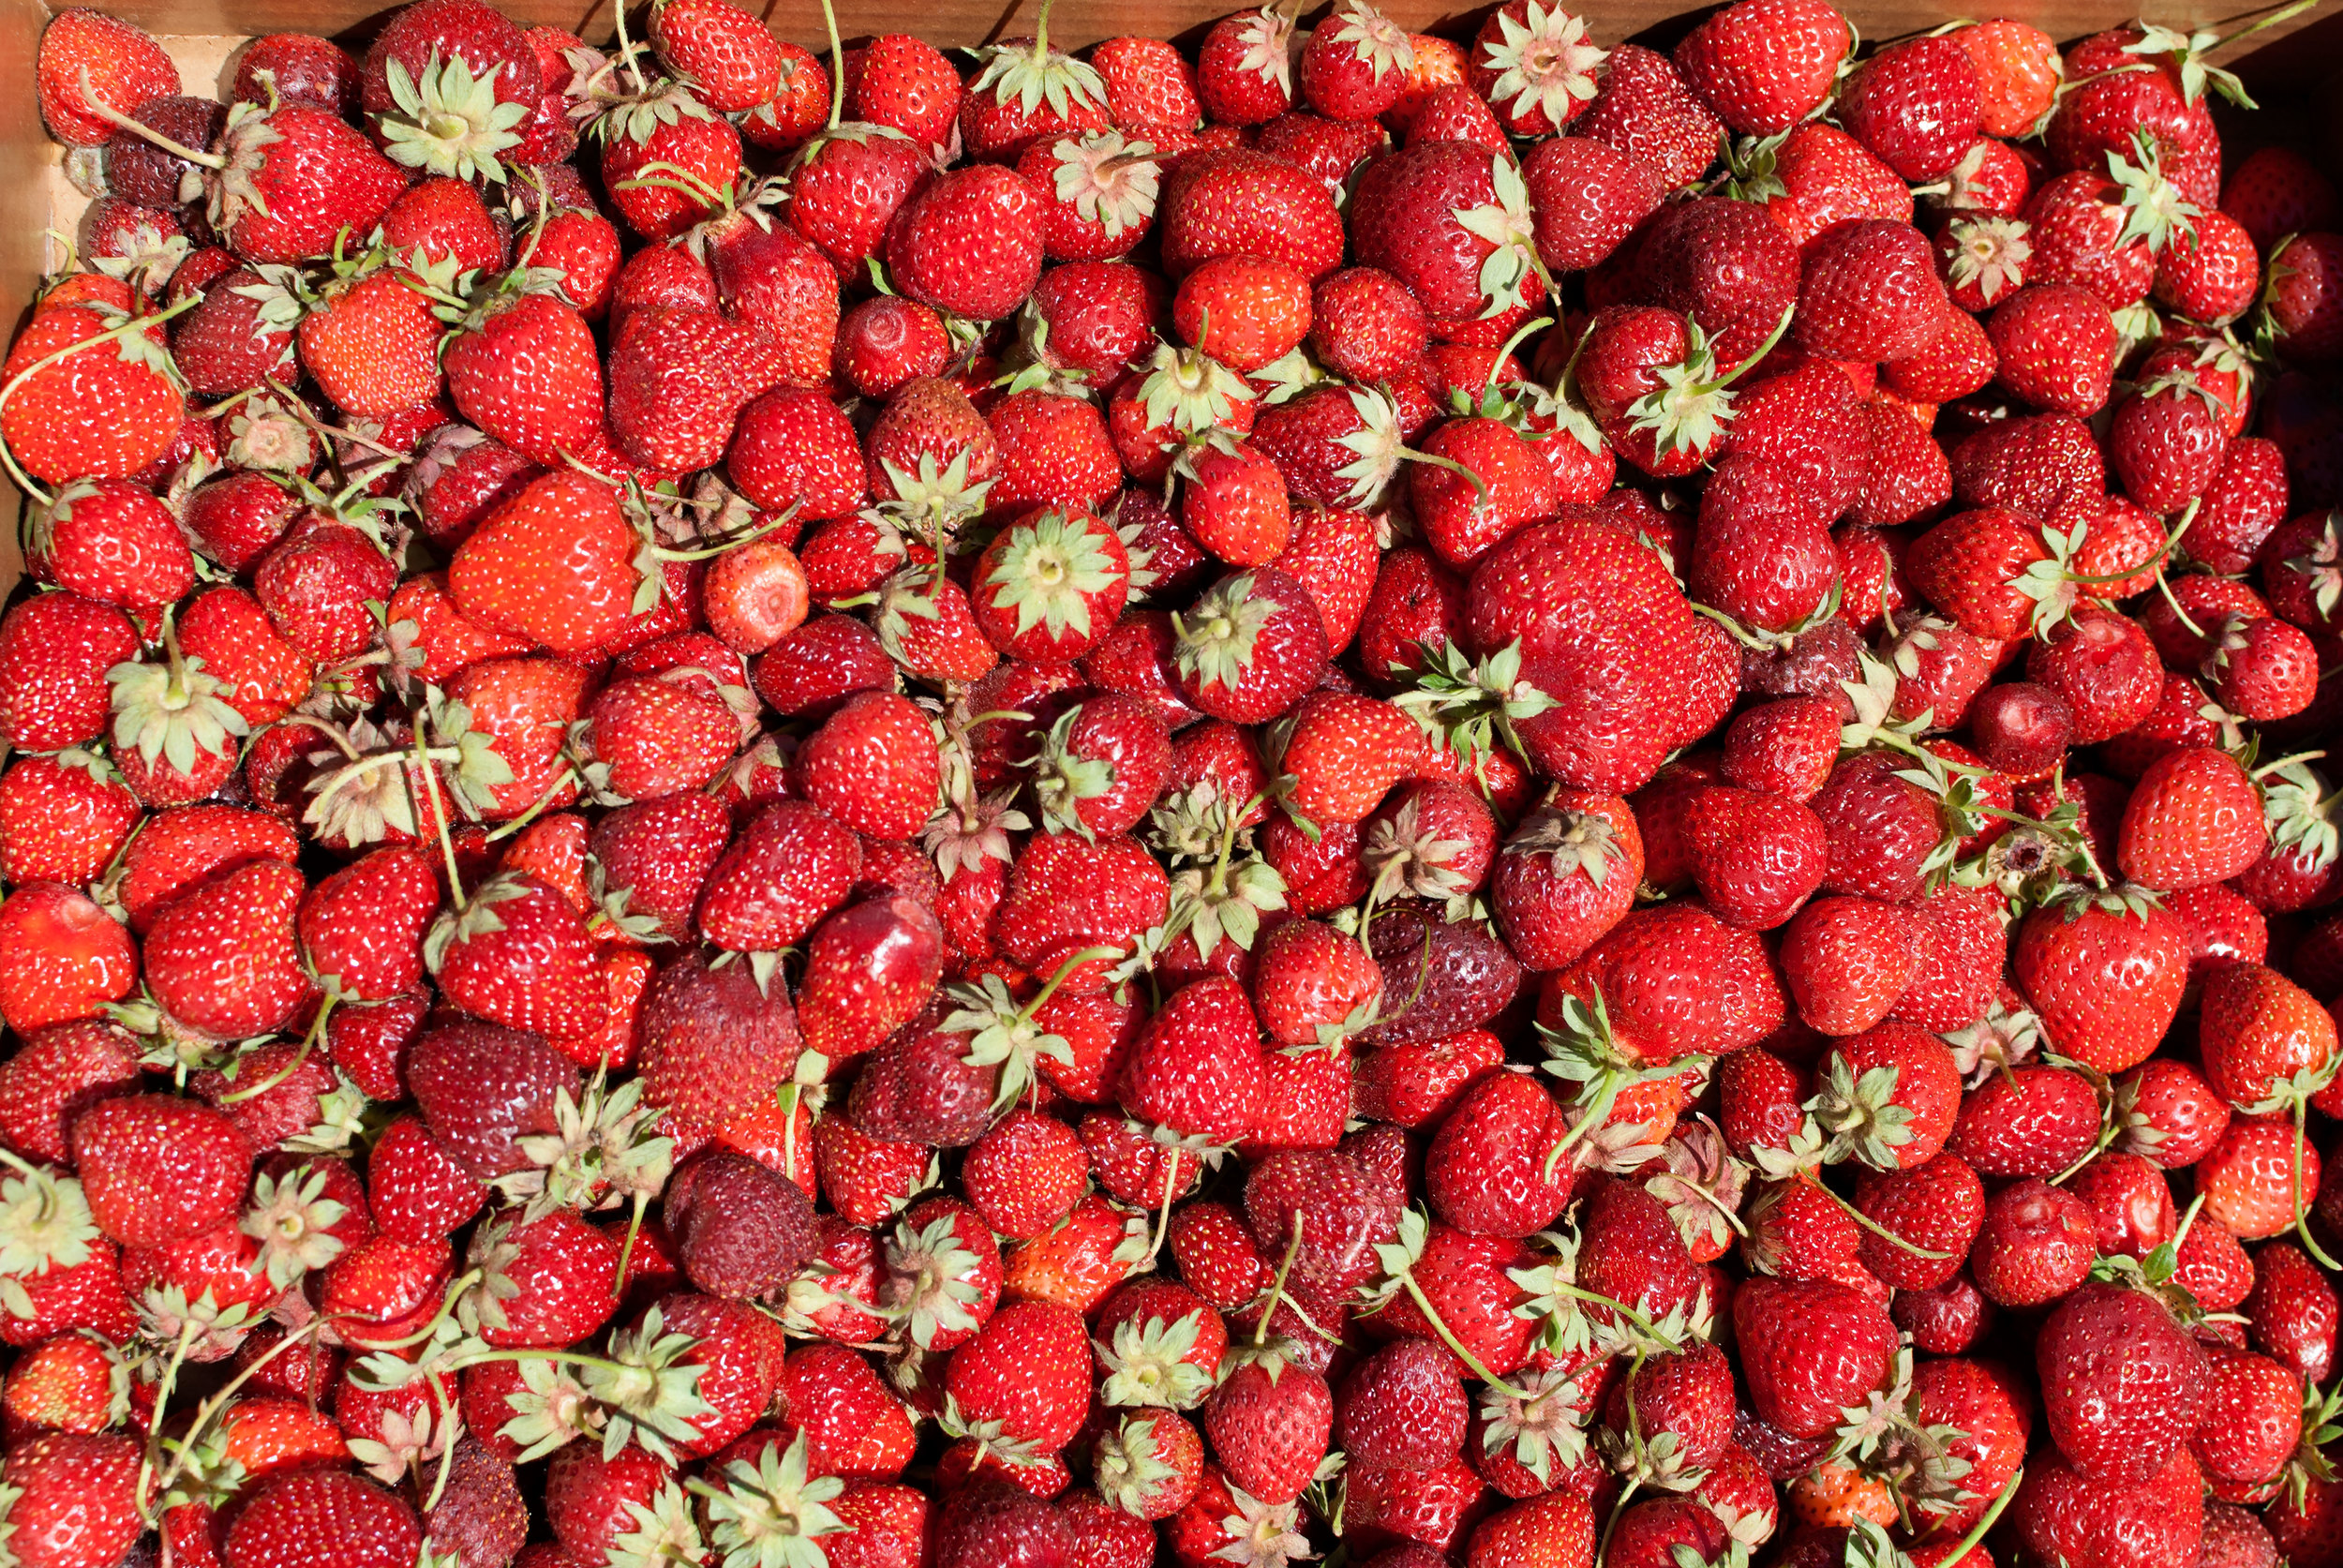
    When we bought the strawberries at the farmer’s market for our strawberry caprese salad, we had a pint and a half of strawberries left over. They were so ripe they left juice stains on the pint boxes. I said, “How about we make jam?” And Jon agreed. What else are you going to do with that many strawberries? (I will admit I was tempted to split the spoils with Jon and just sit down and eat them. Jam was a much better idea.) We looked online for a recipe, and found this one from Ina Garten. We love Ina, but there was too much sugar and lemon for us, so we went to Sauvie Island, here in Portland, and determined to get more strawberries (and raspberries!). We ended up with around 7½ pounds of strawberries bursting with sweet juice.

    strawberry-jam_03

    strawberry-jam_03


    Jon

    Jon


    Nate

    Nate

    After adapting the jam recipe for our own tastes (like we do), we ended up with our favorite strawberry jam ever. It’s sweet, but not overwhelming. It’s floral and the strawberry flavor is bright, but not cloying. It’s perfect on toast by itself, and it’s even better with a savory element, such as peanut butter or chèvre. We’ll be making this for many summers to come.


    strawberry-jam_05

    strawberry-jam_05

    Strawberry Jam

    • 7 lb (3.2 kg, about 9 pints) ripe strawberries, hulled and halved
    • 5 cups (2.2 lb/1 kg) white sugar
    • zest of 4 lemons
    • juice of 3 lemons

    Cook sugar, lemon juice and zest over low heat stirring constantly until sugar is completely melted, about 10 minutes. Add strawberries and stir until combined. Let simmer on low heat for 20–30 minutes, stirring frequently to prevent scorching. Jam is done when the juice gels when you put it on a cold surface (we used a plate in the freezer for this). Remove from heat. If strawberries are too chunky, use an immersion blender to achieve desired consistency. Use a canning funnel to put in pint jars. If not using immediately, you will need to preserve it. If canning see instructions here. If freezing, put into freezer-safe containers (most wide mouth canning jars will work for this, just leave room at the top to account for expansion), and freeze after cooling completely.

    Yields a little more than 7 pints.


    strawberry-jam_06

    strawberry-jam_06

  • Spiced Banana Bread


    banana-bread-031.jpg

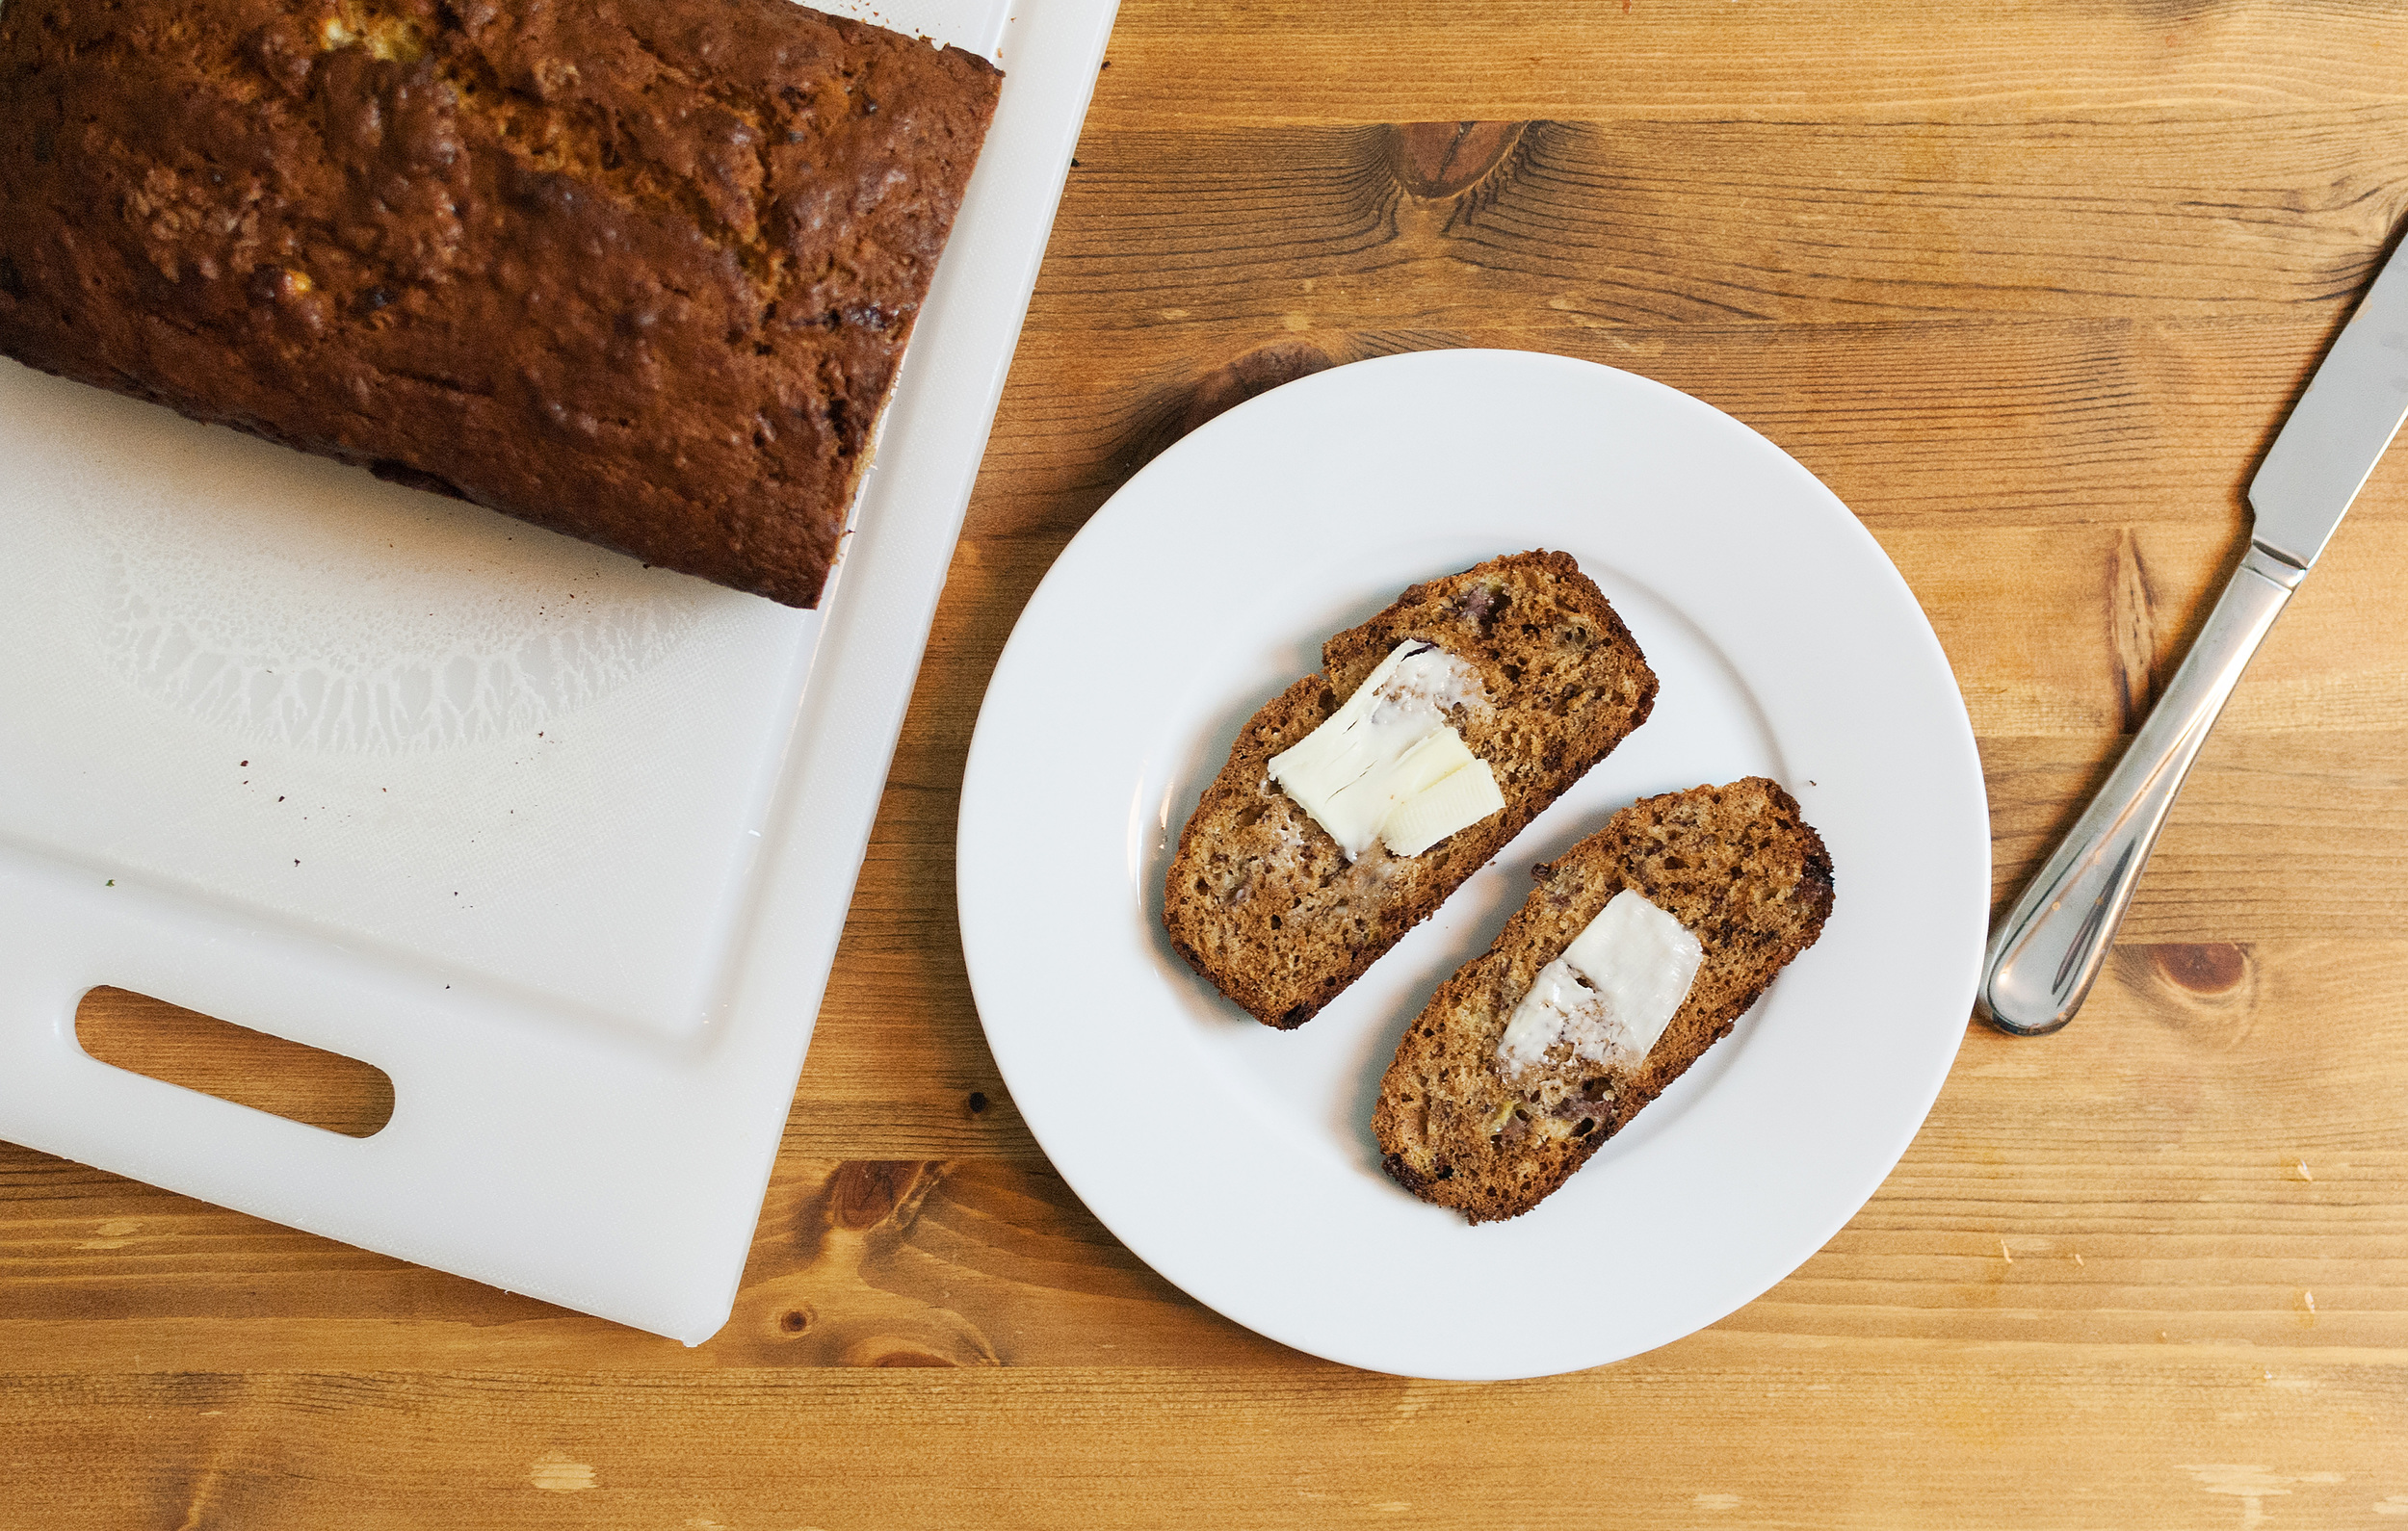
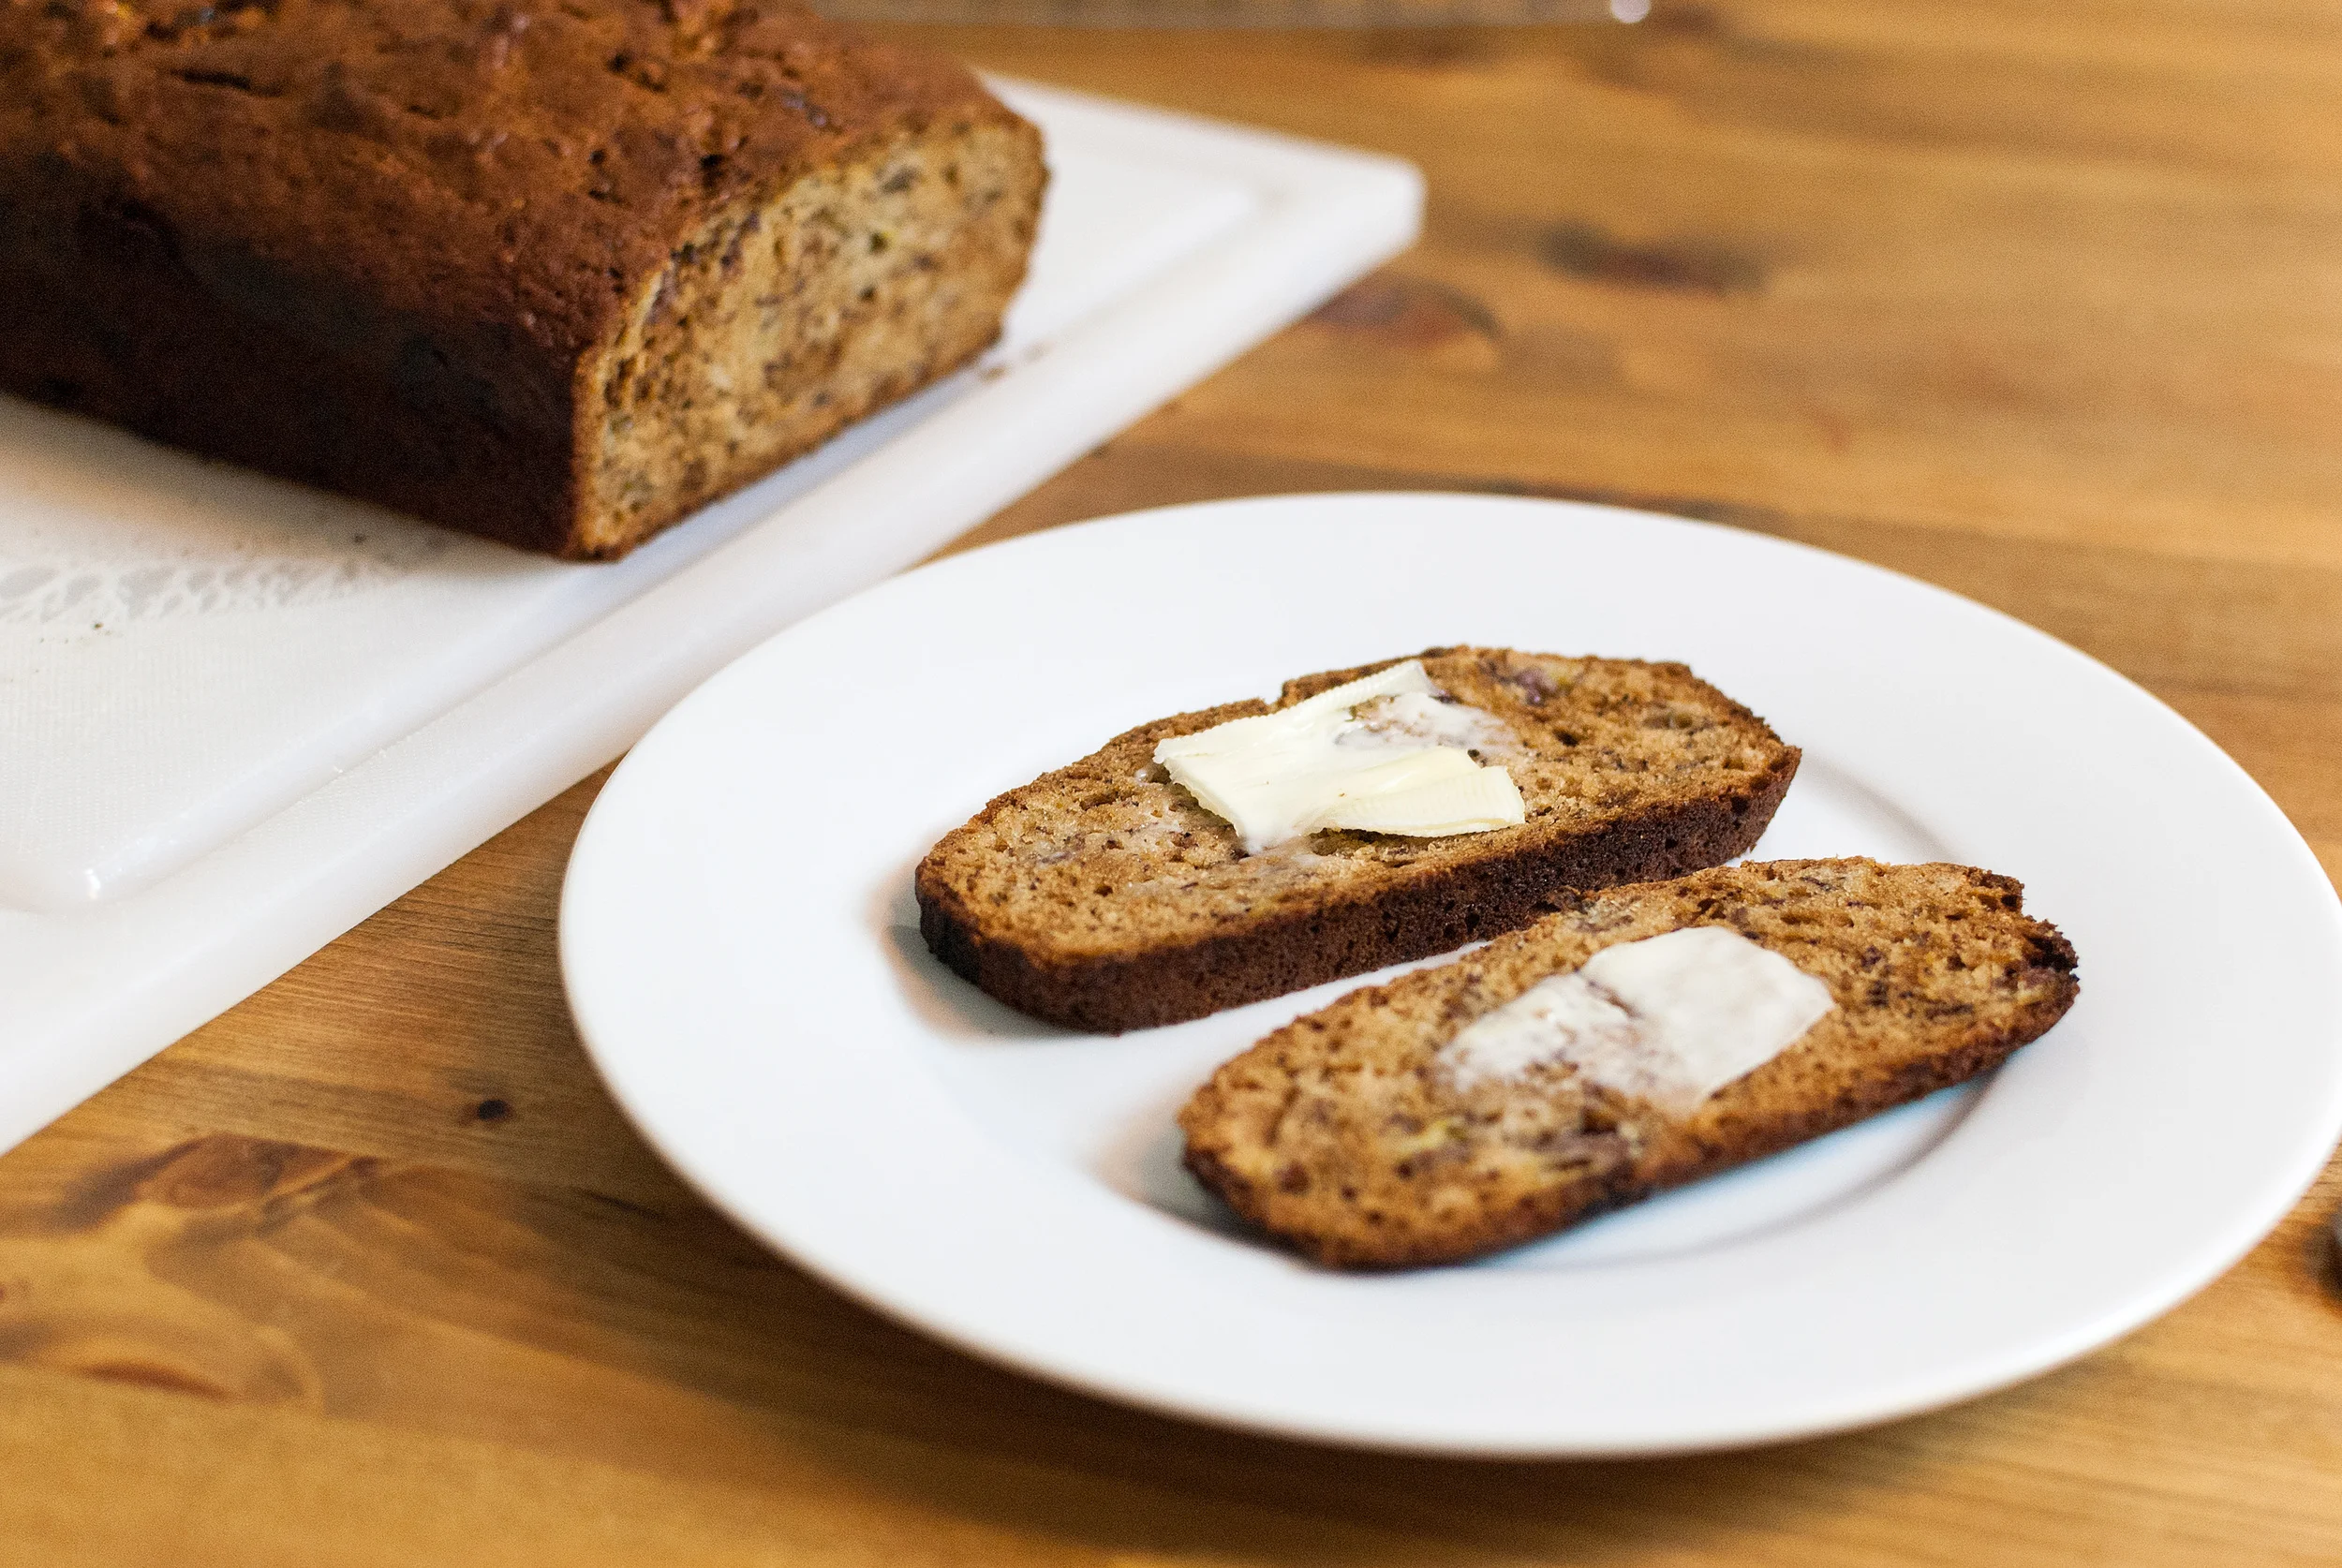
    I spent a long time looking for the perfect banana bread recipe, which, when you think about it, shouldn’t be all that hard. The problem I kept running into was finding all sorts of things in the recipes from buttermilk to sour cream. I prefer to get the moisture in my banana bread from the bananas, since it gives it more banana flavor rather than a milk-based additive.
    What I ended up with was a soft, caky banana bread that’s always a hit at parties or when I take it to work. The thing that varies for me is what spice I use in it. Usually I’ll put in nutmeg or allspice, but sometimes cloves. Honestly it’s usually whatever I see first on the shelf. The key part of great banana bread is bananas so ripe, you think they’re rotten. For this last batch, I let the bananas get so black, they started to ferment. If this makes you uncomfortable, just remember that any alcohol in the bananas will cook off. Because you let them go for so long, make sure to start out with big fruit or use an extra so it’s moist enough.

    I think the best part about this recipe is that it takes a little over an hour from start to finish. It will keep, wrapped in foil, for up to a week.

    • ¼ cup butter, softened
    • ¾ cup granulated sugar
    • 1 large egg
    • 3 extremely ripe bananas, mashed
    • 1 tsp. vanilla extract
    • 2 cups (240 g./8.5 oz.) all-purpose flour
    • 1 tsp. baking soda
    • ½ tsp. salt
    • ½ tsp. ground nutmeg/allspice/cloves

    Preheat oven to 350°F. Lightly oil an 8×4 inch loaf pan. (I use 8×5 pans, but bake for a shorter time.)

    In a medium bowl, cream butter and sugar together until the sugar starts to dissolve. Stir in the egg. Add the bananas and vanilla extract and stir until fully mixed.

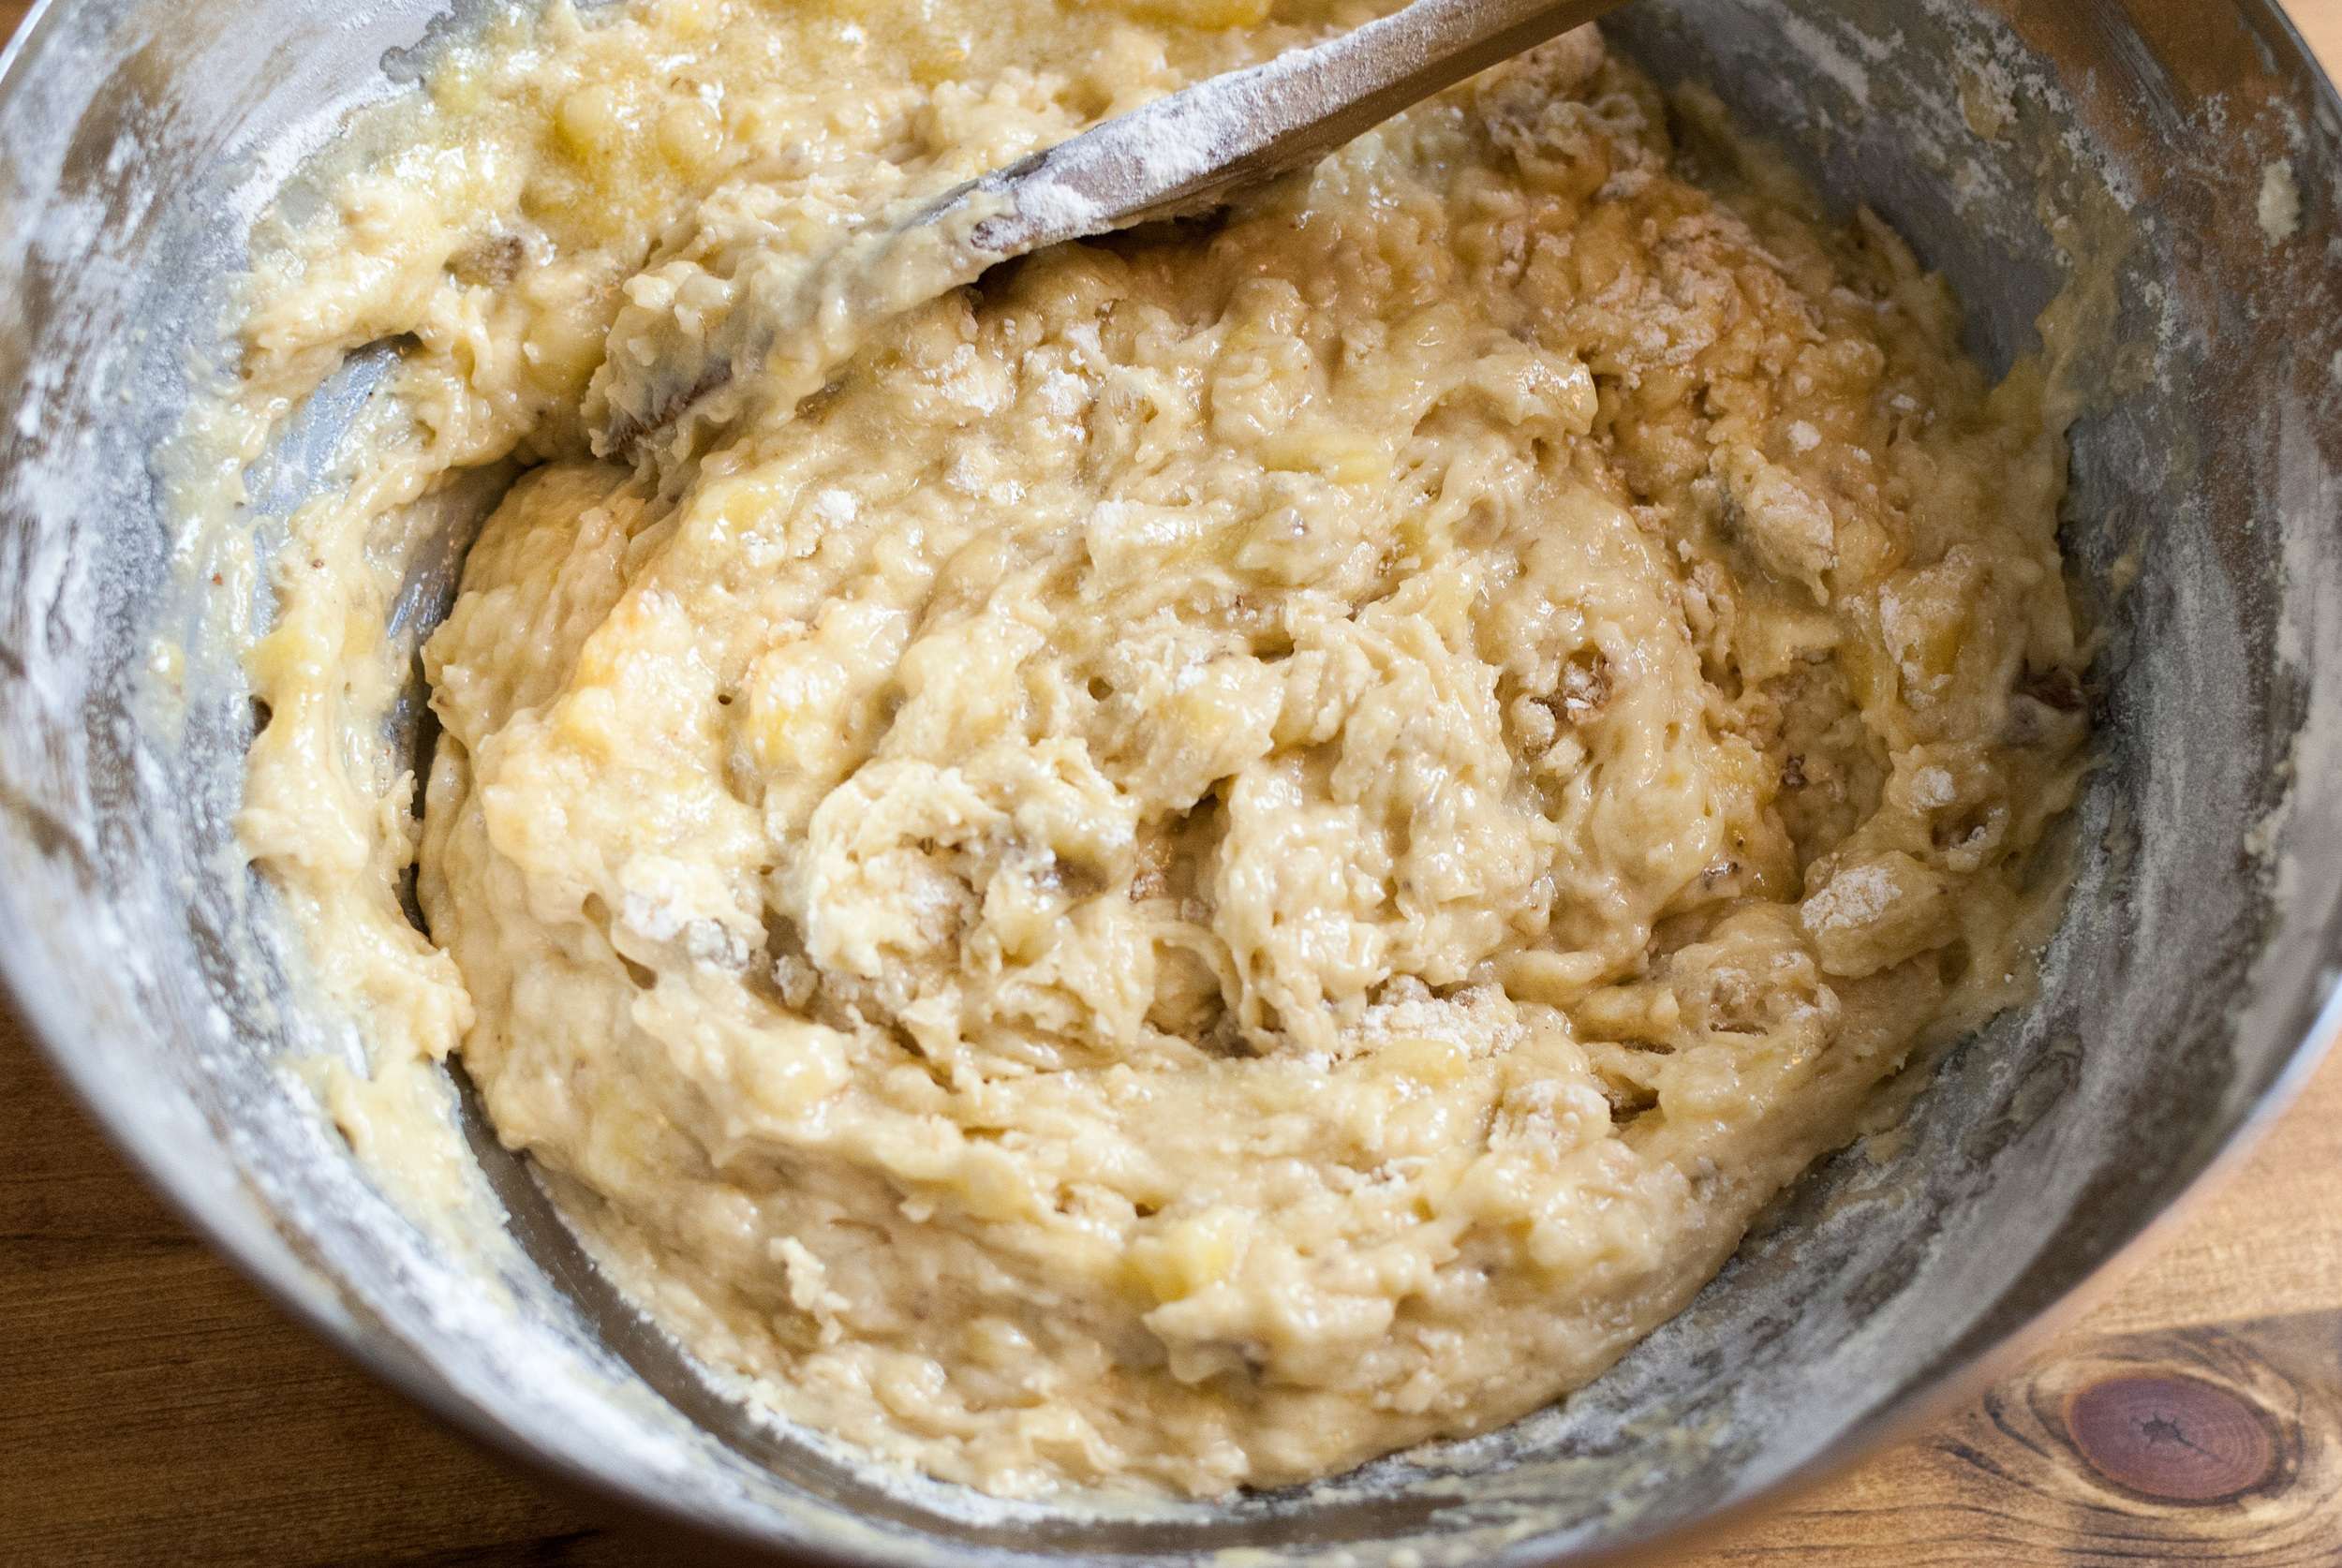
    Sift together flour, baking soda, salt, and spices. Add to the banana mixture and stir gently until just combined. You should still have some bits of undissolved flour.


    banana-bread-01

    banana-bread-01

    Pour into prepared loaf pan and tamp the base of the pan with your hand, or on a flat surface, to get rid of any bubbles. Bake for 50–60 minutes. Check about 40 minutes in. If it’s getting dark too soon, it means your oven is too hot. Bread is done when a toothpick comes out clean.

    Remove from oven and let rest in pan for 10 minutes before removing from the pan. Cool on an wire rack. I’d tell you to cool it completely, but good luck with that.


    banana-bread-02

    banana-bread-02

  • Strawberry Caprese Salad


    strawberry-caprese-salad-011.jpg

    We aren’t entirely sure how to classify this dish…
    Is it a salad?

    Is it a dessert?

    Is it a cheese plate?

    We don’t know. We really don’t. Do we care?

    Nope. No we don’t.

    We tried to come up with something that would feature strawberries since we keep seeing amazingly ripe ones floating around these days. We were getting strawberry envy. So we decided to do something about it. We hauled ourselves to one of the farmers markets in Portland and took home some gorgeous Mt. Hood strawberries, dark as rubies, and ripe enough to stain your fingers with their juice. They were small, sweet, and completely melted in your mouth when we ate one (or four).

    We put our heads together and applied some knowledge we had that suggested strawberries and tomatoes have almost an identical flavor pairing list. So, we decided to cycle through some of our favorite things to eat featuring fresh tomatoes and see if we could plug in fresh strawberries instead. Balsamic vinegar was the key. What we ended up with was this thing.


    strawberry-caprese-salad-011.jpg

    strawberry-caprese-salad-01

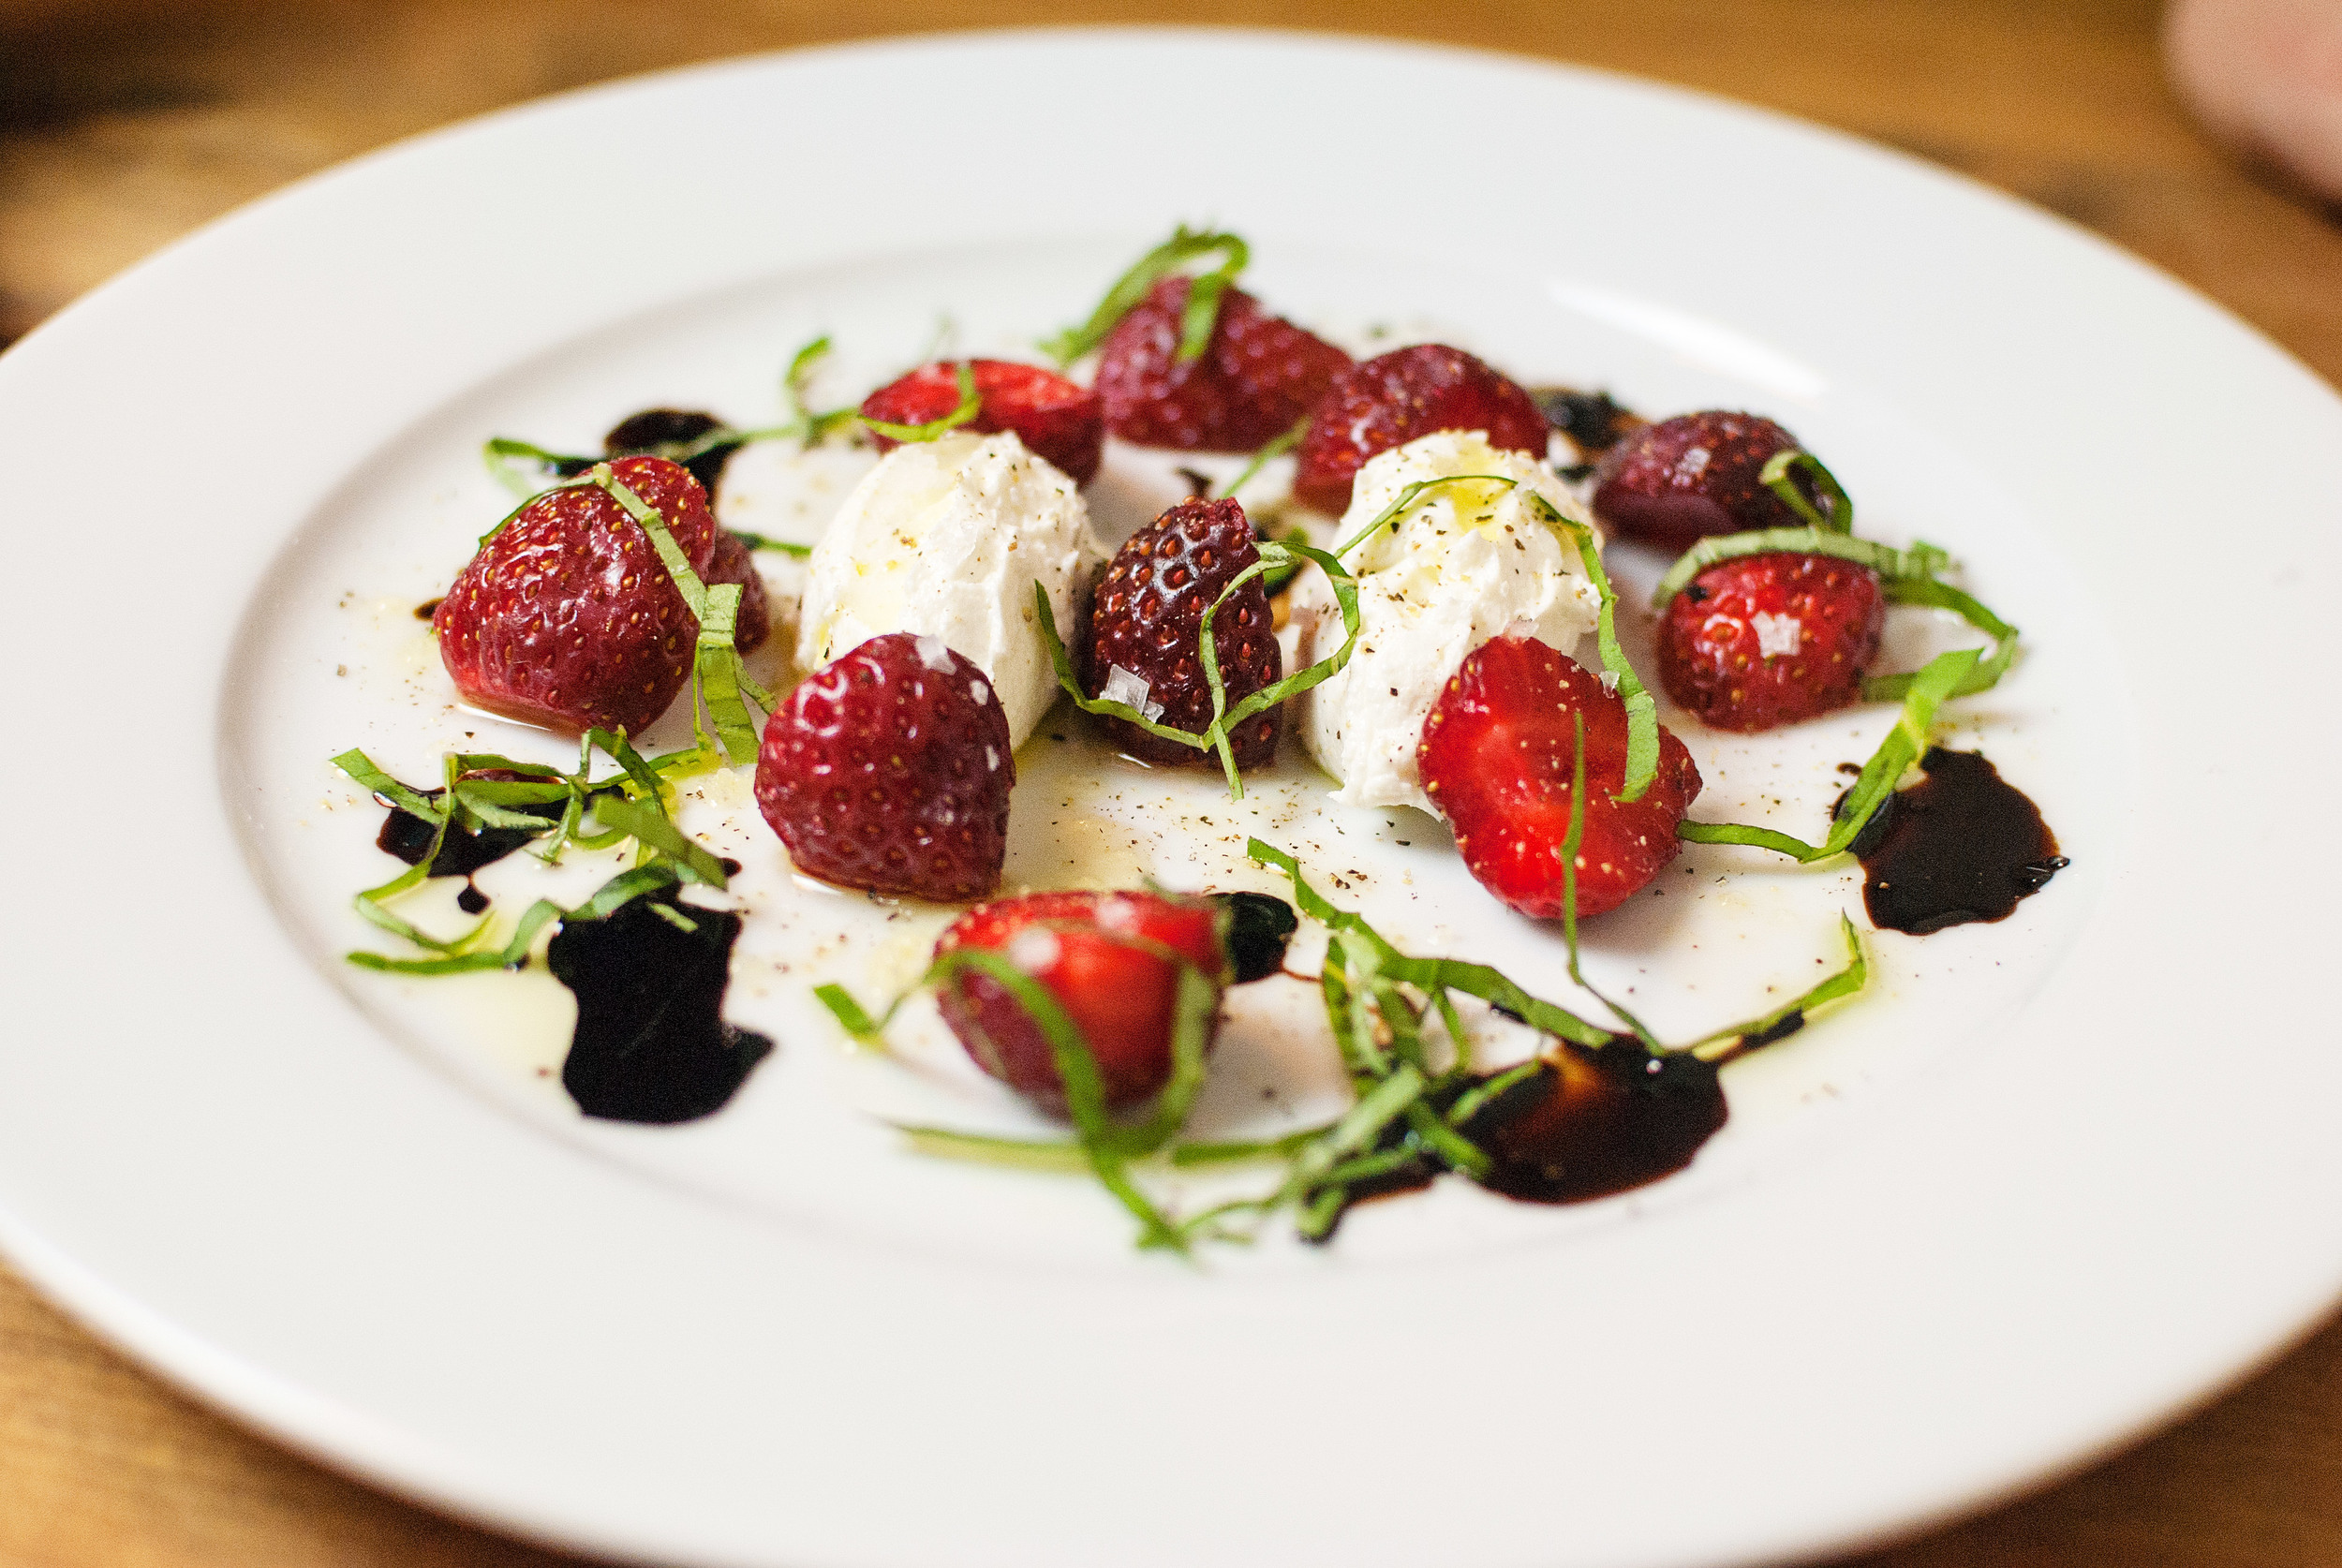
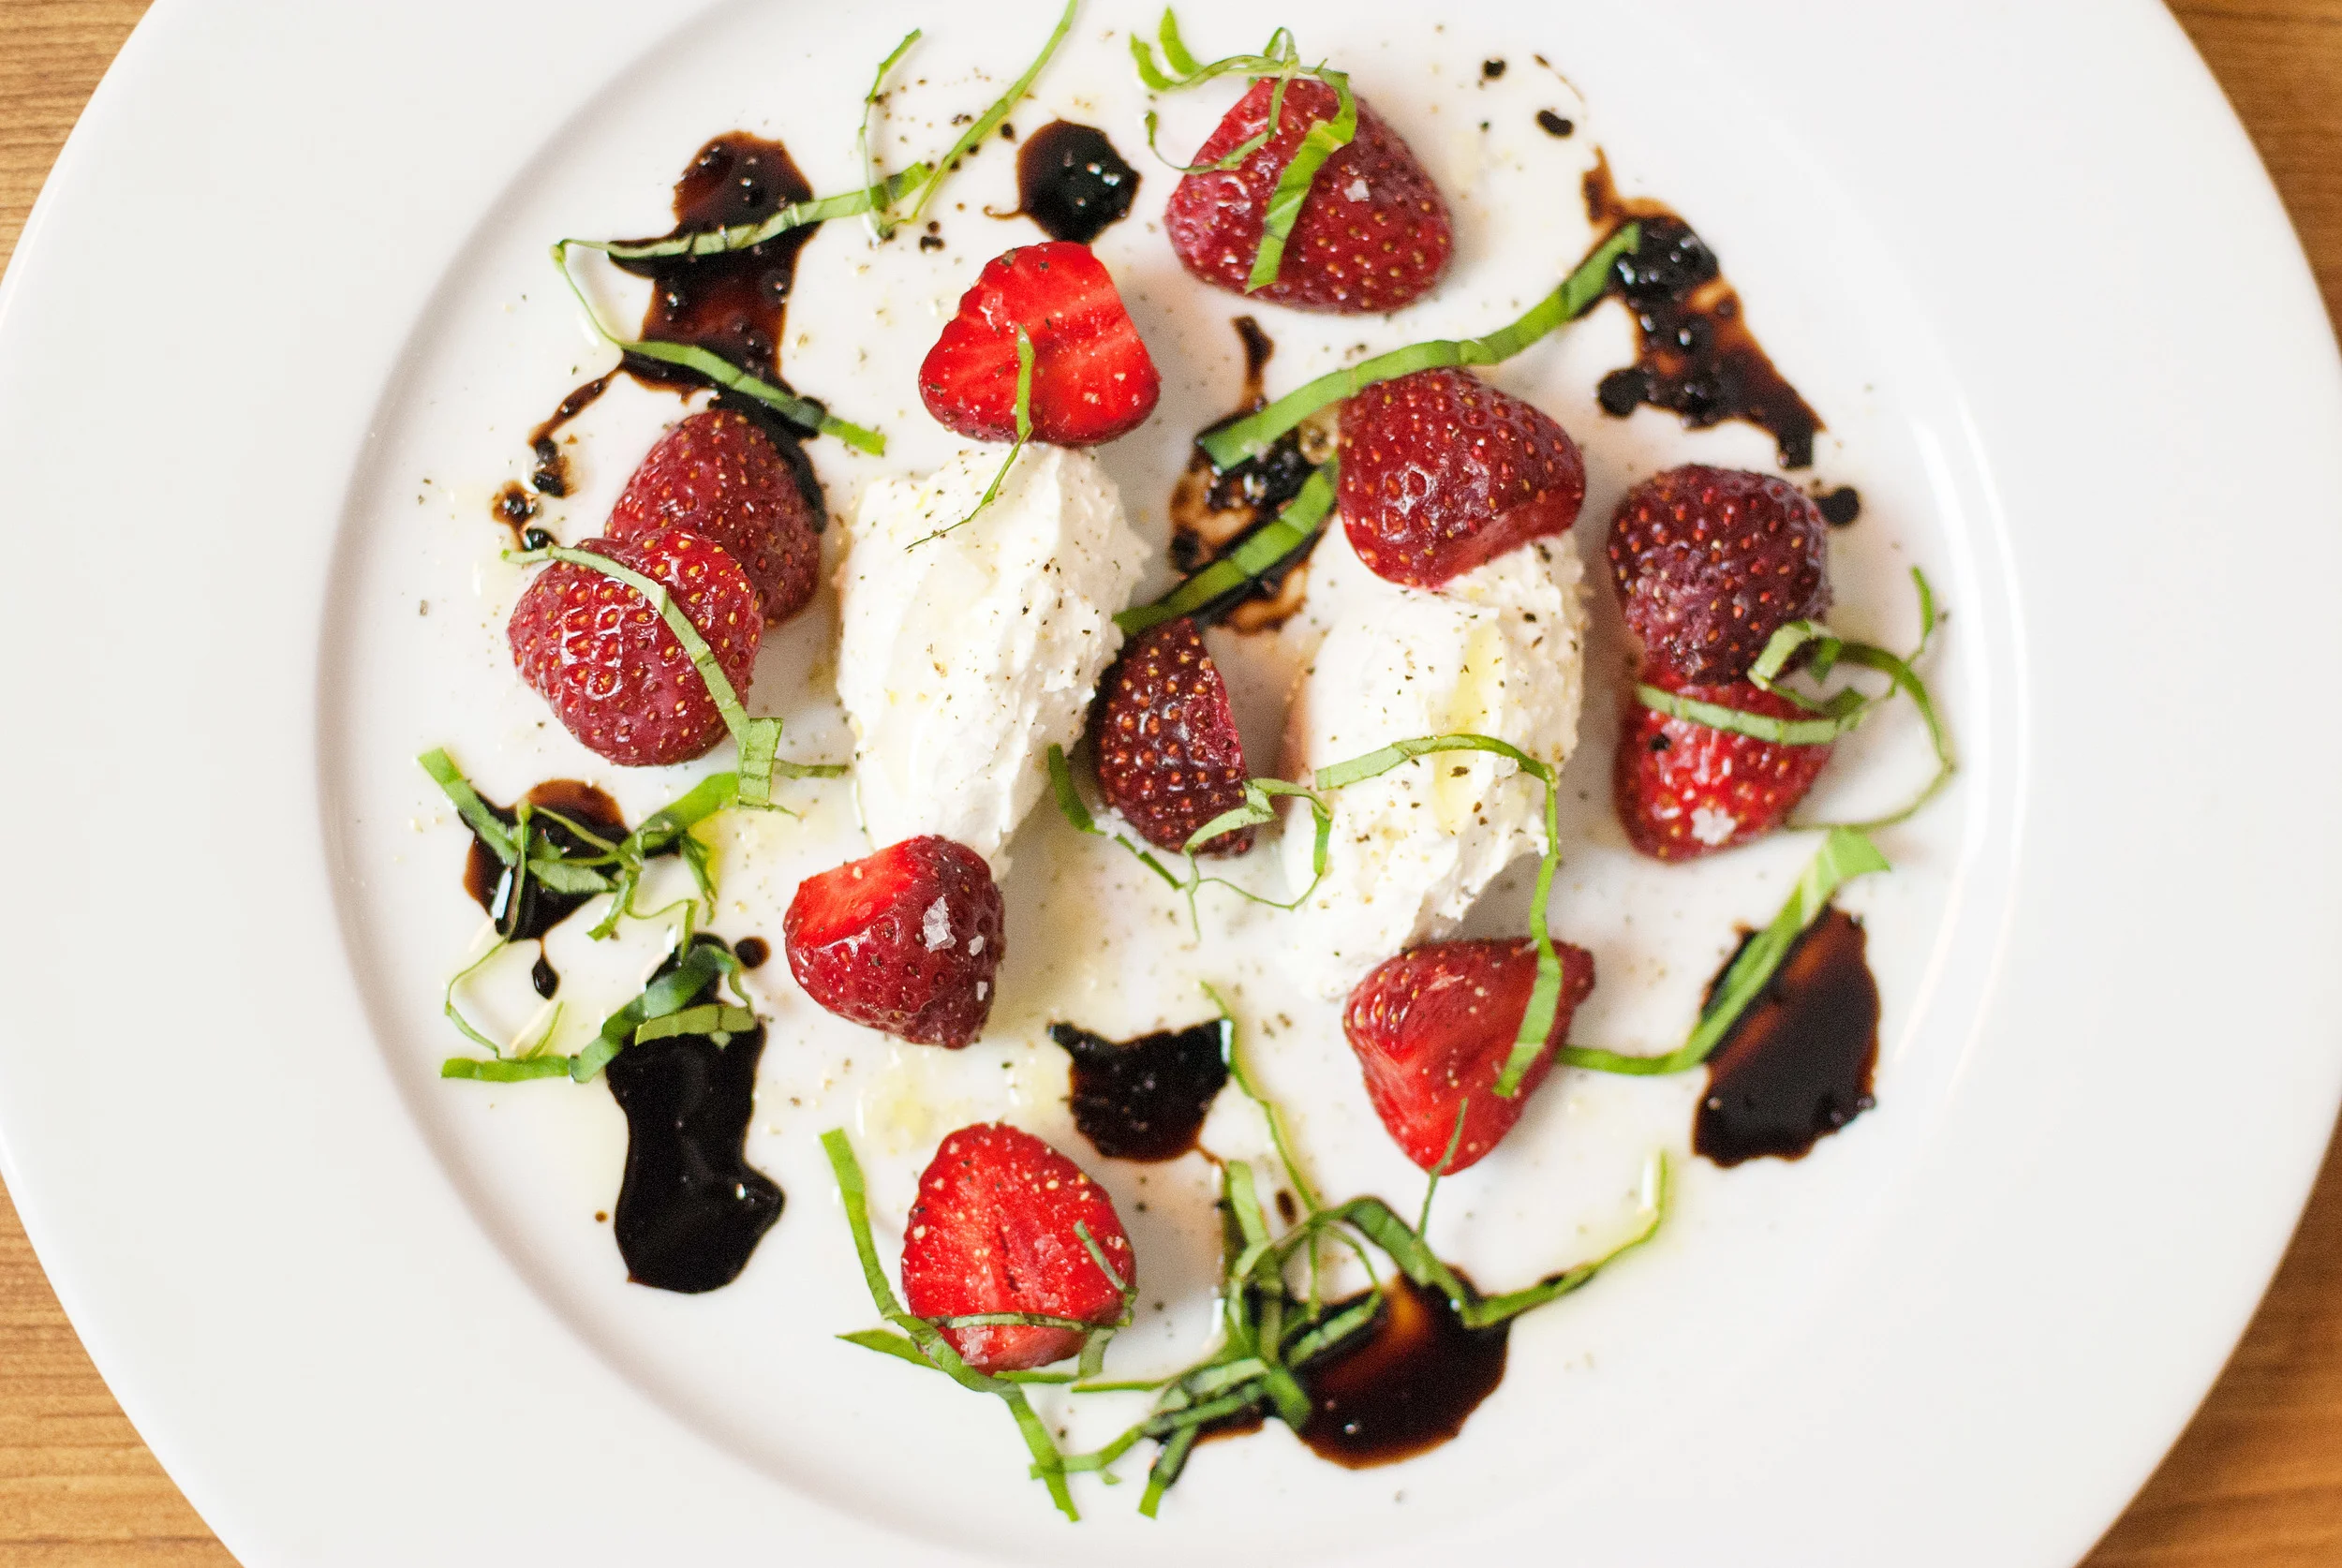
    We played with two ideas to make this: one tomato centric, one strawberry. Most of the inspiration came from caprese salad, but we opted to use whipped chèvre instead of fresh mozzarella to mimic strawberries and whipped cream. Complete with good olive oil and a thick but quick balsamic reduction, this thing left us speechless. If you play your cards right, it’s ready in five minutes.

    Now go get yourself some strawberries, damnit.

    • 4–6 achingly ripe strawberries, halved
      Note: We prefer smaller strawberries for this recipe, but if you can only find larger ones, use about 4 and quarter them instead of halving.
    • ¼ cup balsamic vinegar
    • 2 oz chèvre
    • 1 tsp. milk
    • 2–3 basil leaves, chopped
    • good olive oil
    • freshly cracked black pepper
    • sea salt

    In a small bowl, mash the chèvre with a fork until it becomes soft, then add the milk. Whip it as best you can until it resembles fluffy cream cheese. Set aside.

    In a small sauce pan on medium low heat, reduce the balsamic vinegar until it resembles a syrup. Remove from the heat and let it cool slightly. Not too long or it will be slow as molasses. (If it becomes too thick, just pour a splash more balsamic in and it should loosen it up a little bit). Set aside.


    strawberry-caprese-salad-04

    strawberry-caprese-salad-04

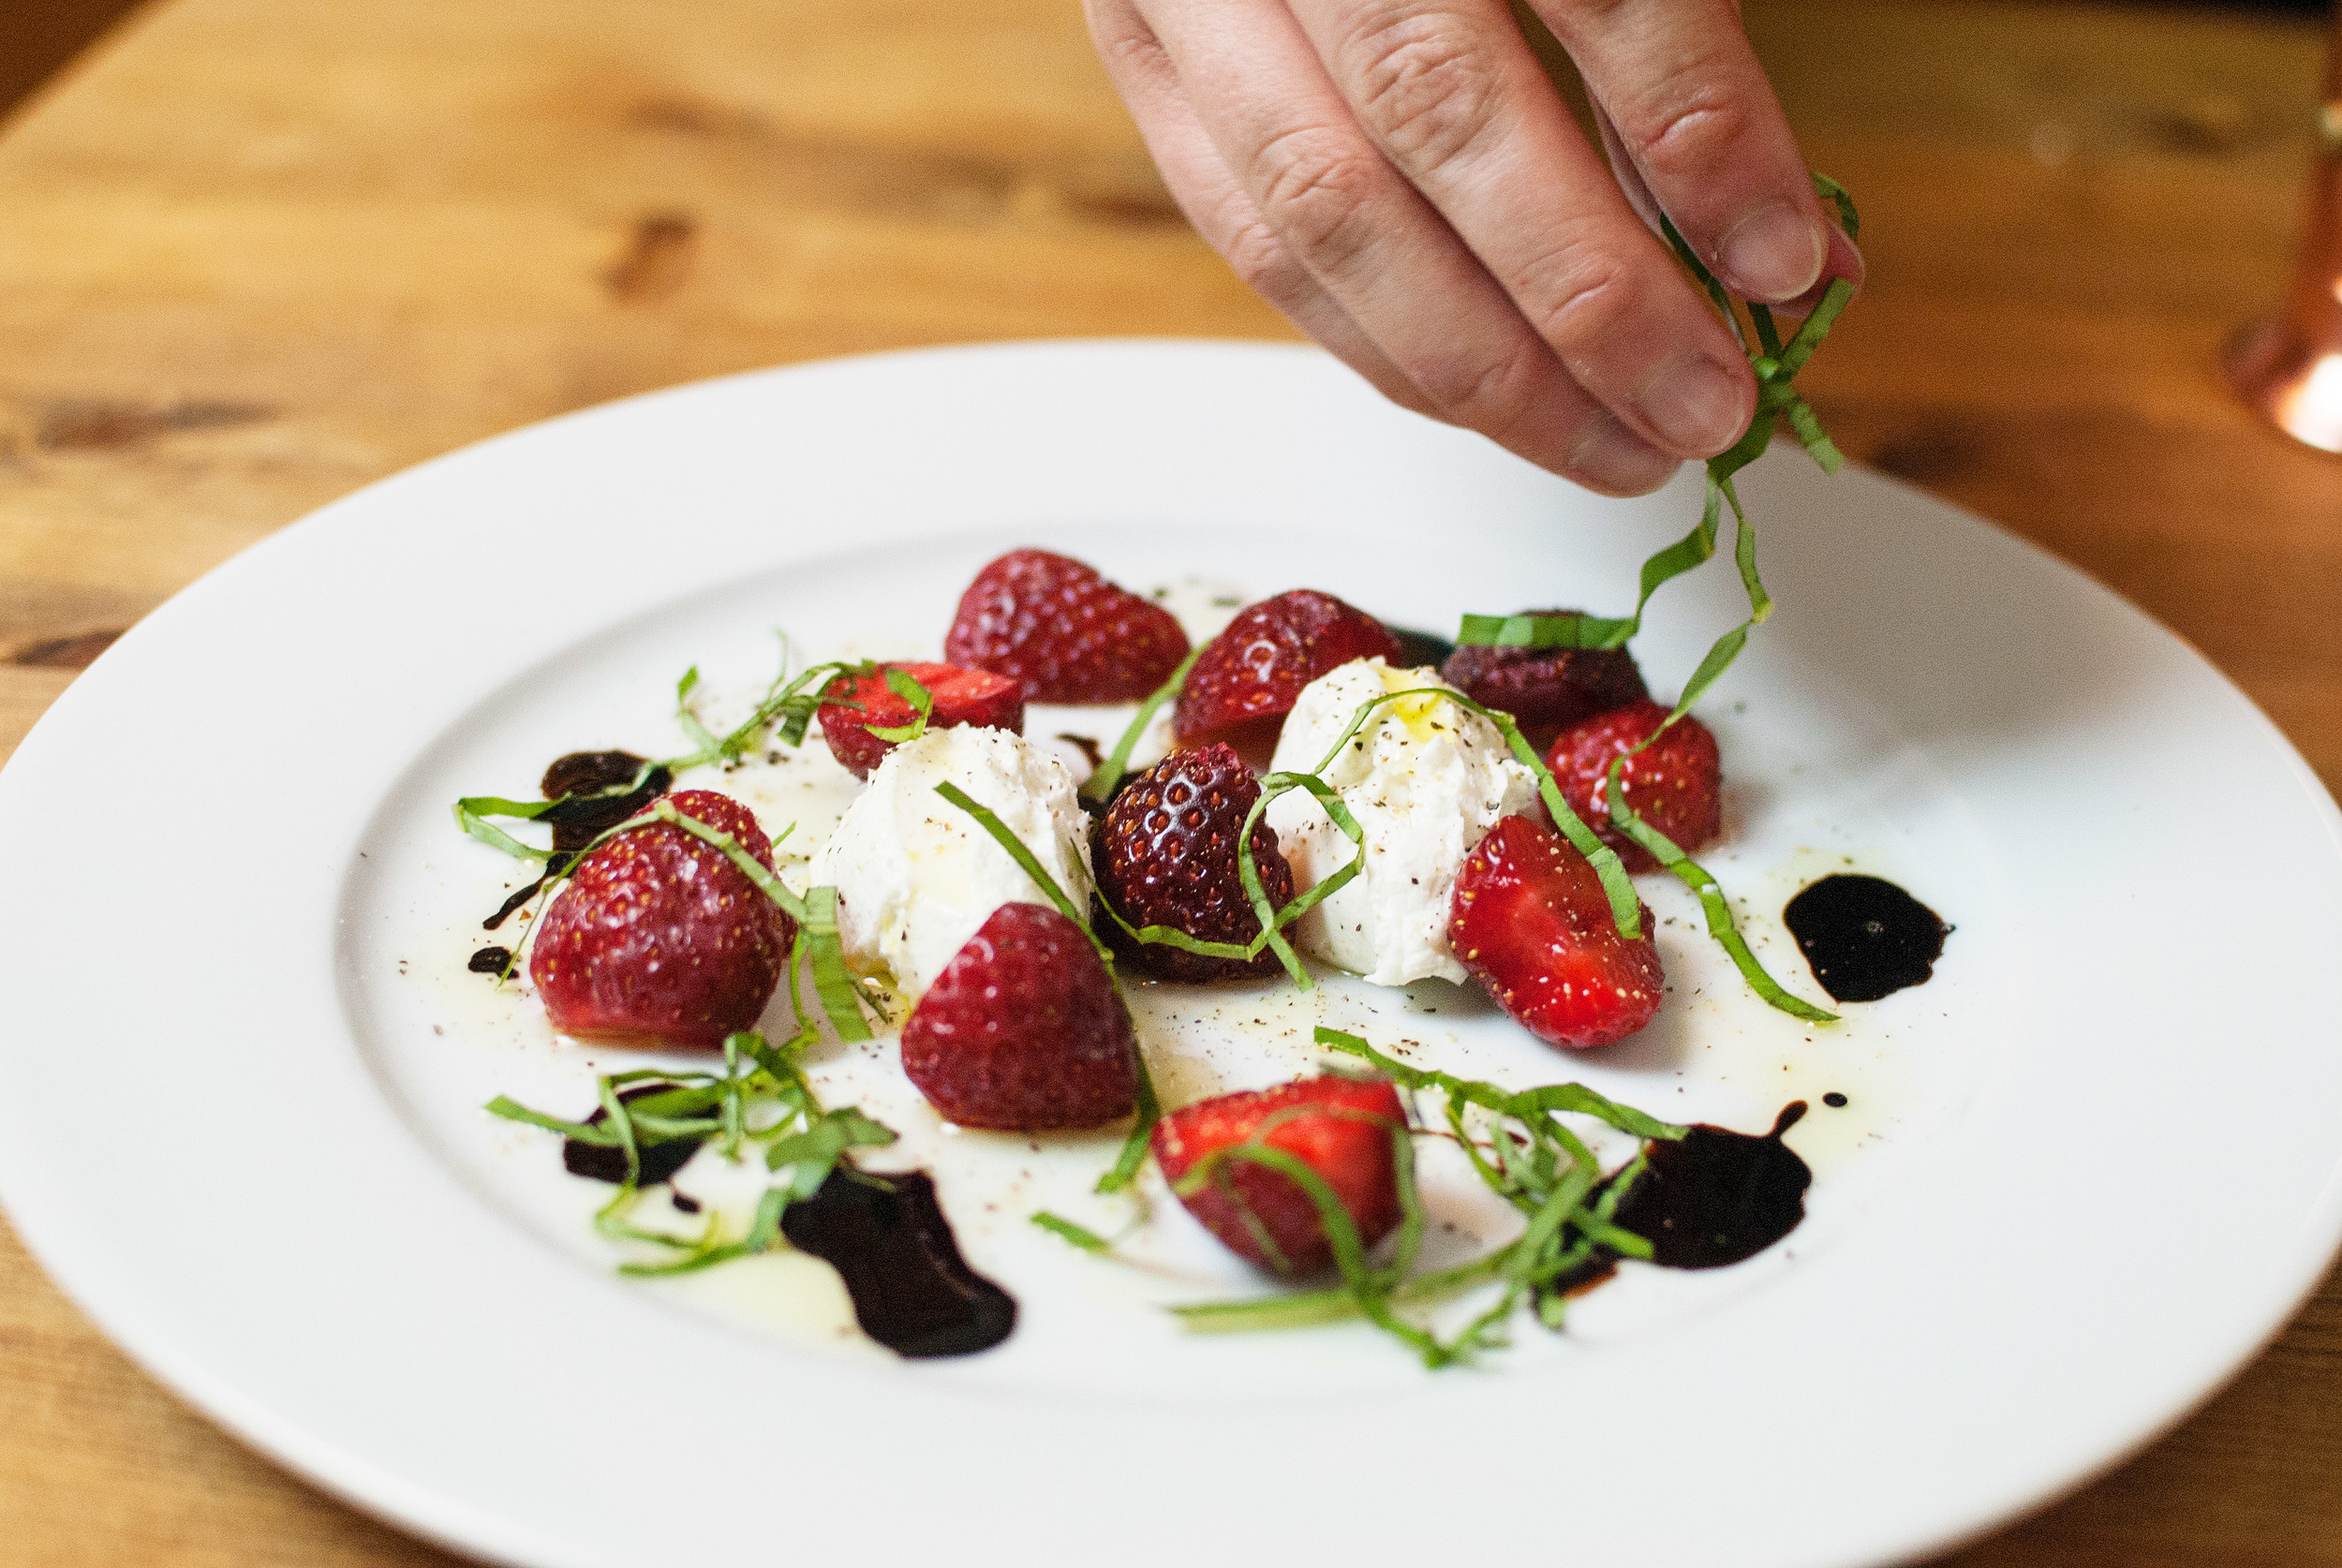
    Plate the chèvre, halved strawberries, and dot the plate with some balsamic reduction. Drizzle the plate with olive oil and finish with the chopped basil leaves, pepper, and sea salt.

    Serves 1–2


    strawberry-caprese-salad-03

    strawberry-caprese-salad-03

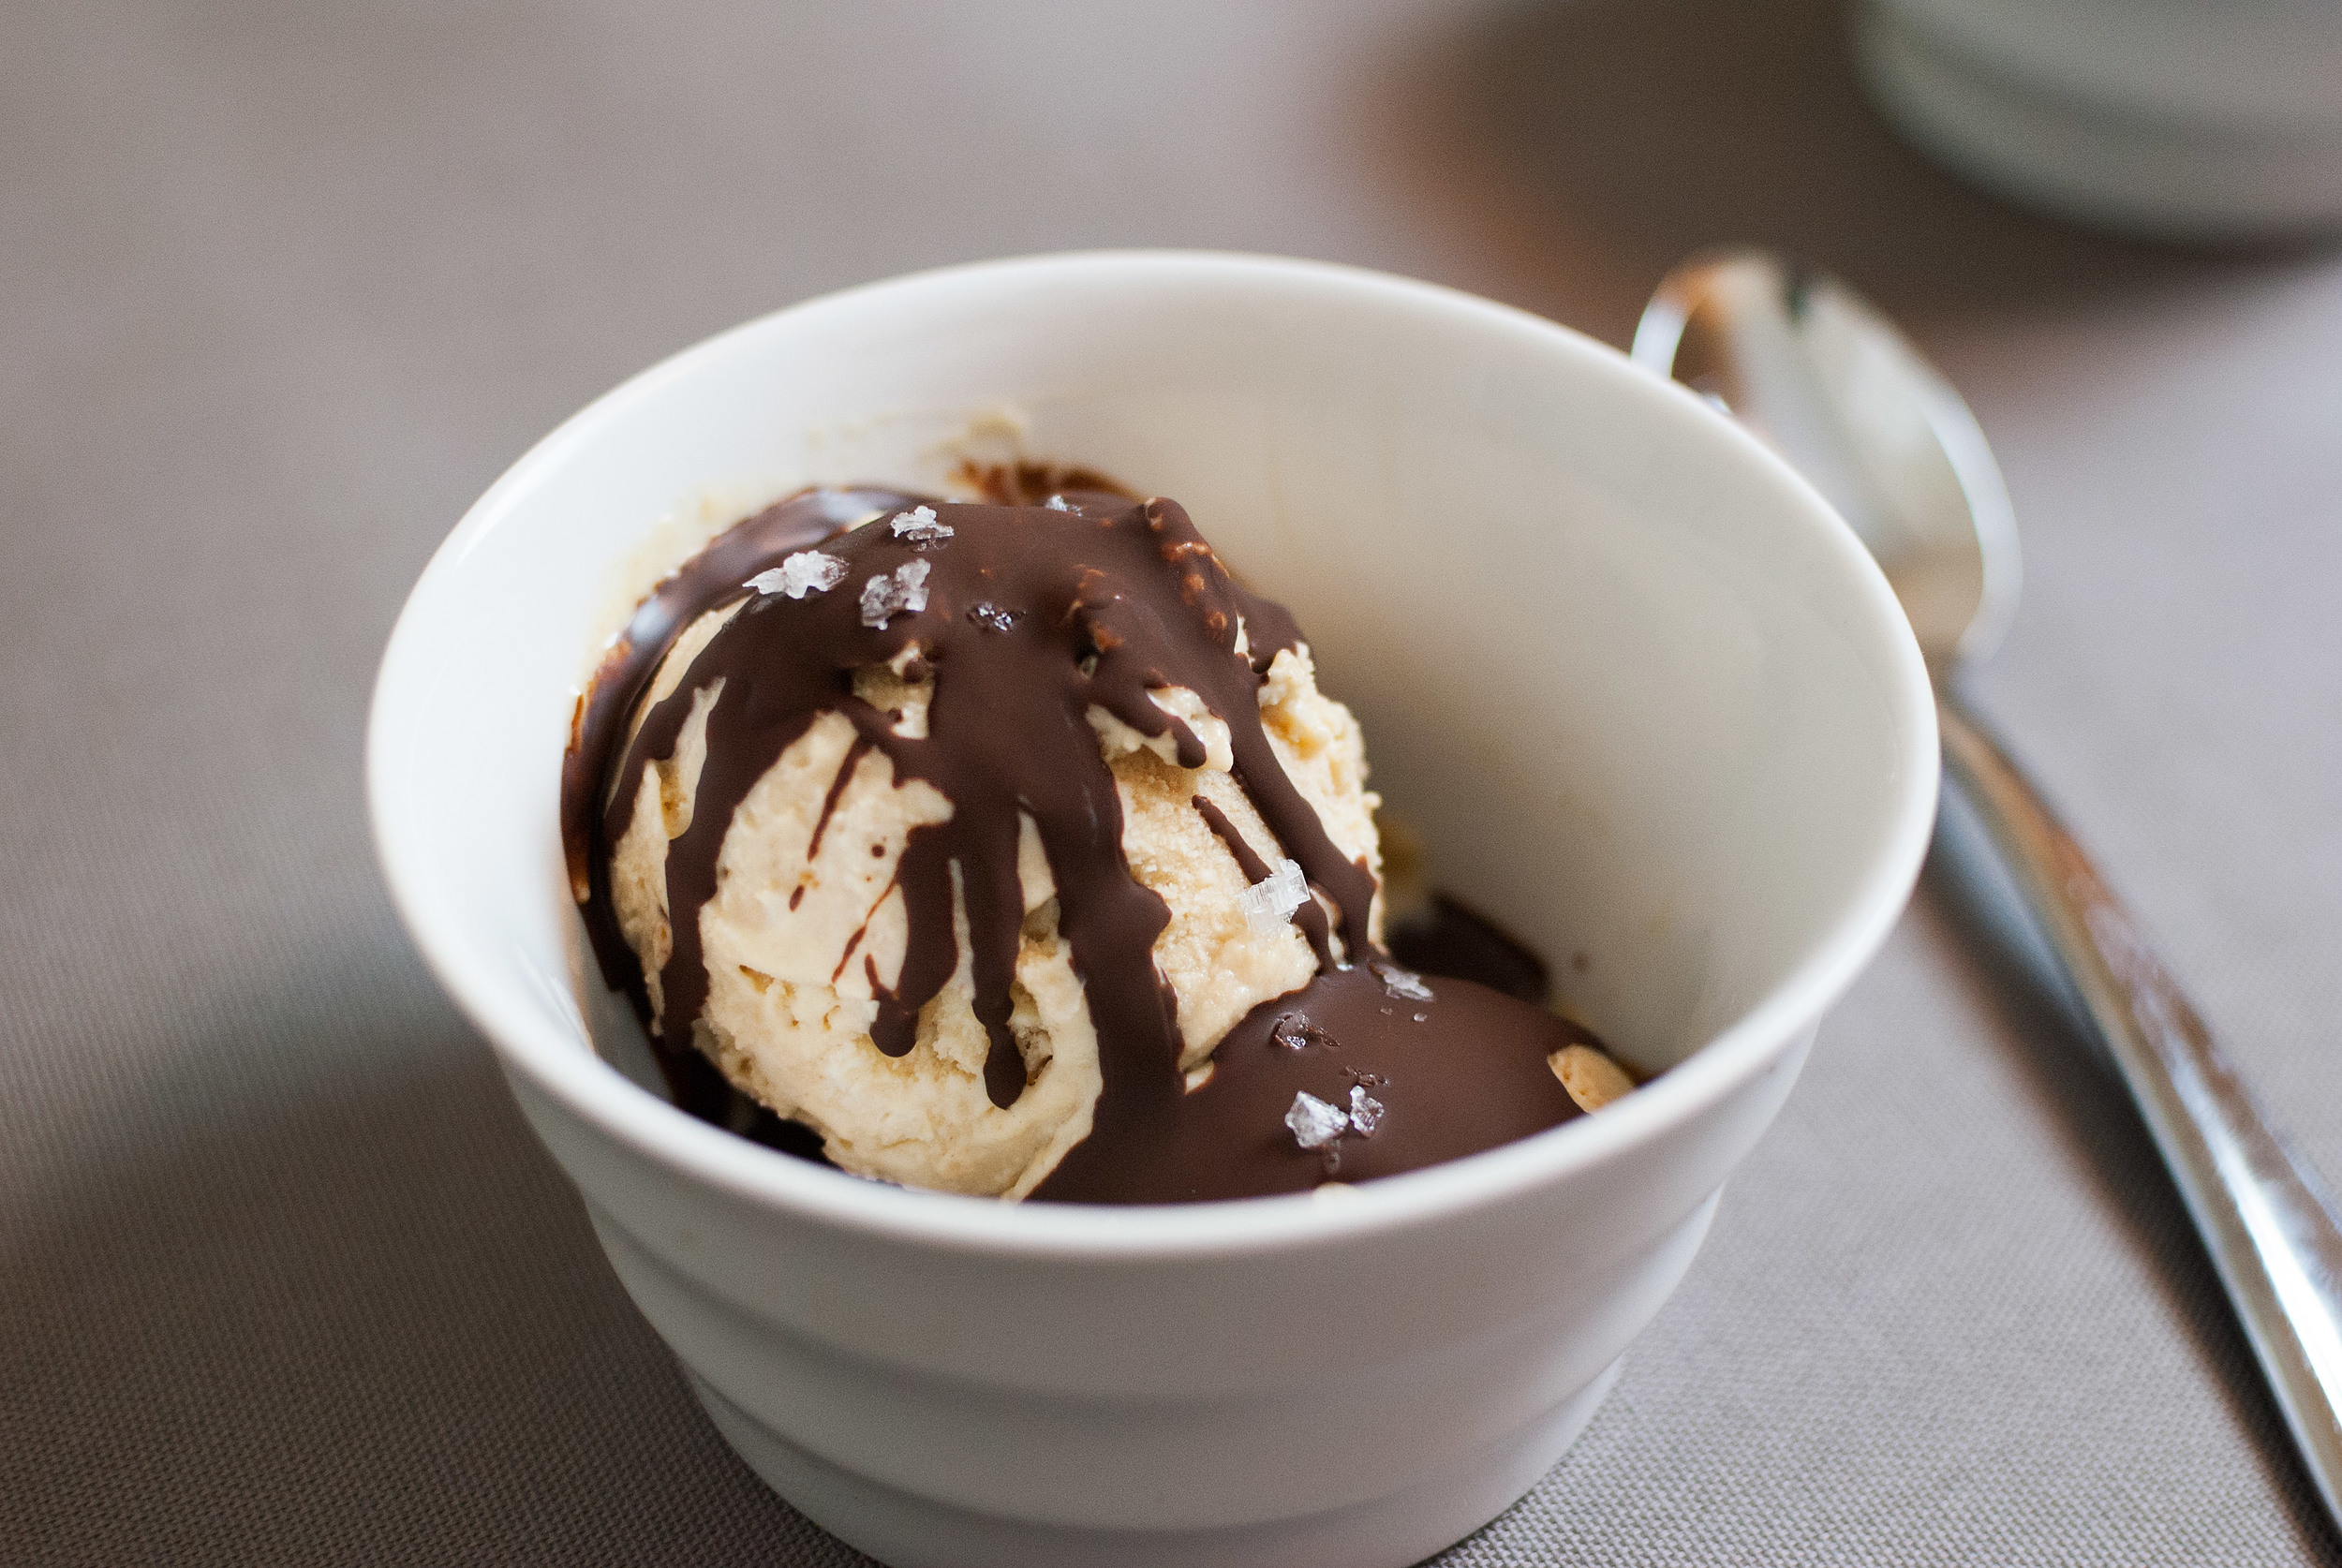
  • Salty Peanut Butter Sundae


    peanut-butter-ice-cream-07.jpg

    WARNING: Do not make this recipe. If you make ice cream and realize how ridiculously easy it is to make, you won’t stop. We certainly haven’t.
    That said, we love us some peanut butter. There was this time where we were eating only low-fat protein and veggies, and on a whim we ate a spoonful of natural peanut butter (salted, of course). The experience, when we hadn’t had a lot of fat for a while, was religious. The complexity of this everyday staple has led us to experiment with different formulations of the legume paste in ice cream.


    peanut-butter-ice-cream-03

    peanut-butter-ice-cream-03

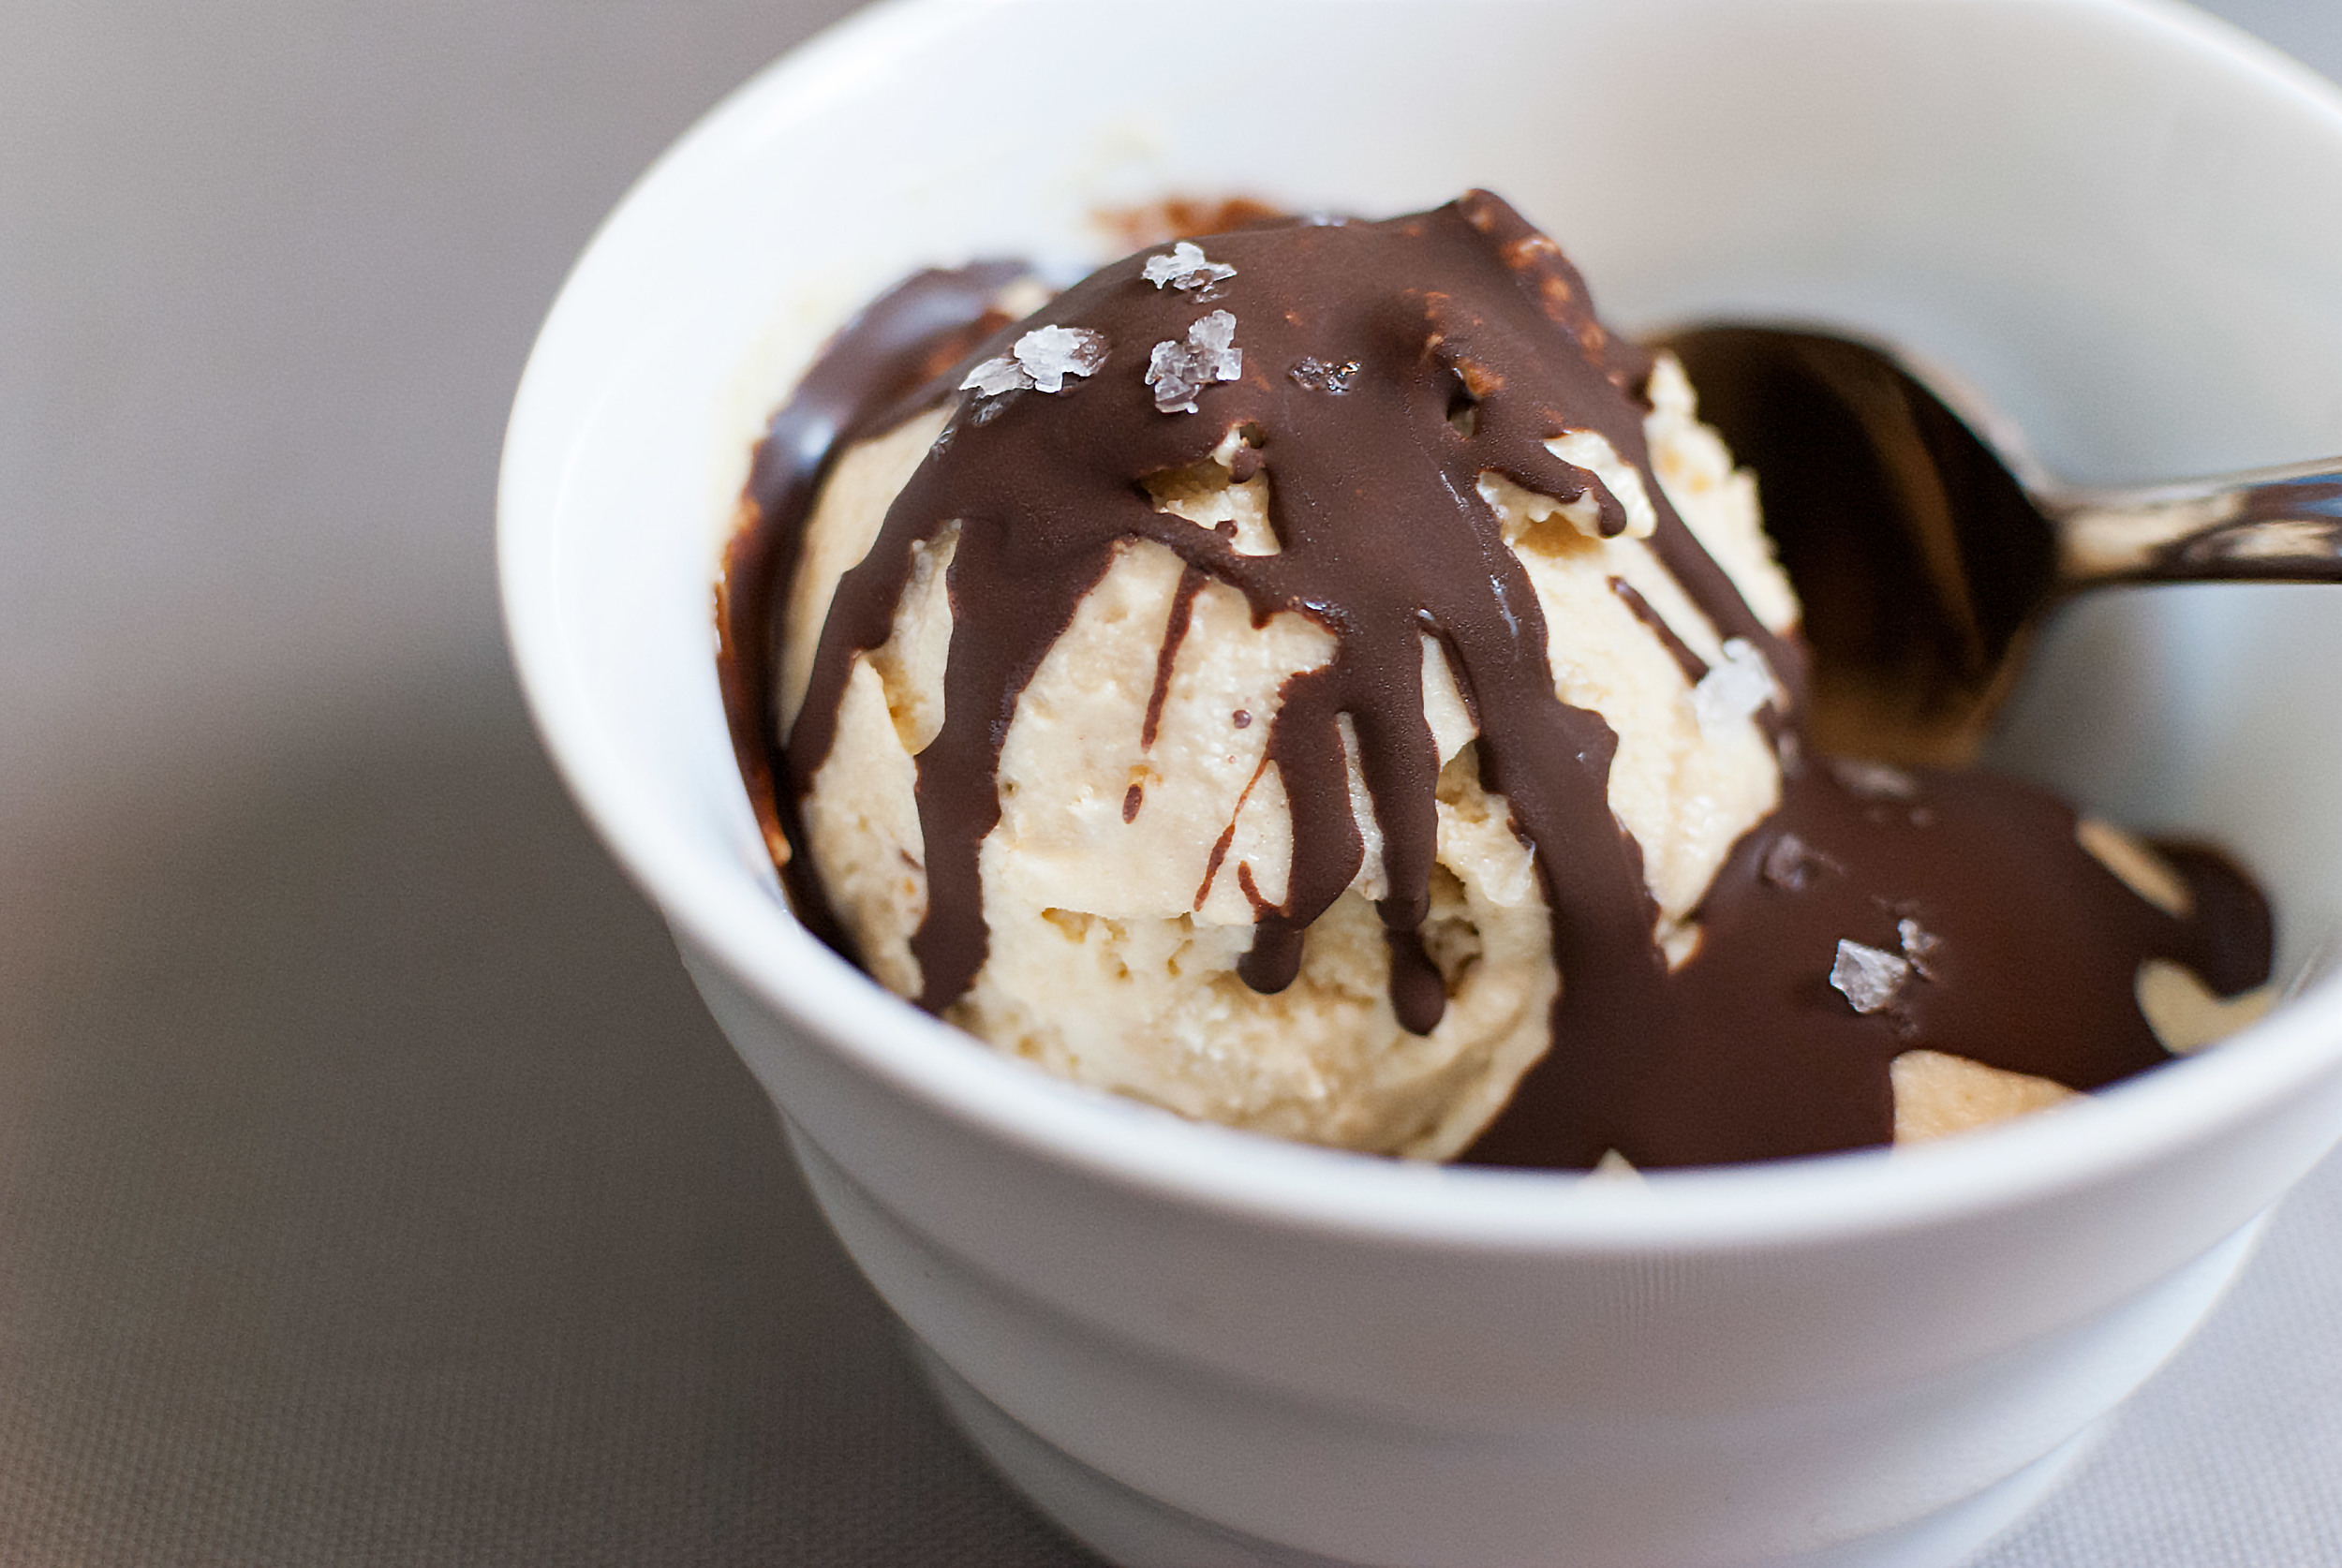
    Eventually, we settled on a less-sweet version of the ice cream, preferring the sweetness to come from the add-ins. The added twist of extra salt gives it that extra savory oomph to sate our salty-tooth tastes. This version has Heath toffee chunks swirled in (we found these next to the chocolate chips), though we have experimented with chocolate bits and peanut butter cup pieces, both of which are delicious. And to make it all the more us, we covered it in a crispy dark chocolate shell that adds a distinct bitterness to this rich and creamy dessert.

    • 2 cups whipping cream (not heavy)
    • 1¼ cups milk
    • ½ cup granulated sugar
    • 1 heaping cup peanut butter
    • 2 tsp. good quality vanilla extract
    • 1 heaping teaspoon good sea salt
    • ½ cup Heath bits o’ brickle toffee pieces

    Dark chocolate shell

    • 2.5 oz. dark chocolate chips
    • ¼ cup coconut oil

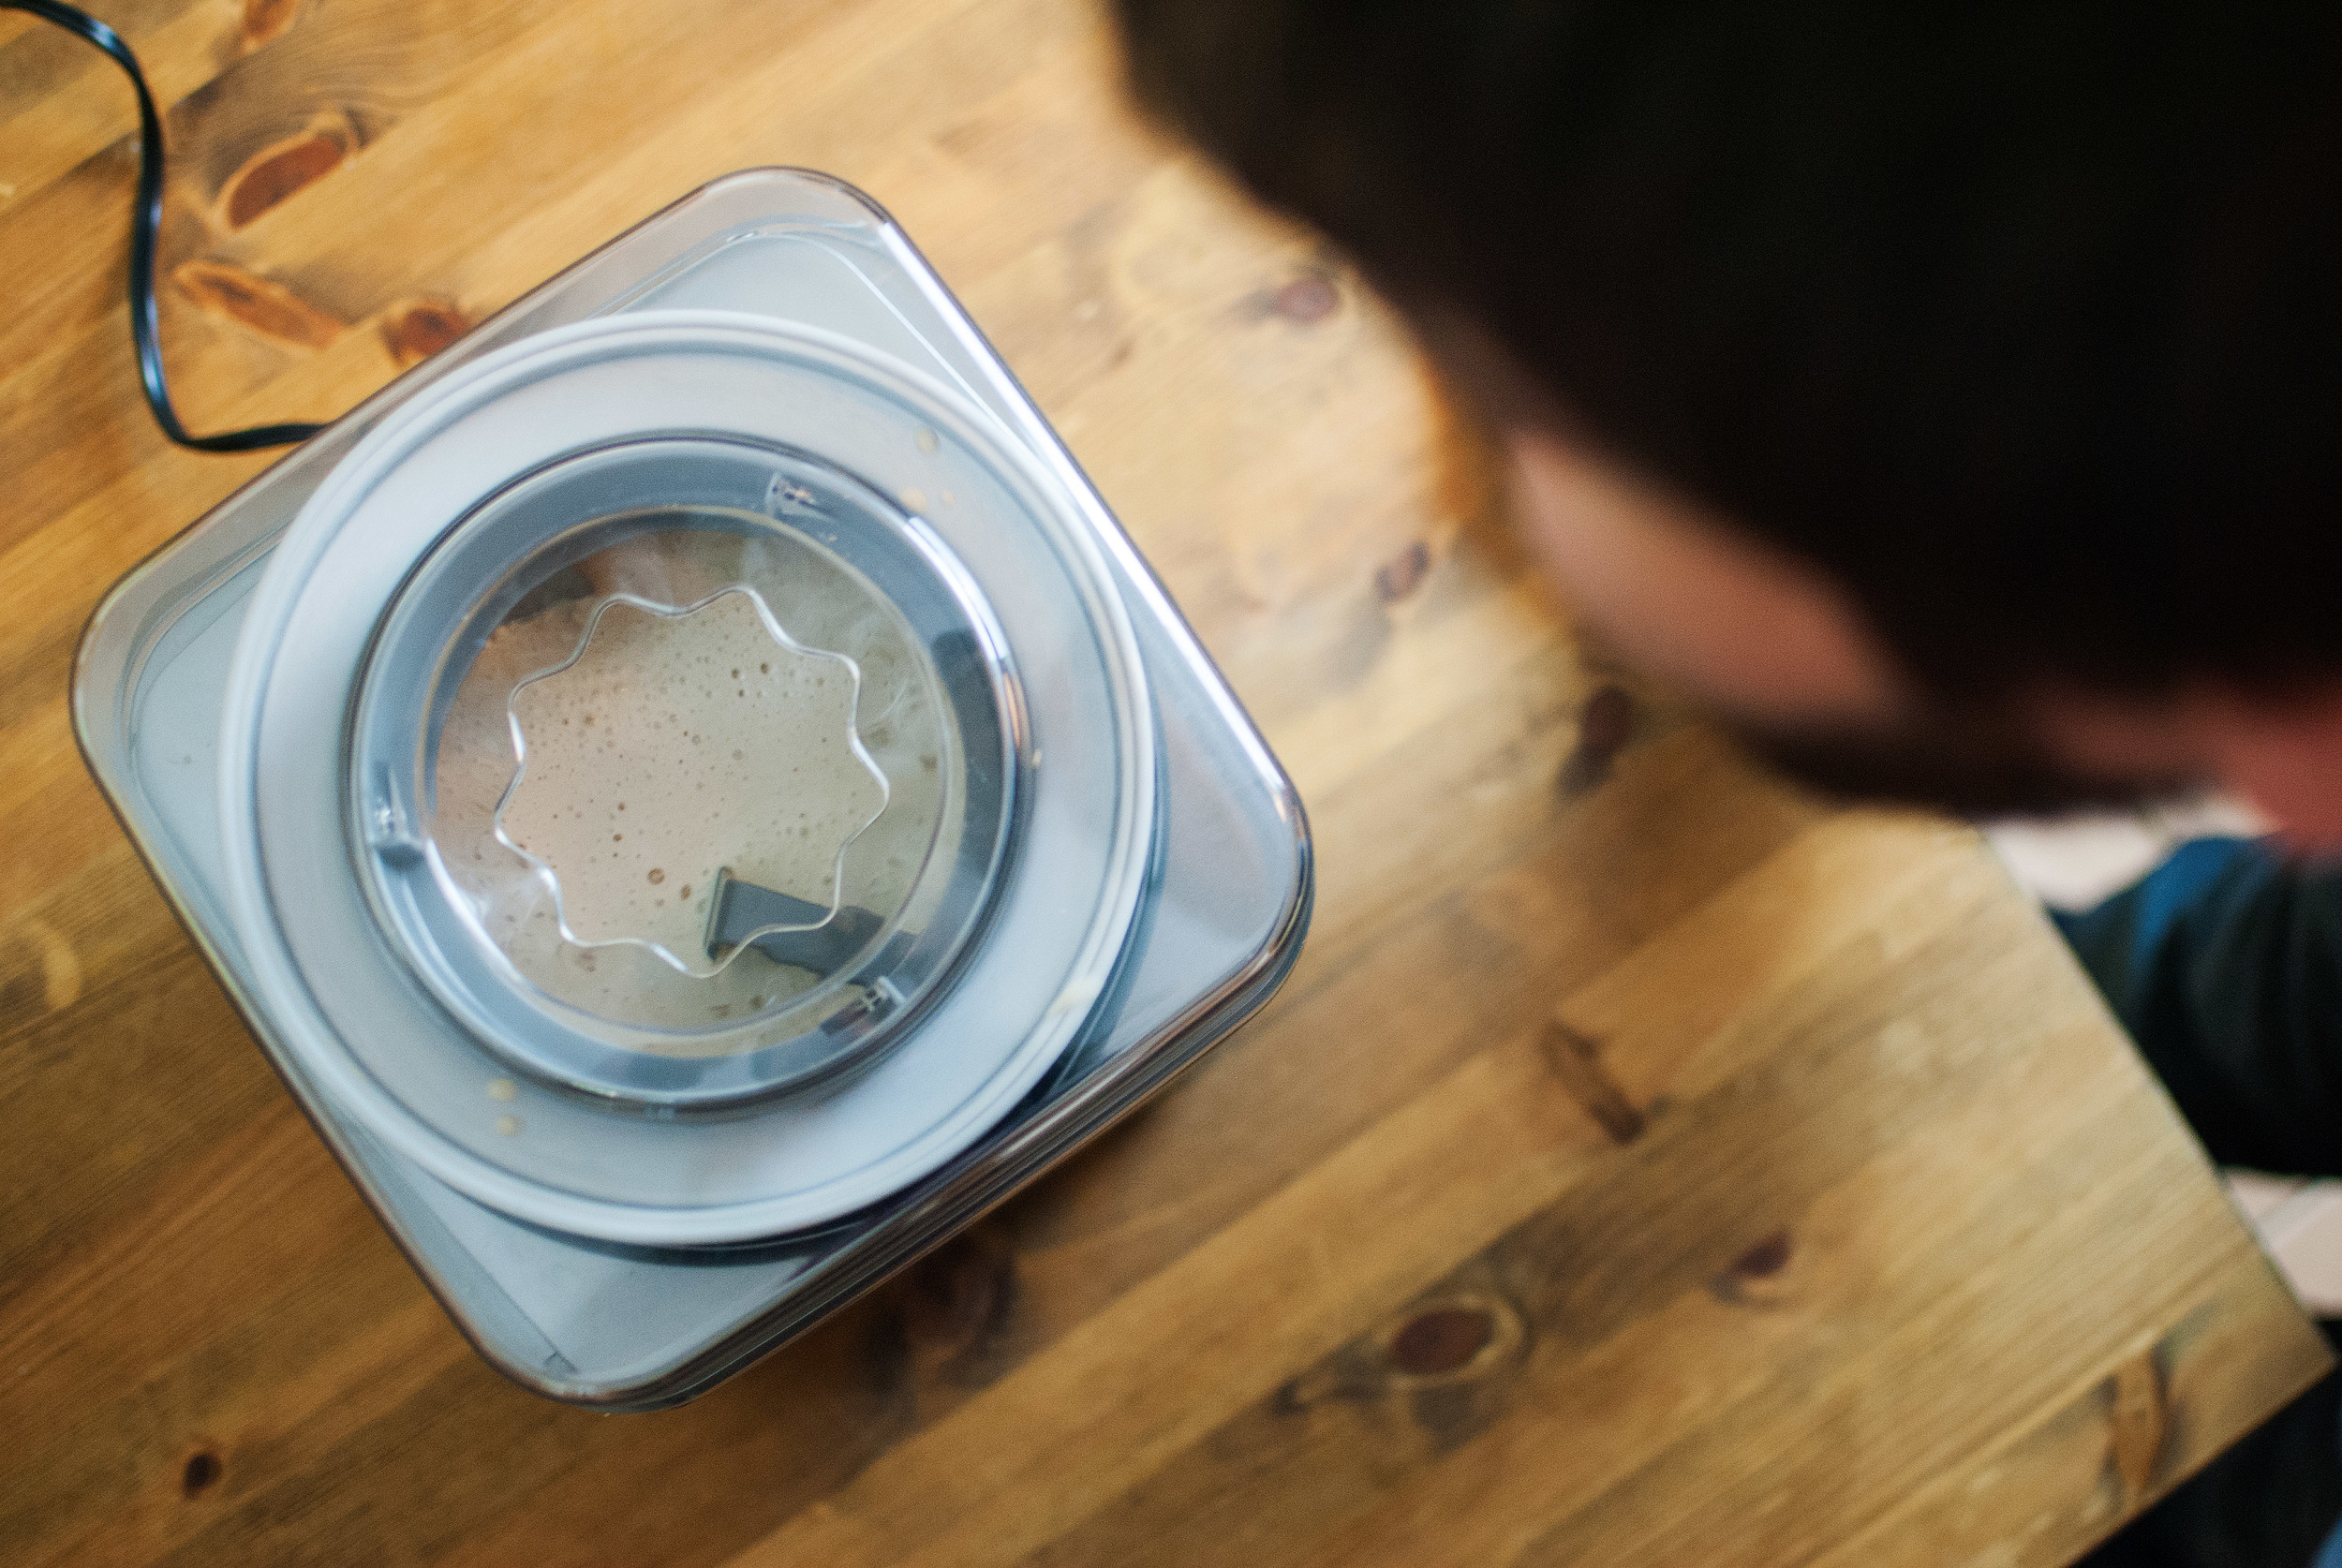
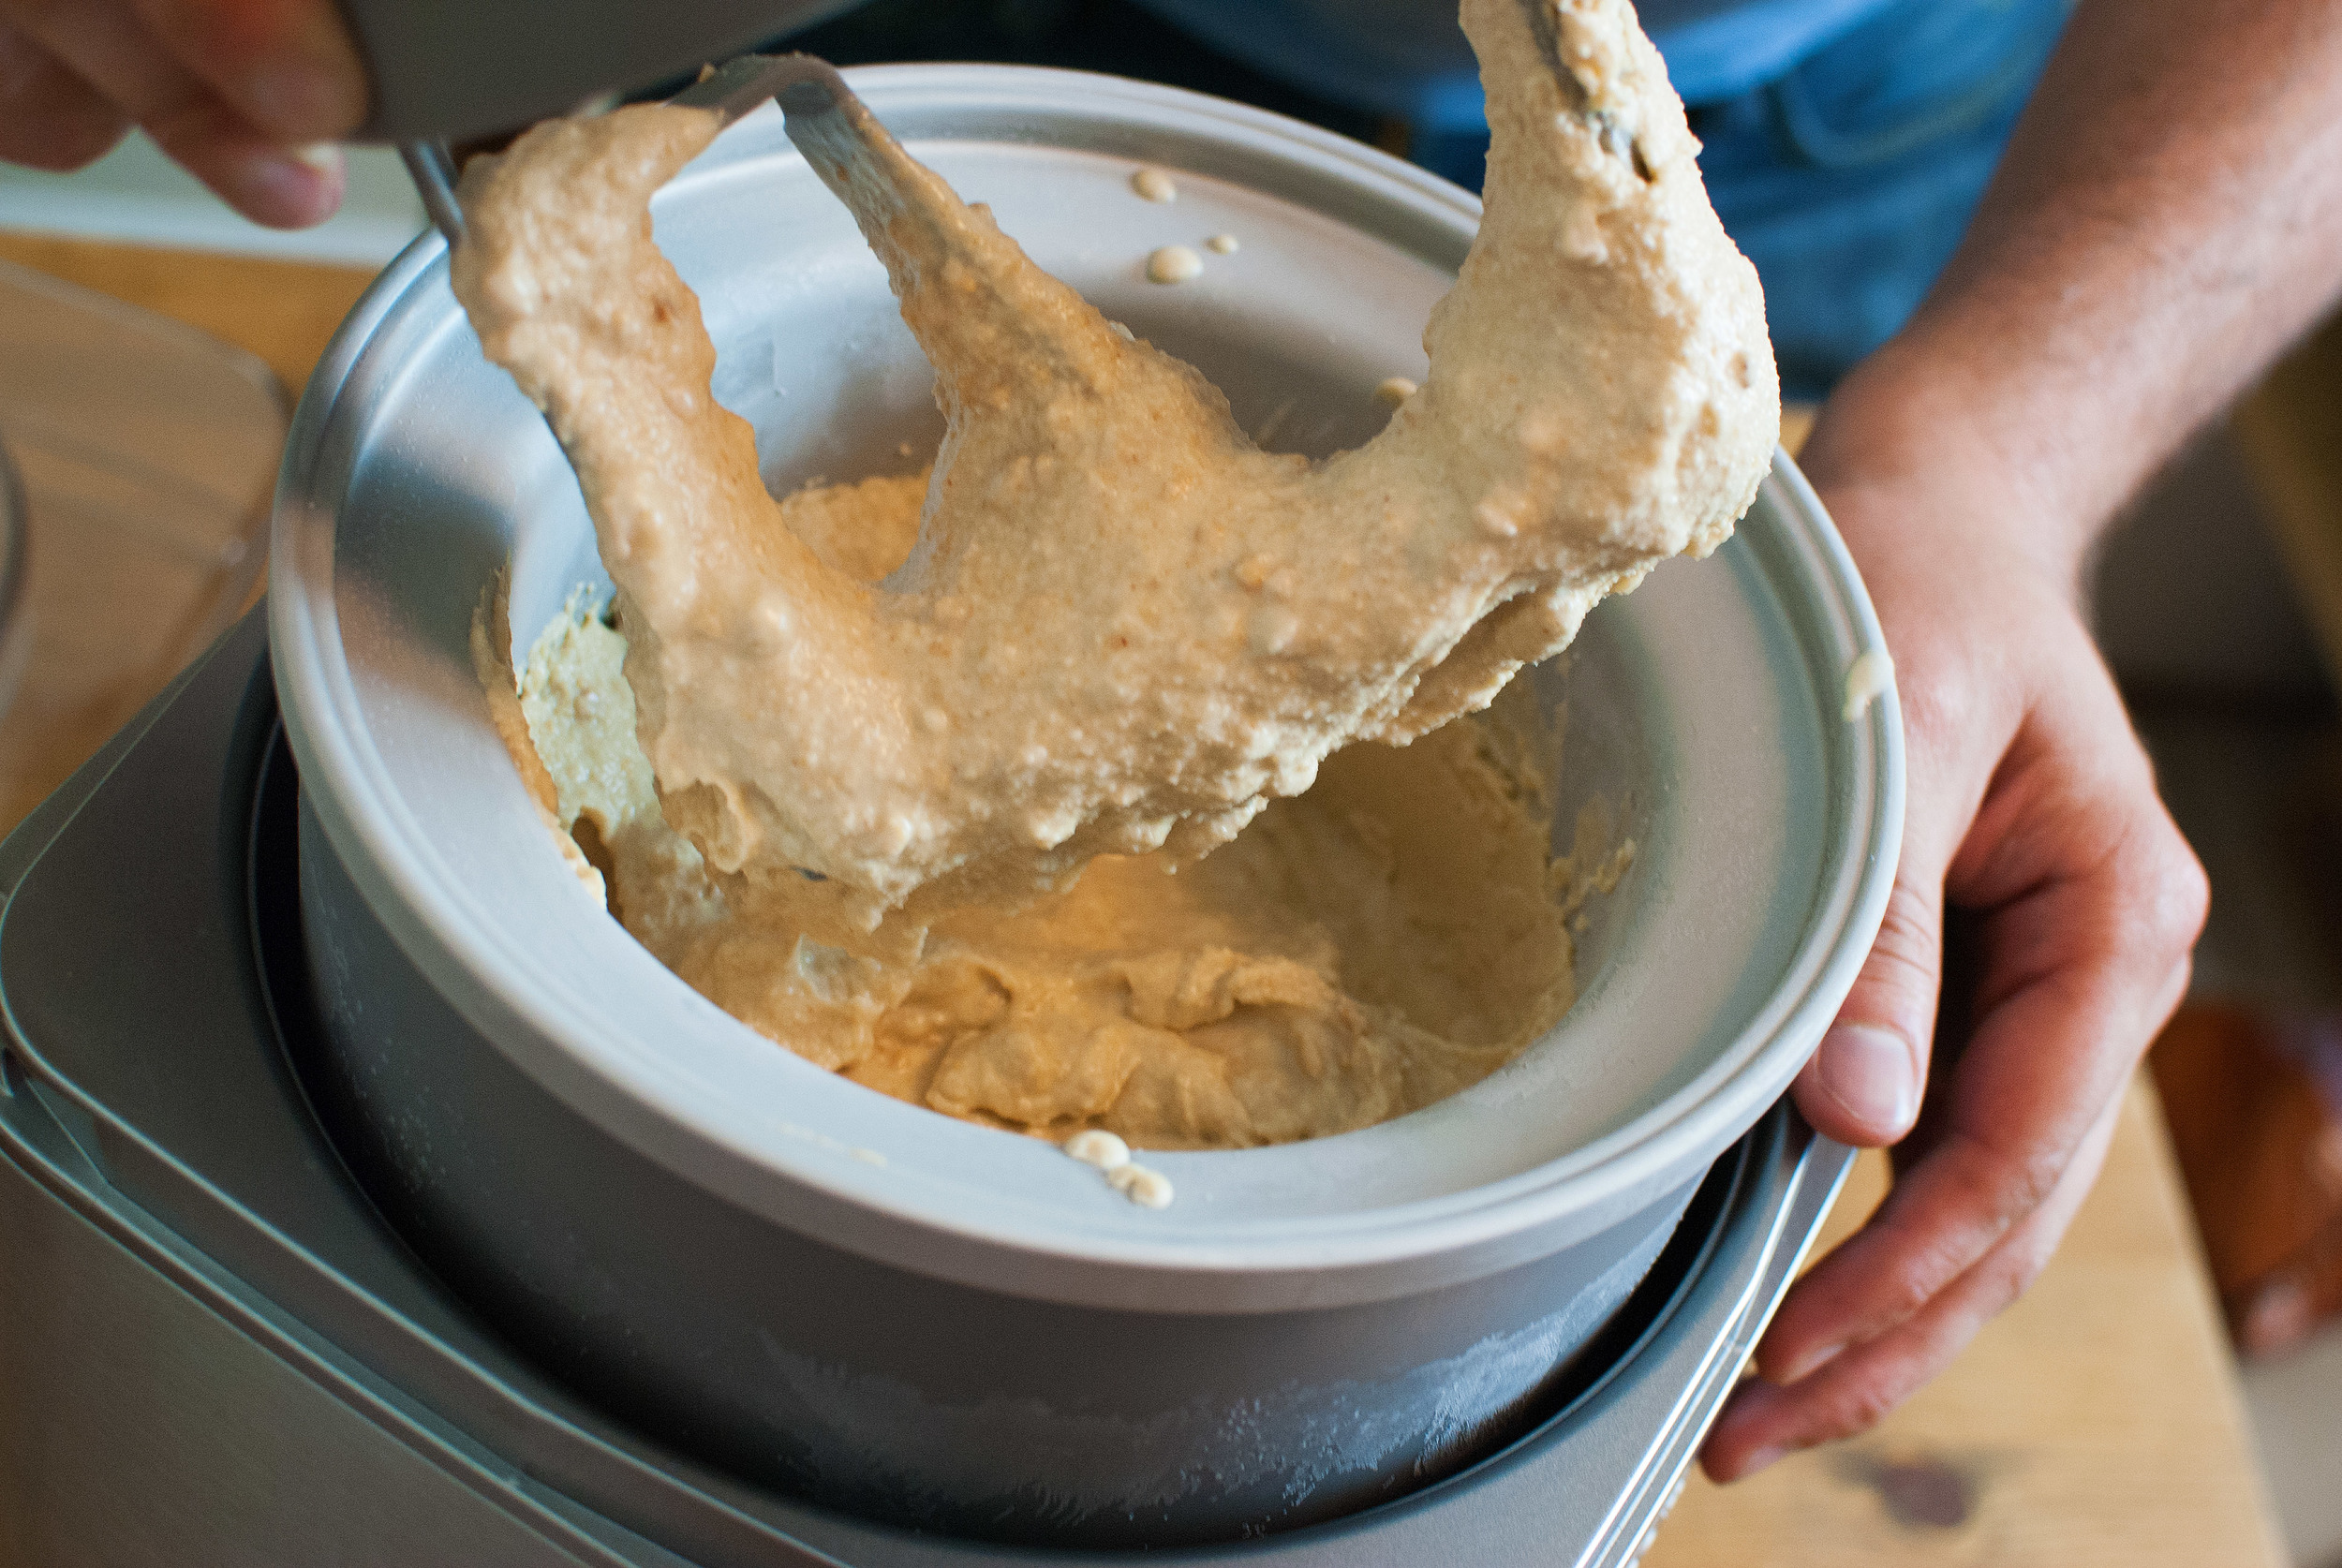
    In a medium bowl, whisk together peanut butter and sugar until sugar is completely dissolved, about 1–2 minutes. Add cream and vanilla extract and stir until mixed. Add milk and salt, and continue stirring until it is completely incorporated.


    peanut-butter-ice-cream-04

    peanut-butter-ice-cream-04

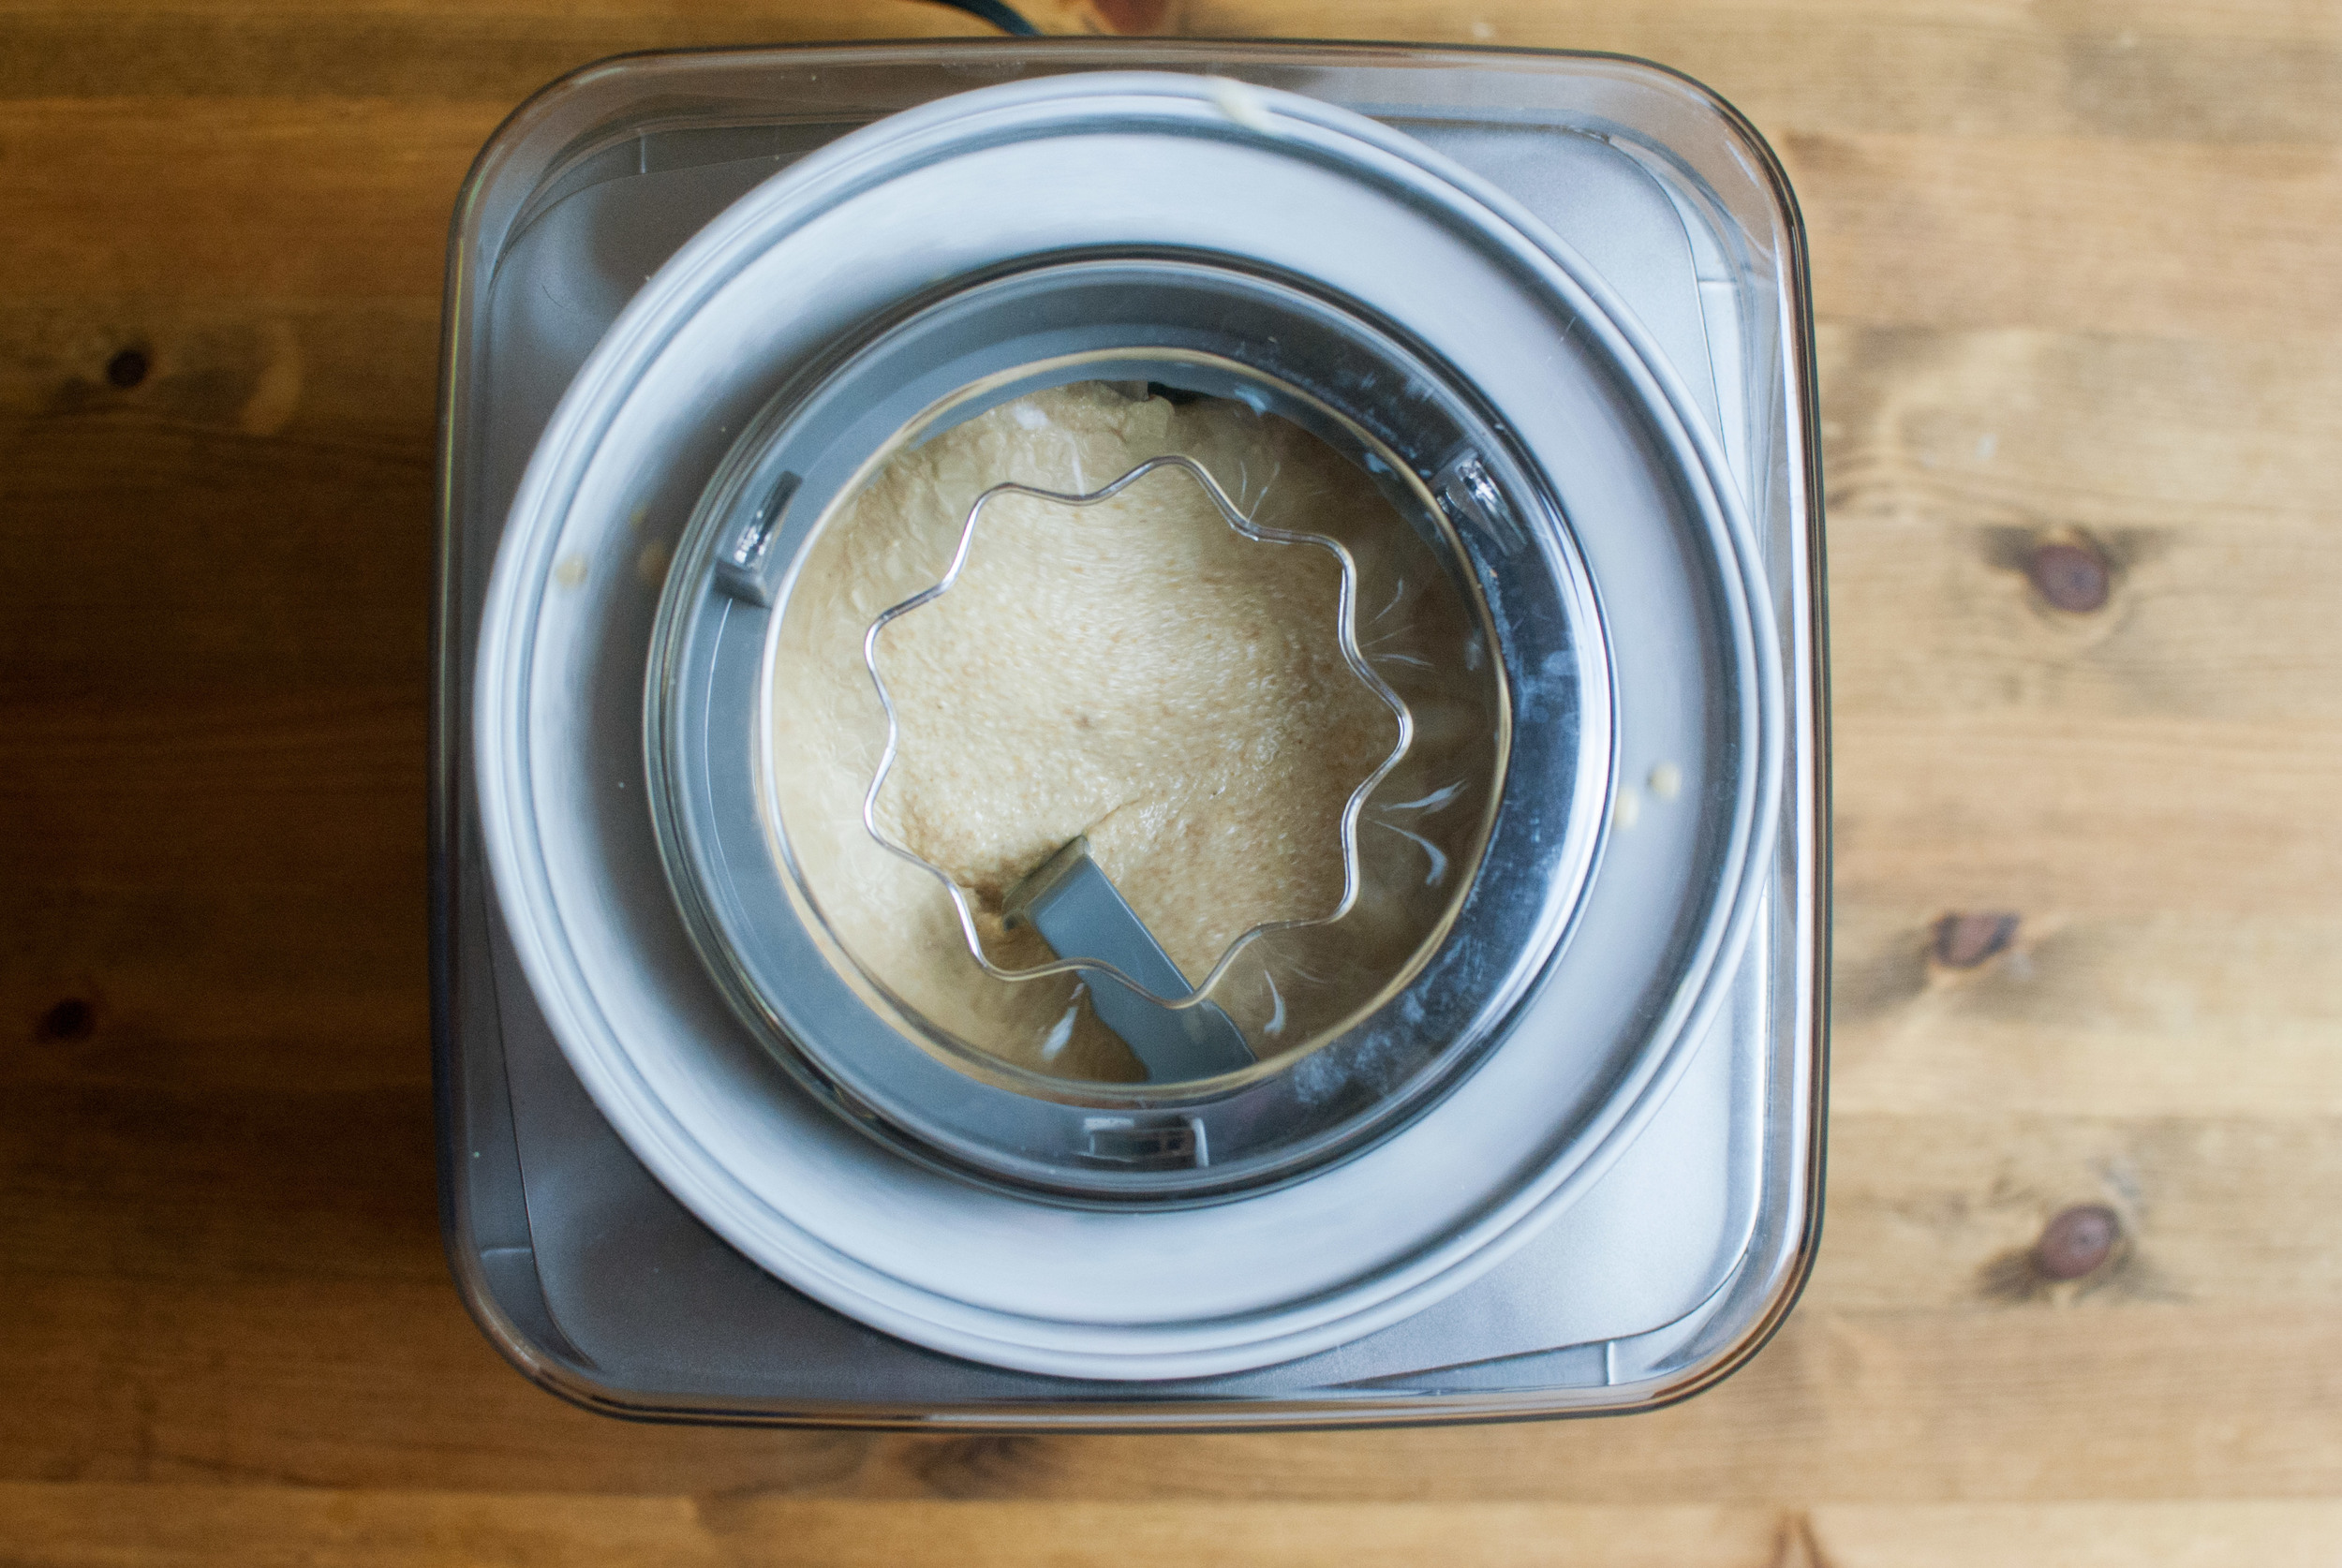
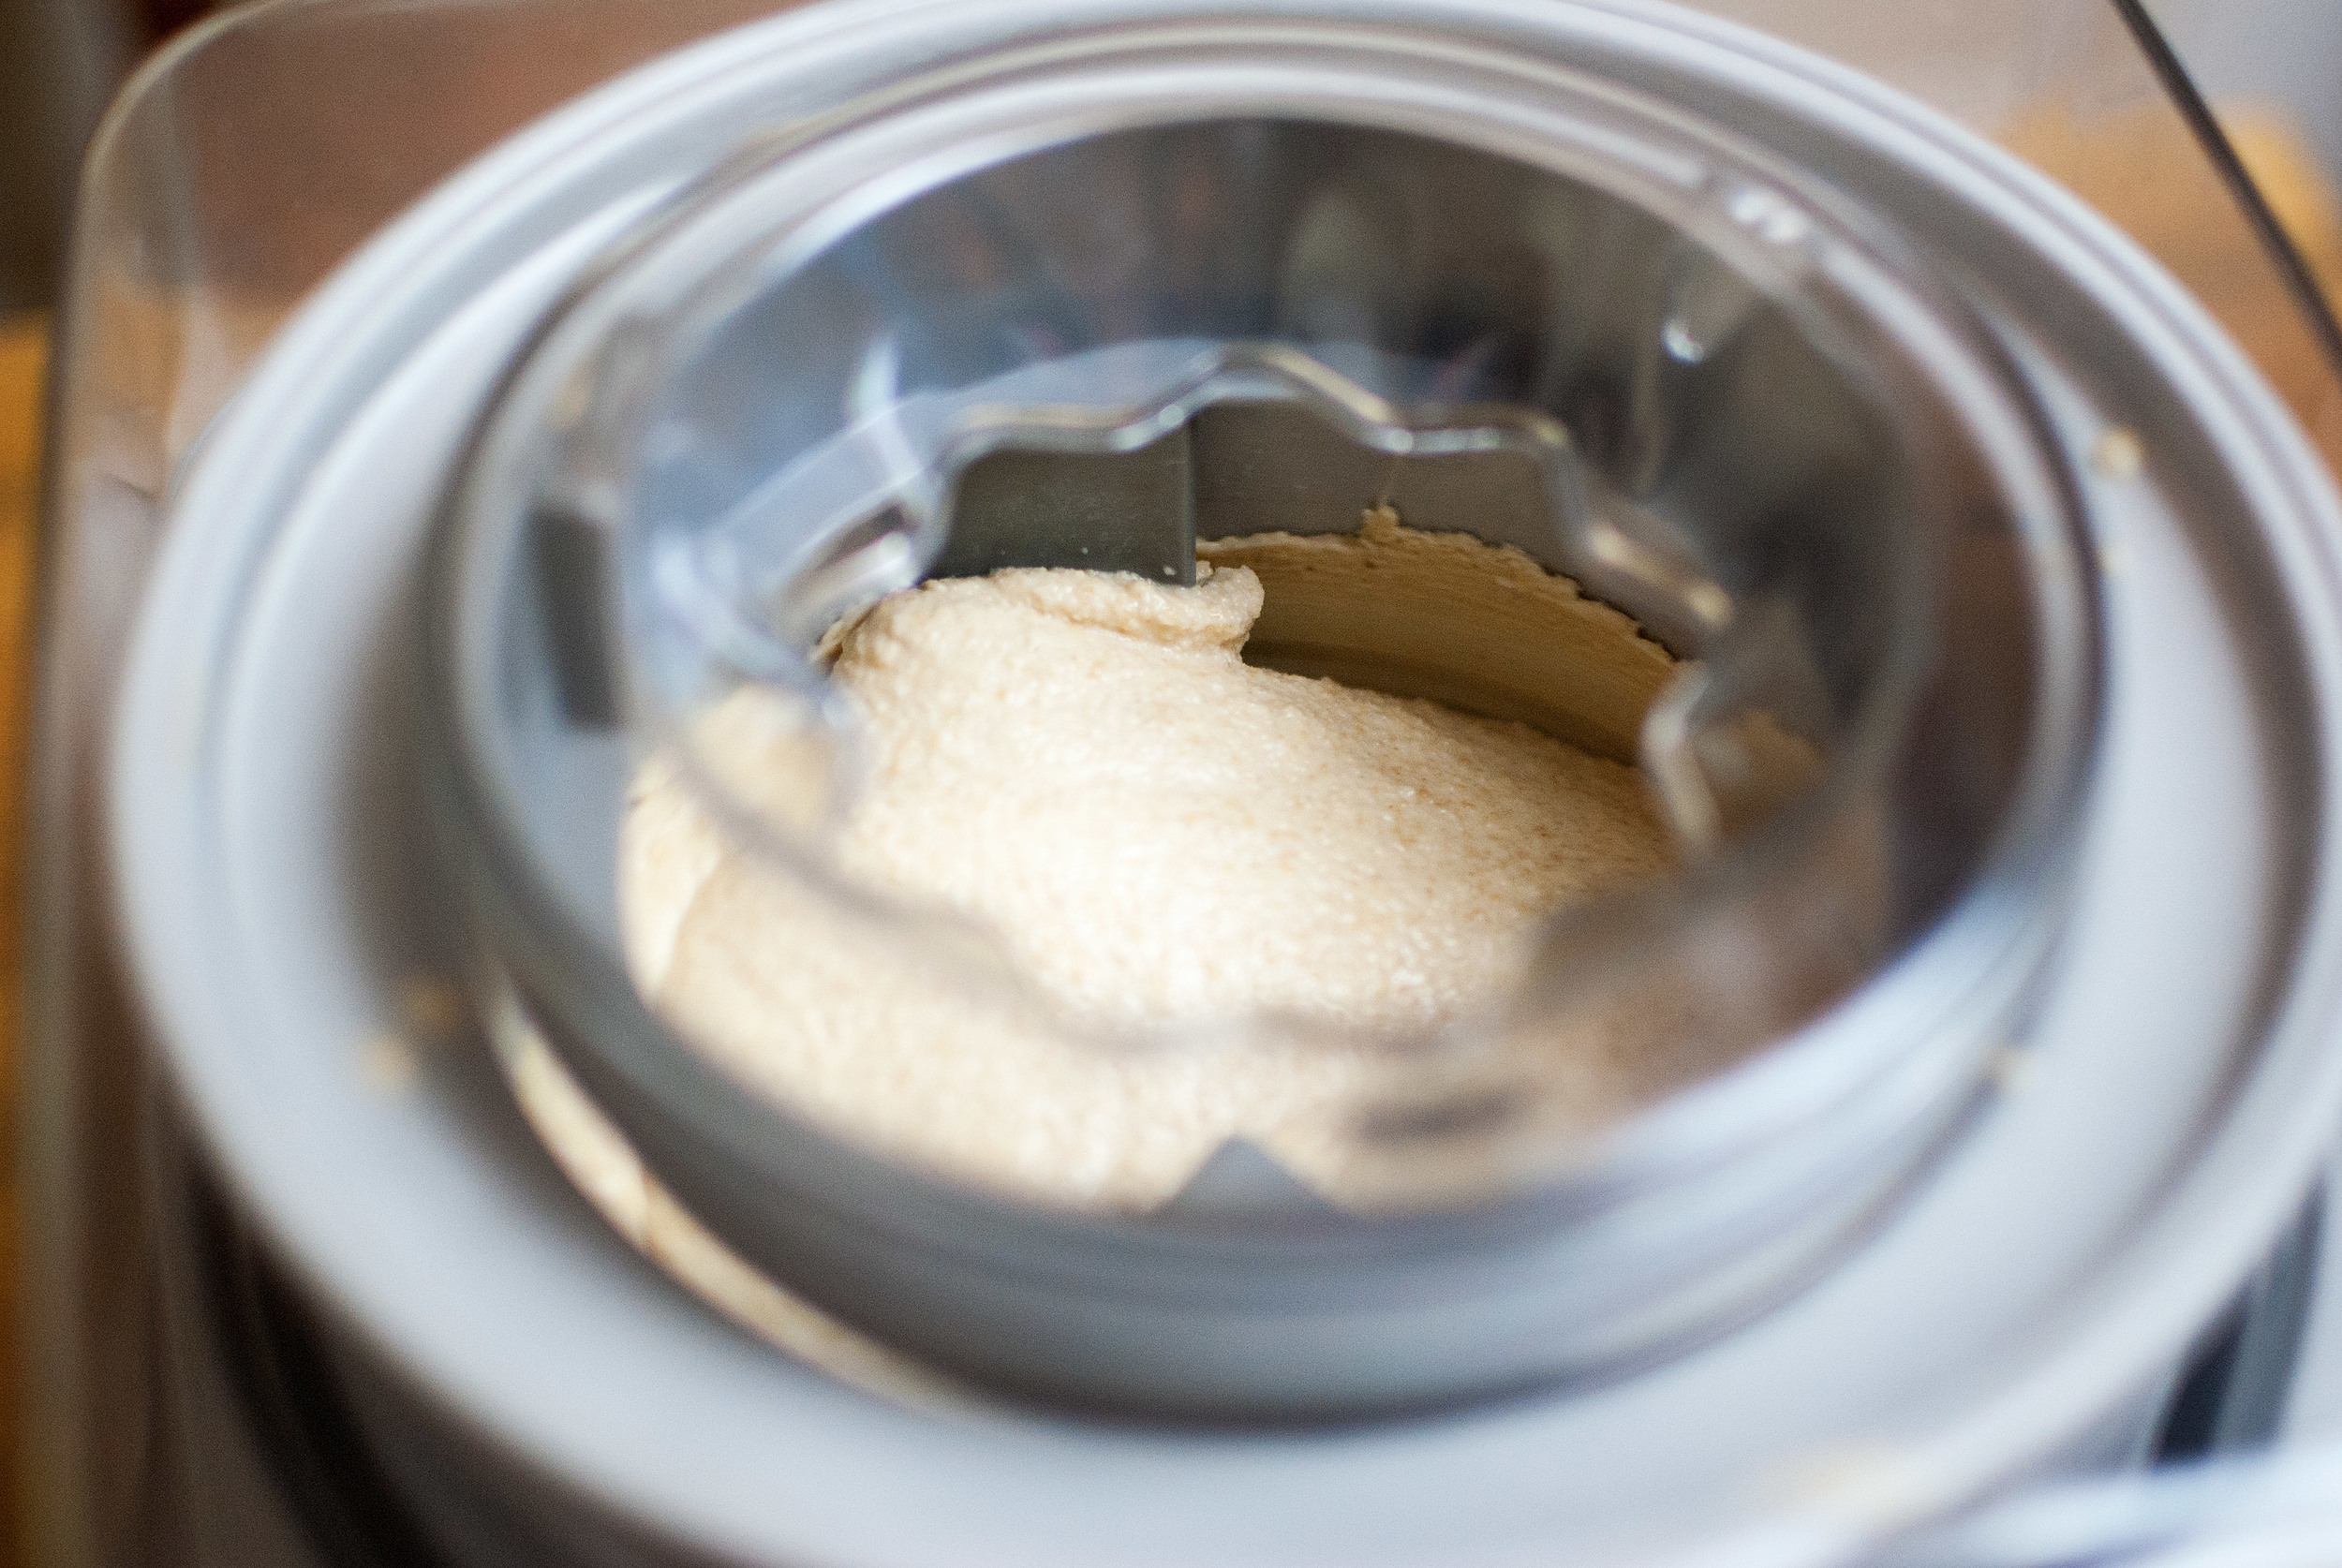
    Prepare your ice cream maker, turn it on, and pour the ice cream into the machine. Churn according to your machine’s directions (usually 20–25 minutes). About 15 minutes in, pour the toffee pieces in and continue churning until you achieve a thick, soft serve consistency. Scrape into a freezer-safe container and freeze for at least 4 hours, ideally overnight. Ice cream is better fresh, so consume within two weeks of making it, or it will become dense.


    peanut-butter-ice-cream-05

    peanut-butter-ice-cream-05


    peanut-butter-ice-cream-06

    peanut-butter-ice-cream-06

    Yields 1.5 quarts

    When you are ready to serve, heat the chocolate chips and coconut oil in the microwave until thin and liquid. Let cool slightly. Pour slowly over the scooped ice cream, garnish with some big flake sea salt, and serve immediately. If the shell does not harden immediately, place the sundae in the freezer for about 30 seconds. Store any unused chocolate shell in the fridge.


    peanut-butter-ice-cream-08

    peanut-butter-ice-cream-08

  • Salted Dark Chocolate Mousse


    dark_chocolate_mousse_04.jpg

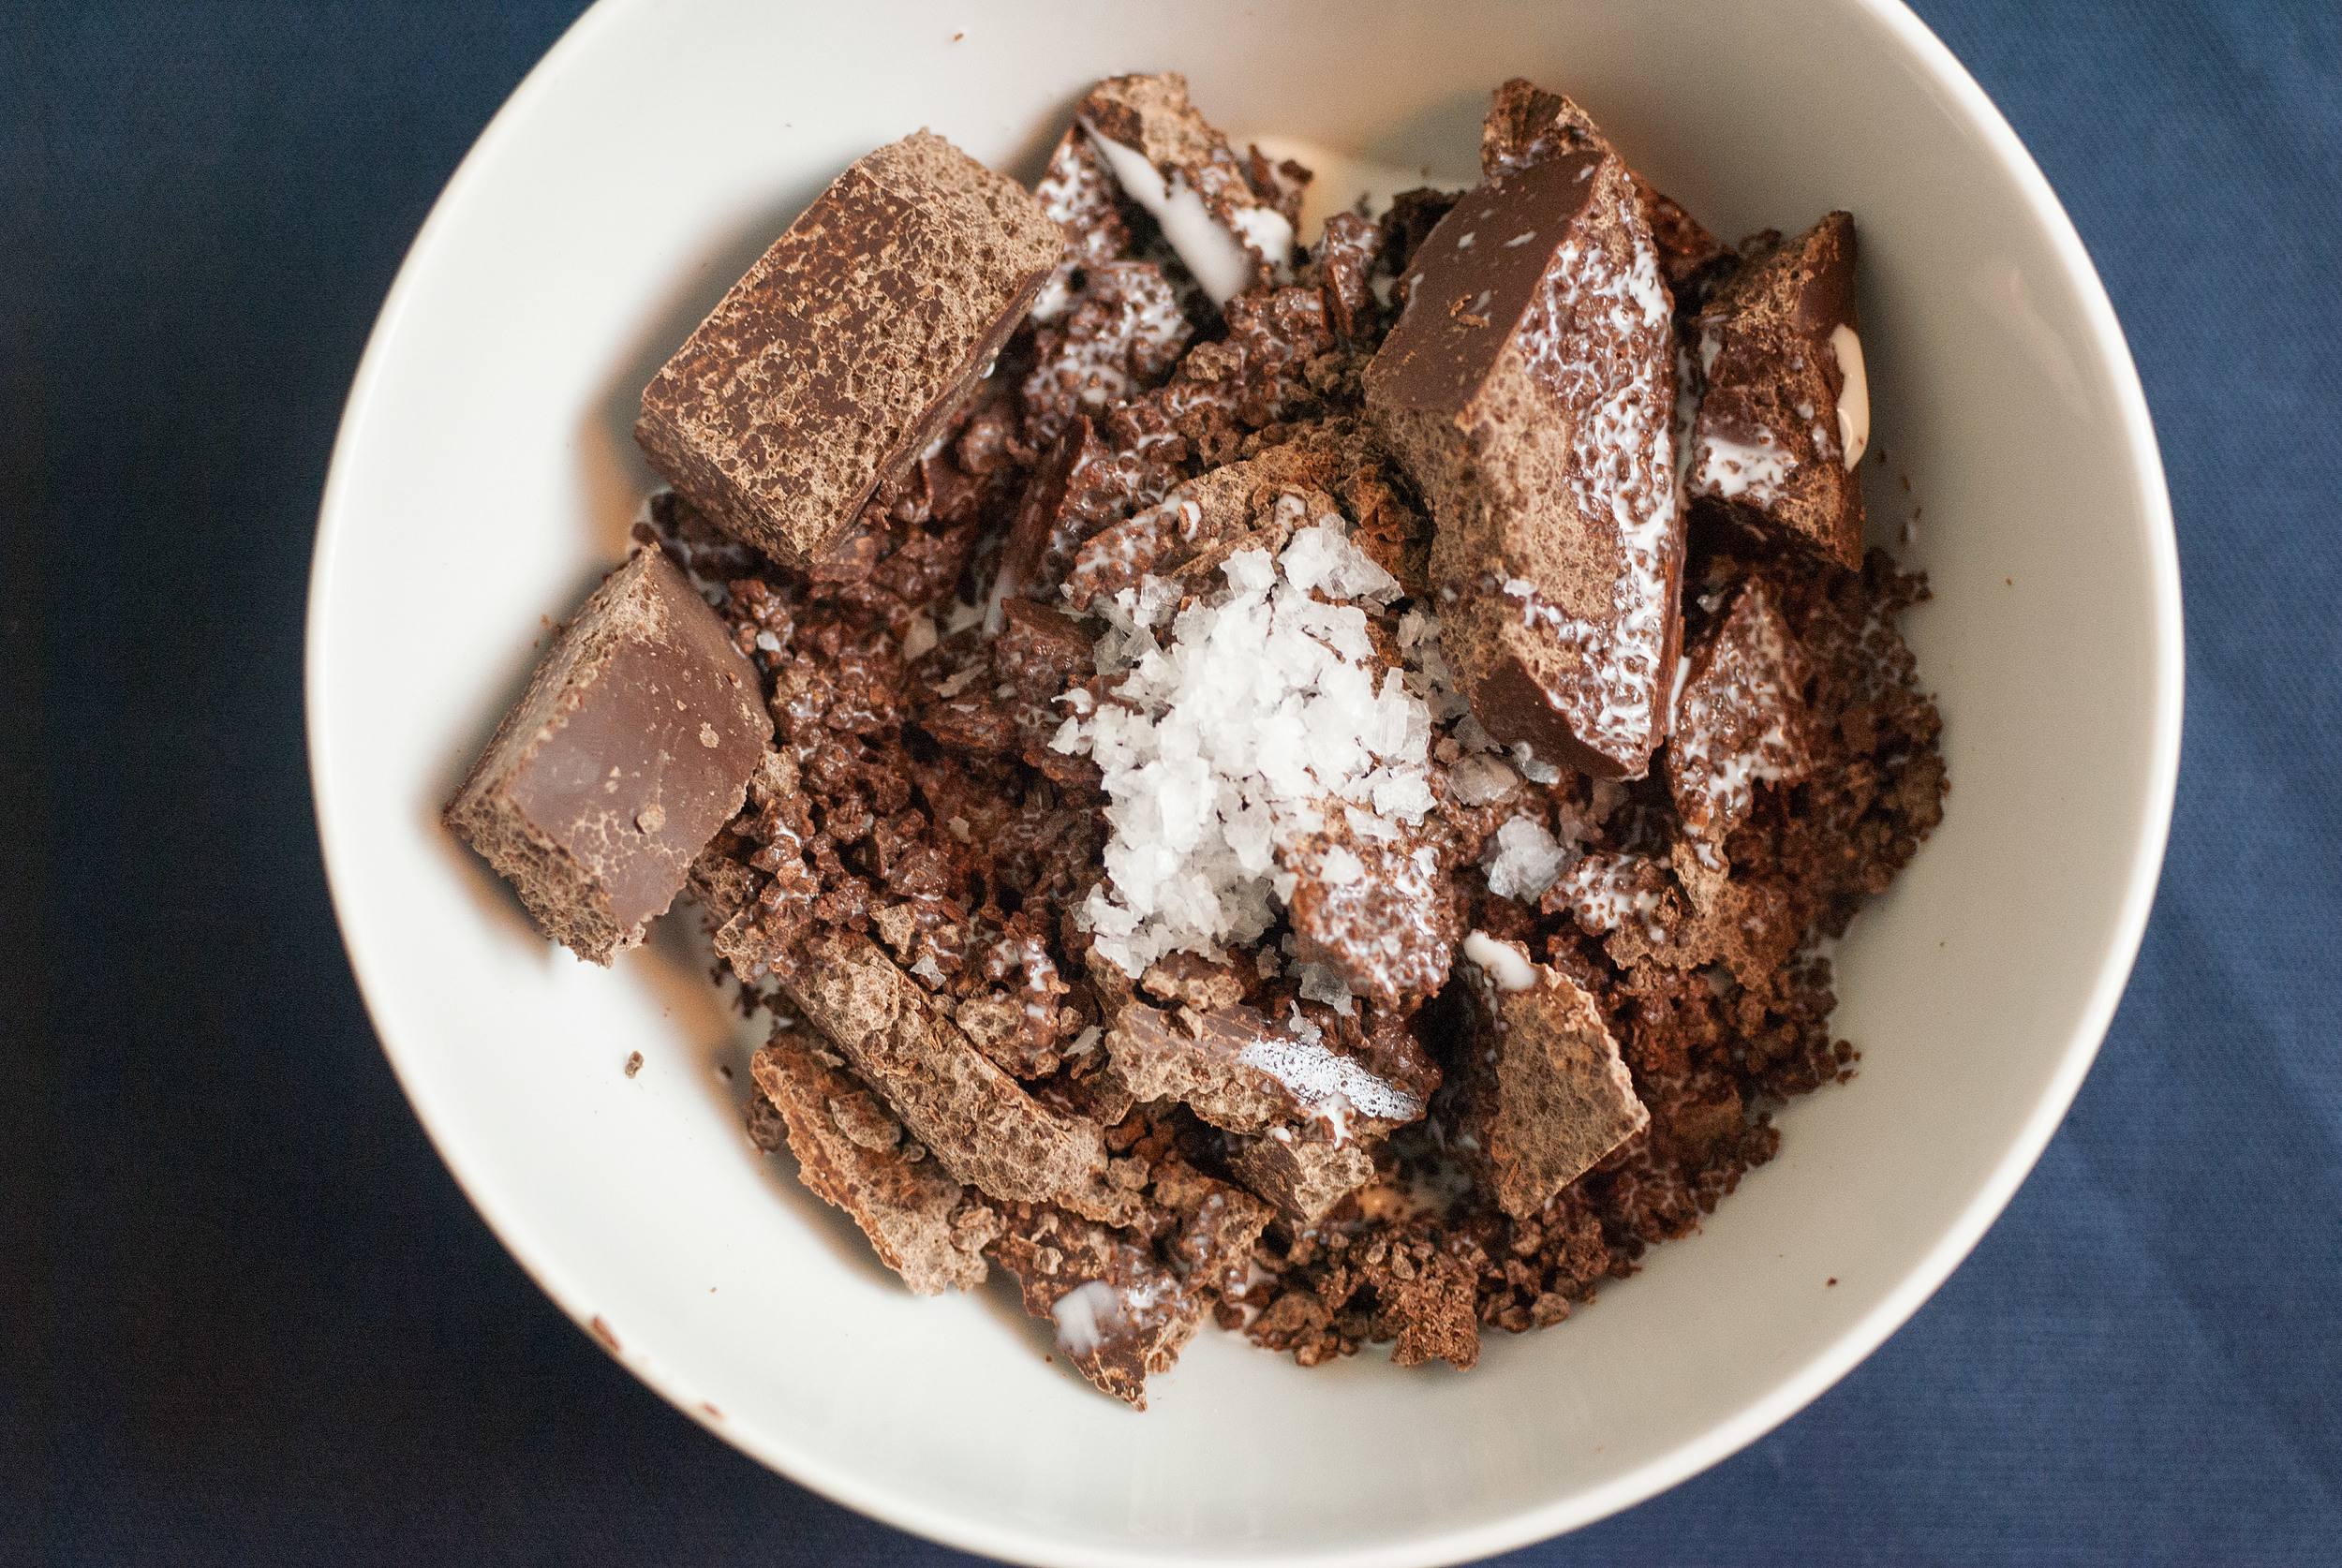
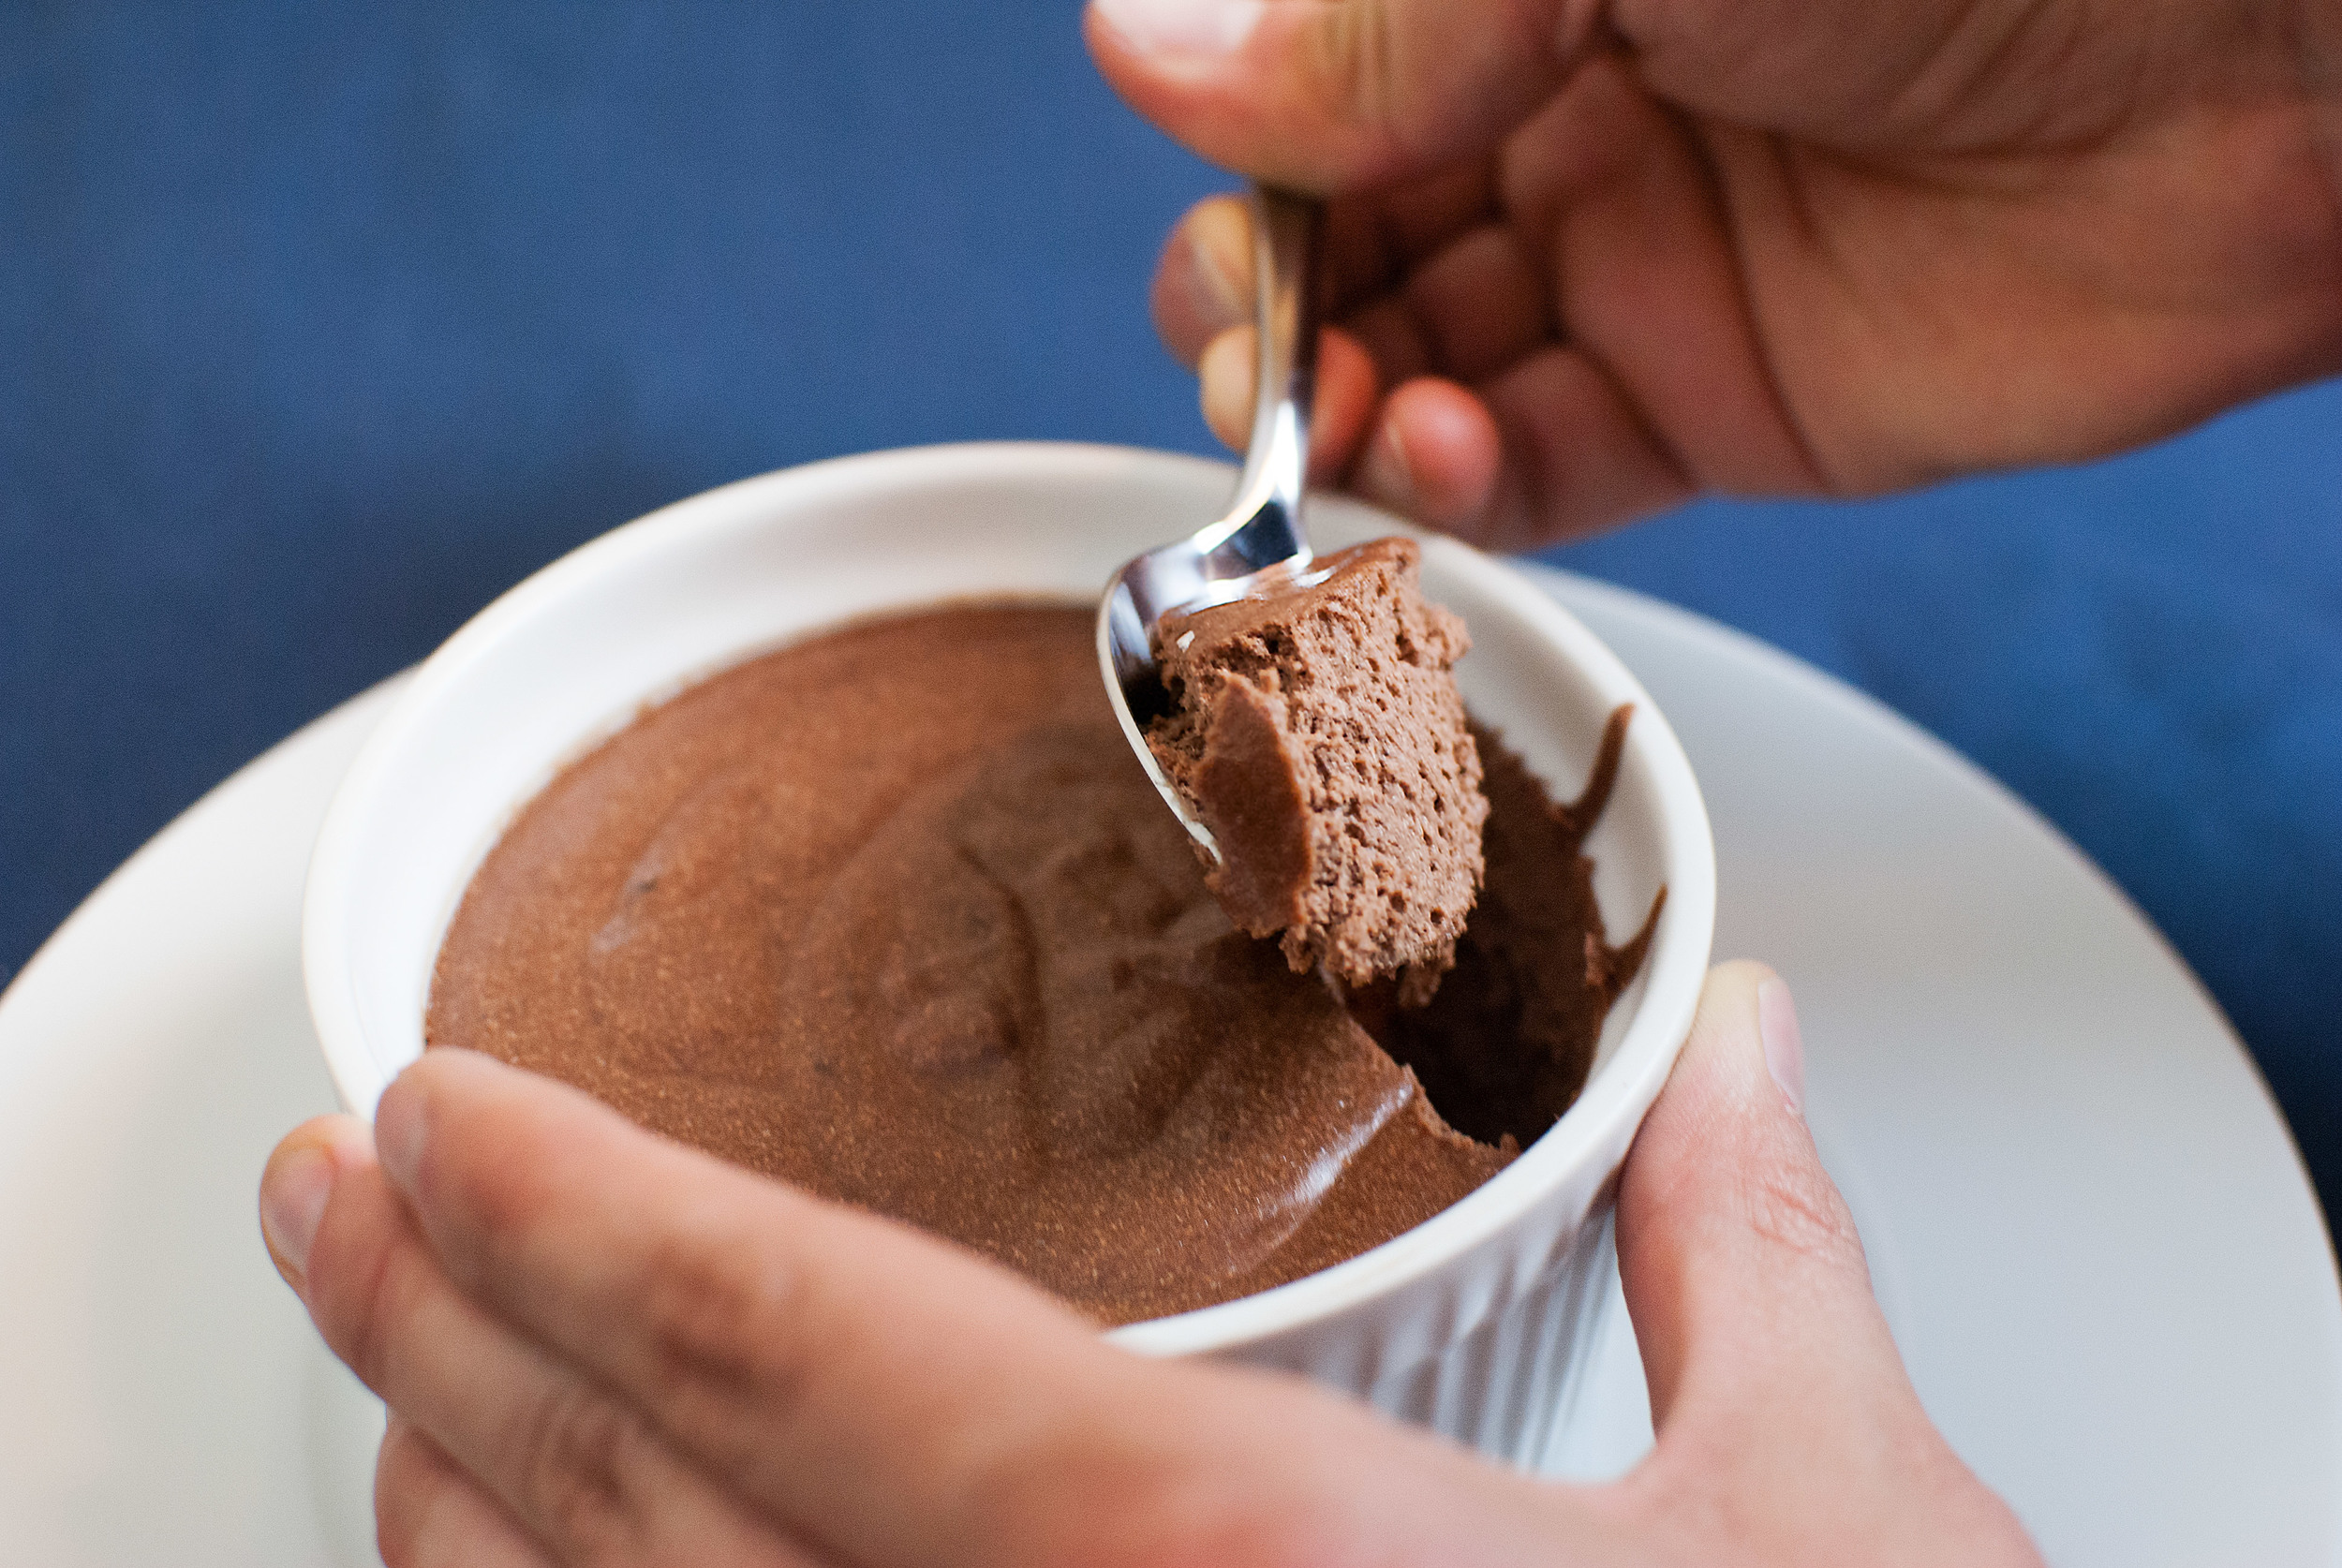
    We don’t spring for sweet things often. Like, ever. But when we do, it usually involves chocolate or peanut butter. We are excited to introduce our first dessert, which involves a healthy amount of delicious chocolate and super sexy sea salt.
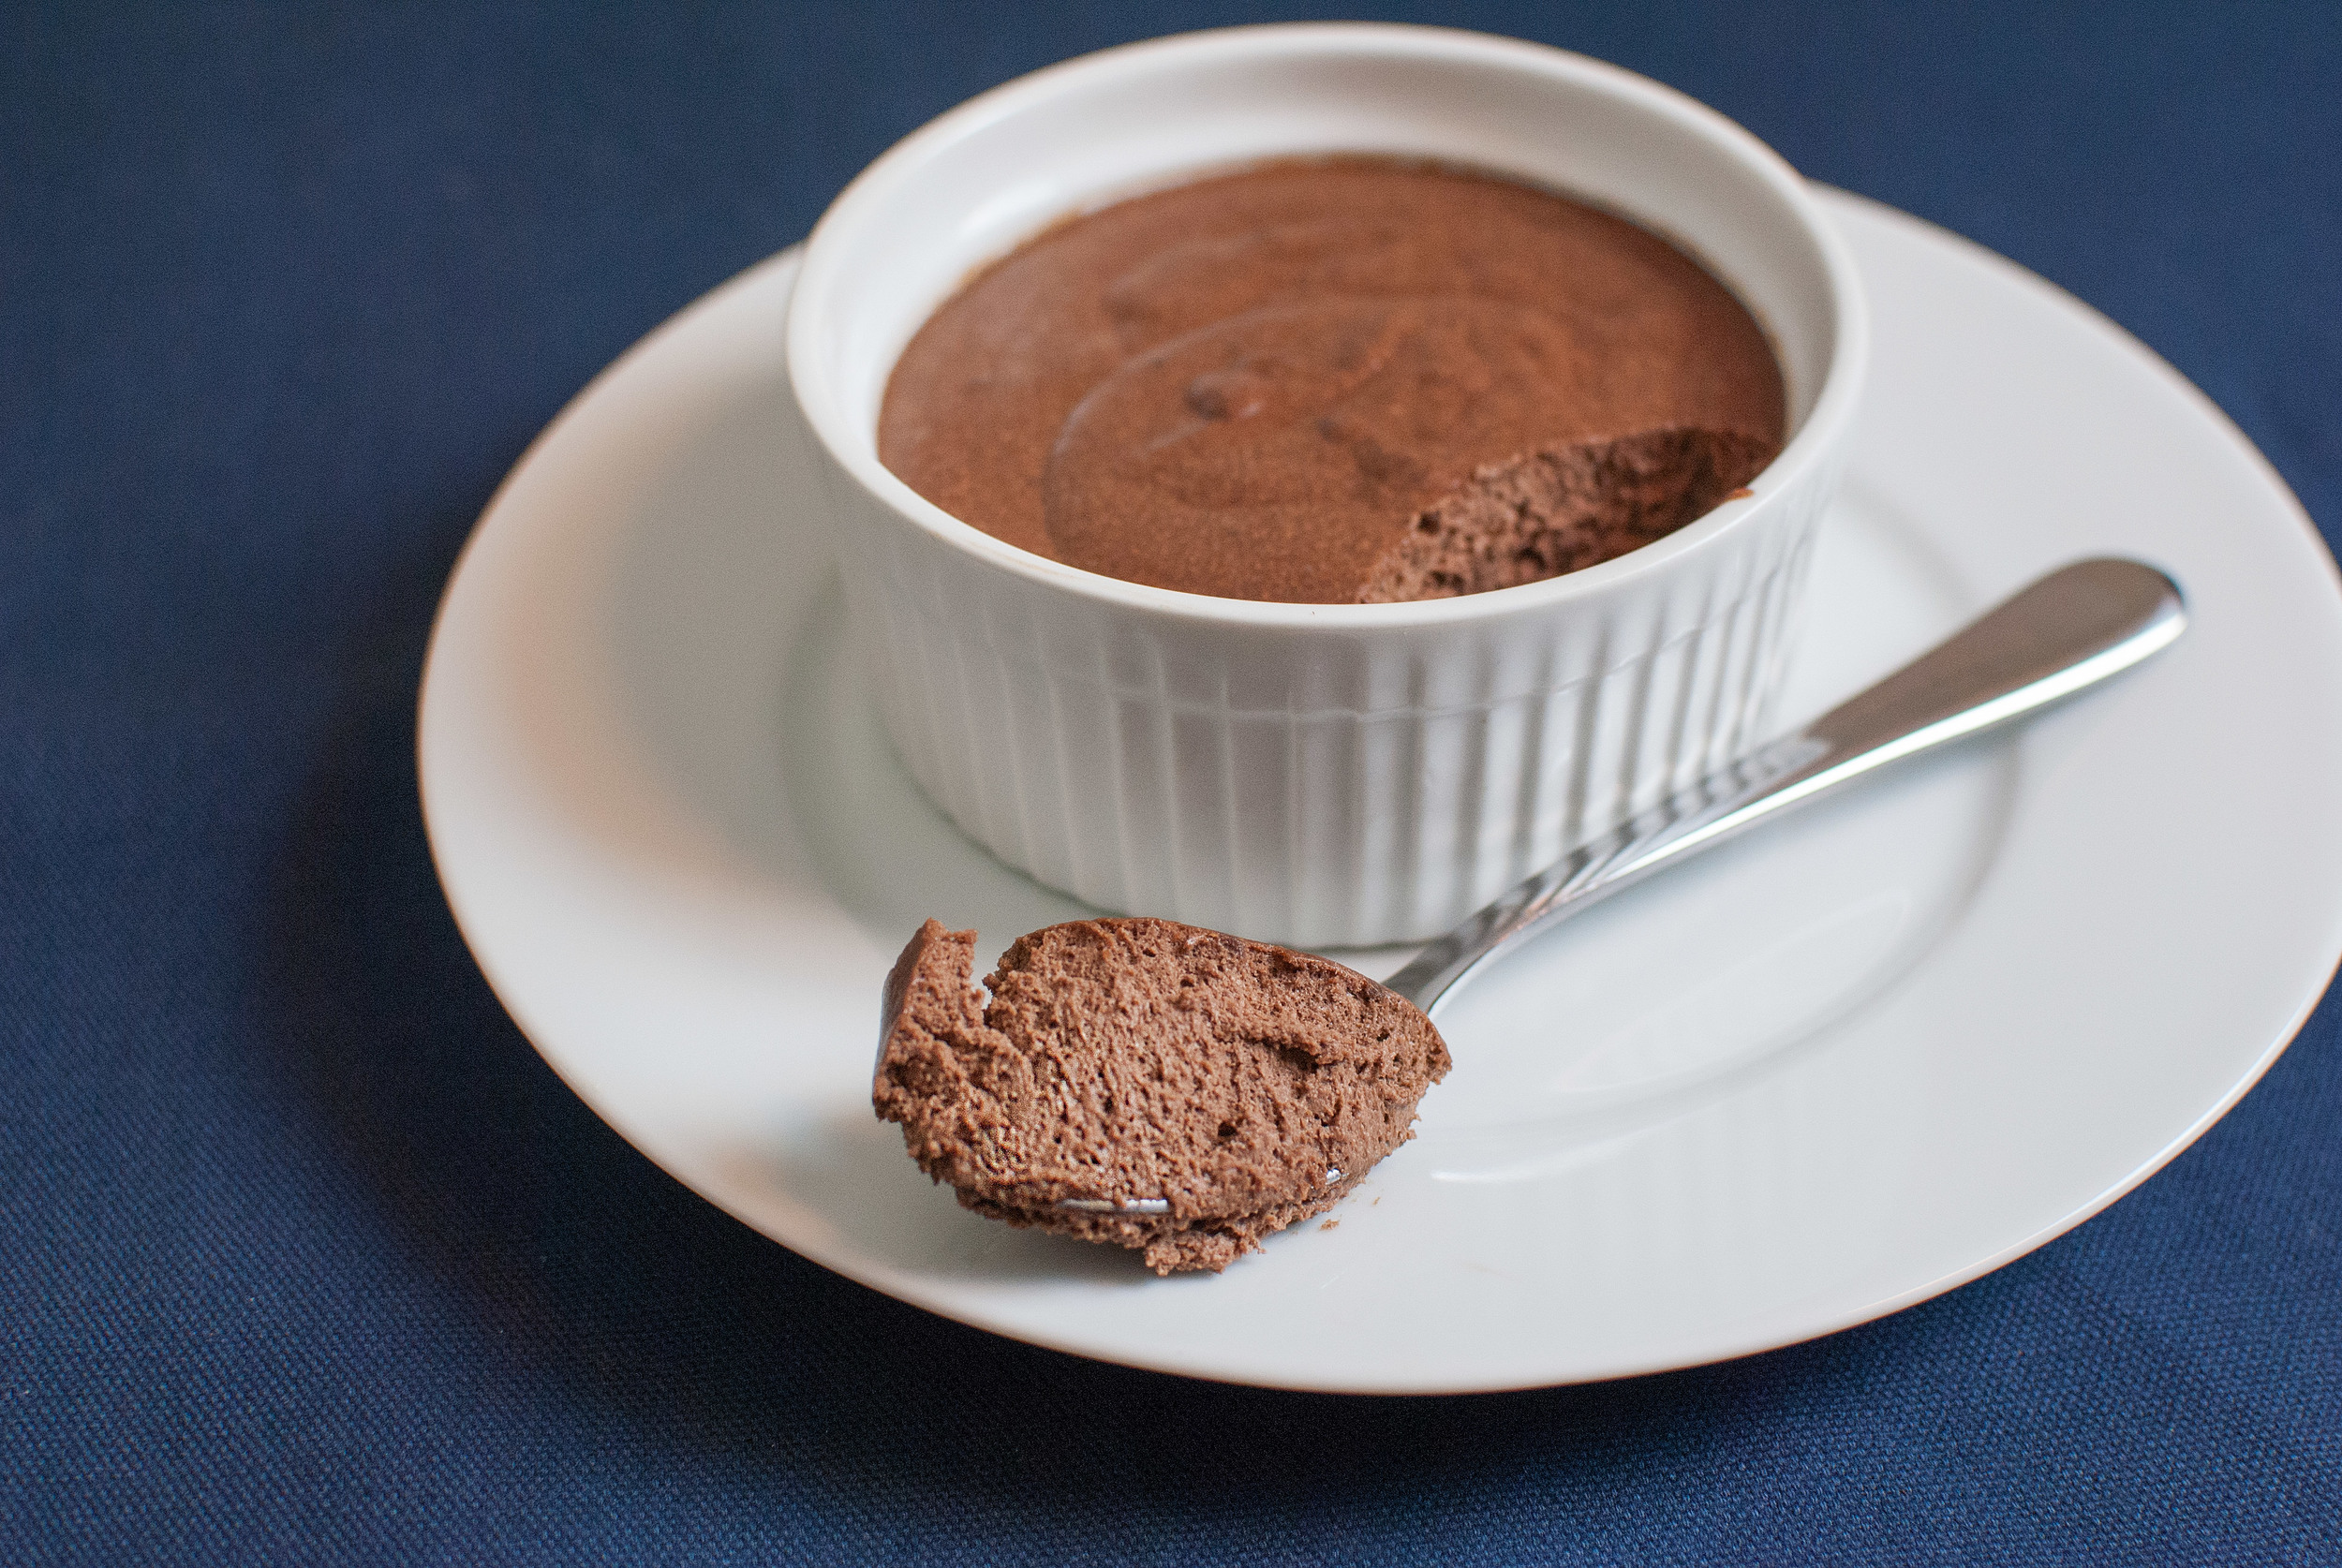
    Mousse is a basic dessert that’s easy to make at home (with or without an electric mixer), and we think it’s fair to say that it’s only as good as the ingredients you put in it. The thing we really like about our recipe is that we don’t add any sugar to it. There’s nothing for you to focus on while eating it other than the luscious texture and the wonderful chocolate you put in it. We would recommend using dark and complex chocolate for this, especially if it has some fruity notes in it. In this case we used some of the best chocolate we have ever come across roasted right here in Portland, Oregon, from chocolate maker, Woodblock Chocolate. We highly recommend that if you use Woodblock for this recipe, use the single origin Peruvian chocolate. It’s exquisite. The sea salt we use is also local (we hoard the stuff) from a wonderful company called Jacobsen.


    dark_chocolate_mousse_01

    dark_chocolate_mousse_01

    • 1¼ cup heavy whipping cream
    • 3 egg whites
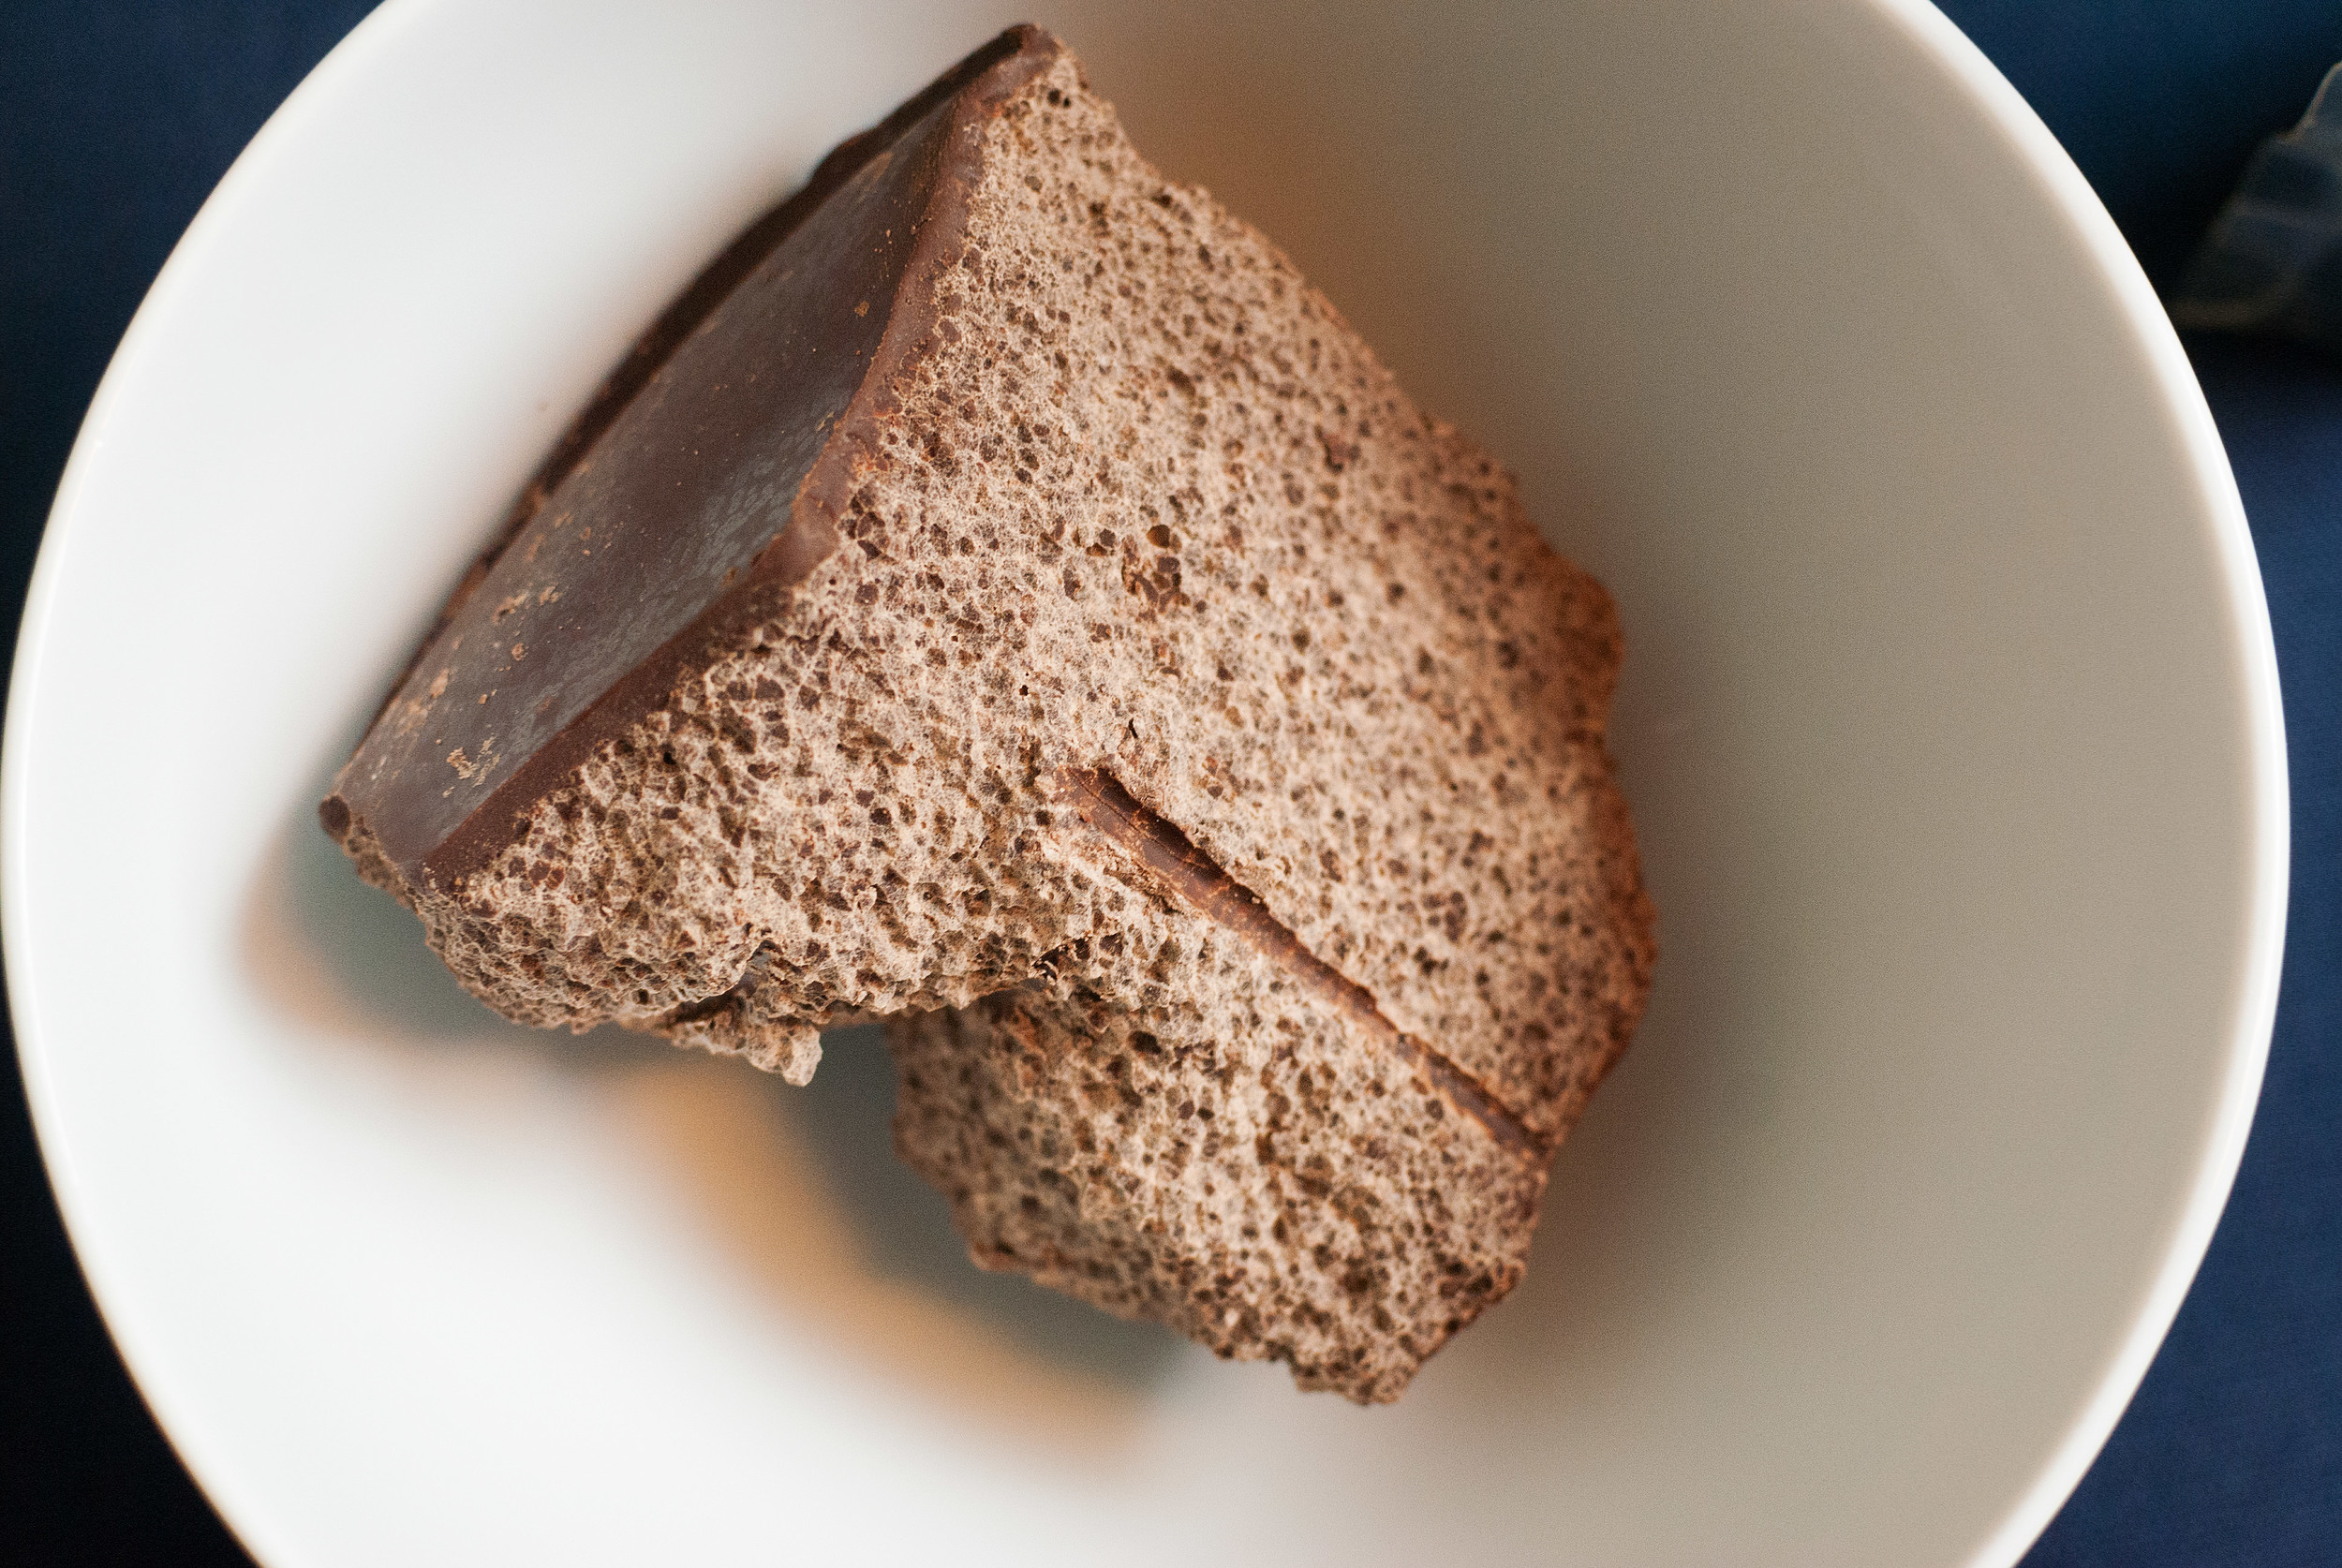
    • 8 oz. good dark chocolate, reduced to small chunks
    • ½ cup milk
    • 1 heaping tsp. good sea salt

    In a small bowl, place the chocolate, milk, and salt and microwave in short bursts until the chocolate is melted (usually two sets of 30 seconds). Mix together until well incorporated. Set aside.


    dark_chocolate_mousse_02

    dark_chocolate_mousse_02

    Place the whipping cream into a chilled bowl and whip until there is enough air to create floppy peaks with the cream. Set aside in a large bowl big enough to hold all ingredients. In another bowl (or the same bowl you used to whip the cream in after being cleaned and dried), whip the egg whites until they become very white and and have stiff peaks. Set aside.

    Slowly and gently fold in the melted chocolate mixture into the whipped cream, turning the cream and chocolate onto itself instead of mixing. The goal is to maintain the air you whipped into it. Once the chocolate is evenly mixed in, add the egg whites to the cream and chocolate and continue to fold gently until all three ingredients are completely incorporated.

    Divide the mousse evenly among four small dishes. Chill in the fridge for at least 4 hours.

    Serves 4


    dark_chocolate_mousse_03

    dark_chocolate_mousse_03

  • Morita Salsa


    There are many different kinds of salsas out there, but more often than not, for one person who is educated in “salsa literacy” there is just The One. When someone finds The One, they usually end up putting it on everything. For some people this might be Tabasco. For others, Sriracha, Tapatio, Cholula. You get the picture. We have The One for us, too. But we don’t go out and buy ours. We make it at home. And this recipe tells you how to do it.
    Finding out which salsa will be yours takes time. You need to experiment. It’s kinda like dating. You gotta spread yourself around a little bit and maybe go outside of your comfort zone from time to time. Finding your salsa will require you to be in touch with yourself and really understand what you like to eat. Do you like bold flavors, or subtle complex ones? Do you prefer a fresh flavor profile, or a smoky one? Tart or sweet? Do you like your spicy food to tickle or tackle you? Your salsa should represent what you wish every food had, so that when you use it, it does!

    Our salsa is made with a special little chile called a morita. Moritas are smoked jalapeños, just like chipotles are, but they aren’t smoked for as long. They still have some of that dark, smoky, sexy-ness that chipotles have, but they have also retained some sweetness from their fresher form. We like that they are balanced. We blend a lot them with charred tomatoes, onions, garlic, and spices to make a light and smoky, slightly sweet and savory sauce. You best believe it’s in our fridge at all times.

    • 5 ripe roma tomatoes, halved, divided
    • ½ large onion, halved
    • 4 large cloves of garlic, peeled
    • 6 morita chiles, de-stemmed
    • 1 tbs. ground cumin
    • ¼ cup white vinegar
    • ⅓ cup vegetable oil
    • salt to taste

    Note: Moritas aren’t exactly easy to find. You won’t find them at any standard corporate grocery store. You need to go to a Mexican market for these babies. For this recipe, use ones on the bigger side as opposed to the little uns.

    Rehydrate the moritas by placing them in a microwave safe dish with enough water to cover. Microwave for 90 seconds then set aside.


    Morita_Salsa_02

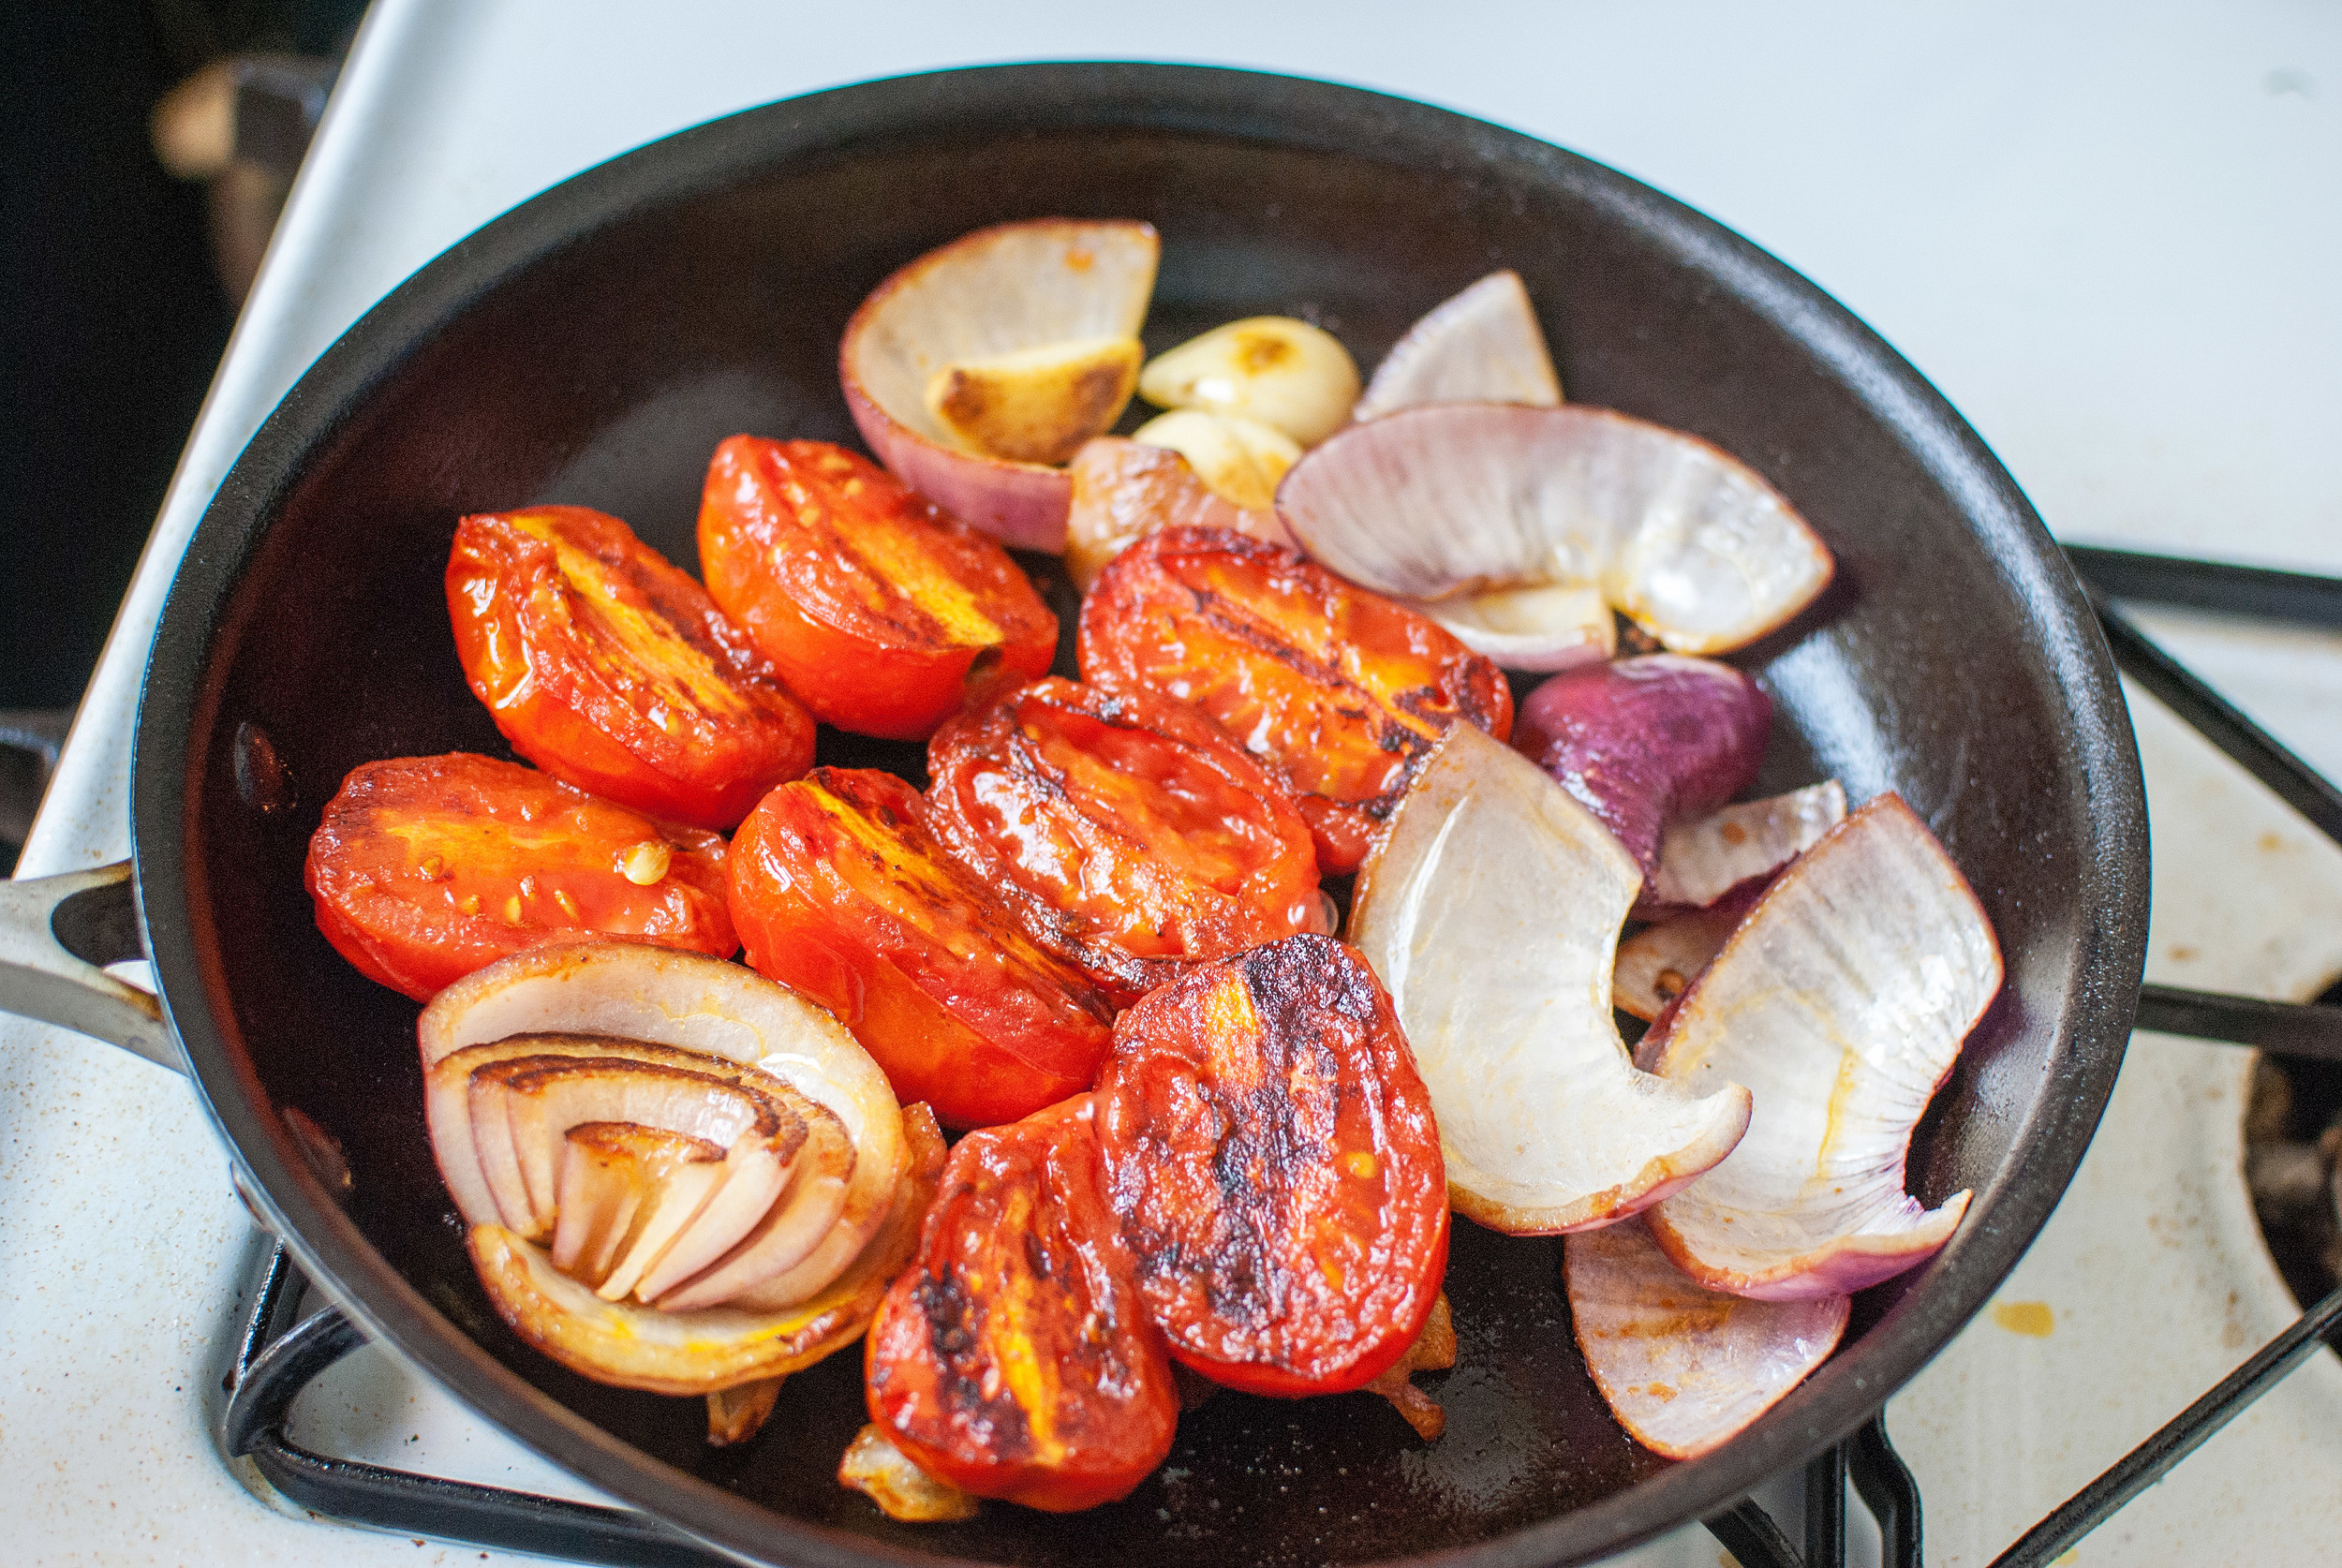
    Coat a non-stick pan with vegetable oil and bring to medium high heat. When the oil shimmers, add four halved tomatoes flat face down, onion, and garlic to the pan. Sear until slightly charred. When the tomatoes are golden, flip them over to char the skin slightly. Stir onions and garlic occasionally. When the tomato skins wrinkle, transfer everything to a food processor. Remove the moritas from the water and add them to the food processor. Add the cumin and vinegar. Blend until completely smooth. Put the mixture back in your pan and cook on medium low heat to reduce the liquid, about 20–30 minutes, stirring frequently.

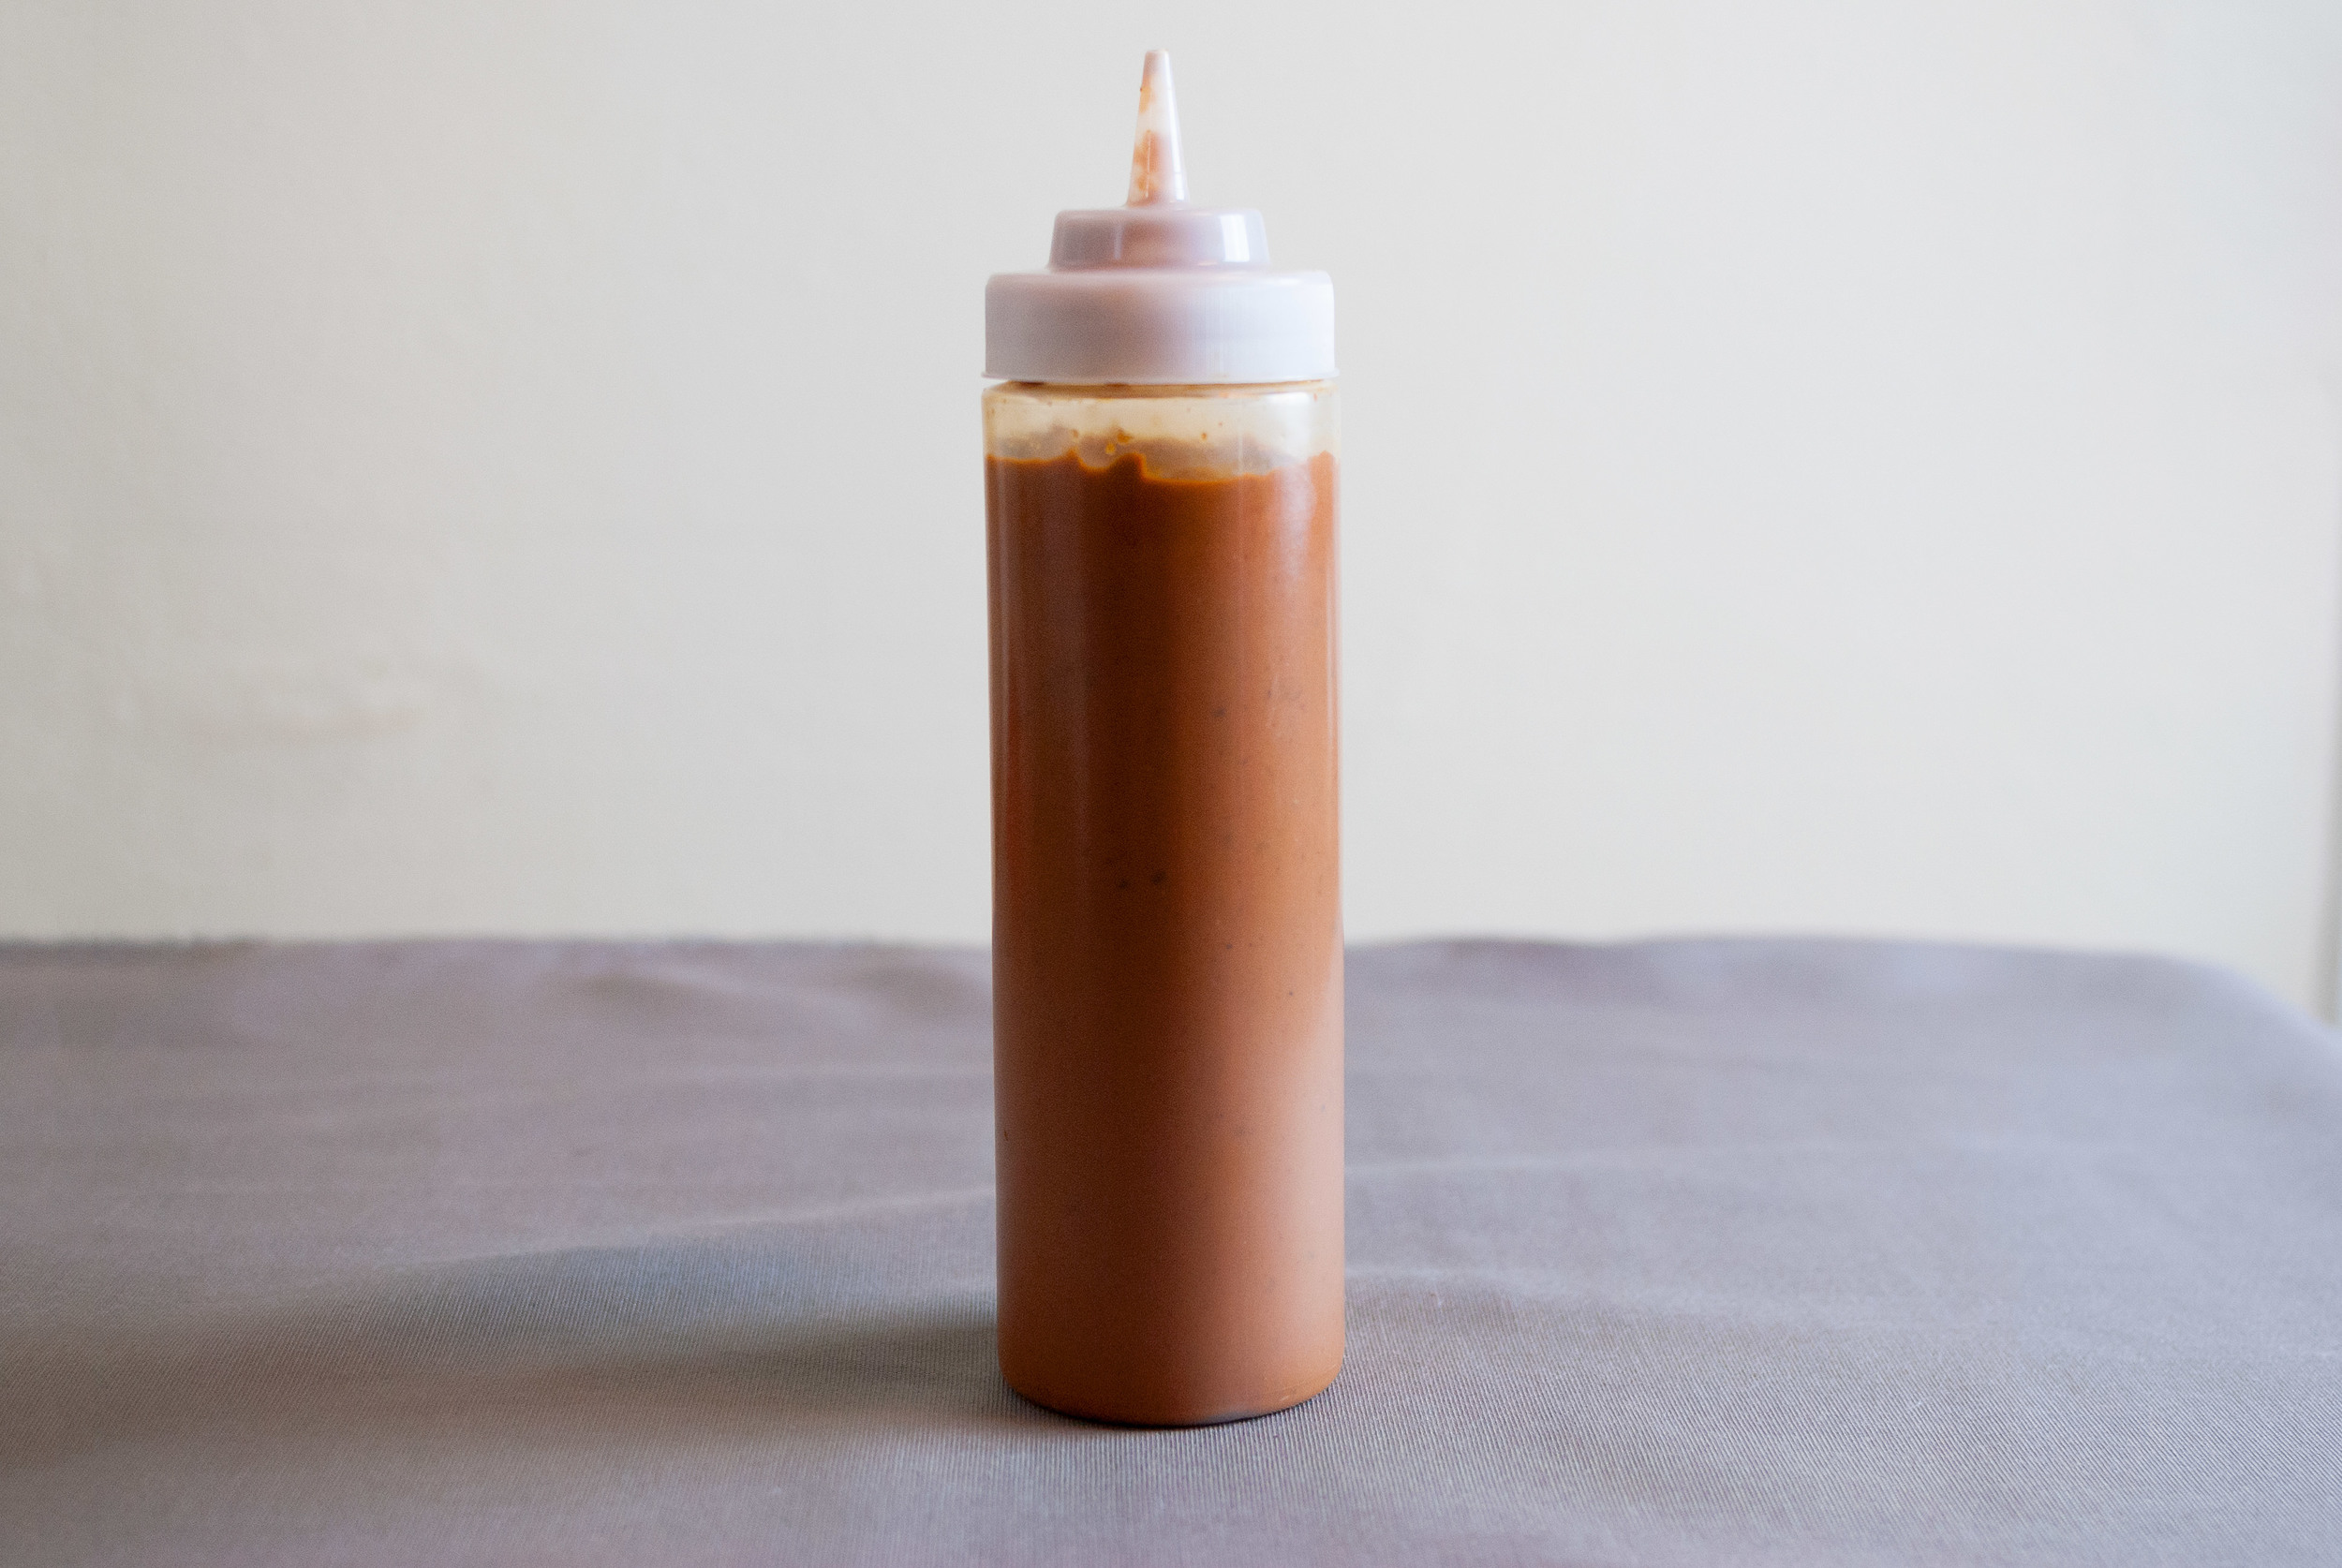
    When your mixture is paste-like, place it back in the food processor and blend in the last tomato you set aside. Keep the food processor running and drizzle the oil through the top to emulsify. Add salt to taste. If the salsa is still too thick, add some water. The desired consistency should resemble heavy whipping cream. Use immediately. Refrigerate any unused salsa for around a month, perhaps longer (trust your nose).

    Yields one pint, plus a little extra.


    Morita_Salsa_03

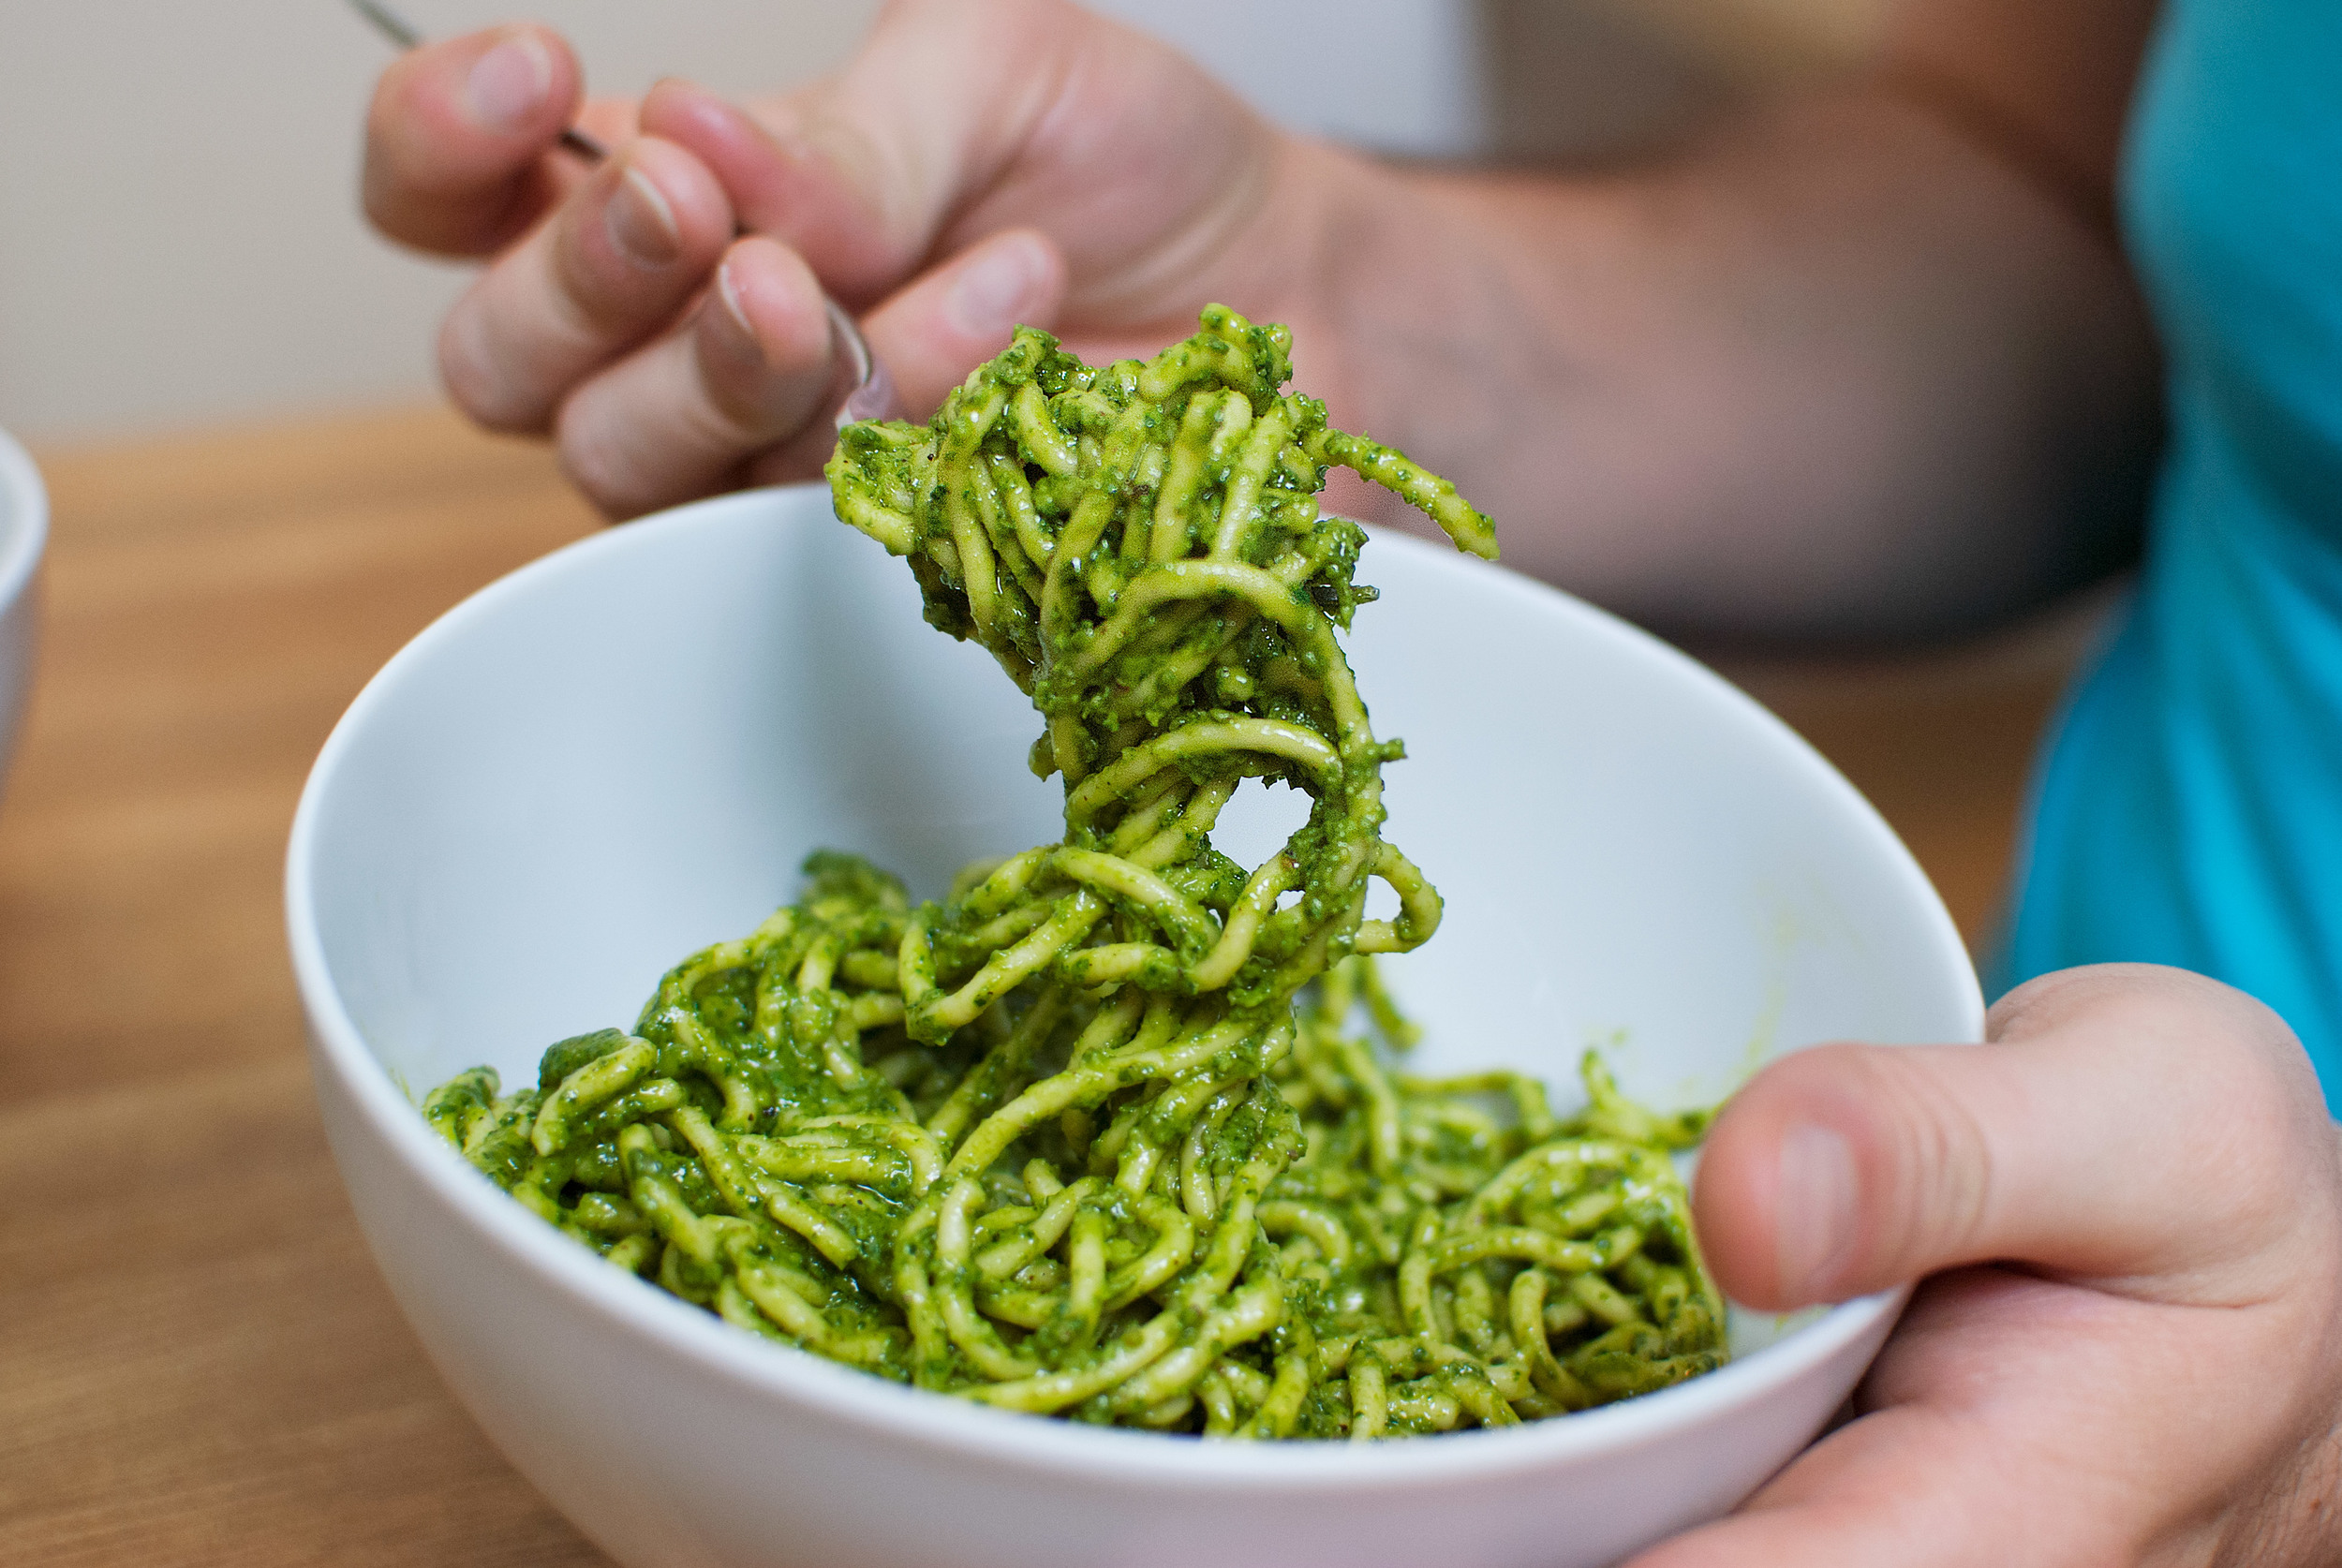
  • Chard and Walnut Pesto


    DSC00361.jpg

    I’m not gonna lie. The conception of this dish resulted from me trying to be totally cheap. Basil is usually overpriced, and lasts for, like, a freakin’ day. I get stressed when I have basil in my fridge. I’m serious. Oh, and heaven knows why pine nuts are 50 bucks a pound. Were they harvested by an endangered genus of sparrow who delicately extract them with their dainty beaks from the cones of old growth pine trees on the summit of some deserted mountaintop? Even Costco can’t give you much of a break on this one.
    But pesto is an amazing, beautiful, luscious thing, and sometimes you’ve just gotta have it. So you bite the bullet and spend the money on the ingredients, and it’s usually worth it. But it doesn’t always need to be such an expensive undertaking. As a way to avoid spending 30 dollars to make something fresh and fast, I looked to other ingredients. After experimenting with a few different greens and nuts, I concocted this. It’s a darker, more savory, and slightly bitter pesto that’s a little heartier than its basil-y sibling. Oh, and it’s way cheaper to make.

    Eat your greens, kids.

    Chard and Walnut Pesto

    • 2 cups green chard leaves, stems removed, torn, and tightly packed
    • ⅓ cup walnuts, roughly chopped and toasted
    • ¾ cup parmesan cheese, grated
    • ¾ cup olive oil
    • ¼ tsp. red pepper flakes
    • salt & pepper to taste


    chard-walnut-pesto-04

    chard-walnut-pesto-04

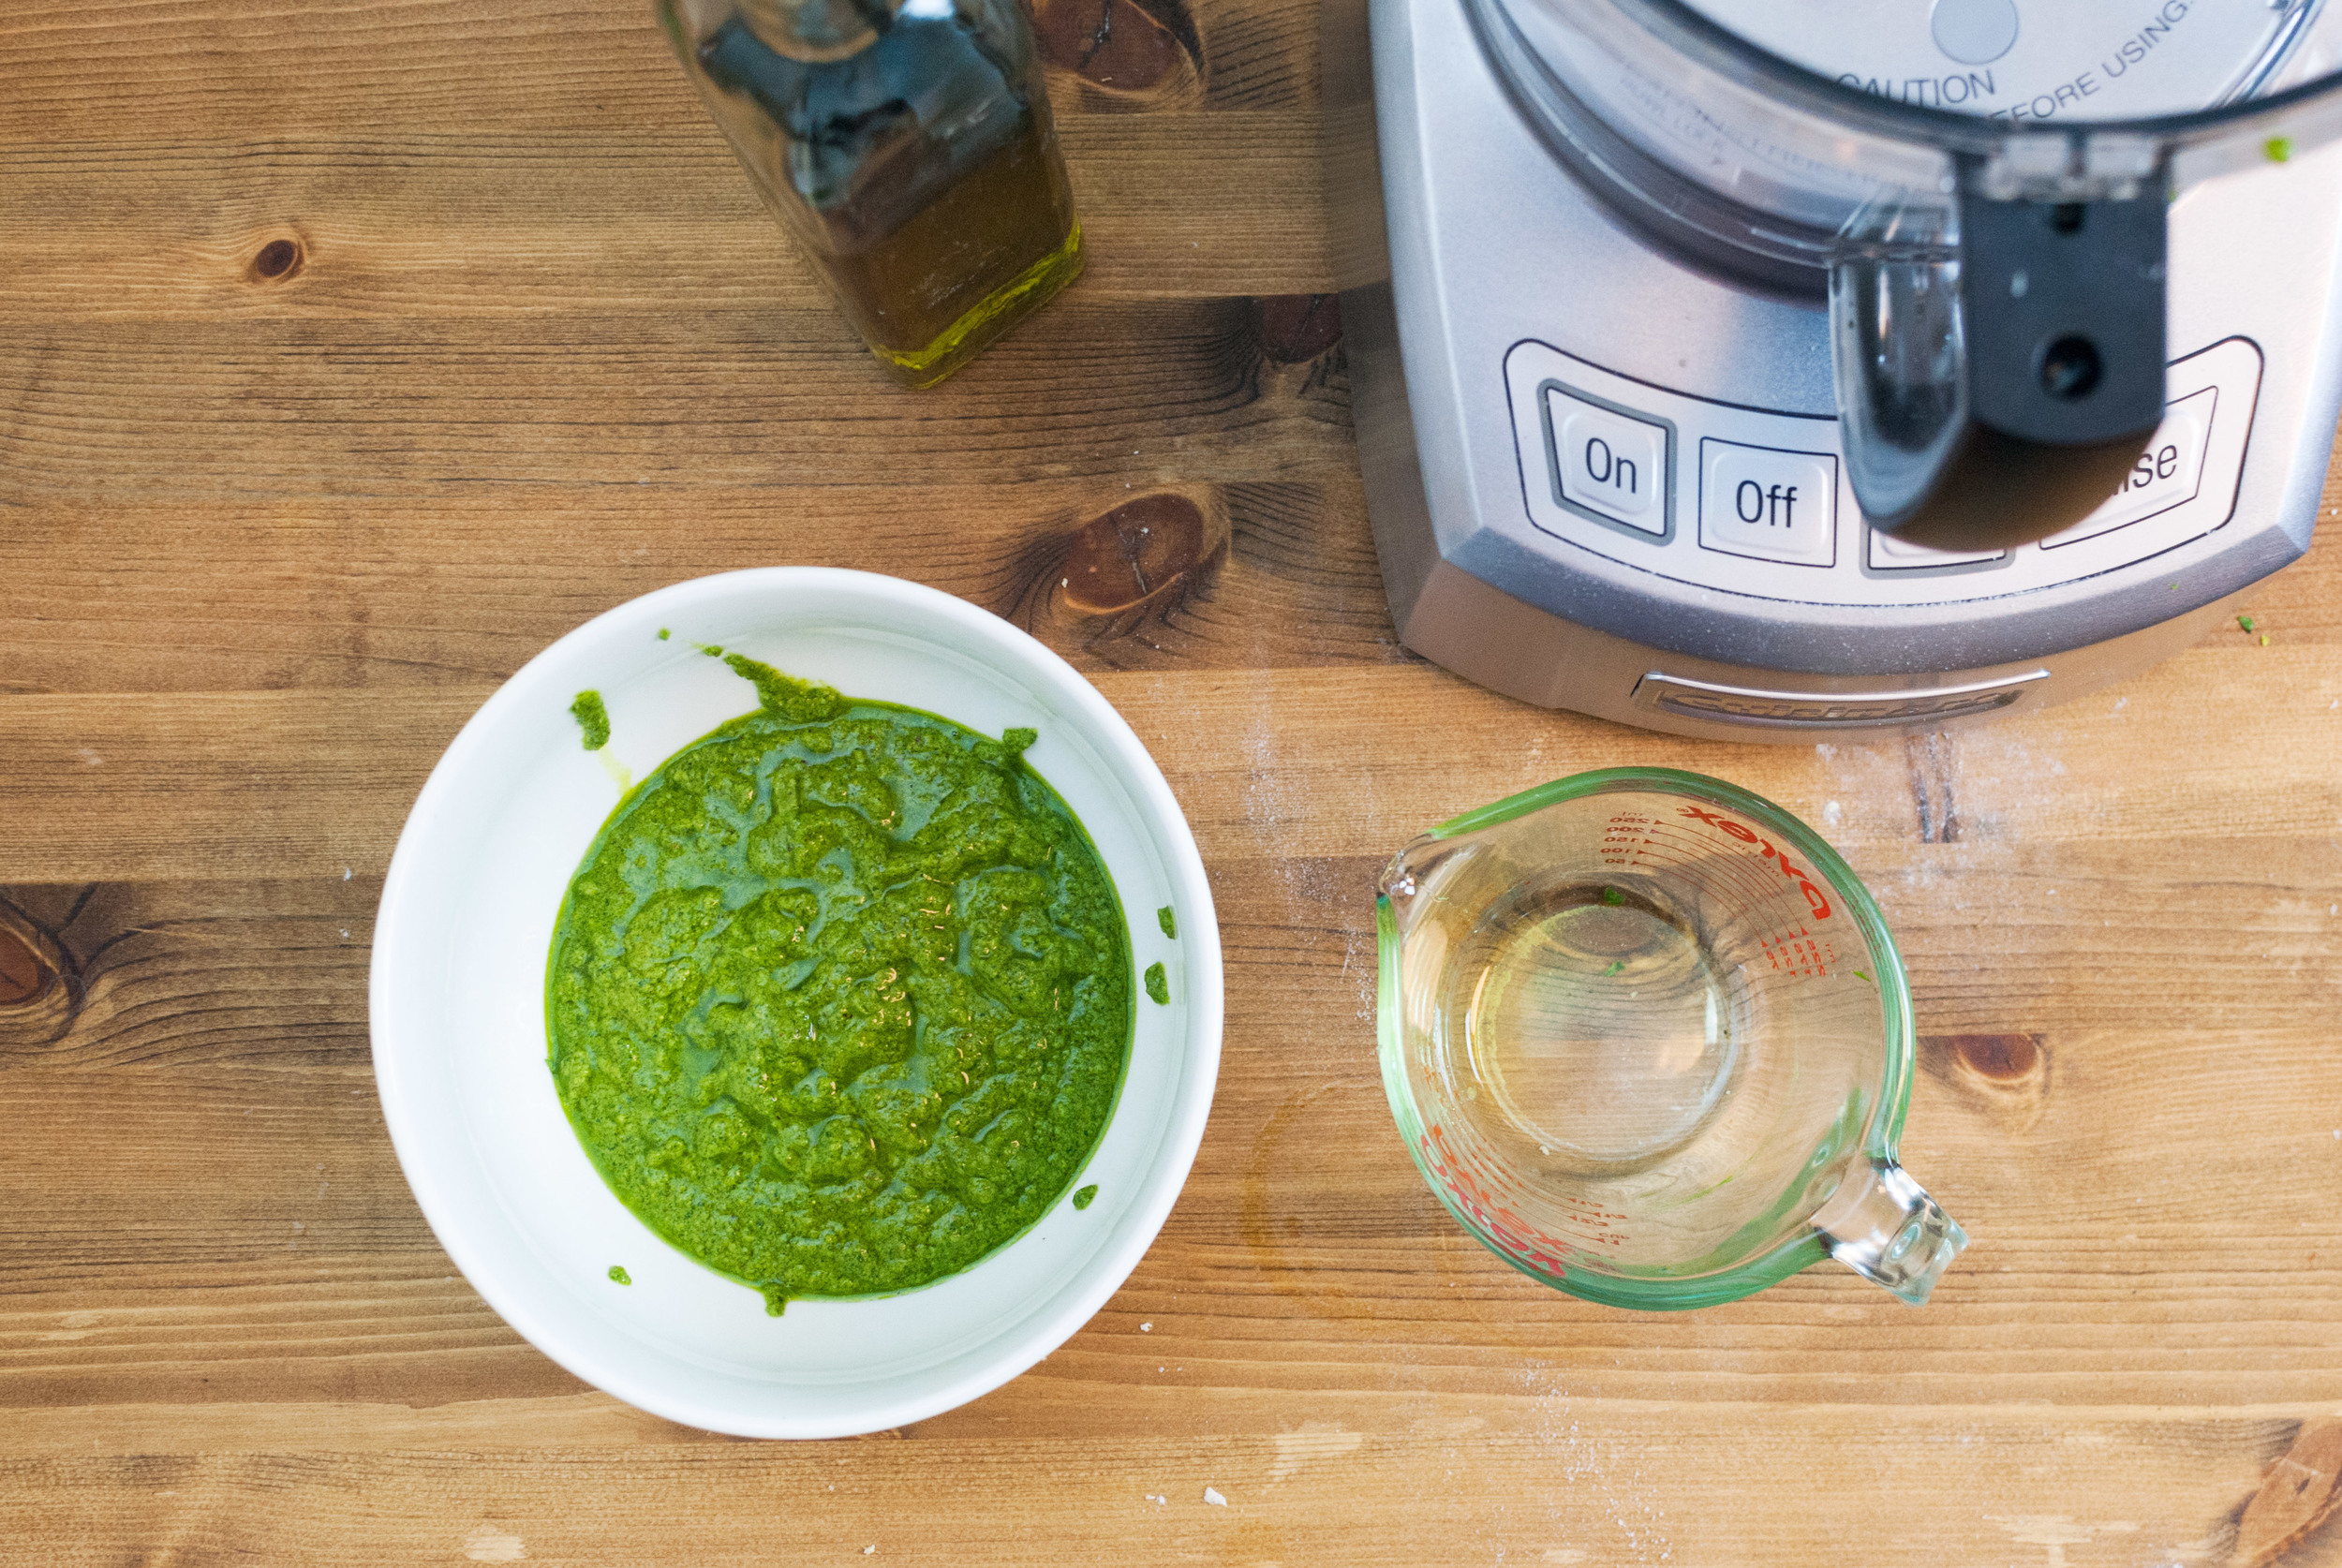
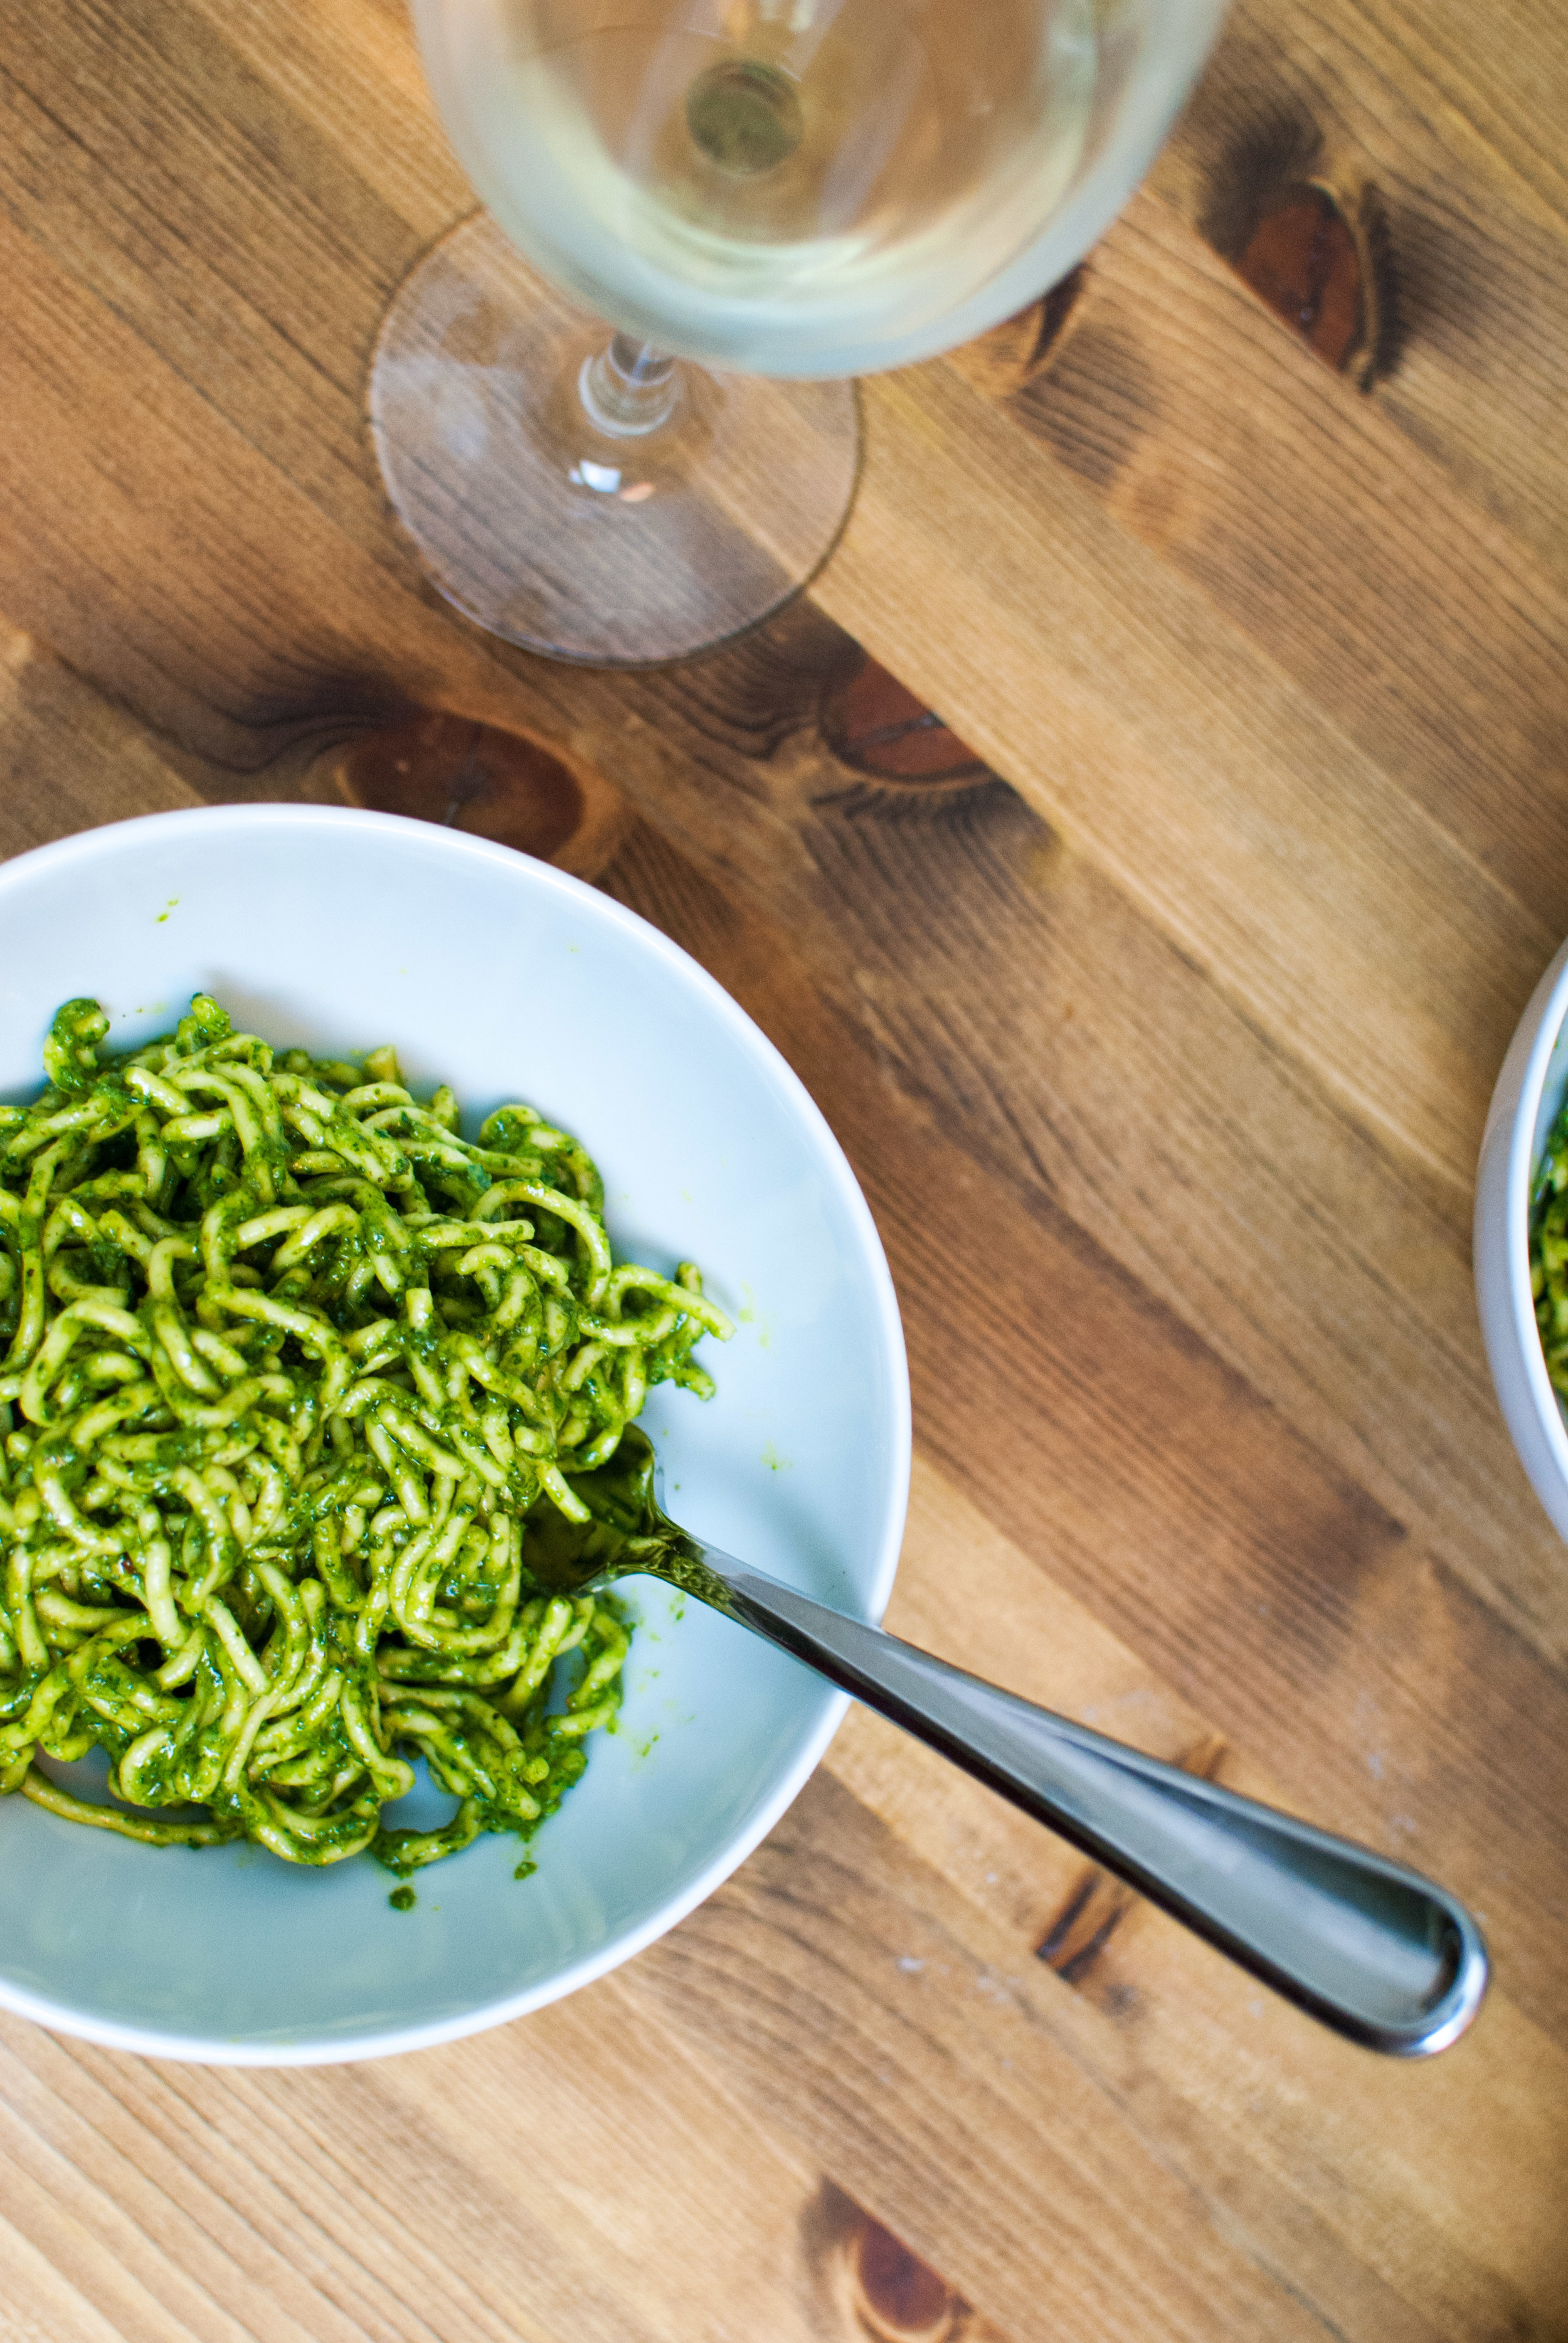
    In a food processor, pulse the walnuts, cheese, and chili flakes together until smooth. Add the chard leaves and blend. Pour the oil in through the top slowly and steady to help emulsify. Blend everything until completely smooth. Taste test for salt and pepper then adjust accordingly. Toss with pasta and serve.

    Yields enough pesto to coat an entire batch of everyday pasta, or 12 ounces of dry pasta.

    Serves 4, or 2 for two meals


    chard-walnut-pesto-01

    chard-walnut-pesto-01

  • Nate’s Pinot Noir Marinara


    Marinara_01.jpg

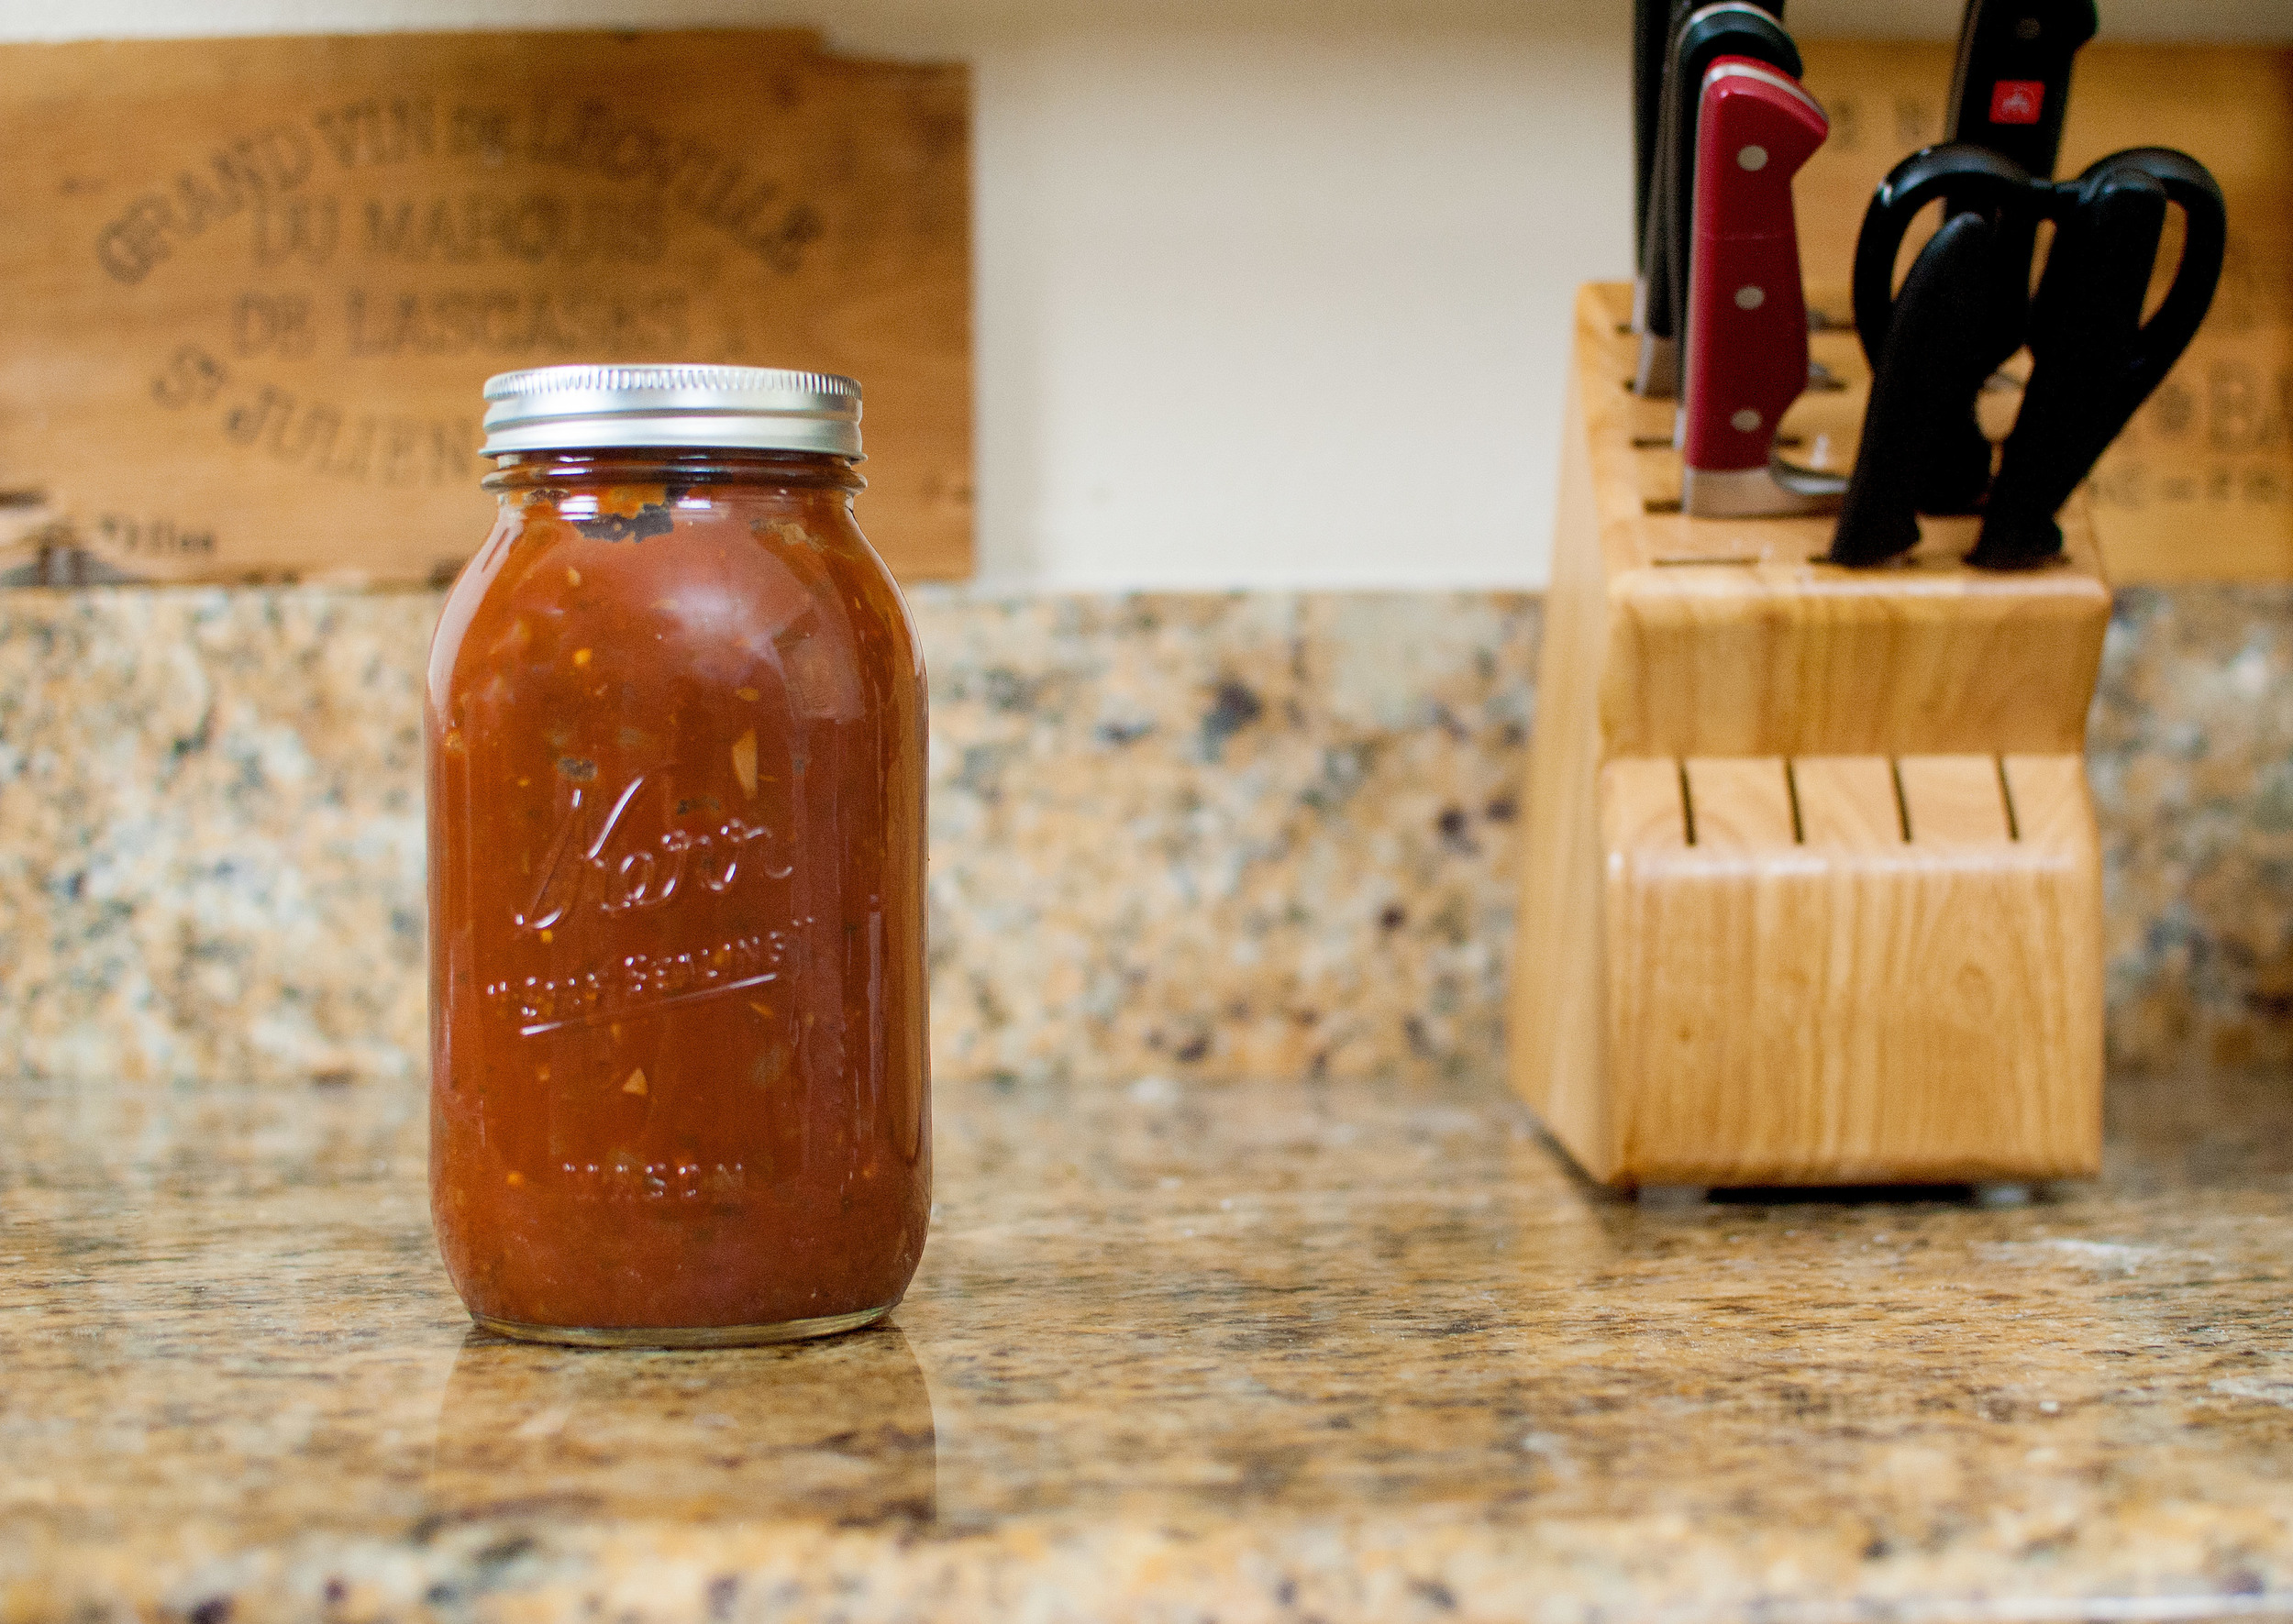
    Marinara is a mother sauce that you can use in all sorts of Italian dishes, from spaghetti to pizza to lasagna to meatball subs, even just for dipping breadsticks.
    Jon and I make marinara differently. His turns out smoky and rich. Mine is more bright and floral with a slight acidic edge. (I think it’s because of the bay leaf and I put waaay less wine in the sauce.) You can’t make marinara wrong, but sometimes the freshness is nice. You can customize the sauce for the dish as you see fit.

    Nate’s Pinot Noir Marinara

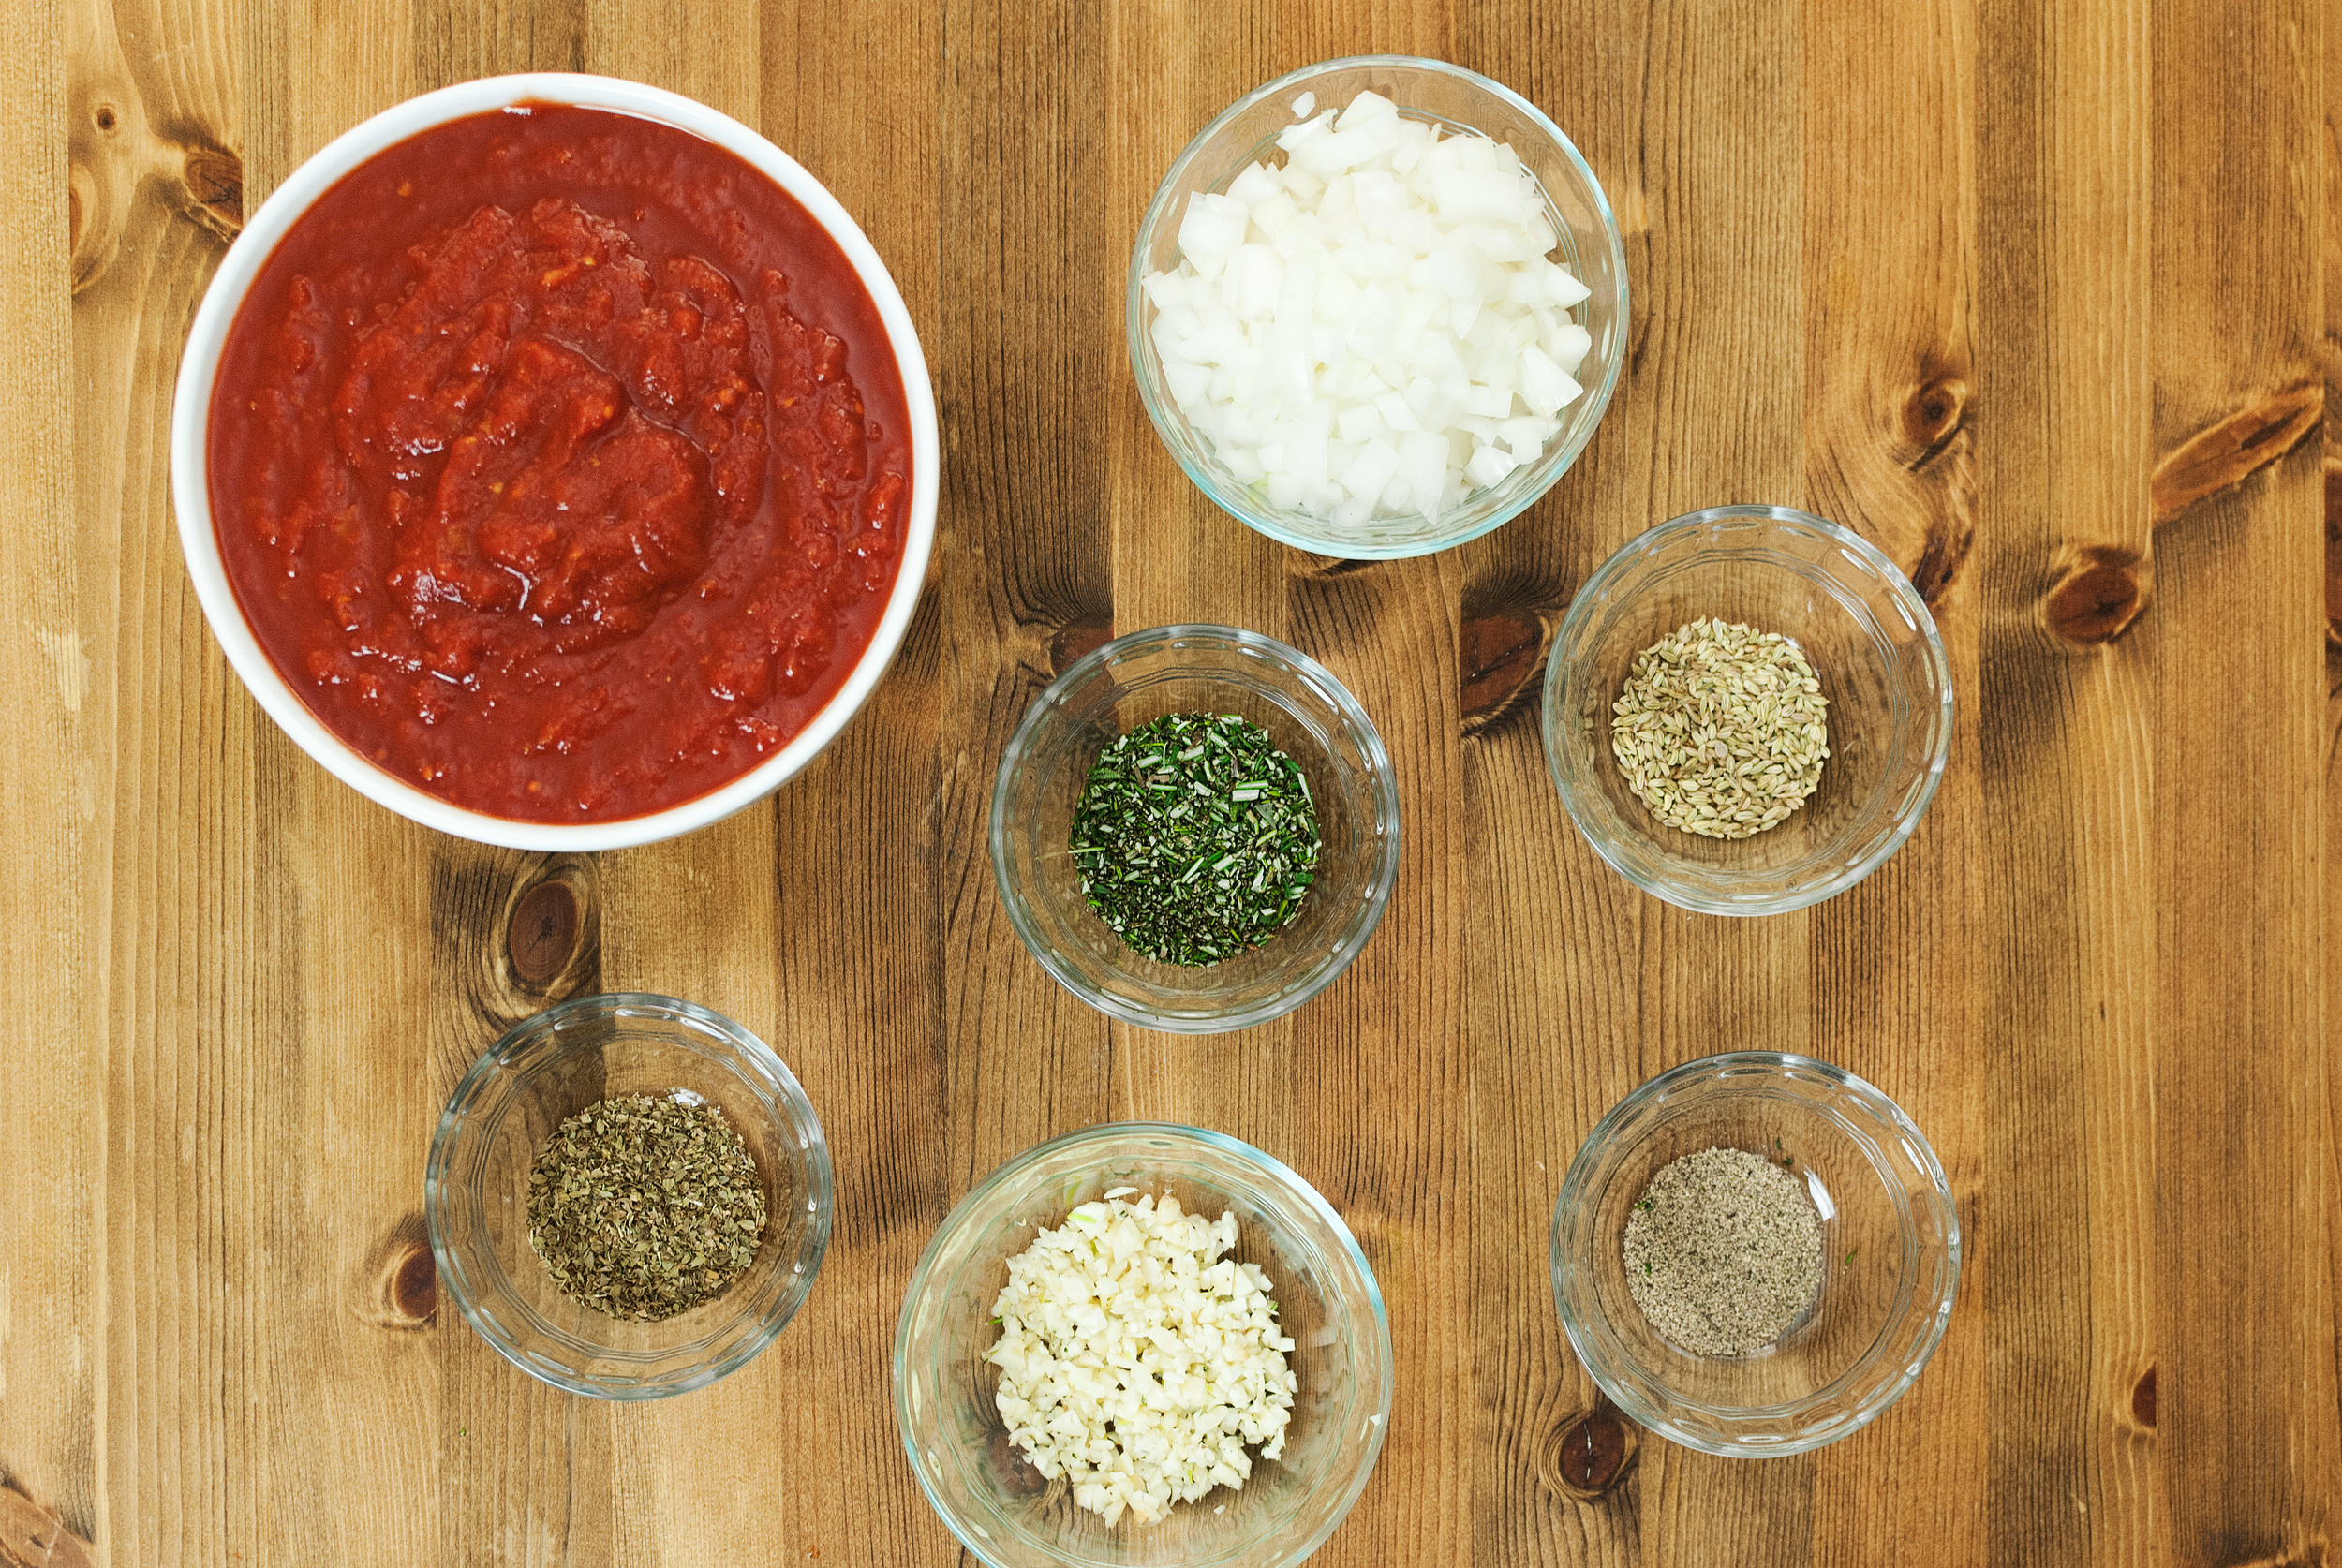
    • 2 28-ounce cans crushed tomatoes
    • 1 medium sweet onion, diced
    • 6 cloves garlic, minced
    • 2 tbs. dried Mediterranean oregano
    • 1 tbs. fennel seed
    • 1 10-inch sprig rosemary, leaves removed, minced (reserve the stick)
    • ¼ tsp. red pepper flakes
    • 1 bay leaf
    • 2 cup pinot noir red wine
    • 2 tbs. olive oil
    • salt & pepper to taste


    Marinara_02

    Marinara_02

    In a large heavy-bottomed stock pot, heat oil over medium heat. Sweat the onions (cook them until translucent), stirring constantly. Add tomatoes and stir. Add everything else, and bring to a simmer. Reduce to low heat and cook uncovered for 1 hour, stirring frequently. The sauce will reduce about halfway.

    You can refrigerate the sauce for up to 3 days or freeze for up to 3 months.

    Yields scant 3 pints.