Category: Basics

  • Everyday Gnocchi


    Gnocchi is one of those recipes that mystifies me when I find out that someone thinks that it’s difficult to make, because not only is it really easy (and cheap) to produce, it’s also easy to produce a lot of it; and that’s exactly what we do. It’s common for me to whip out about four batches at a time of this recipe (a standard mixer should be able to hold two at once) then freeze the lot on a sheet tray and store these little guys in a large plastic bag. It’s such a satisfying meal for us, and the knowledge that we can put in minimal effort for it makes it all the more alluring after a long day of work where you just want something delicious and quick. Just pick your sauce, pop these kids out of the freezer and boil ’em in water till they float, and you’re set.

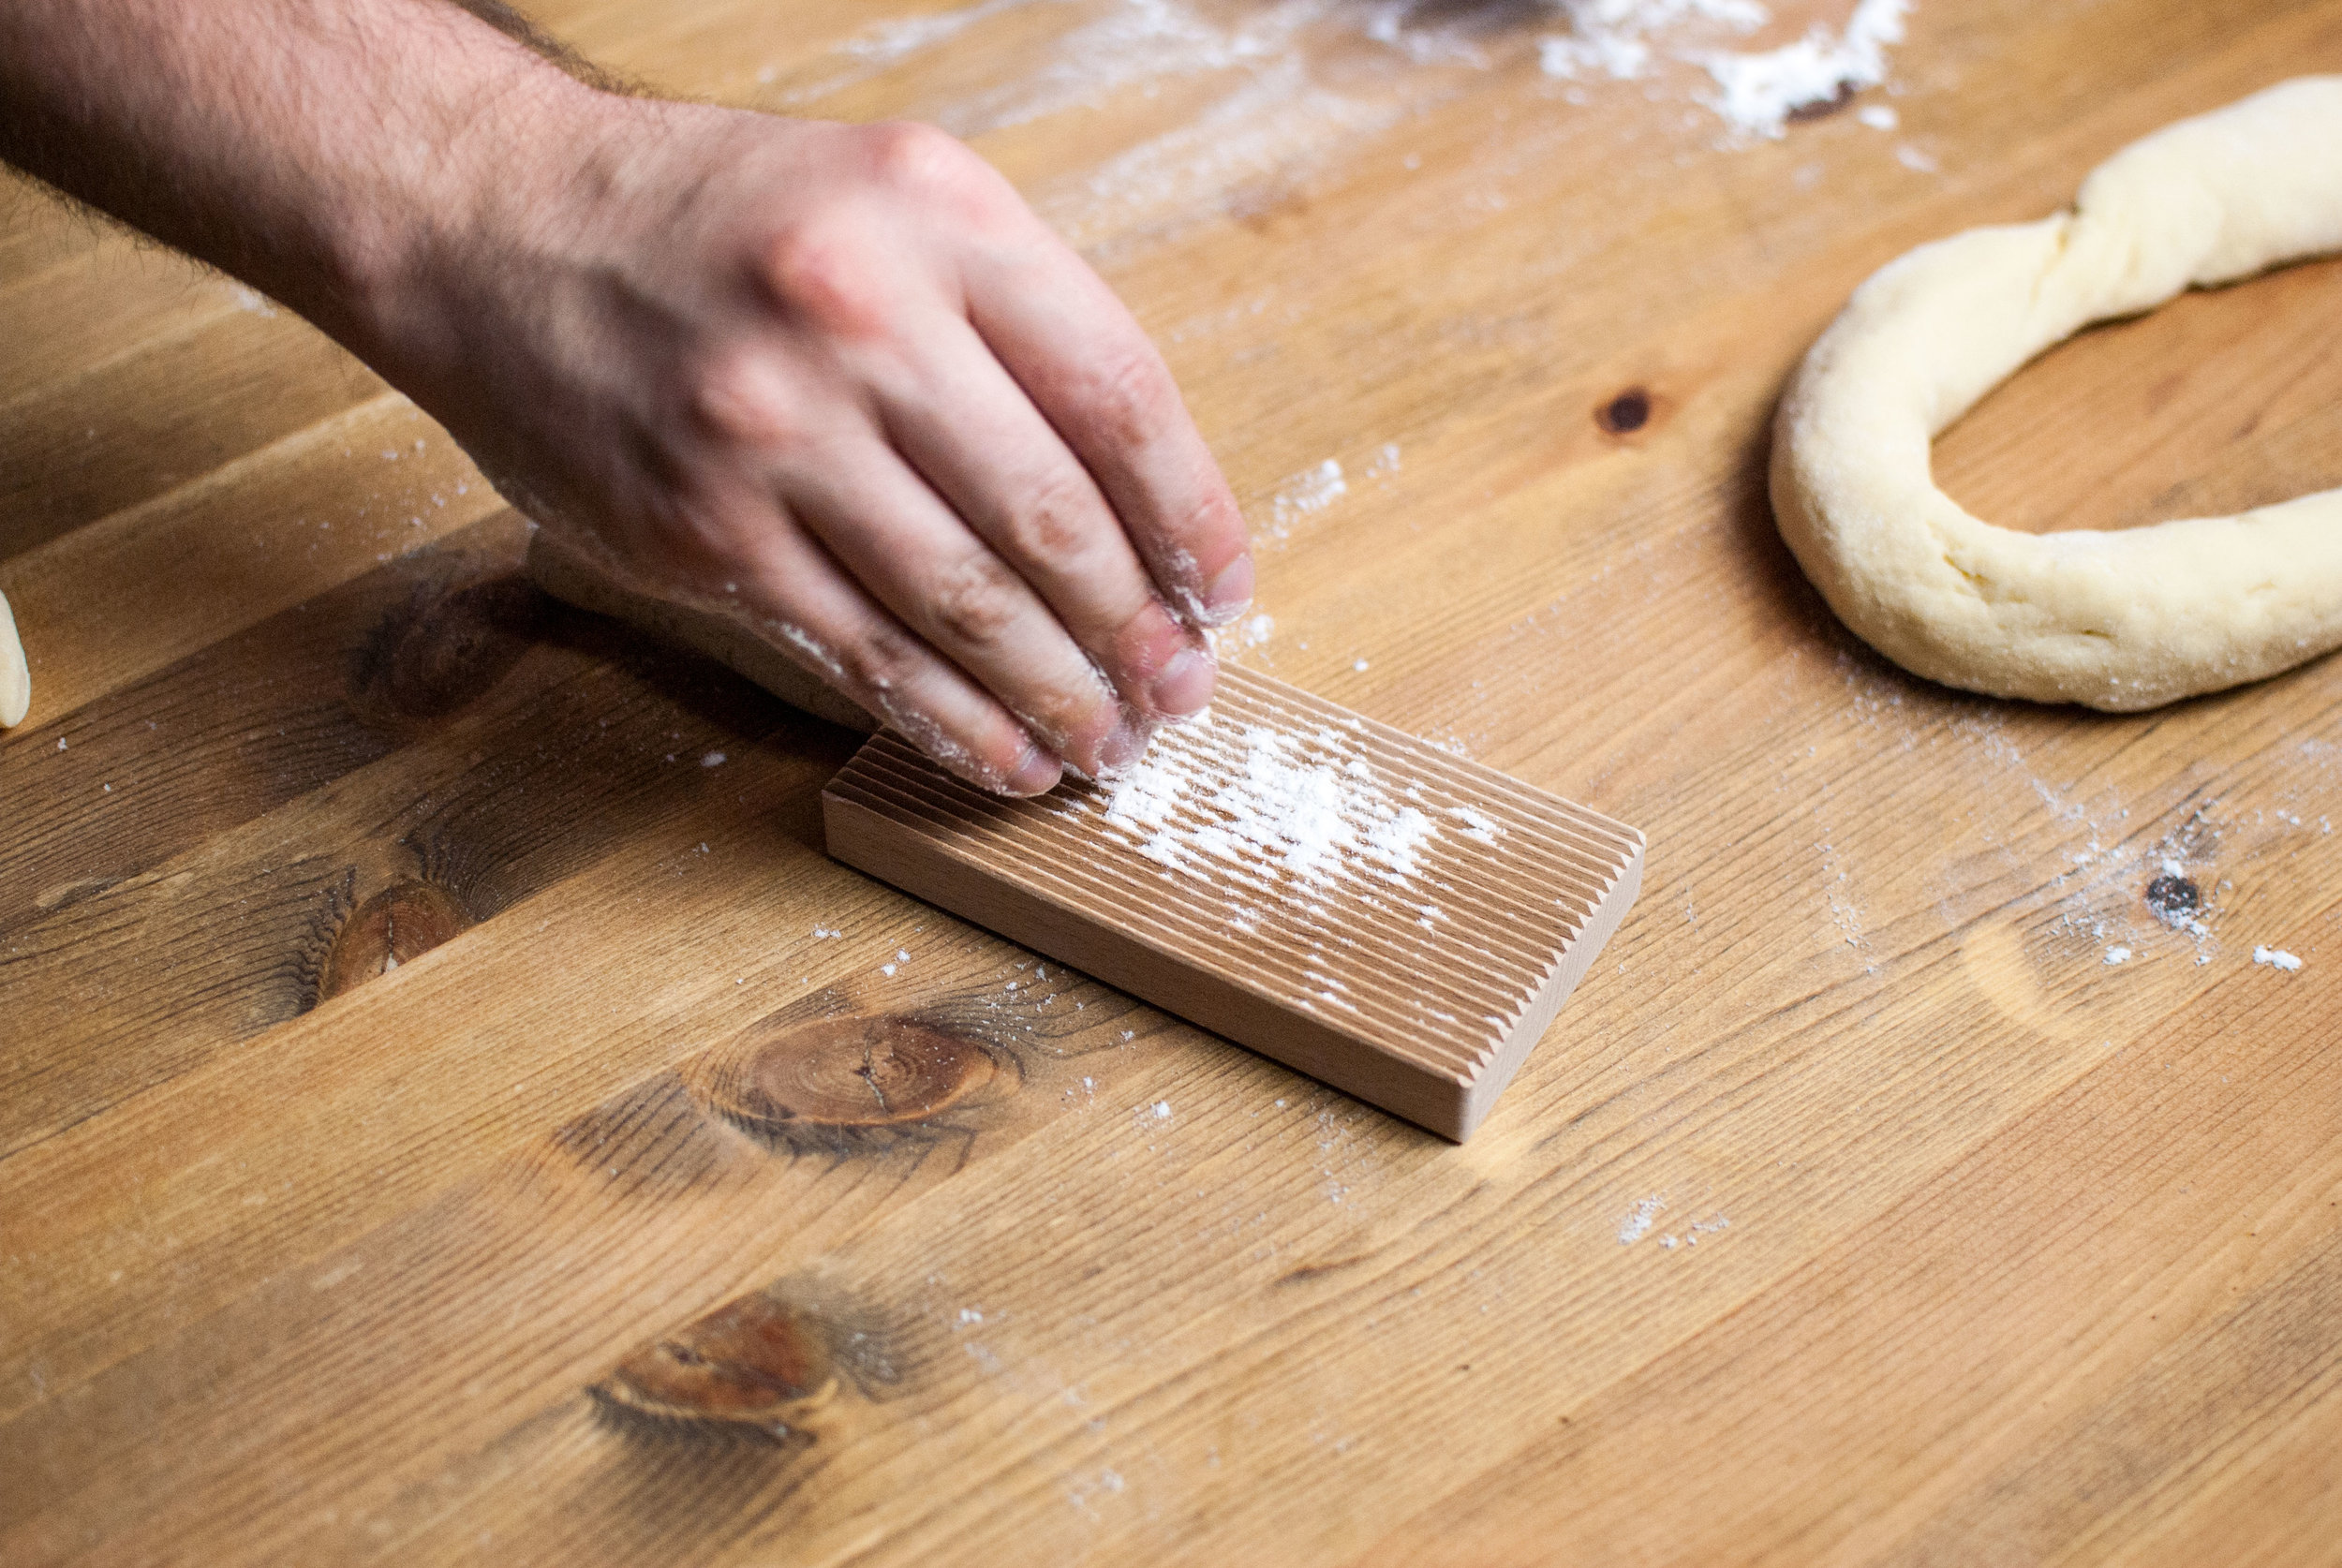
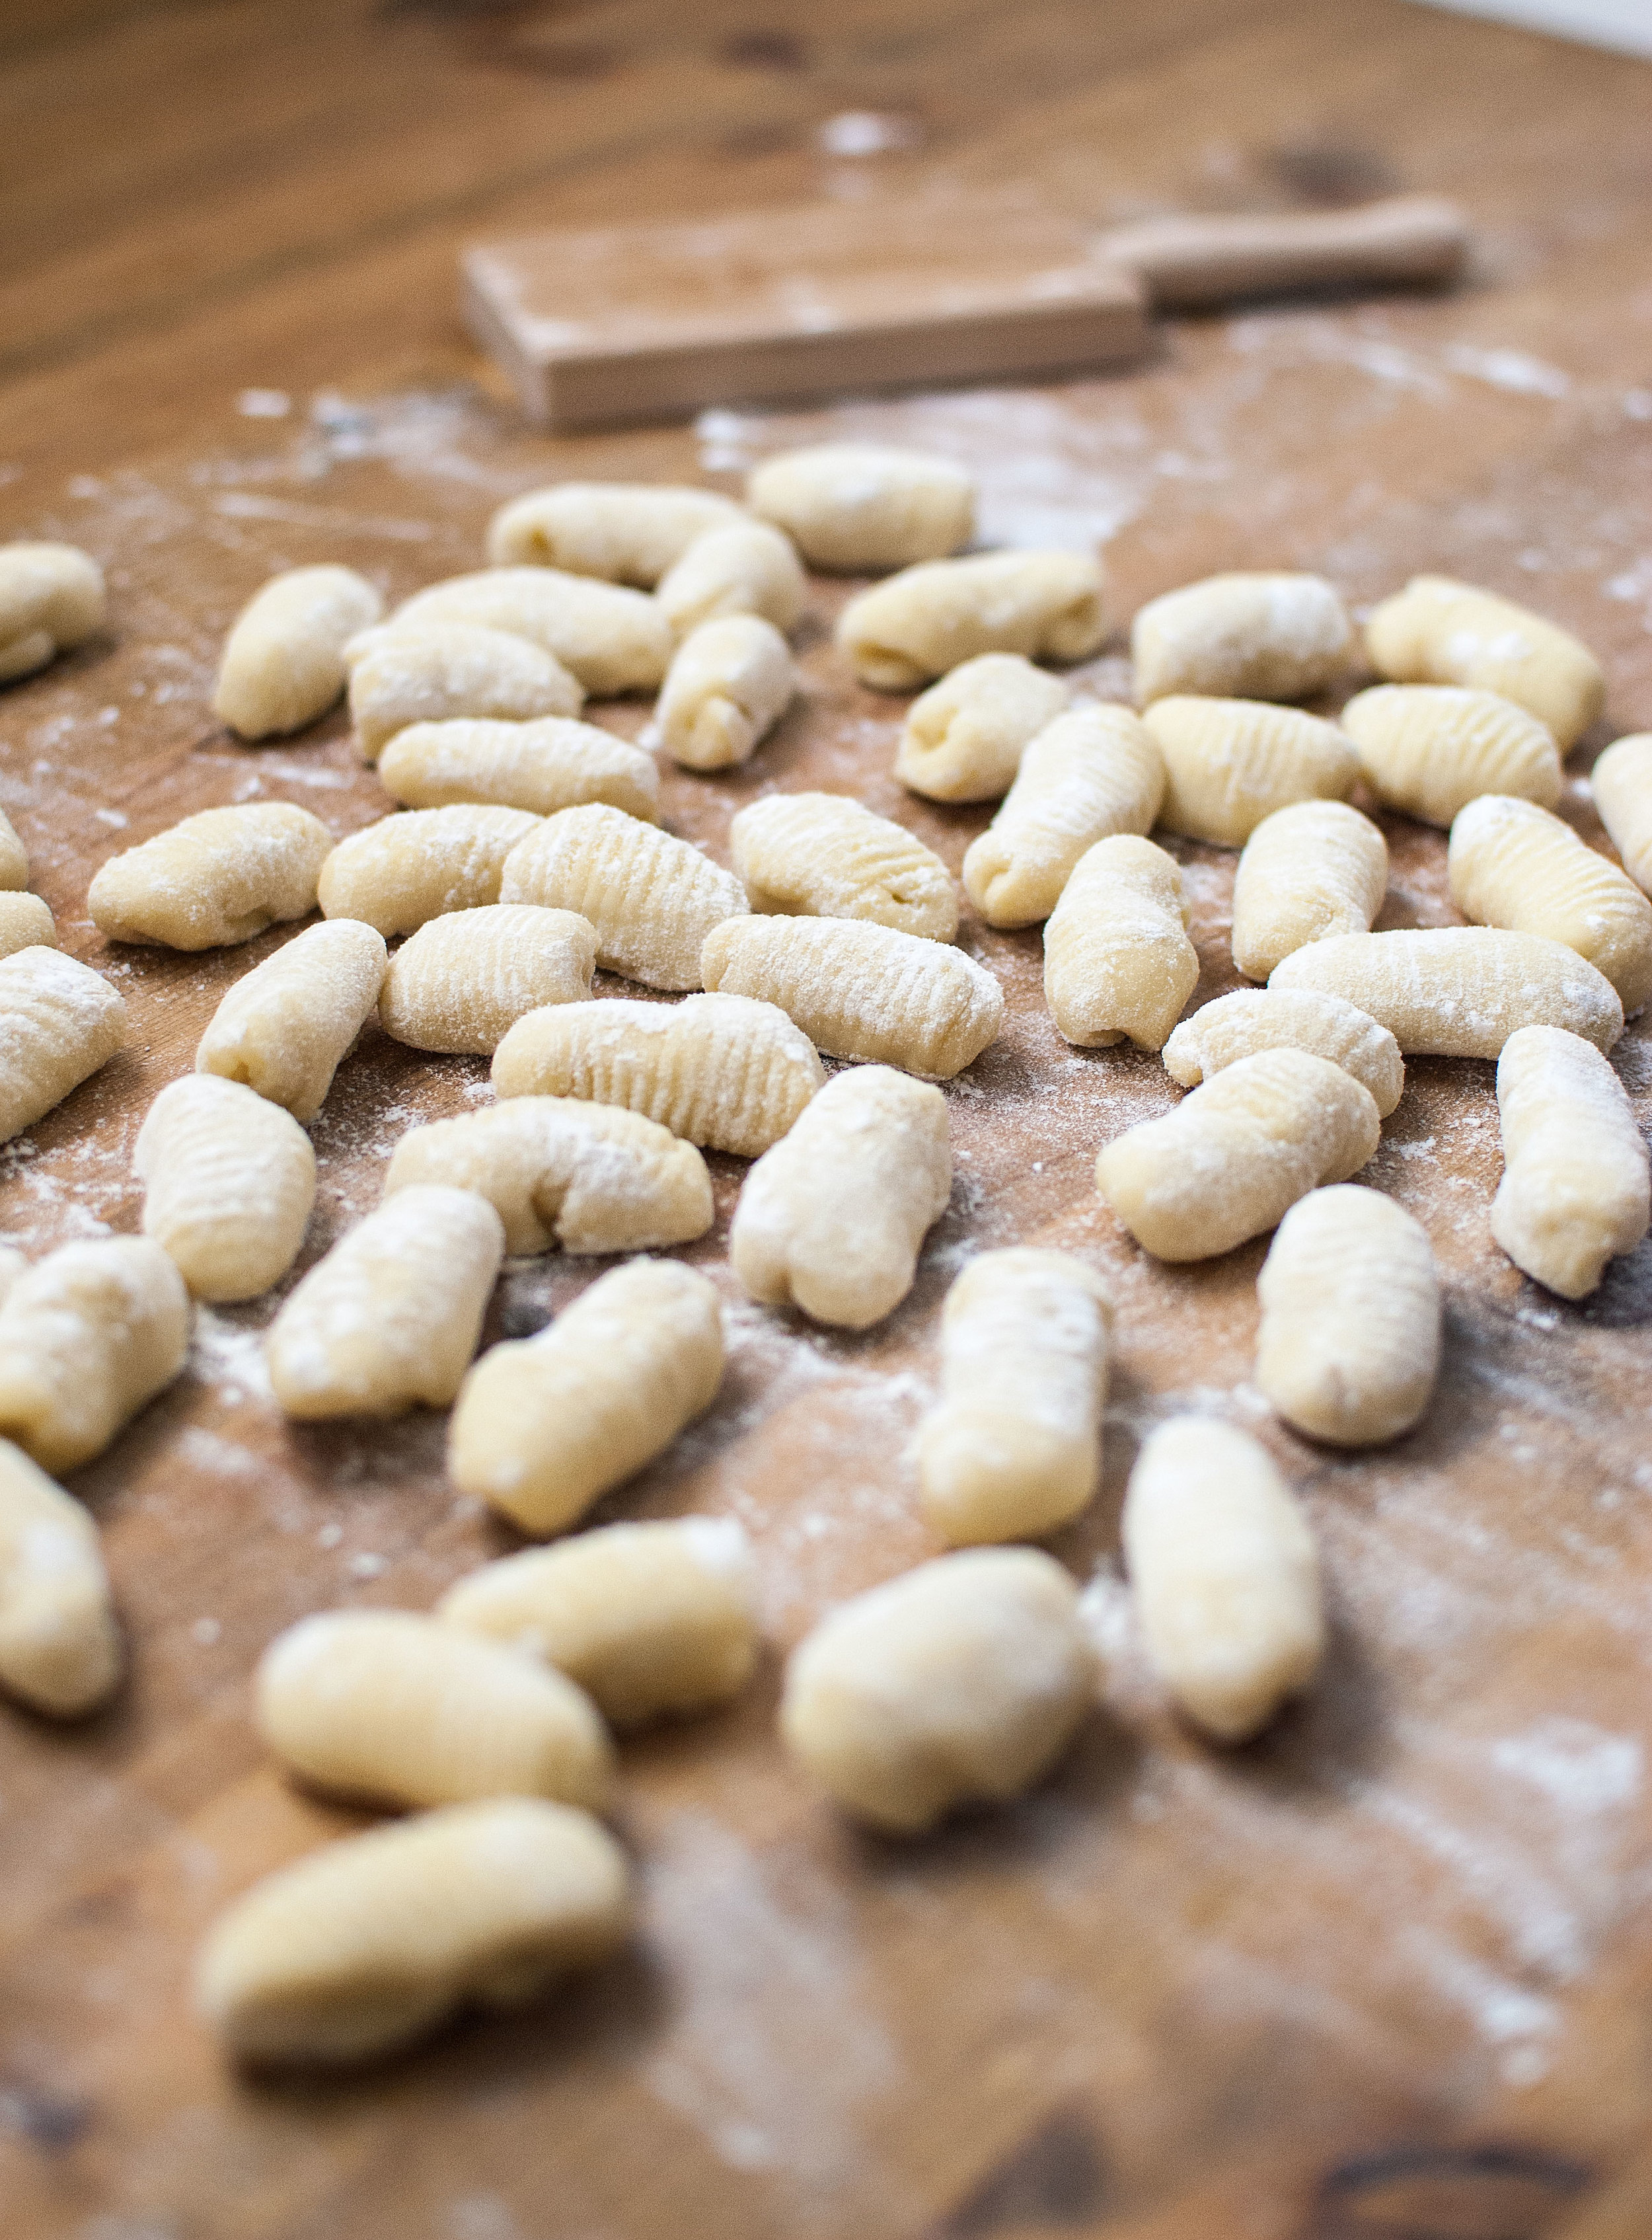
    Side note: yes, the gnocchi in this recipe are pressed onto a gnocchi board. Do you need to do that? No, no you don’t. Do grooves hold more sauce? Yeah, they do. Will your dinner be any less delicious if your gnocchs are just little grooveless potato lumps that you cut off from your giant slab of dough? Nope, it’ll be awesome.

    Did we press these onto a groove board just for this post so our gnocchi will look awesome even though we almost never do it in real life?

    You bet your ass we did.

    Everyday Gnocchi:

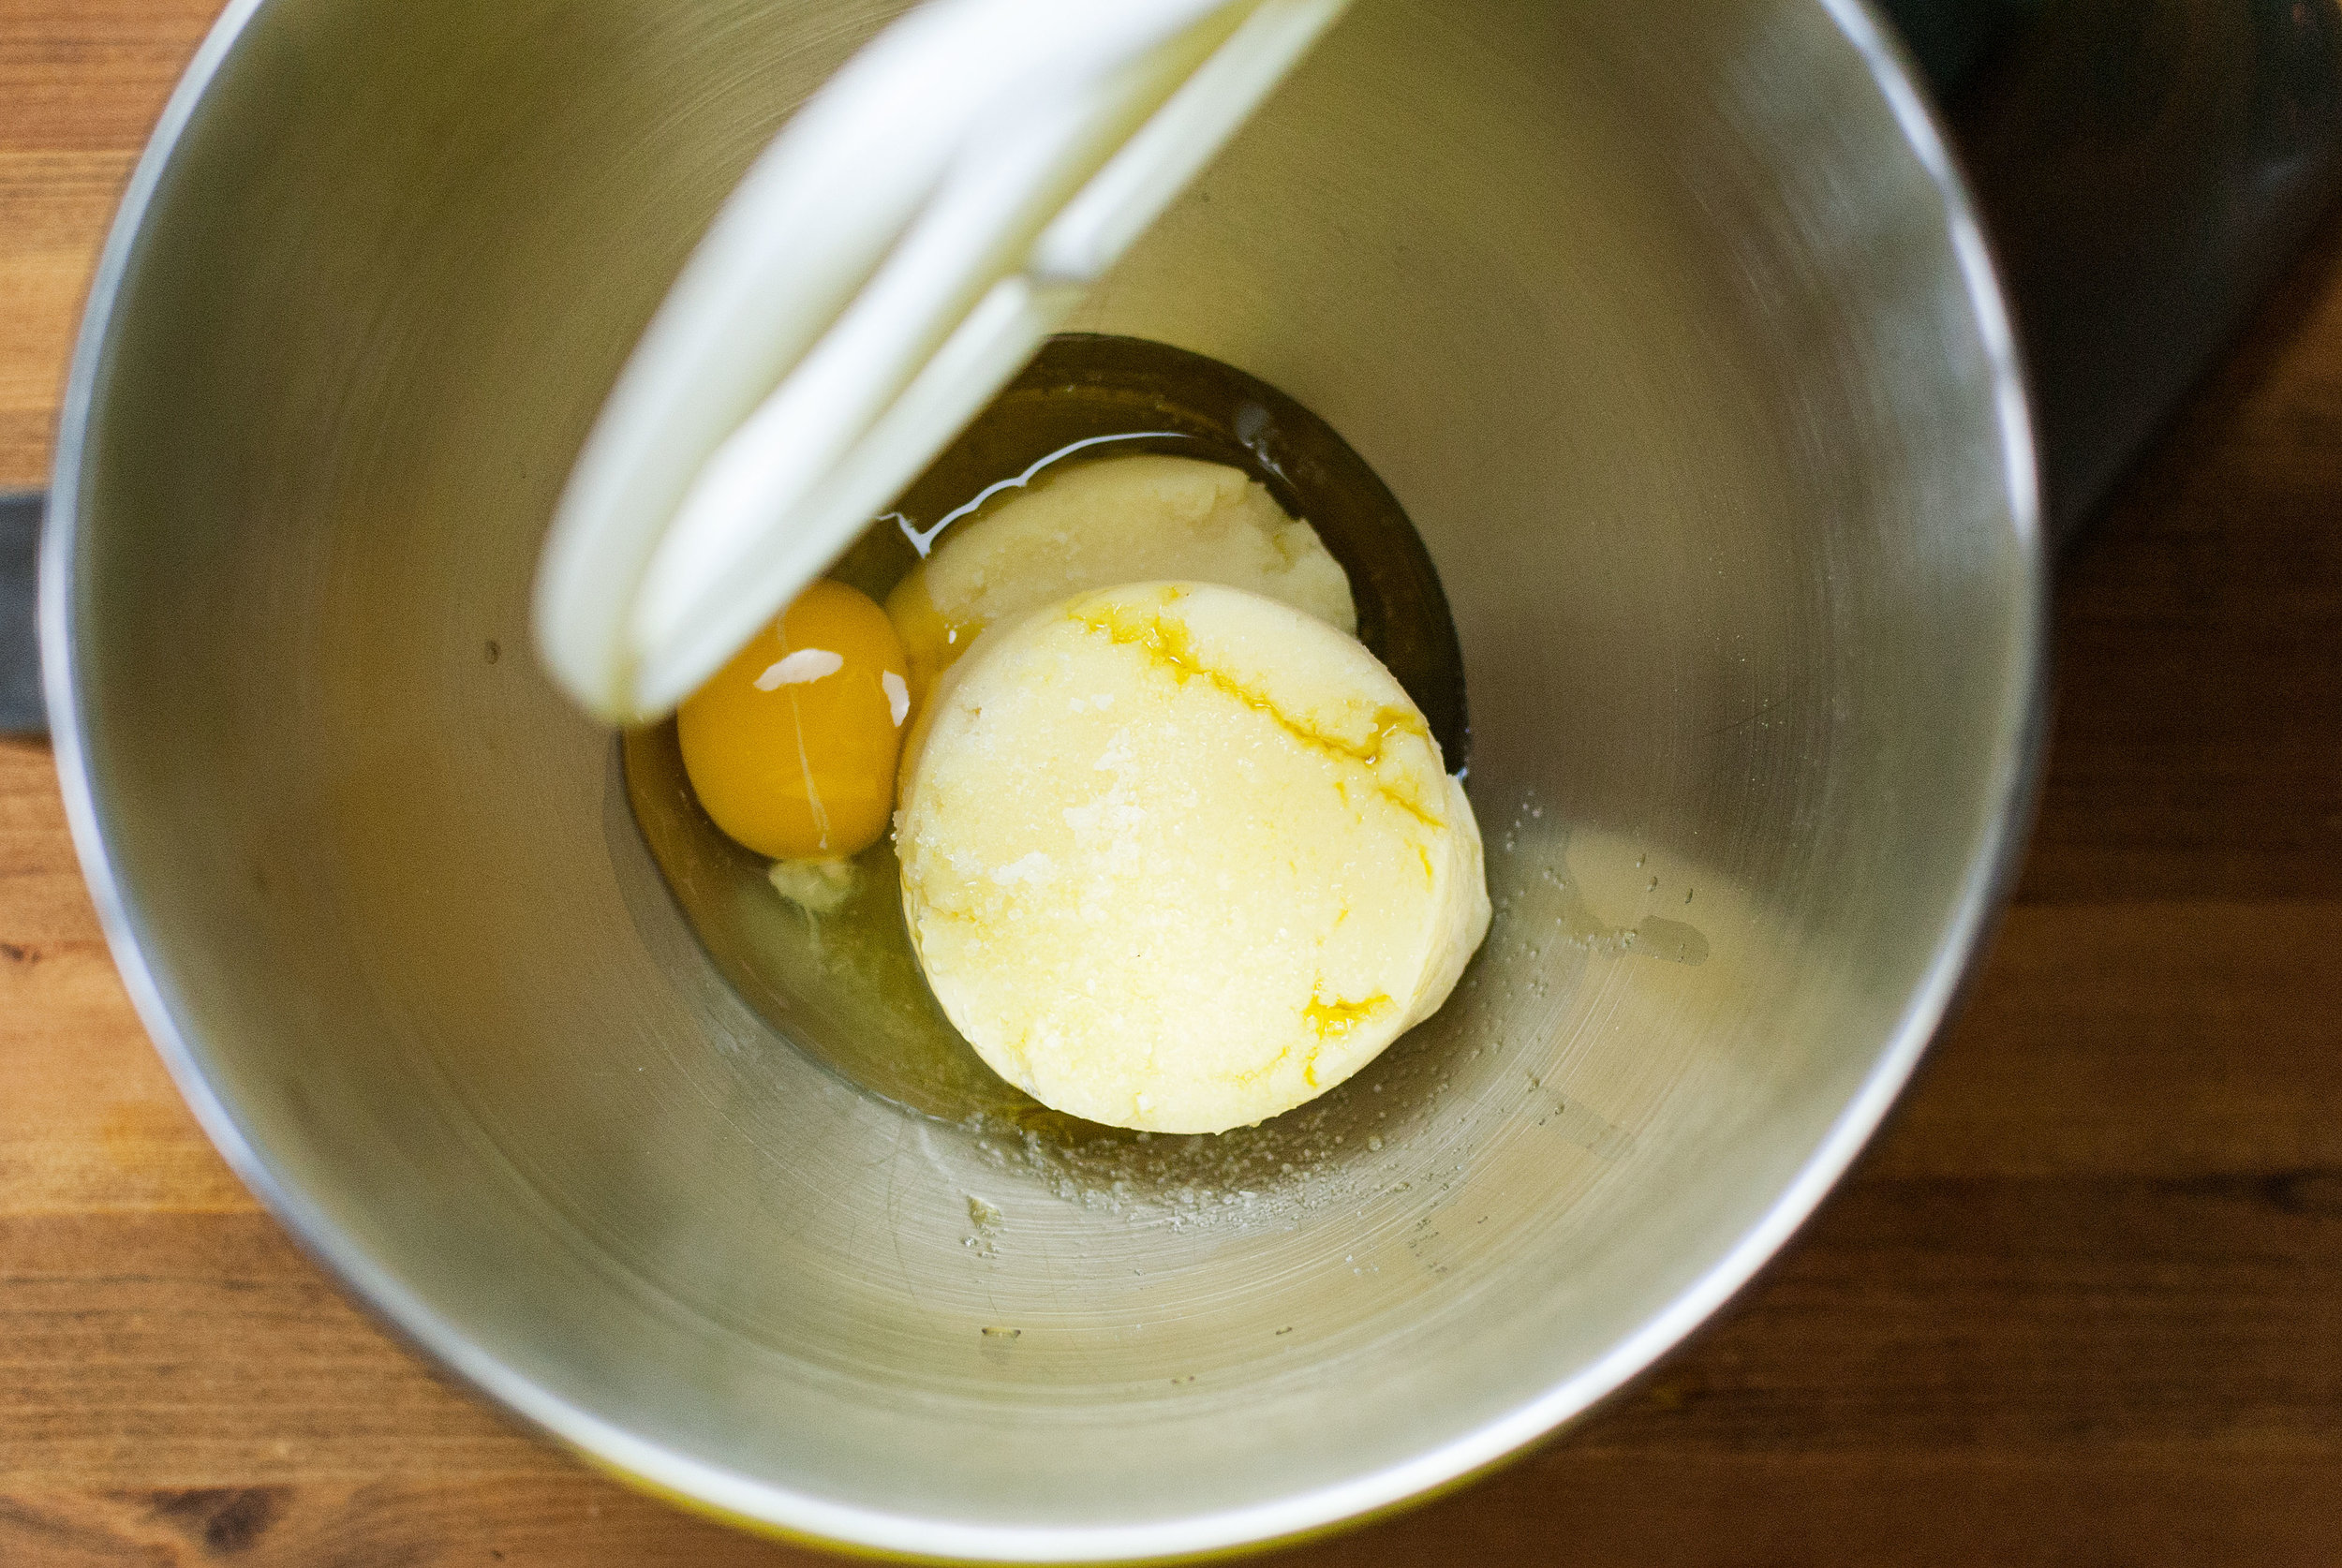
    • 1 cup of cooked skinless russet potato flesh, thoroughly mashed with as few clumps as possible.

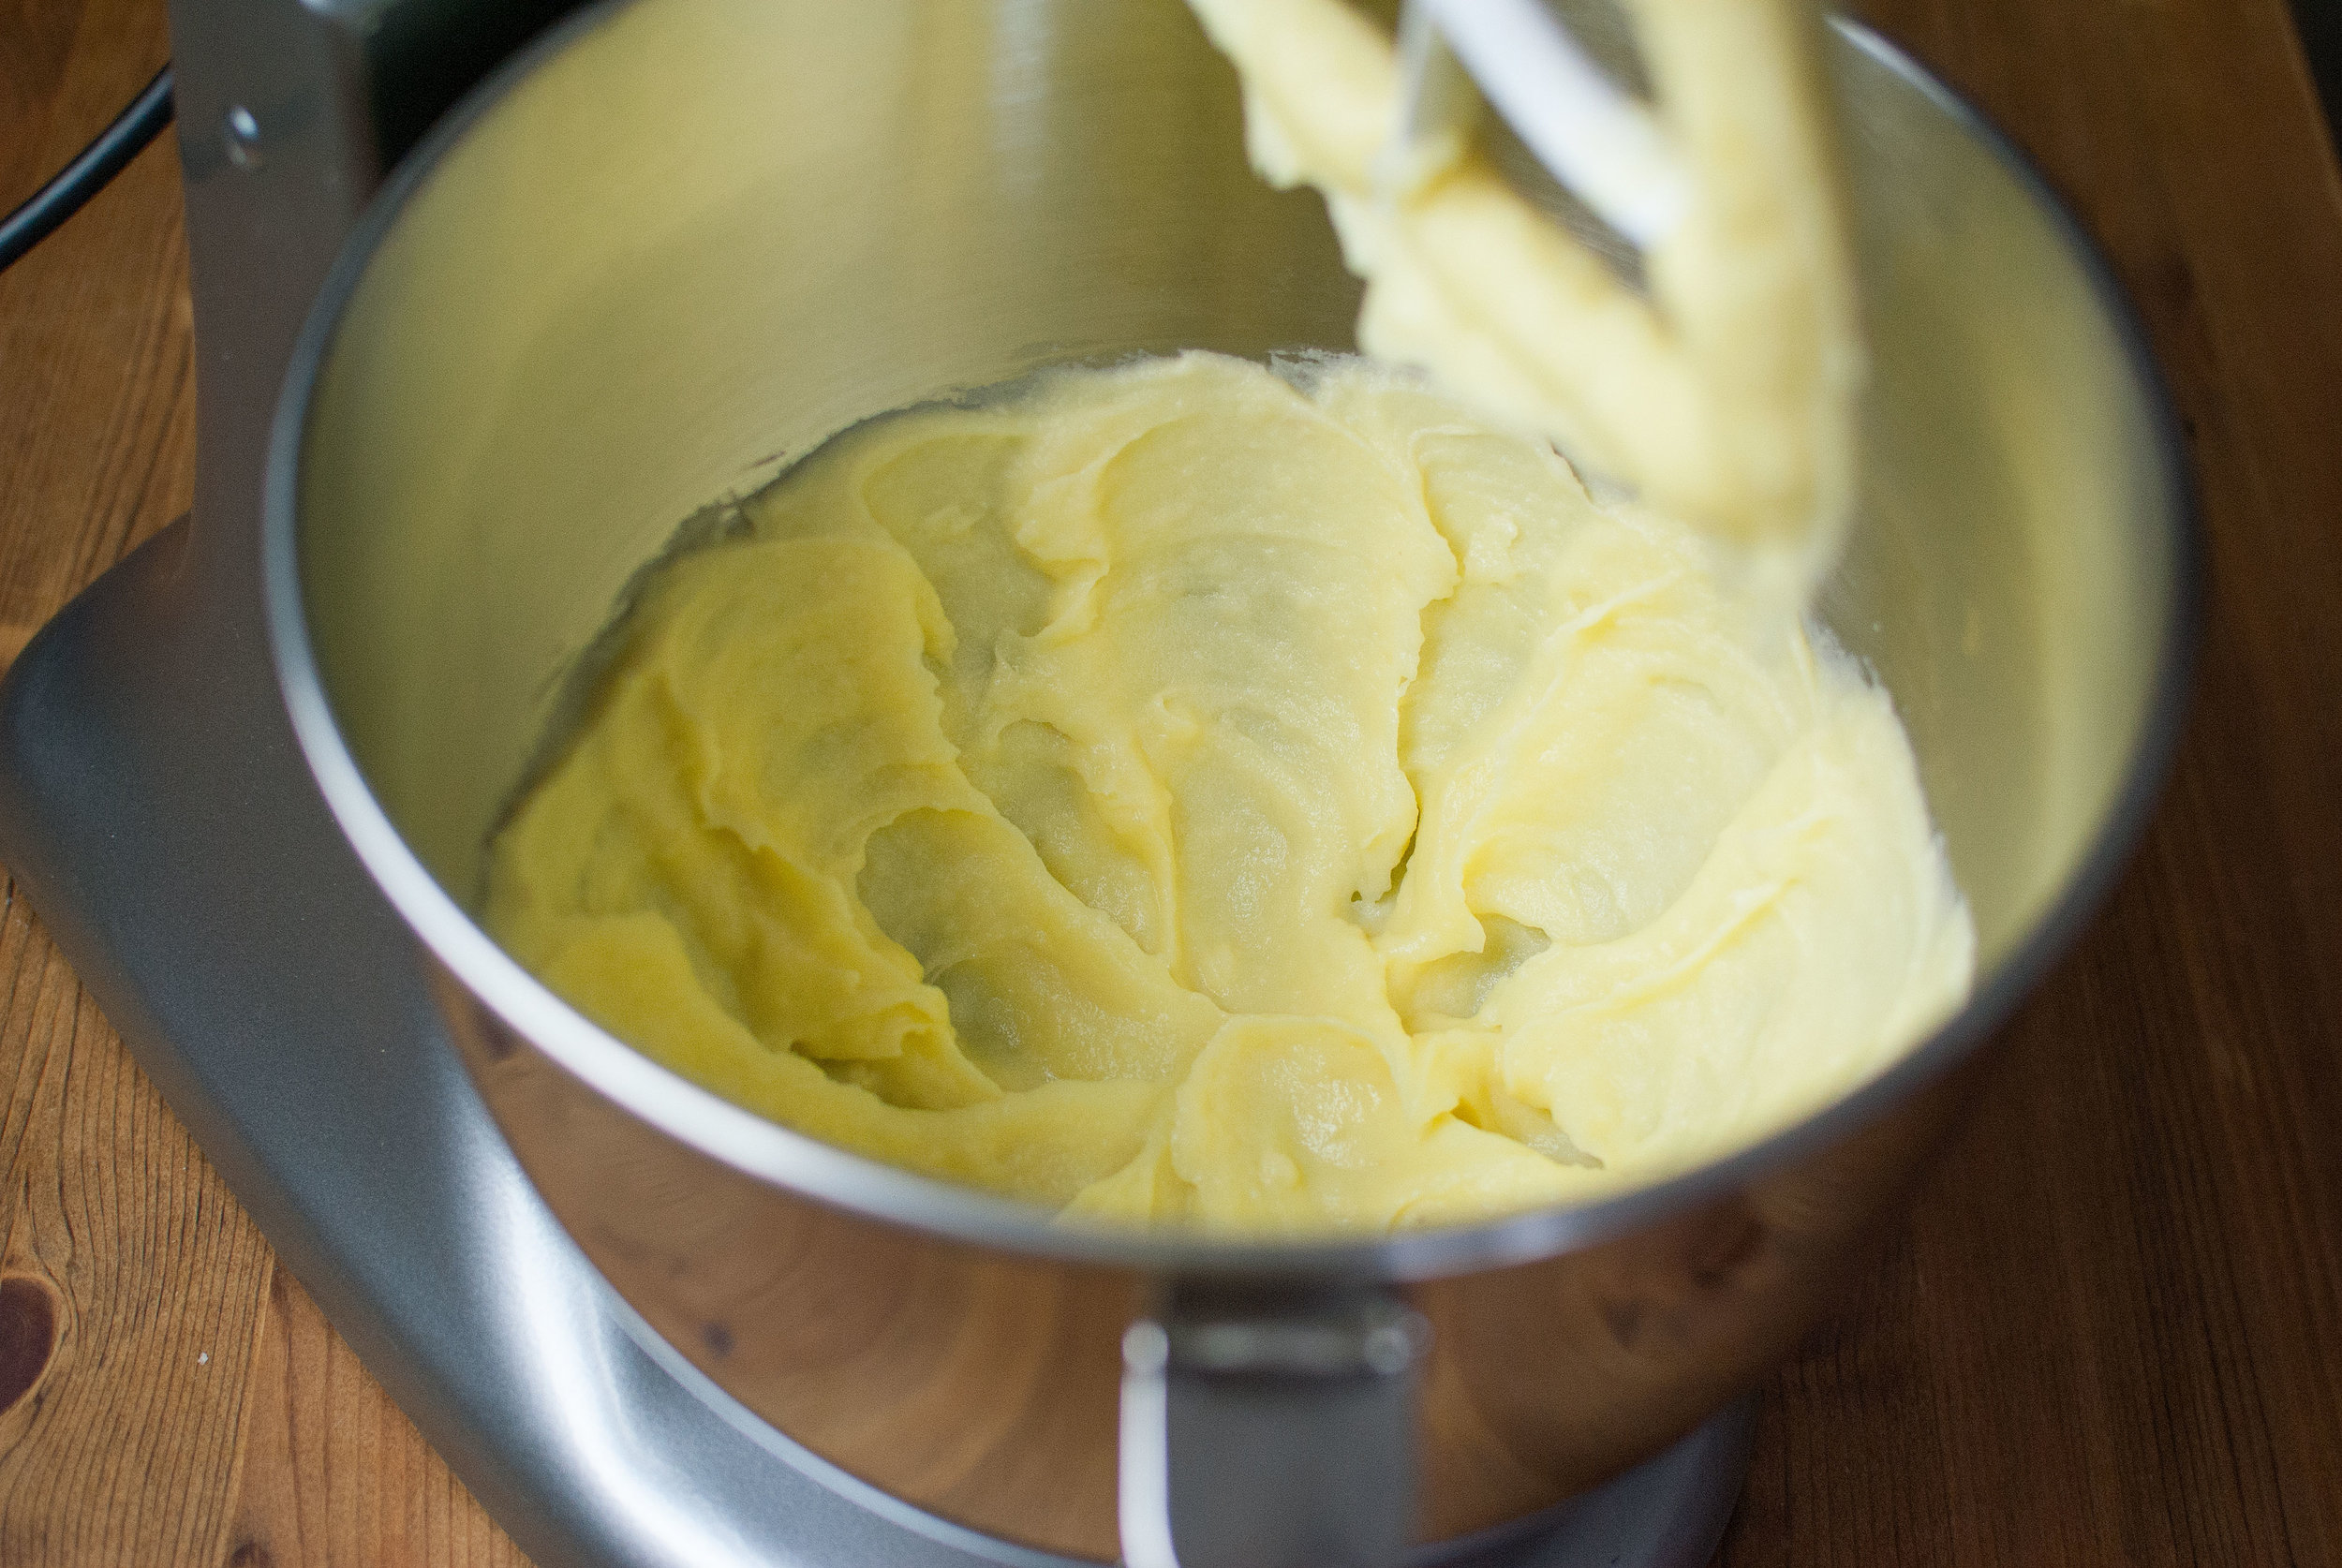
      • Side note: When I do big batches of gnocchi, I will often add my cooked potato to a food processor and blend it until it’s very smooth, along with the olive oil. This changes the texture of the potato dramatically, making it much smoother (almost like a potato cake batter, and makes a much stickier dough after you add the flour to it. I’d recommend doing this, but if you’re tired and just wanna mash the potatoes by hand, your gnocchi won’t be any less delicious.

    • 2 tablespoons olive oil

    • 1 large egg

    • a big three-finger pinch of good salt

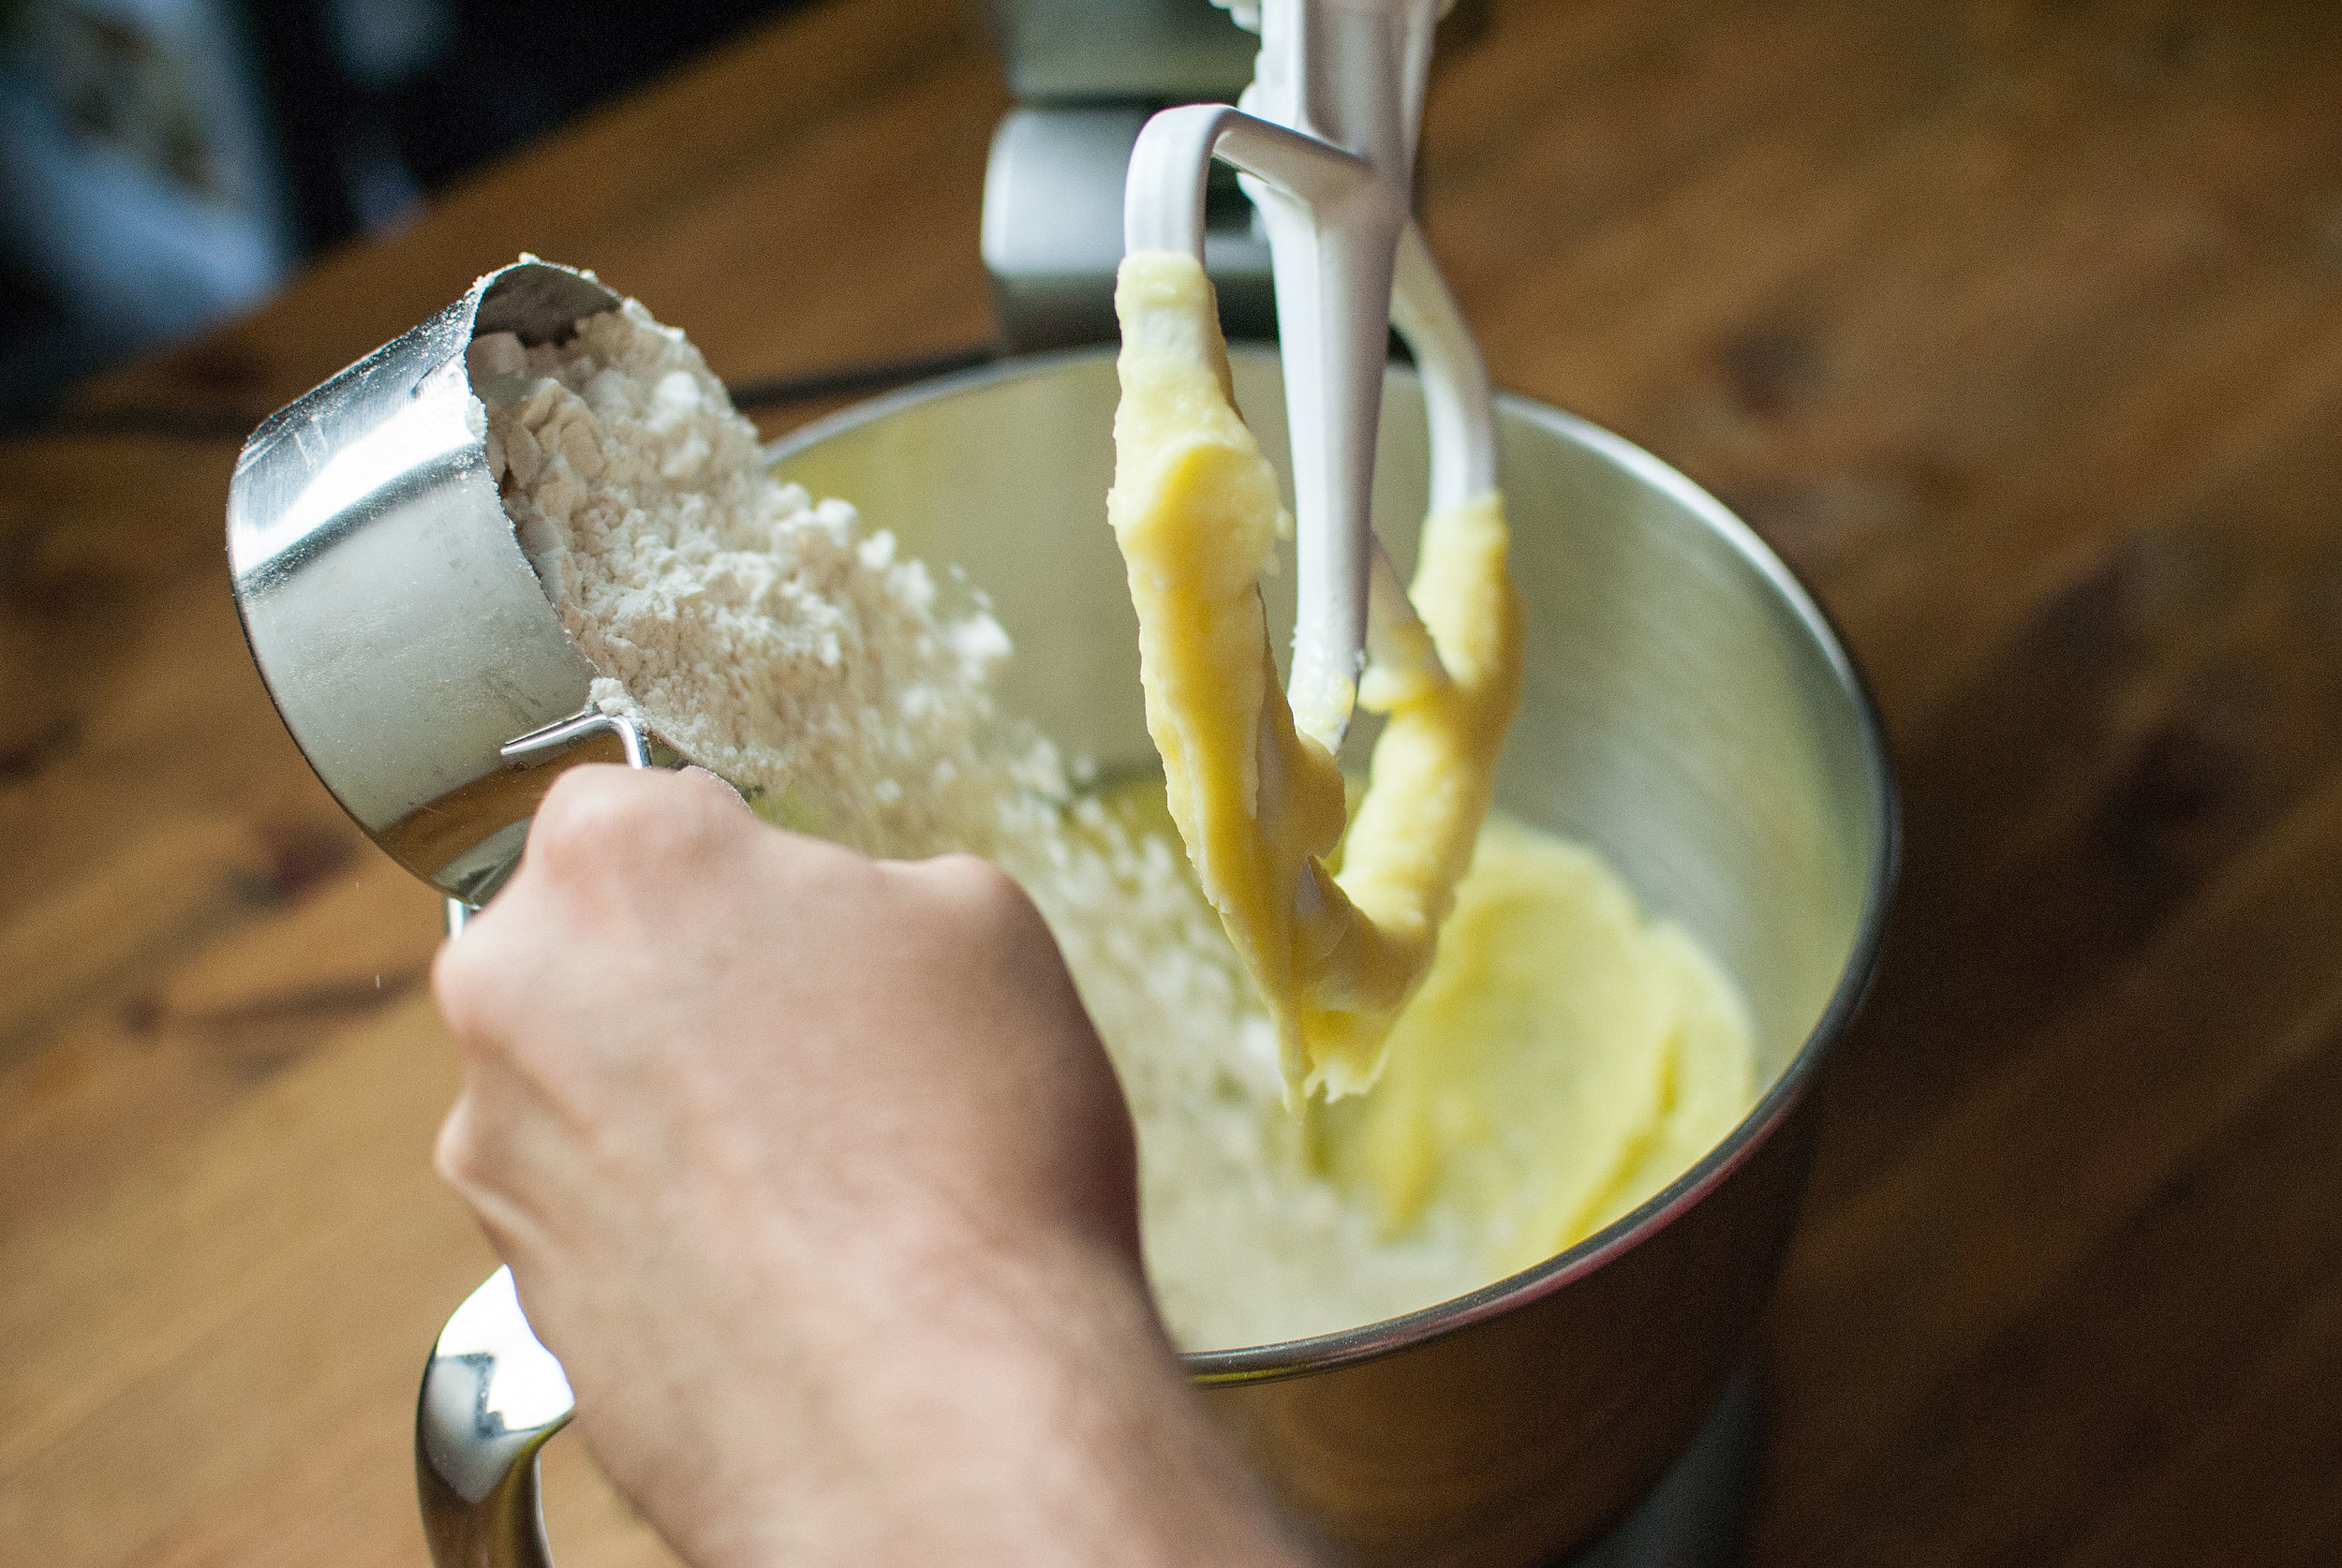
    • 2 cups flour

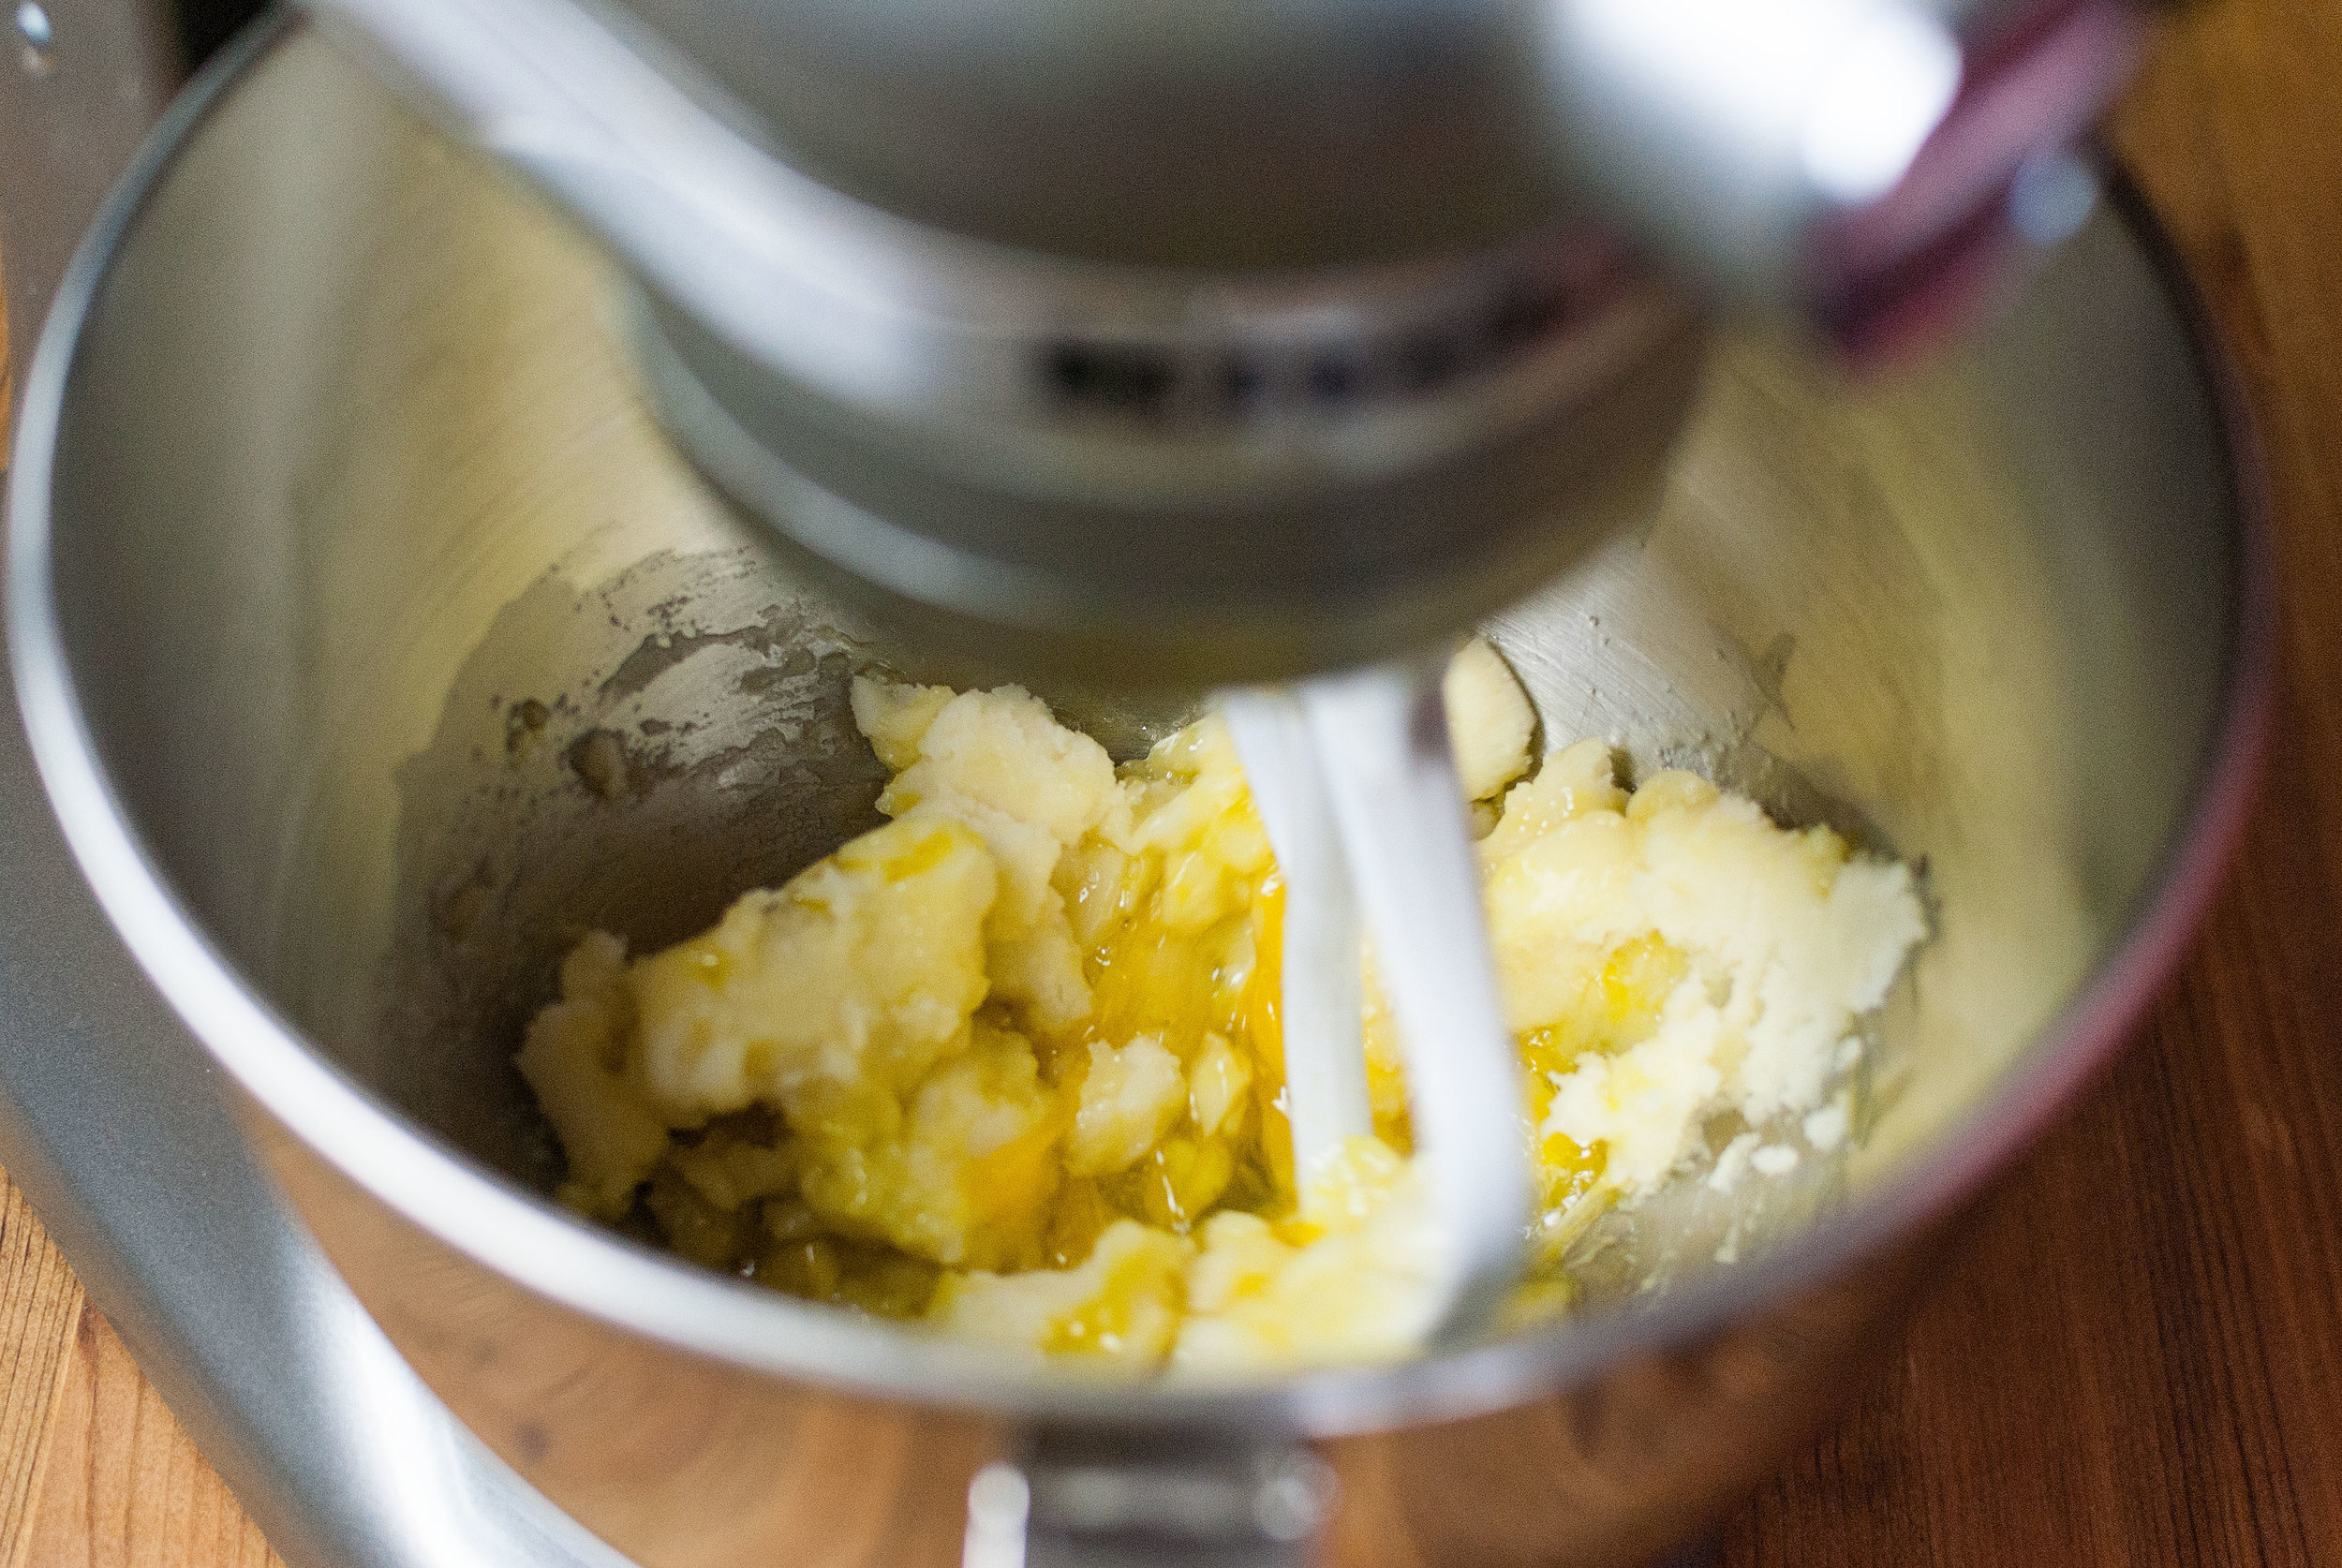
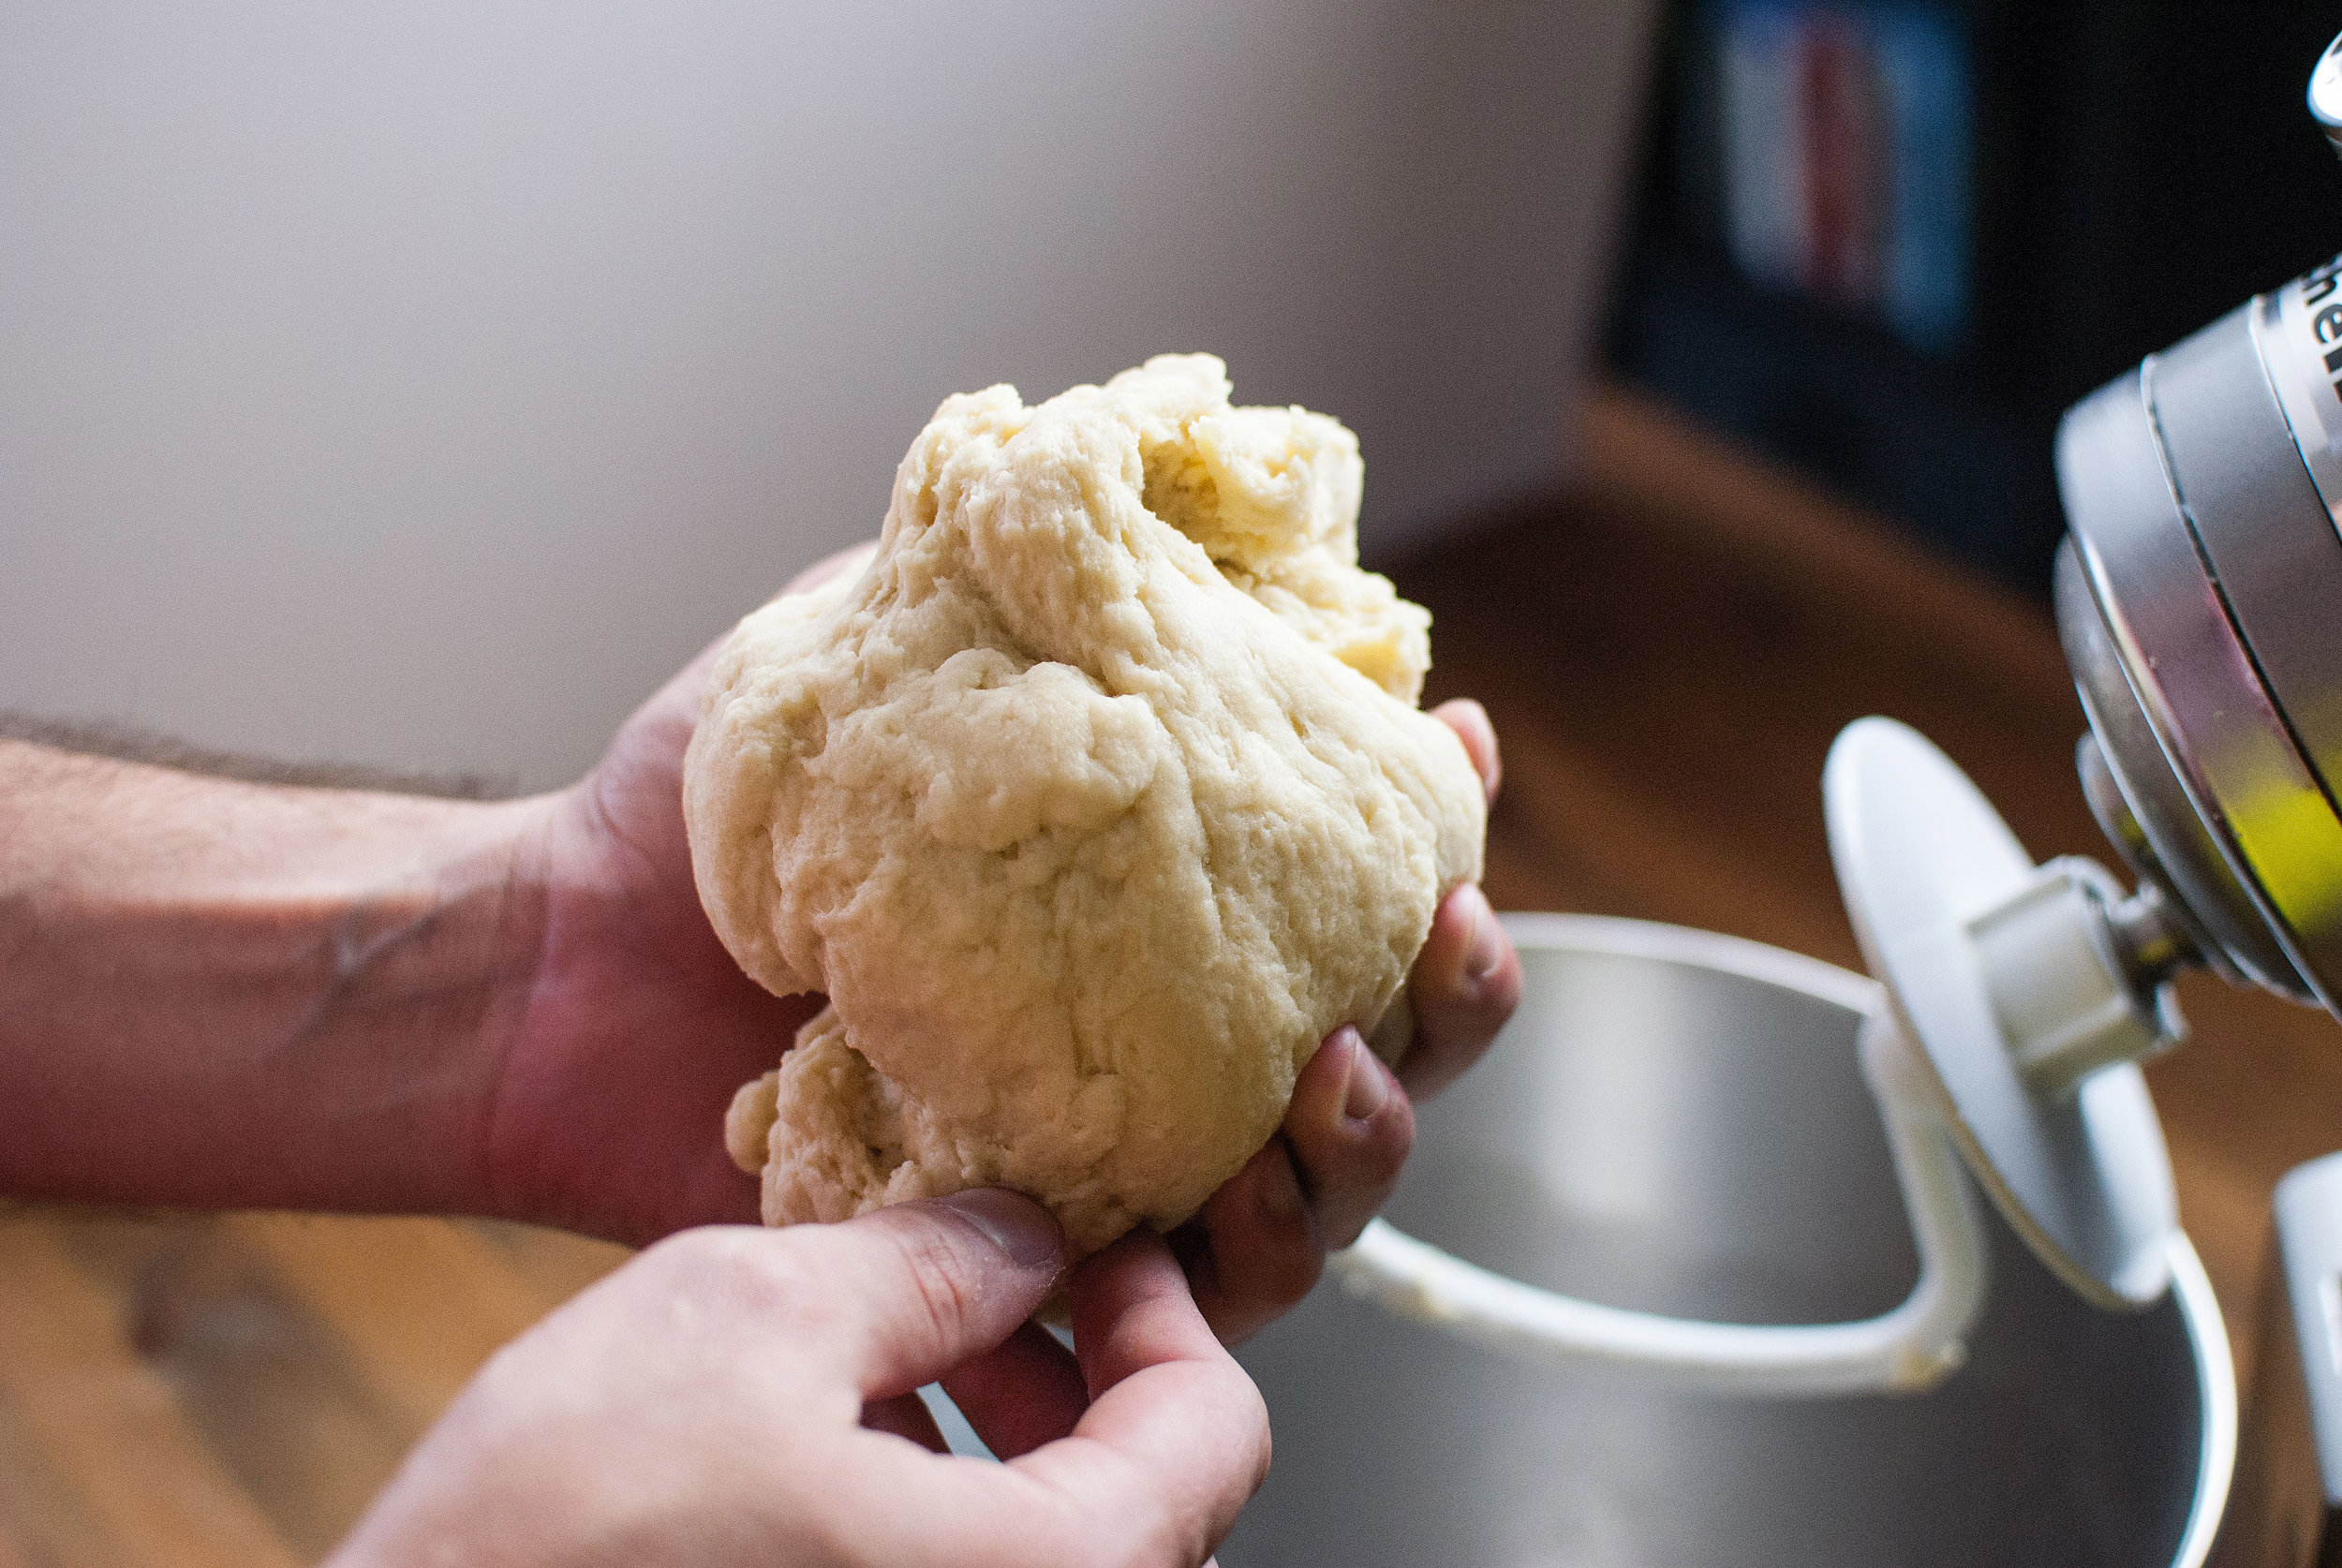
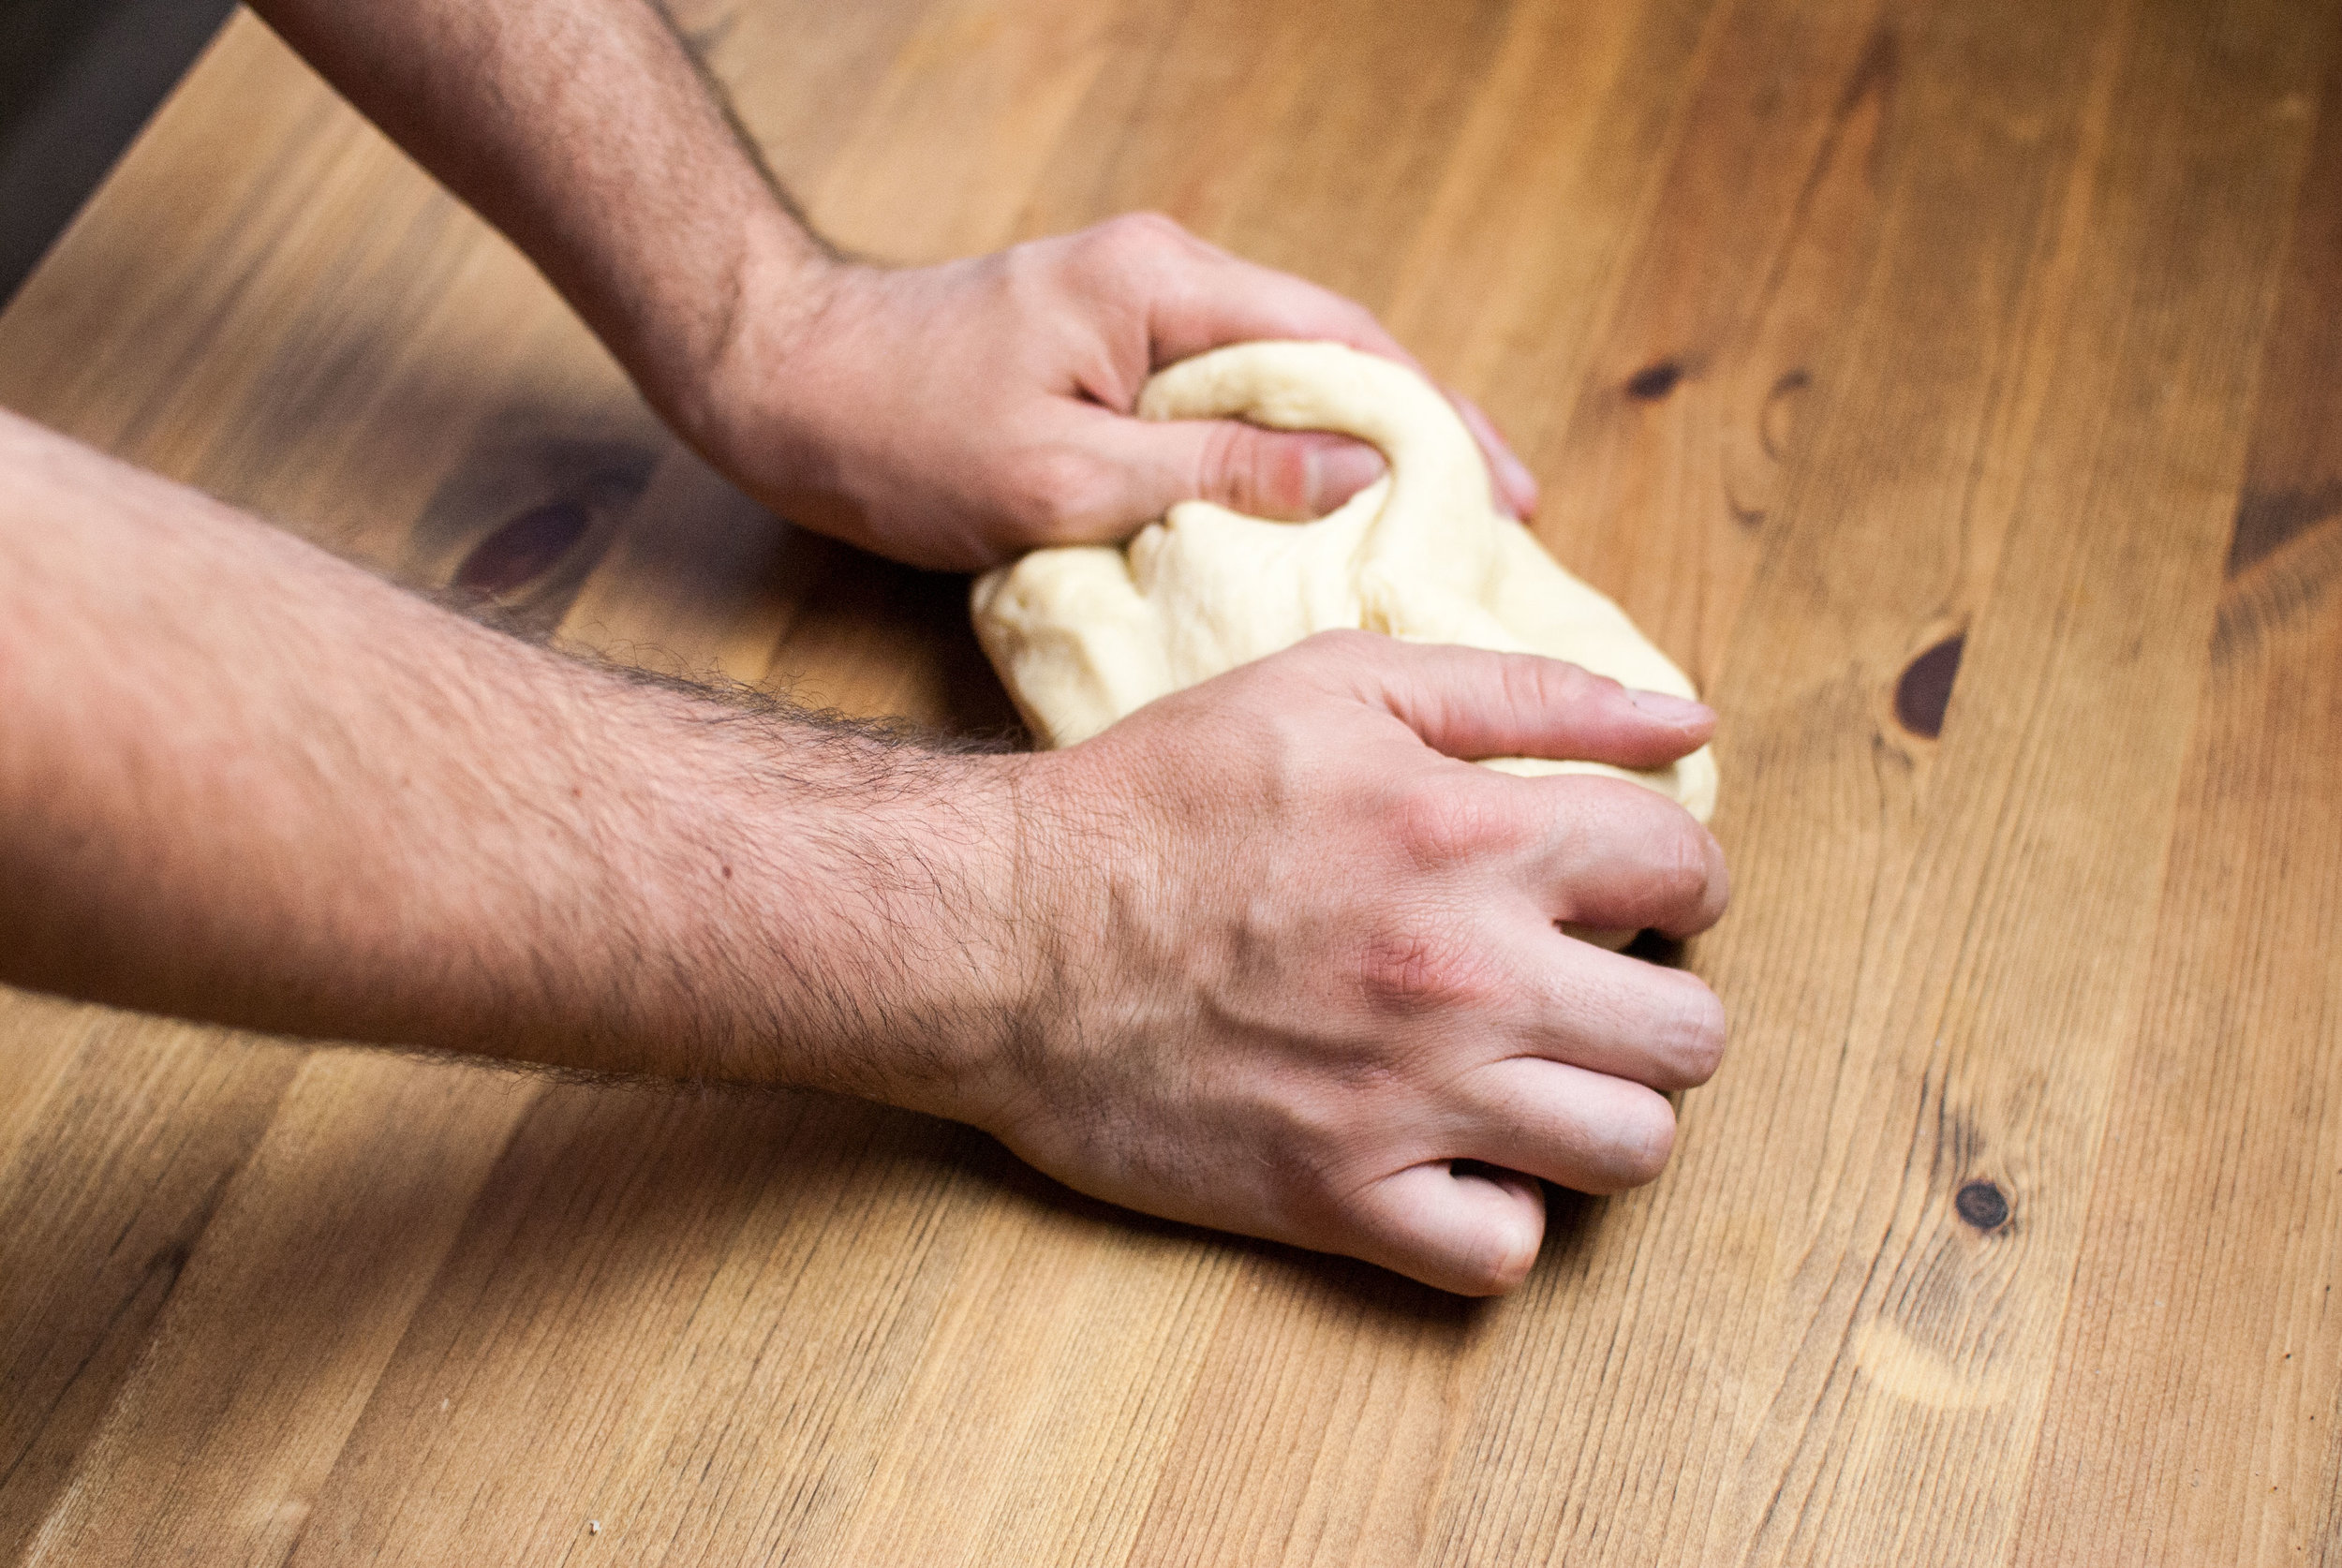
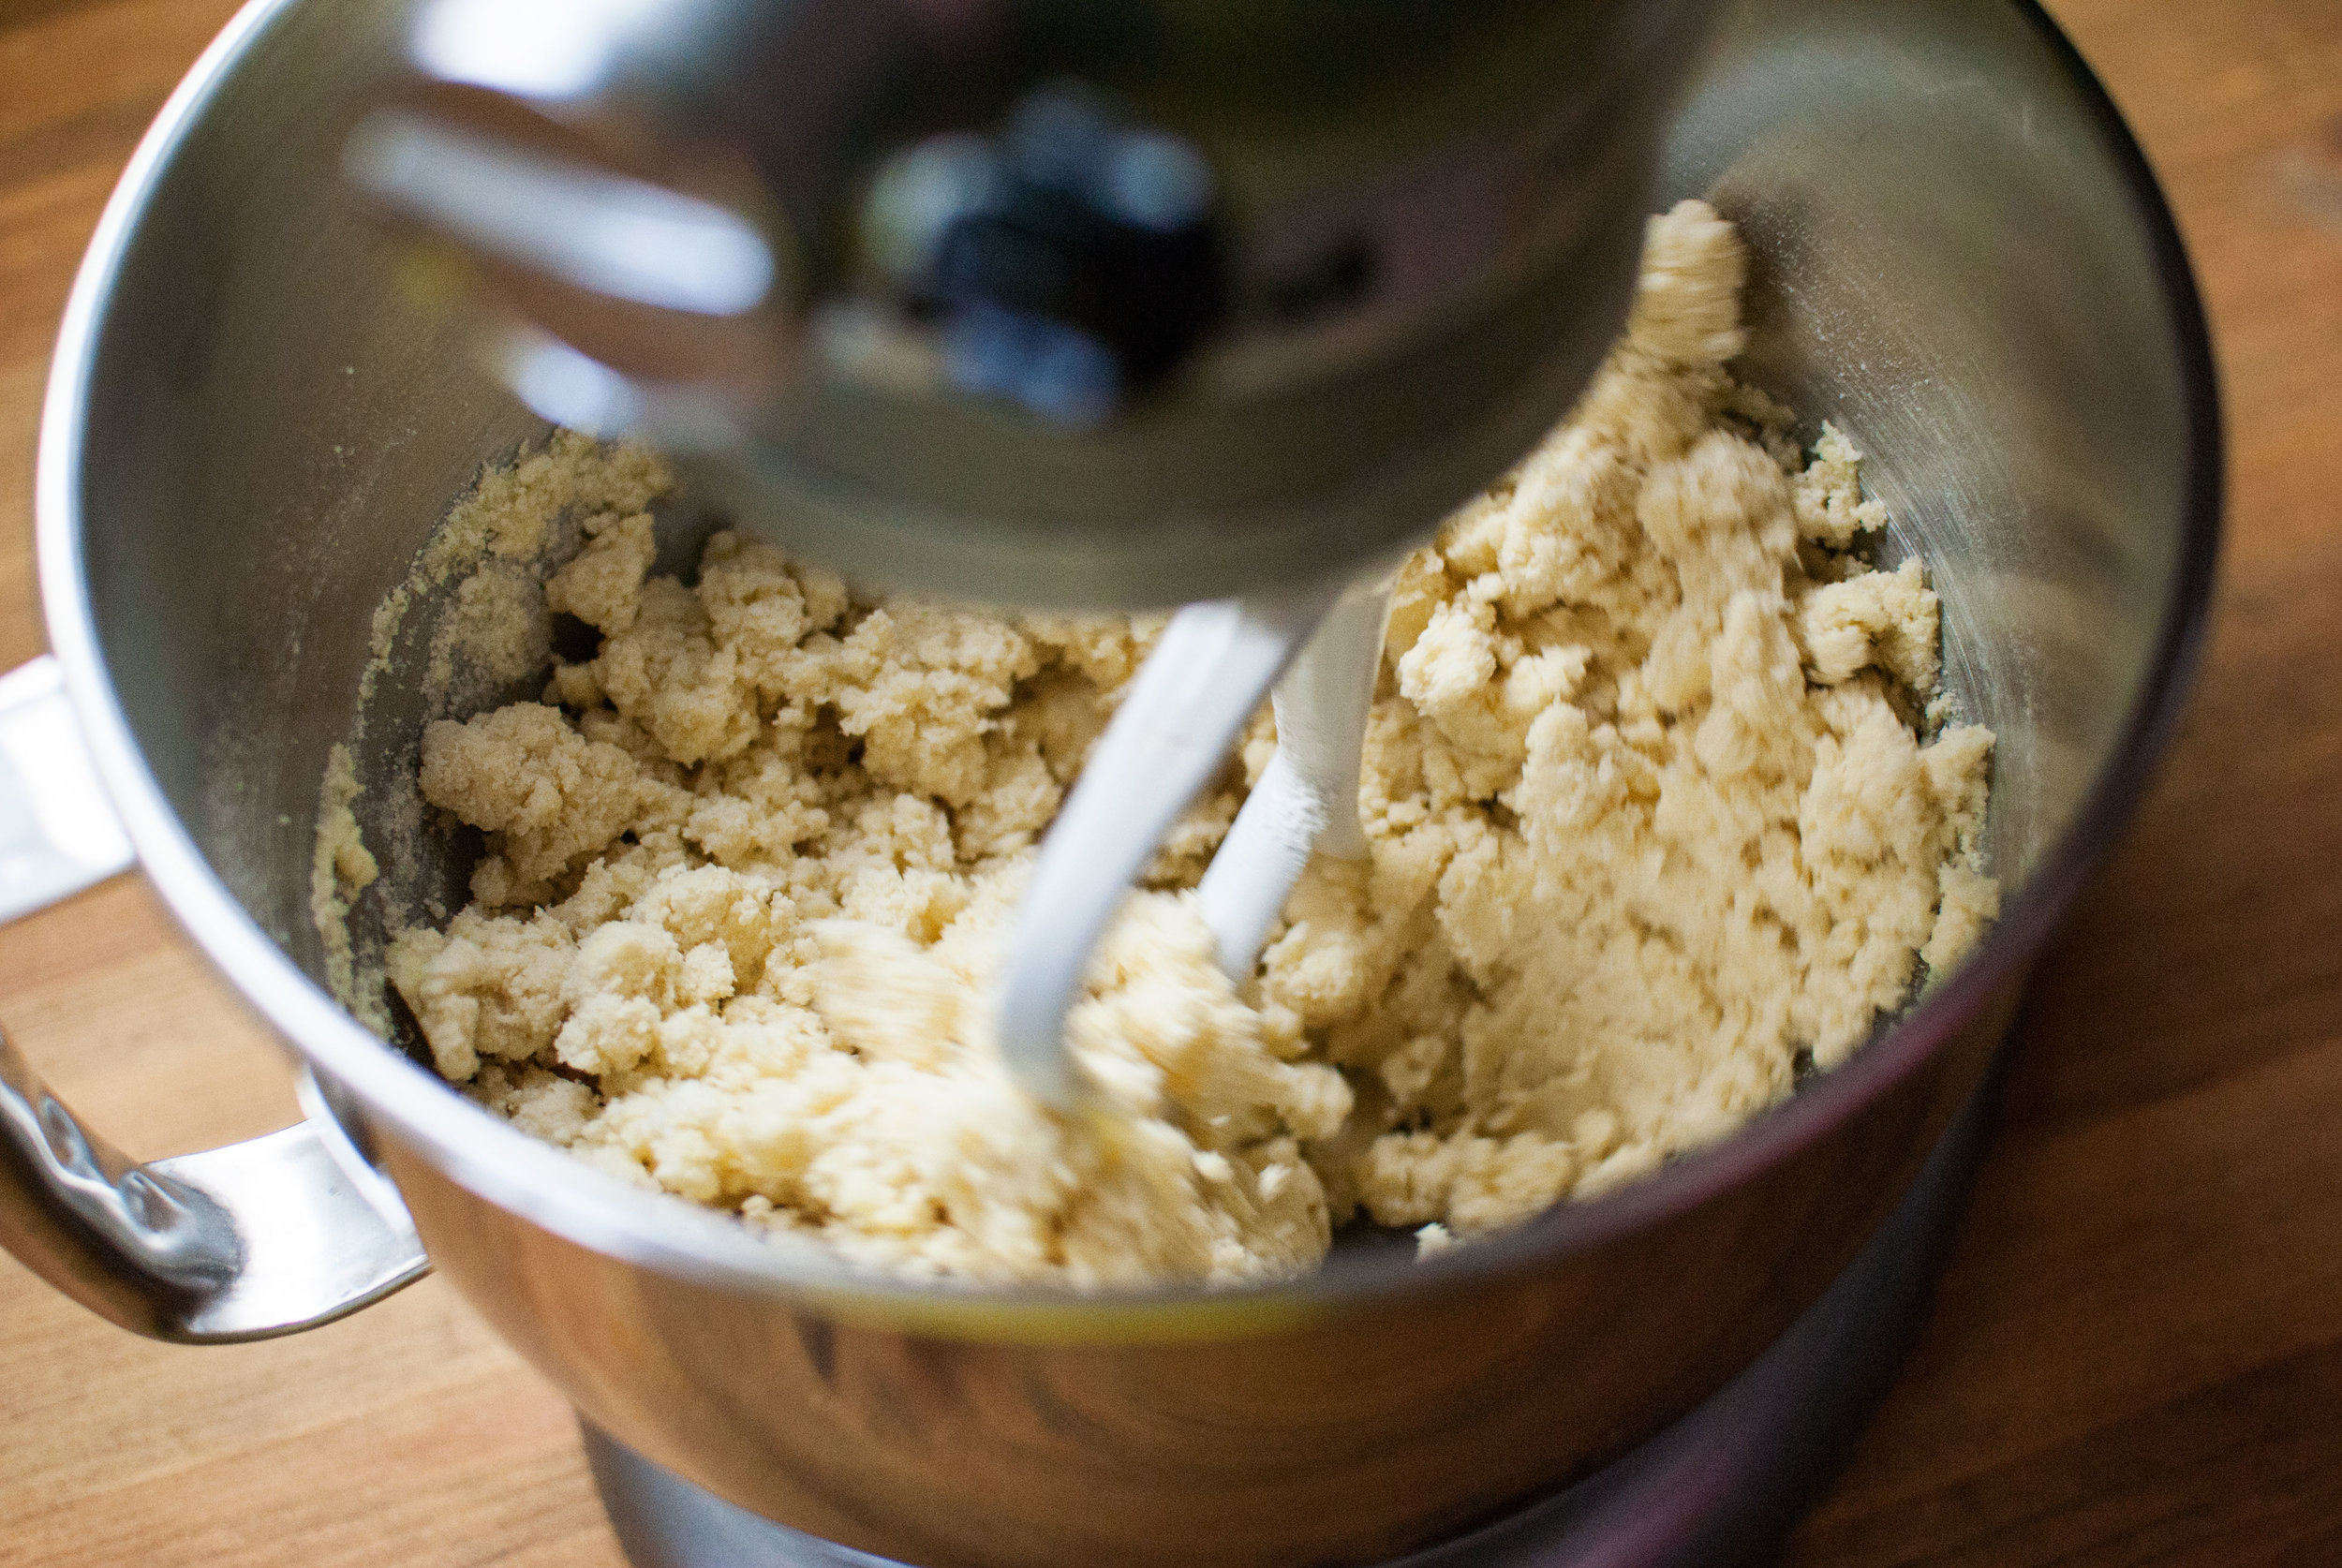
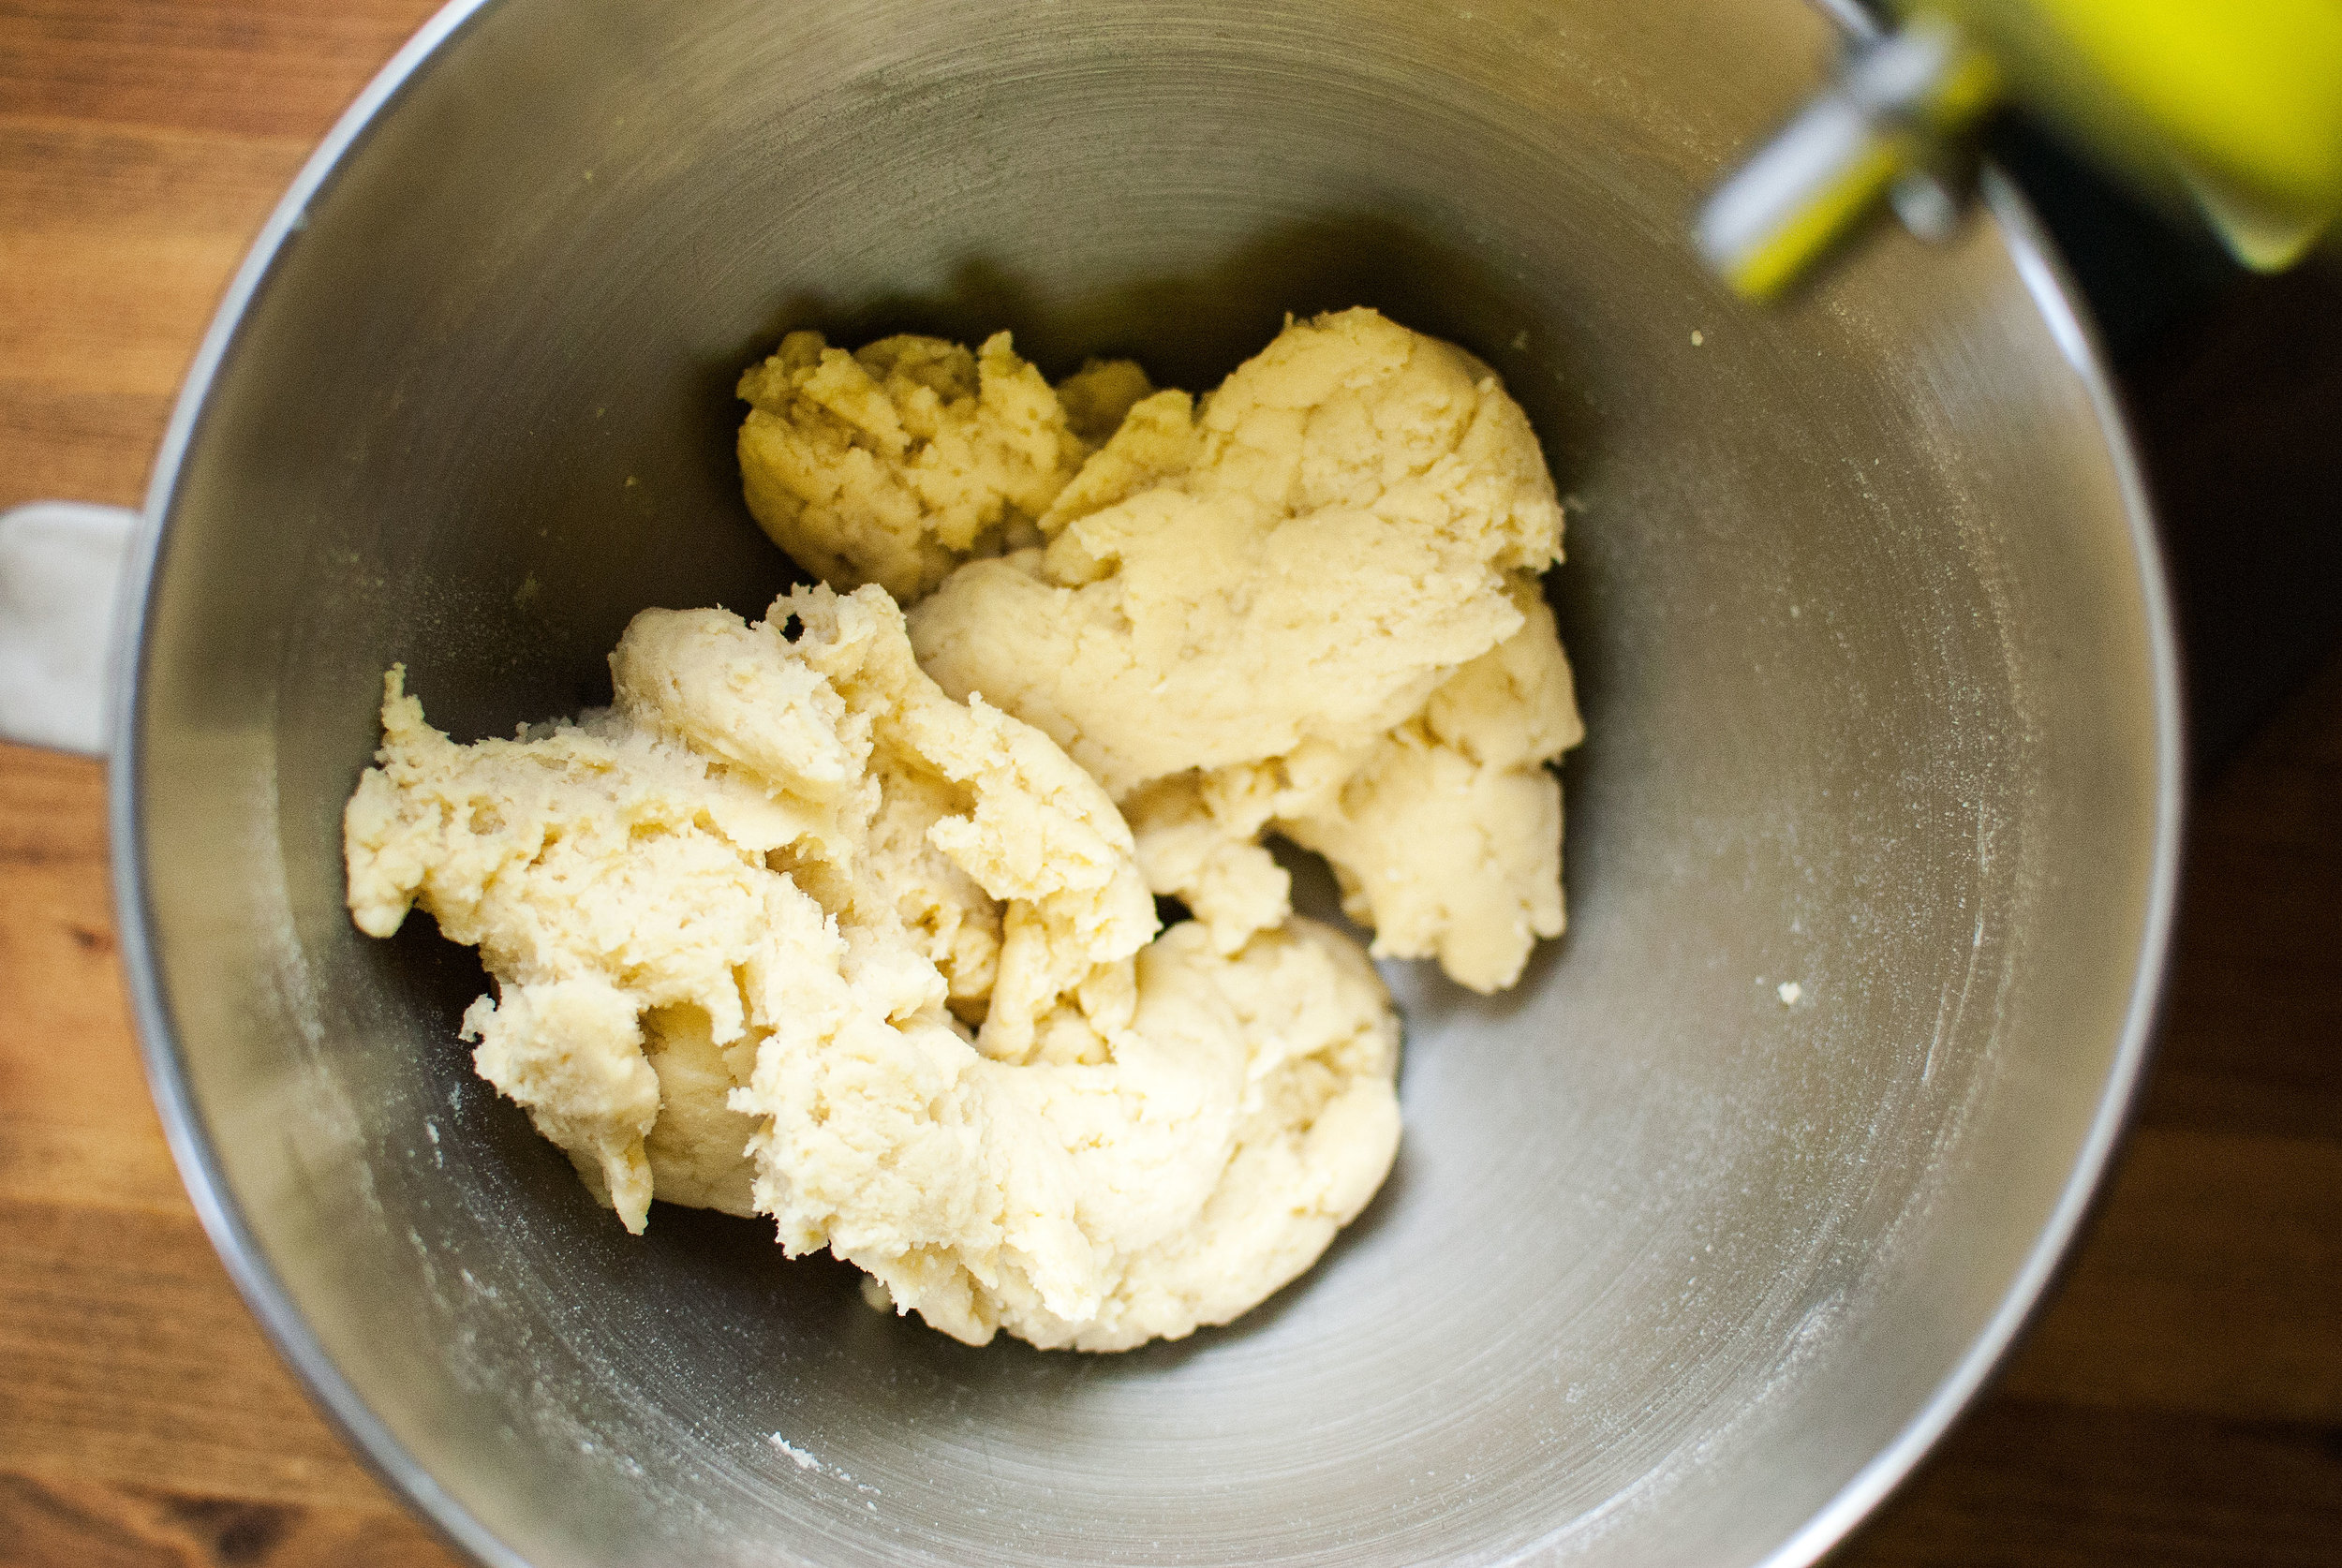
    Mix the mashed potato, egg, olive oil, and salt until thoroughly combined. Add the flour all at once and mix (your hands are the best tool for this if you don’t have a mixer) until all the flour is integrated. Continue to knead the dough until it becomes firmer and pulls away from the sides of the bowl.  The dough should be smooth, not unlike bread dough but much less springy. If you’re using a mixer, you’ll need to use the paddle at first to blend the flour into the wet ingredients, then switch to the dough hook once the it all begins to come together. Knead it for a minute or two until it becomes a tight dough. Let the dough rest at room temperature for about 30 minutes in a bowl with a cloth over it before proceeding to shaping.
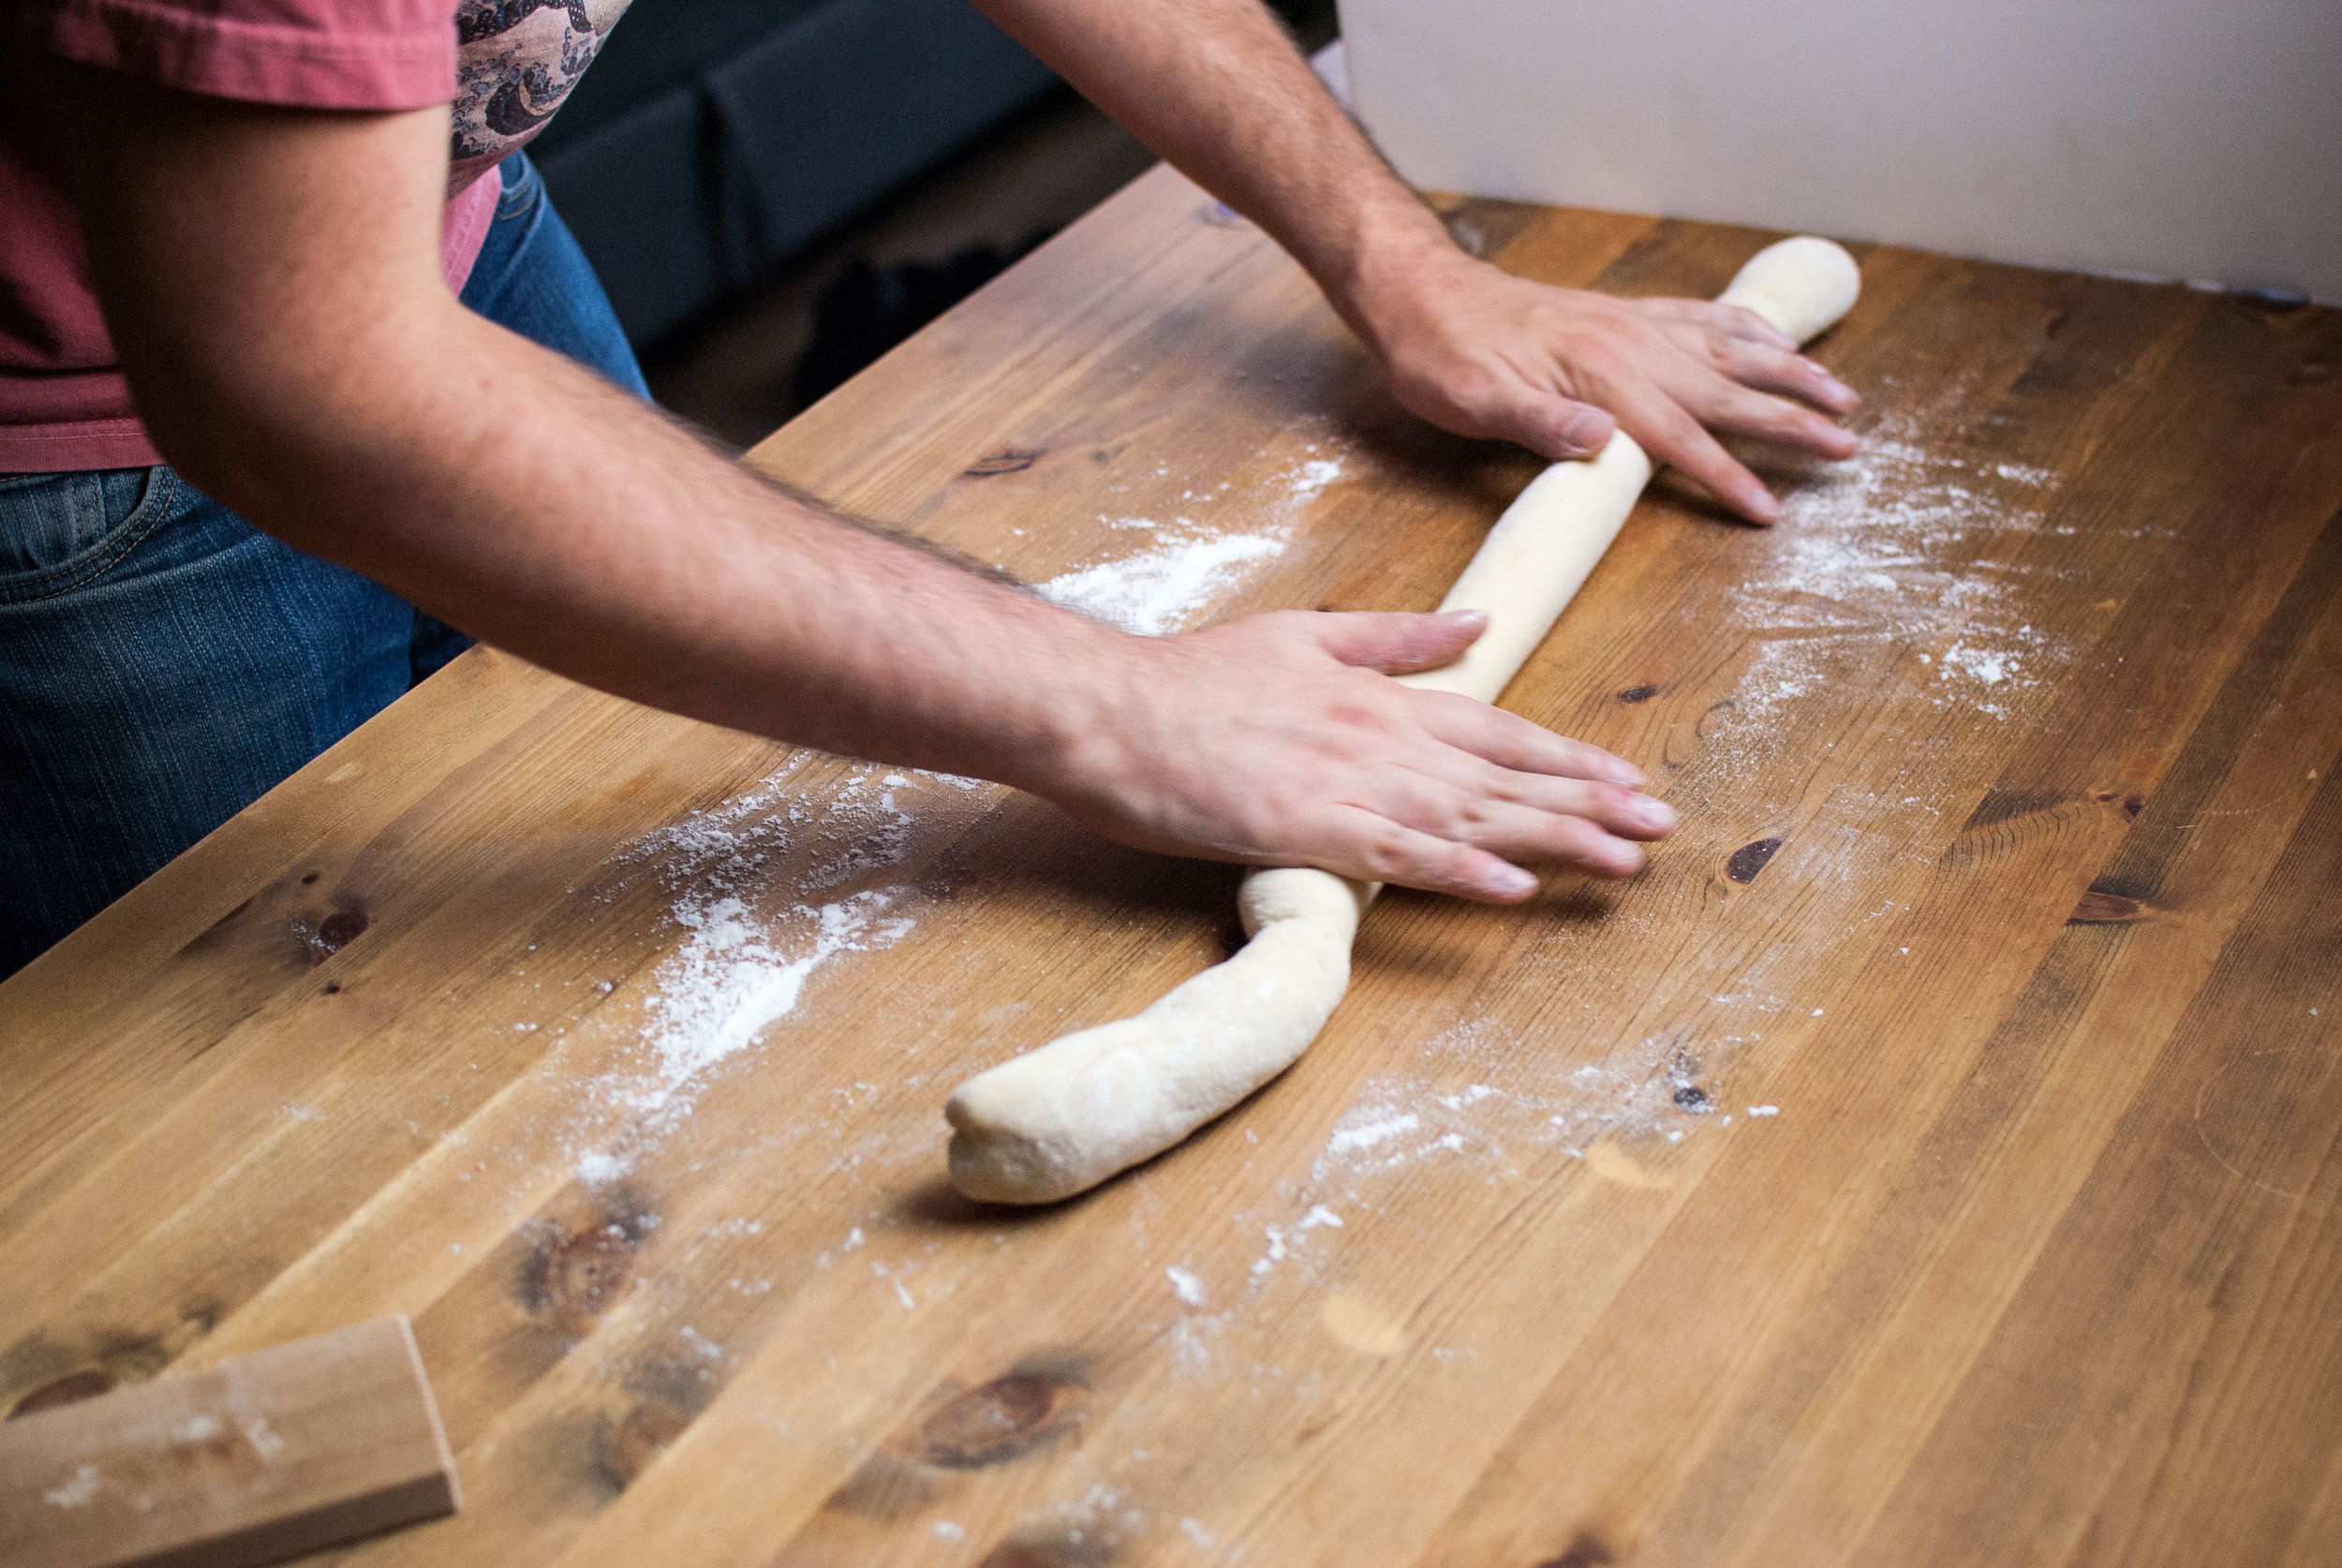
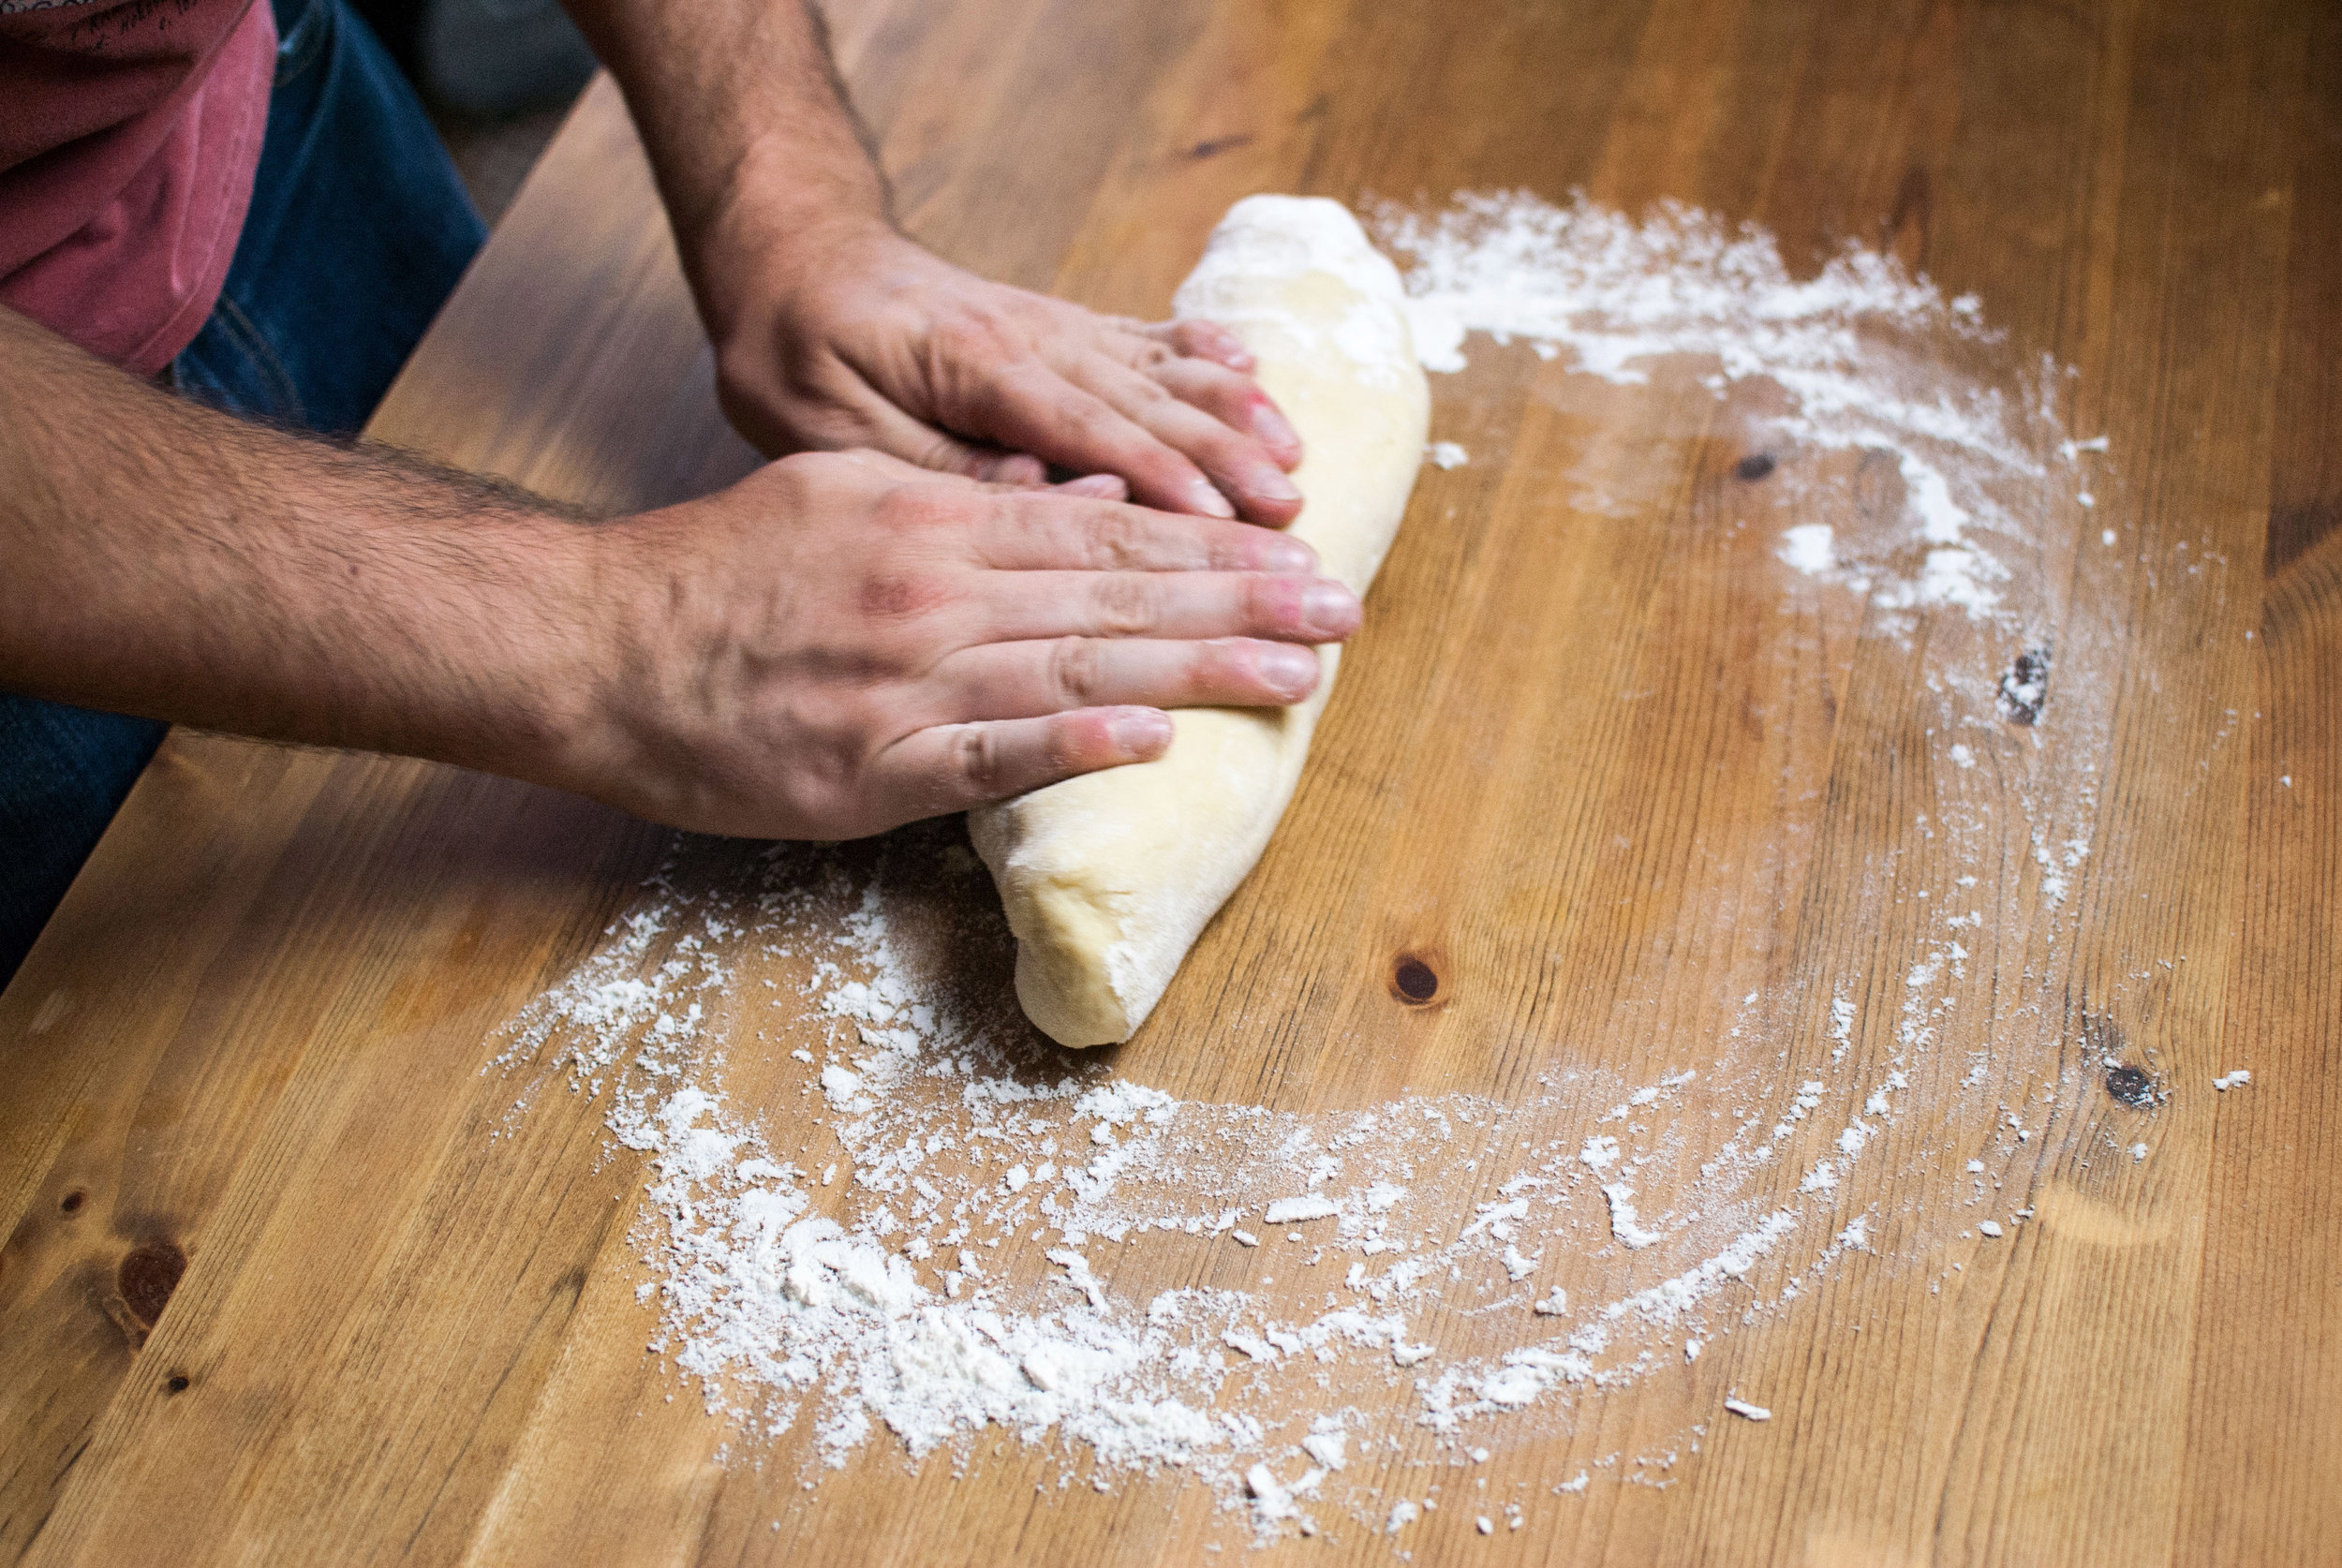
    Transfer the rested dough to a lightly floured table or counter and begin to roll it into a long snake-like shape; it should be a little less than an inch in circumference when you’re finished. The dough will be quite tough and glutinous, so I’ve found that letting gravity stretch it a bit by pulling it and letting it hang in the air (as well as giving a few good thwacks on the table) works quite well to elongate it. Once you’ve got it rolled, take a knife or dough cutter and cut the dough into little nubs. The ideal size of a single gnocch for us is about the size of your thumb pad, so when you’re done, your table might look like it’s covered in a bunch of little floury thumbs (not to be grotesque, but hey, it’s an image you won’t forget).

    Your gnocchi are ready. They’re good to boil in the moment, or just place them on a sheet tray lined with baking parchment and freeze them for later. They keep for…well, we don’t actually know how long they really keep for; we’ve never let them sit around for too long. Oh, well…

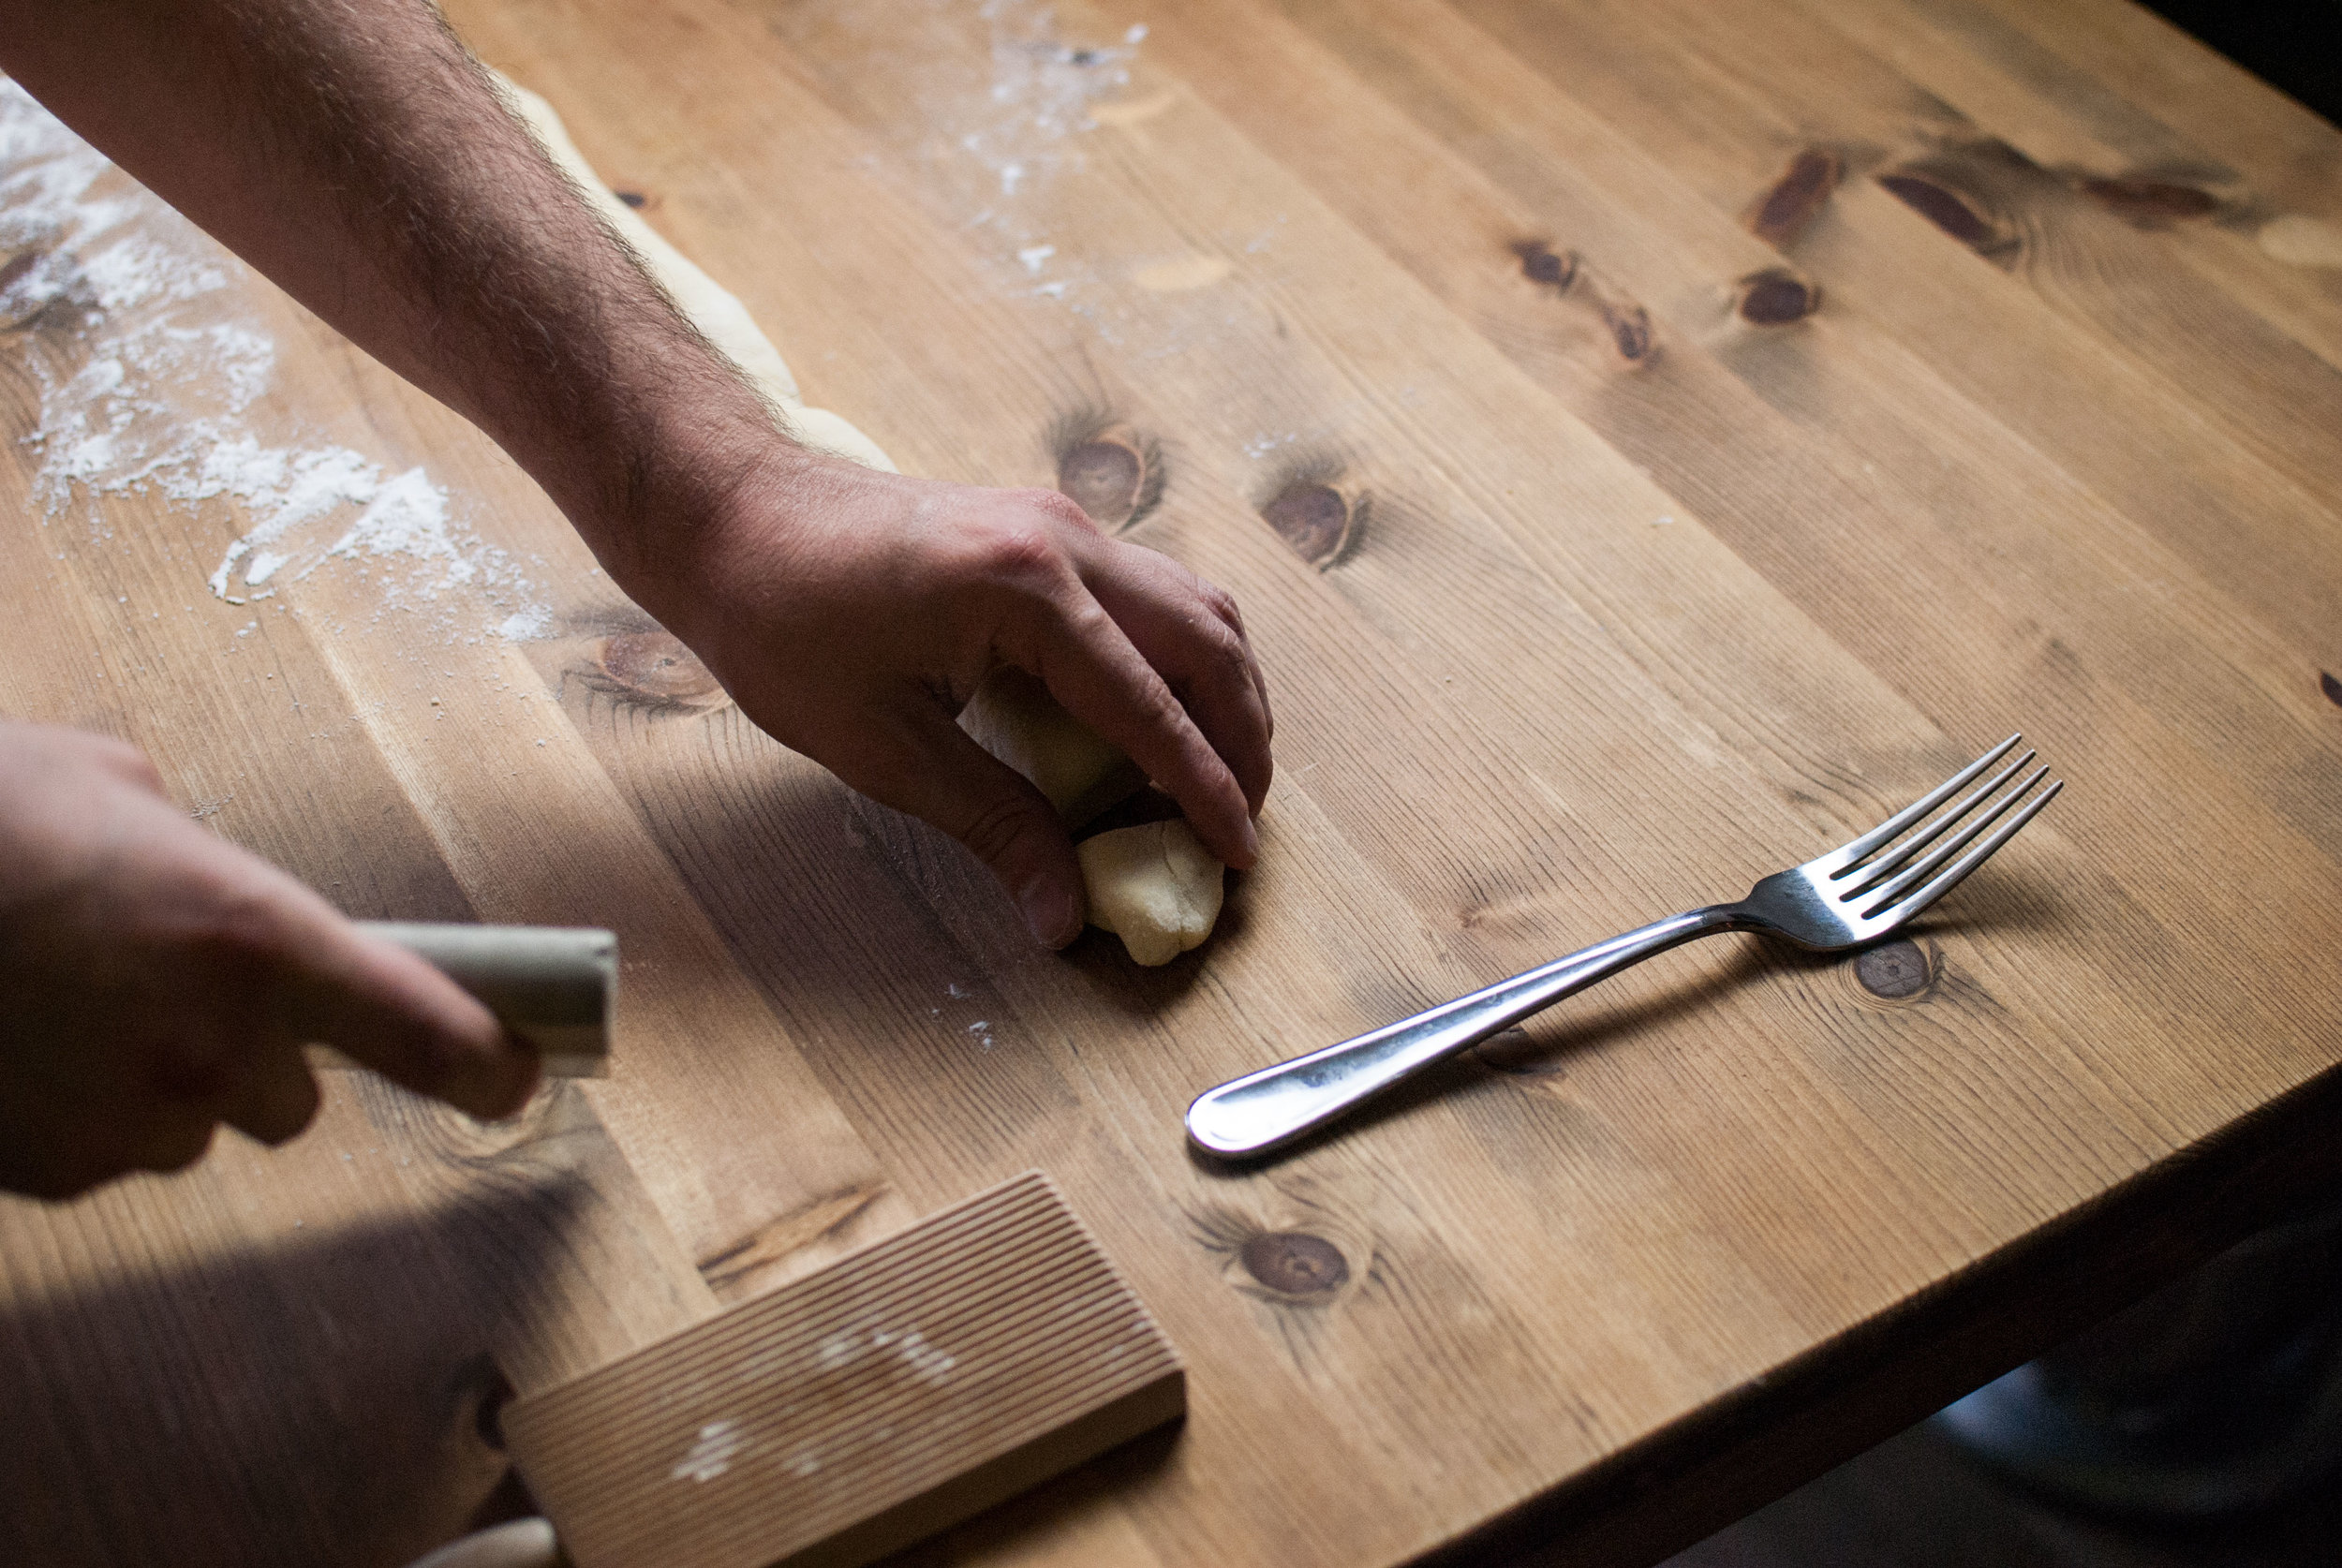
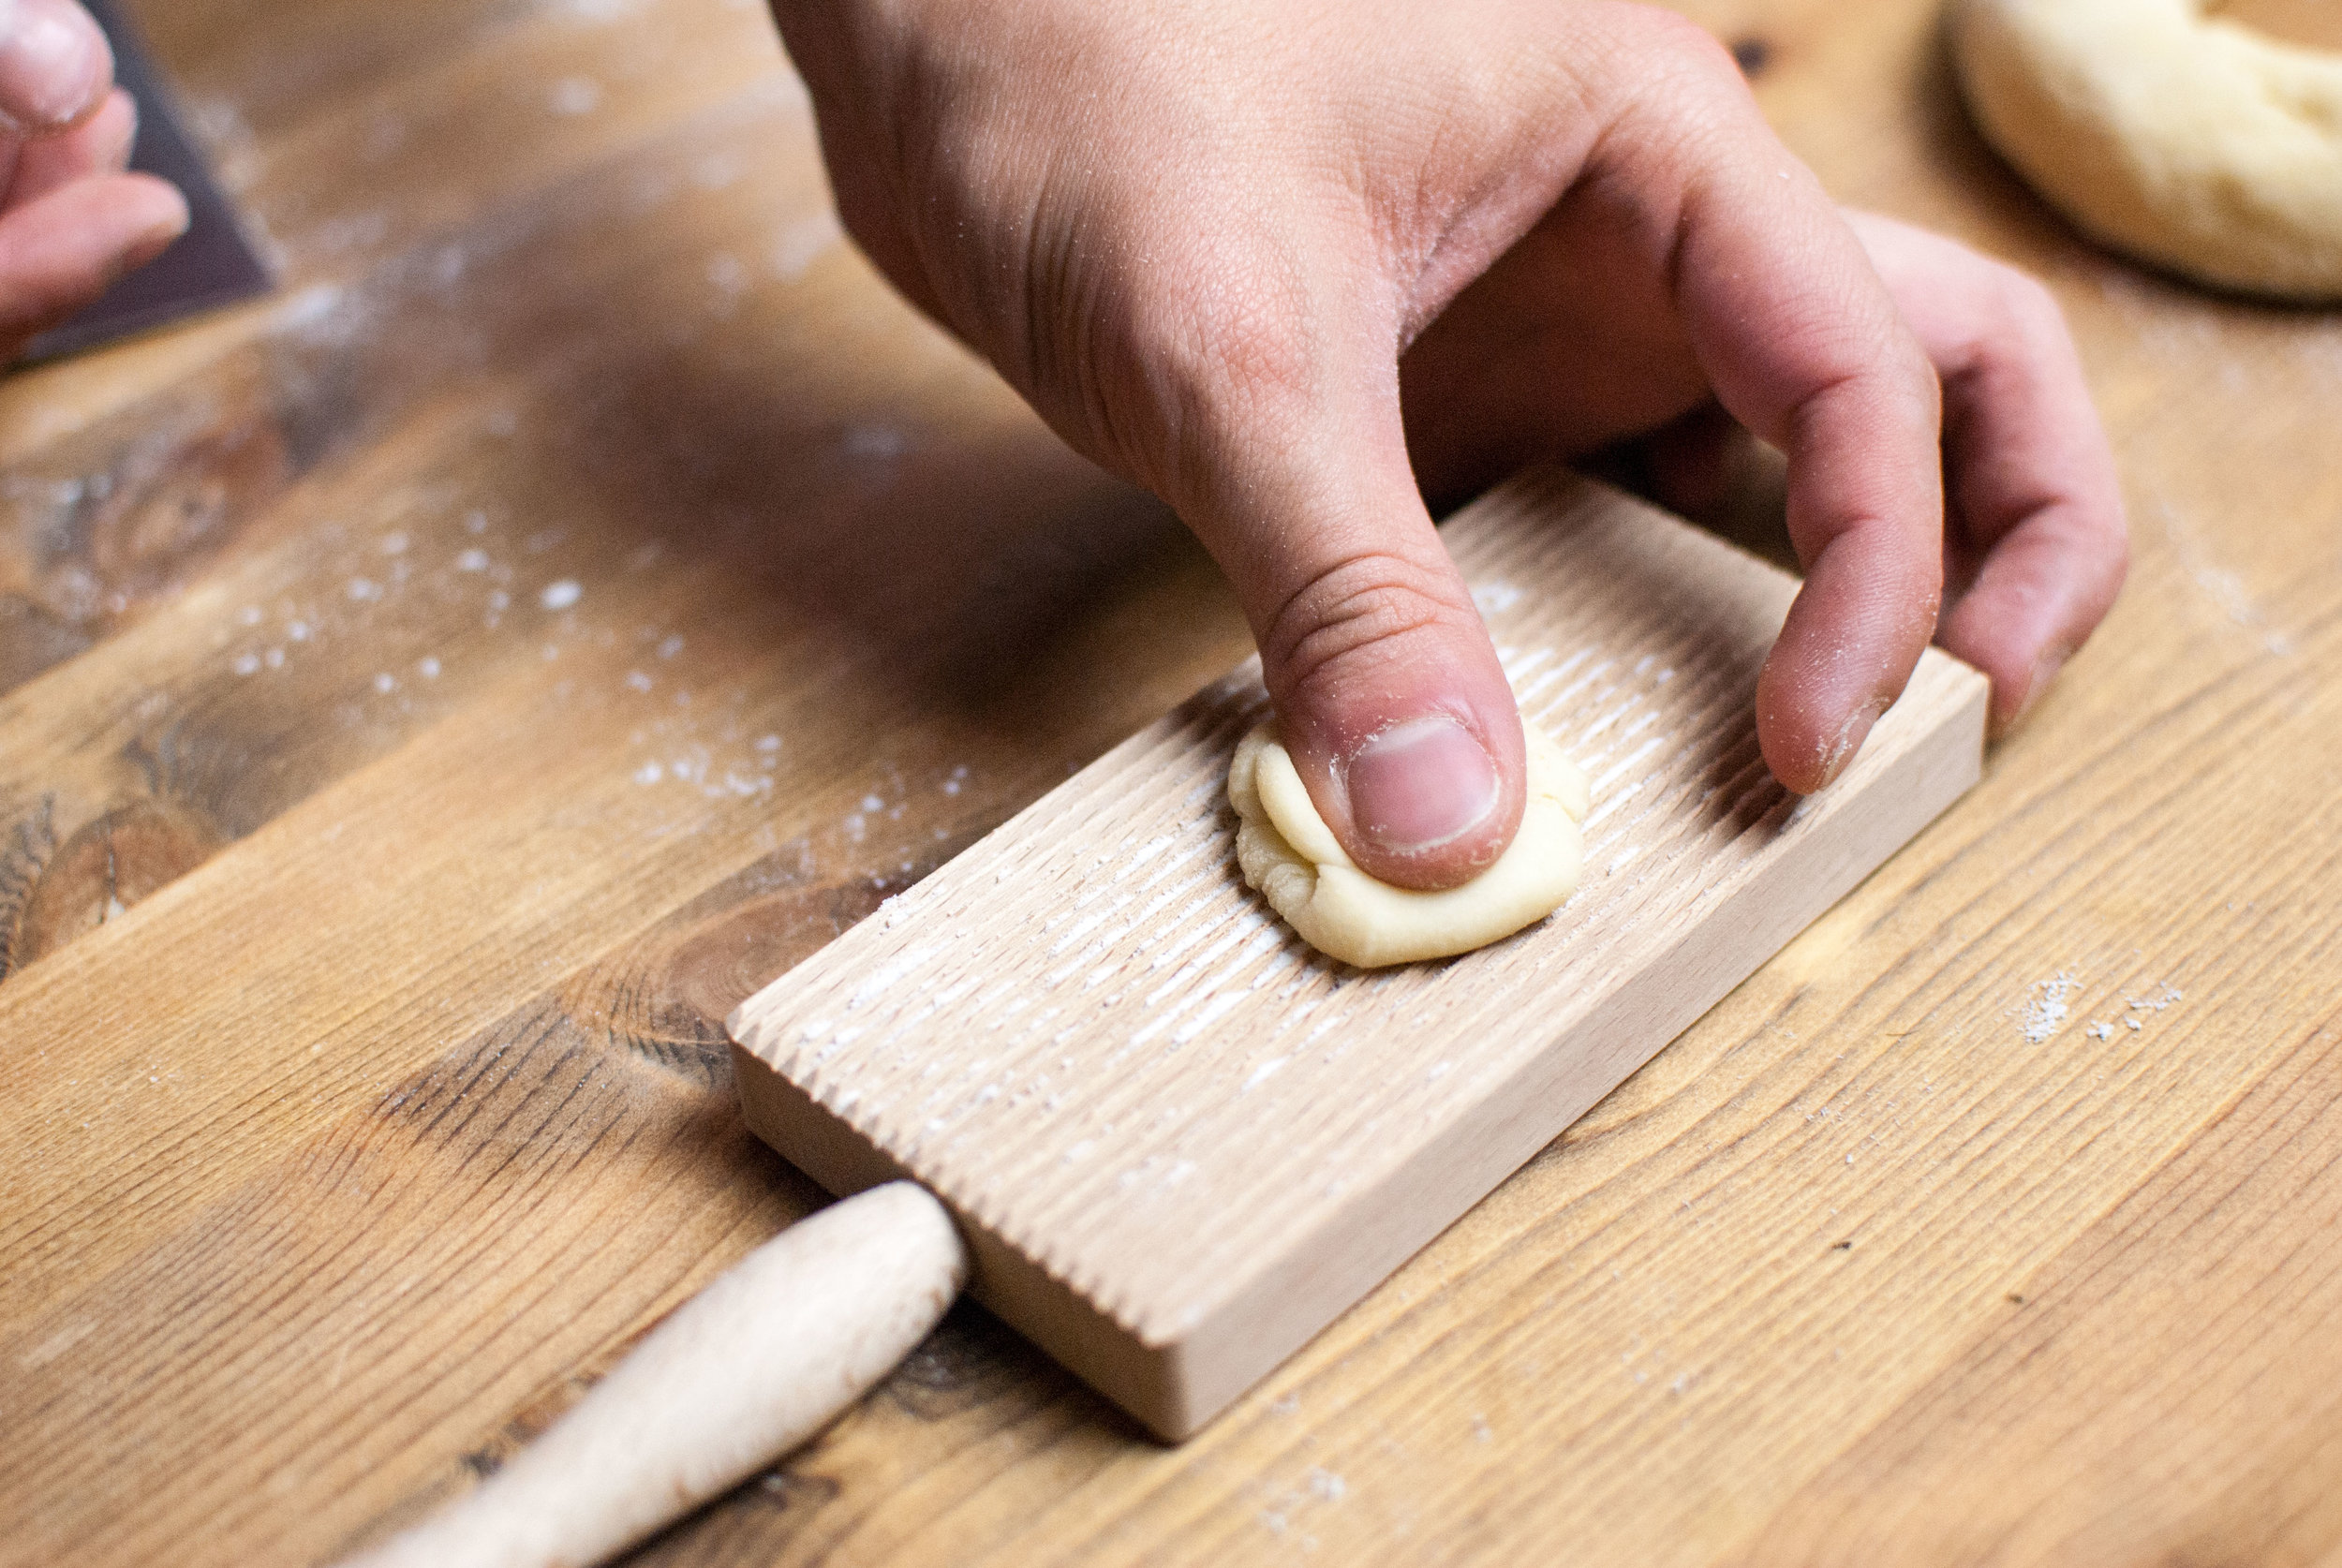
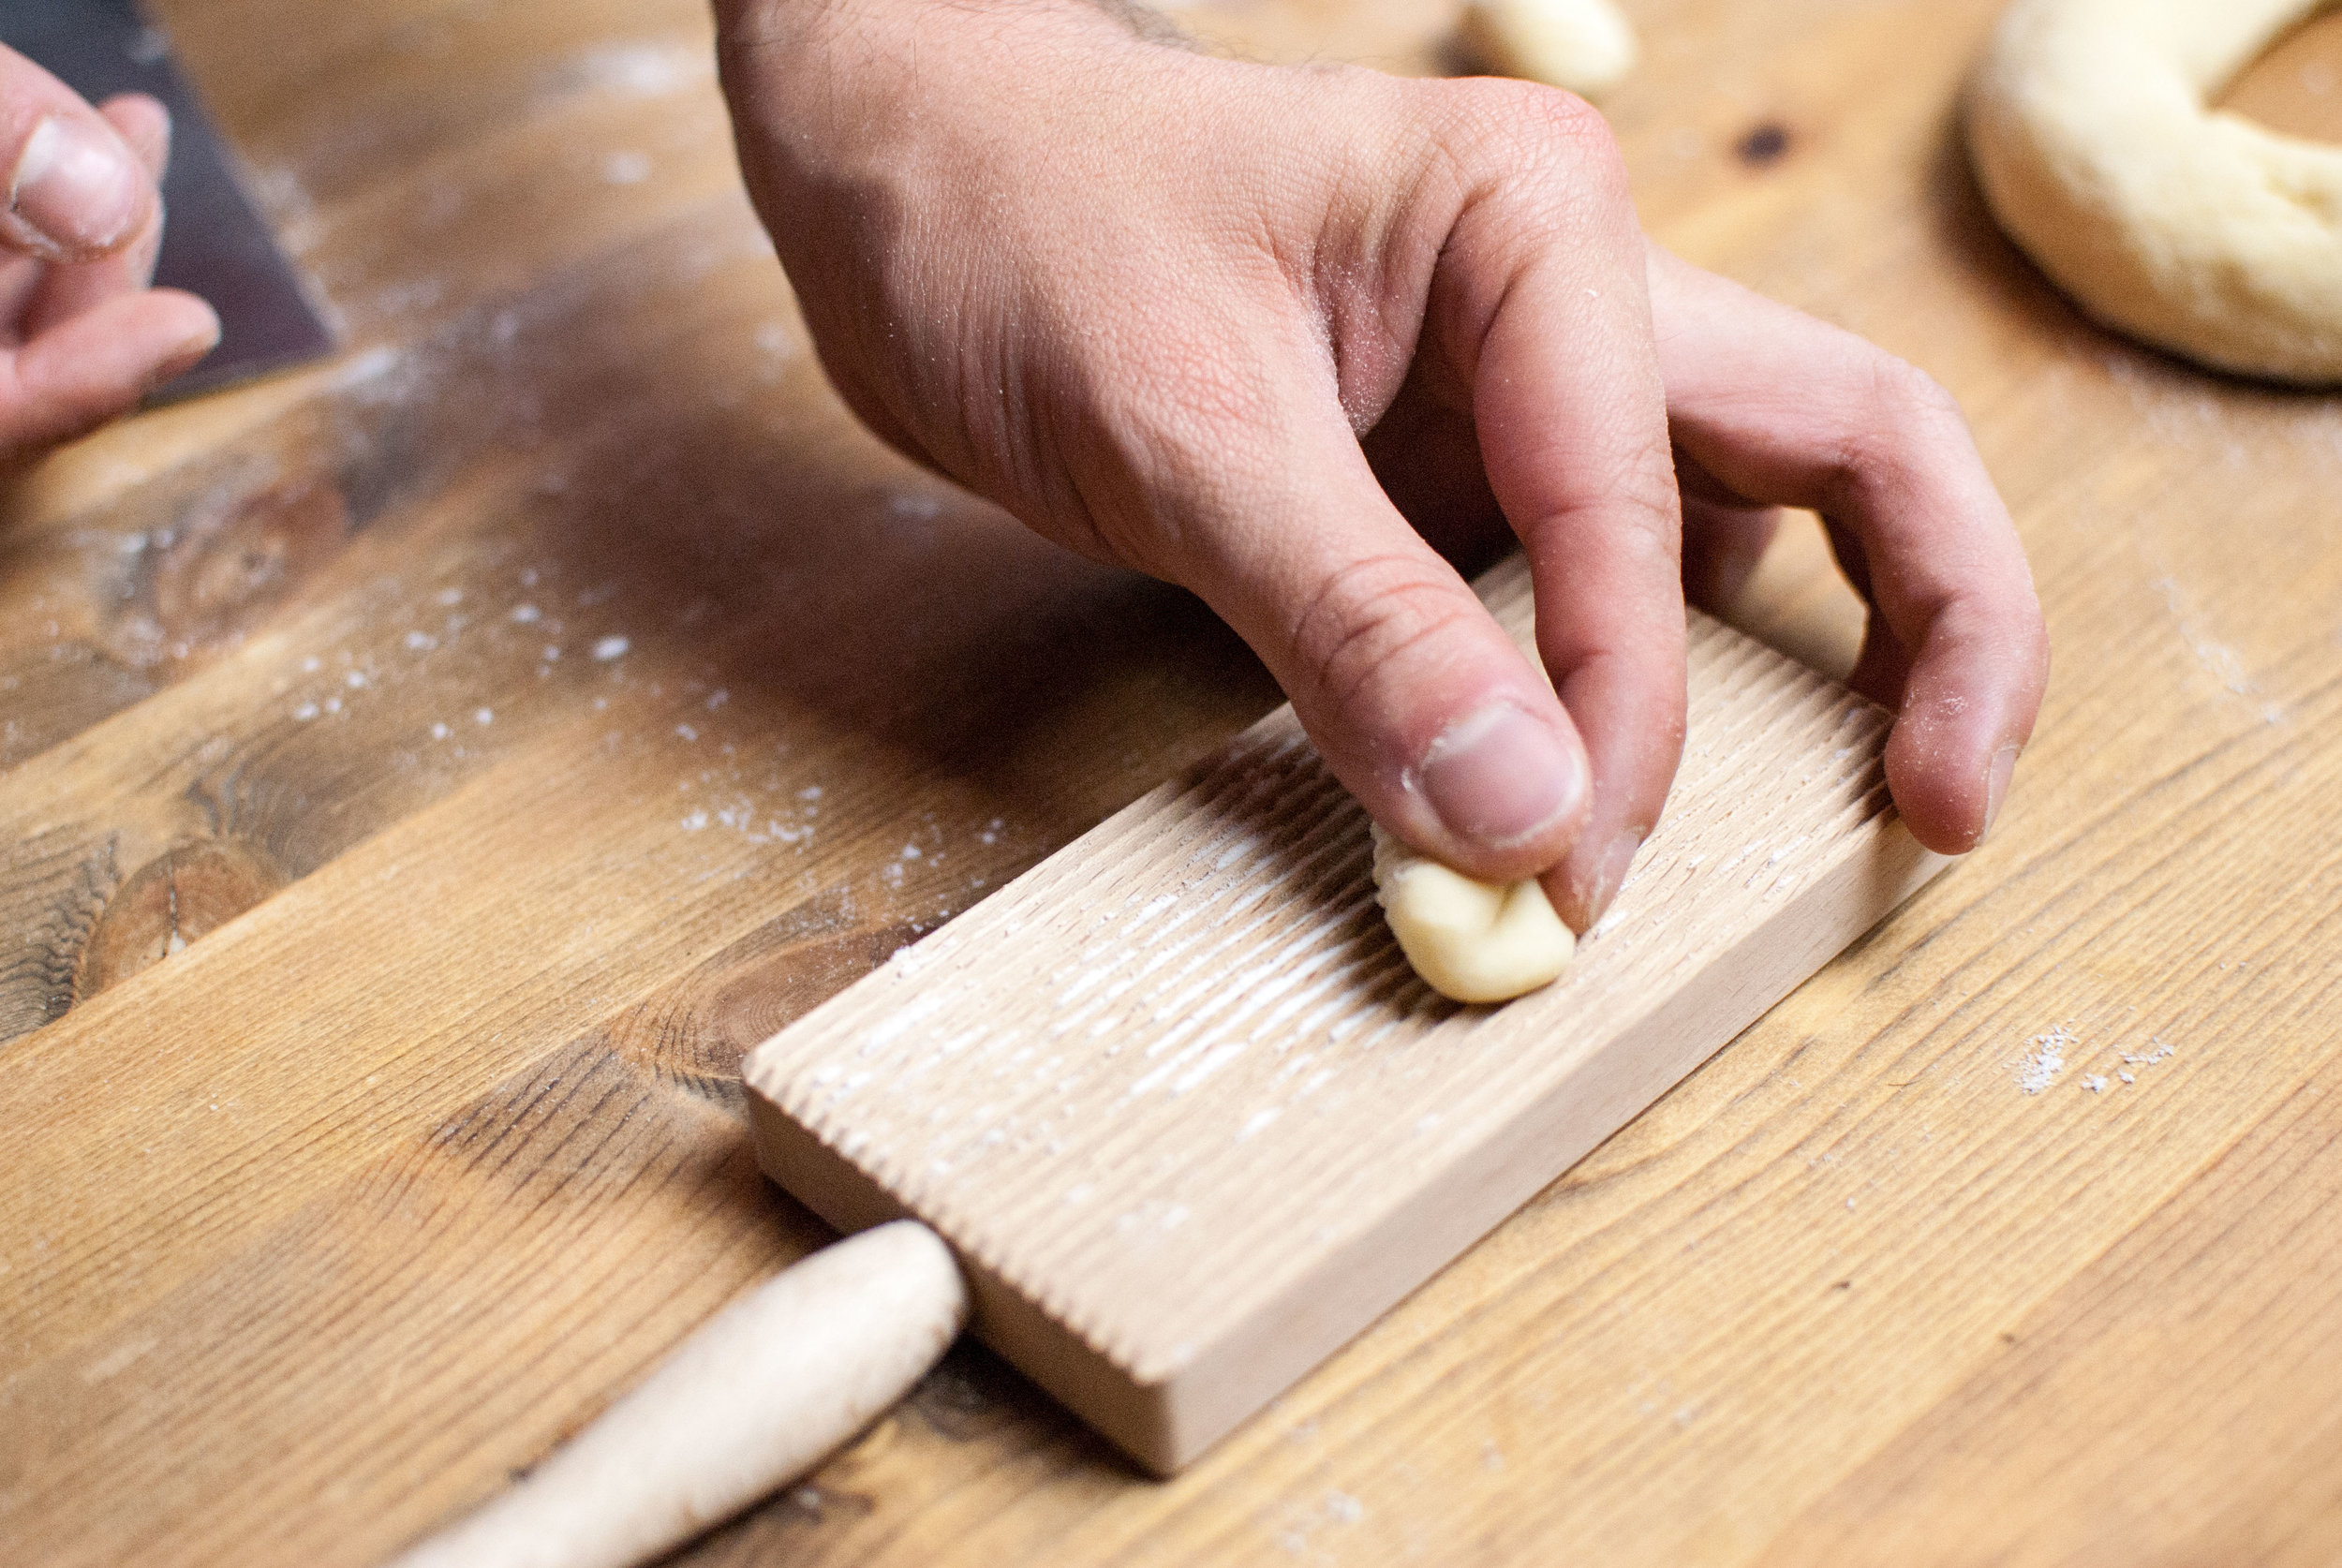
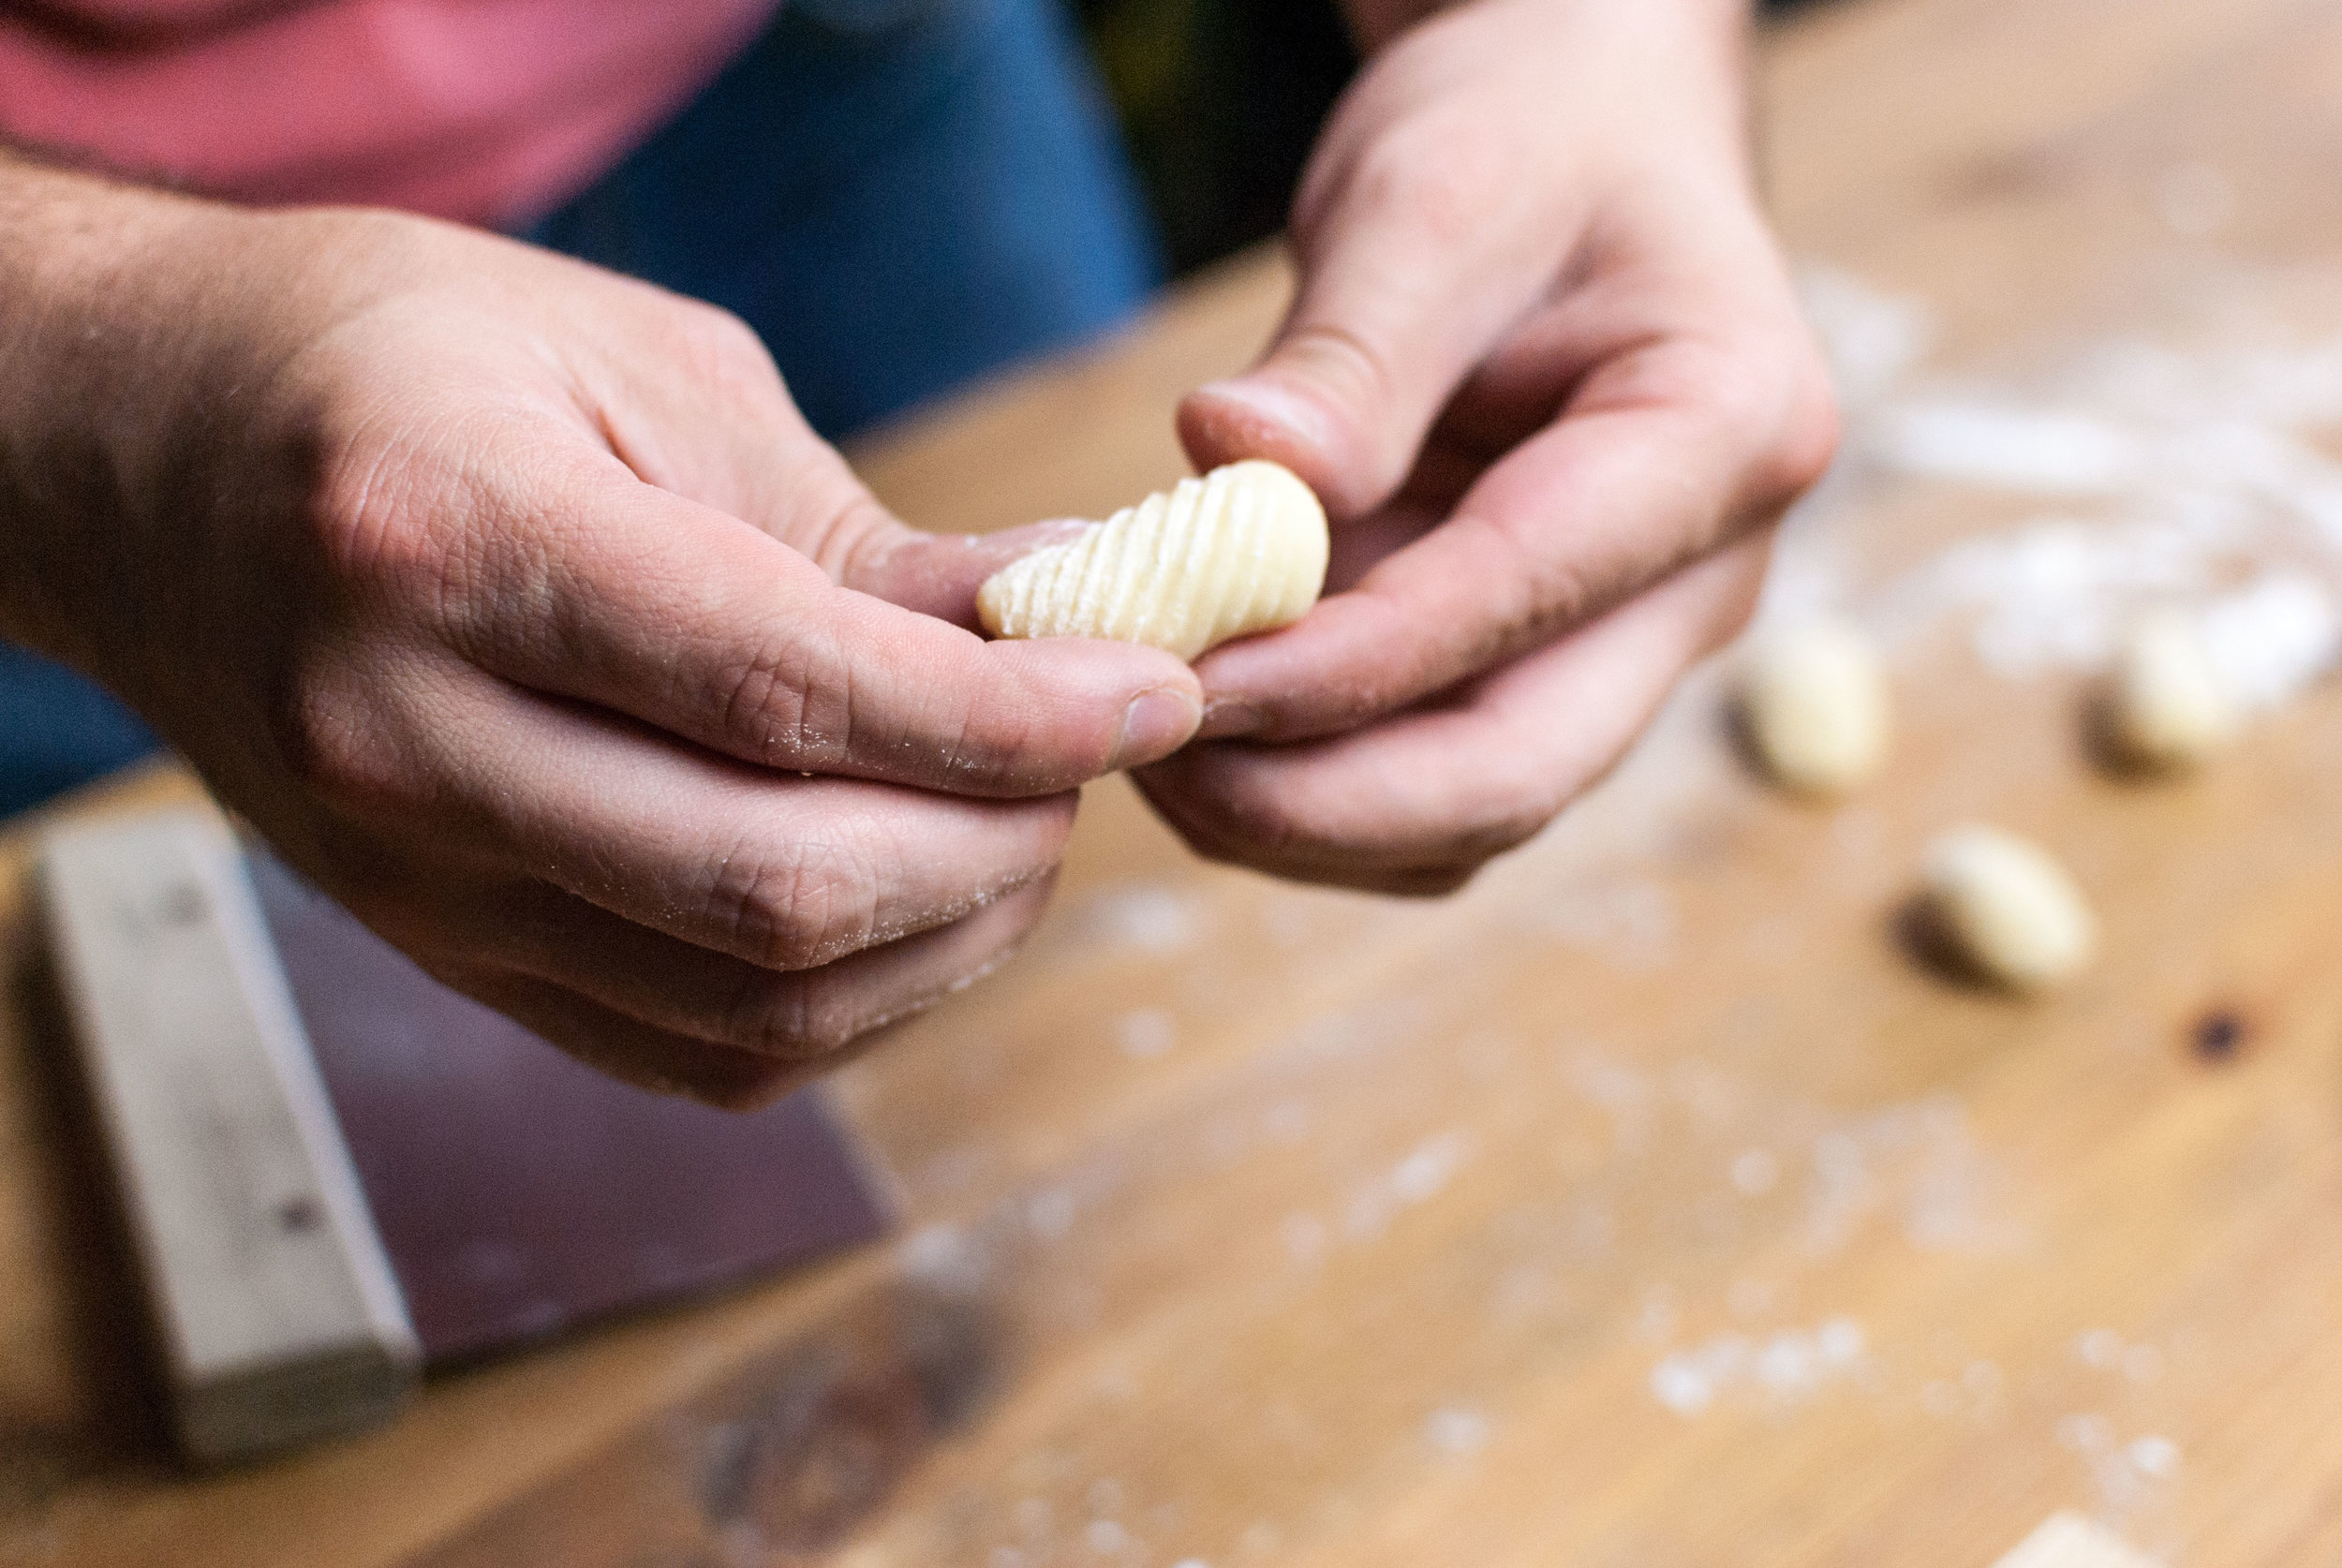
    Optional: After cutting the dough, you’re welcome to press your little gnocs onto a gnocchi board to get their groove on. Simply take a gnocch and press it with your thumb onto a floured board, almost like a thumb print cookie, then remove it and fold it into itself so it returns it’s round shape once again with the grooves facing outward (duh). I’ll admit, it’s a bit of a tedious process, but they do look lovely when they’re finished and they really do hold more sauce. I’d recommend this method if you’re tossing them in a tomato sauce.


    gnocchi_dough_19.jpg

    Yields about 65-70 gnocchi, roughly 4 servings.
  • Leek Powder


    Leek-Powder-Pierogi-1.jpg

    As odd as this may seem, this recipe is actually quite personal for me. My mother taught me how to make this. My mother was a very strange woman. She would pick wild mushrooms and bring them into the house to examine what colors they might make if you turned them into dyes, sometimes leaving them on paper to create intricate designs with their spores. She was a master preserver, confident in her ability to can or process anything. Her library of mason jars would line the walls of my childhood home, holding the little secrets of her fearless flavor experiments and prized recipes. She could eliminate the daunting space between a stranger and a friend in a matter of seconds. I learned the majority of what I know about food from her. She taught me how to see that everything is connected, no matter how obscure the link may be at first. If you can maintain your sense of wonder in this world, you can always find a way to make something into something else; something you need, something you want. She taught me that humble things are beautiful, and if treated correctly, they can be turned into something even more beautiful; something you love.

    I miss her so much.

    Leek Powder:

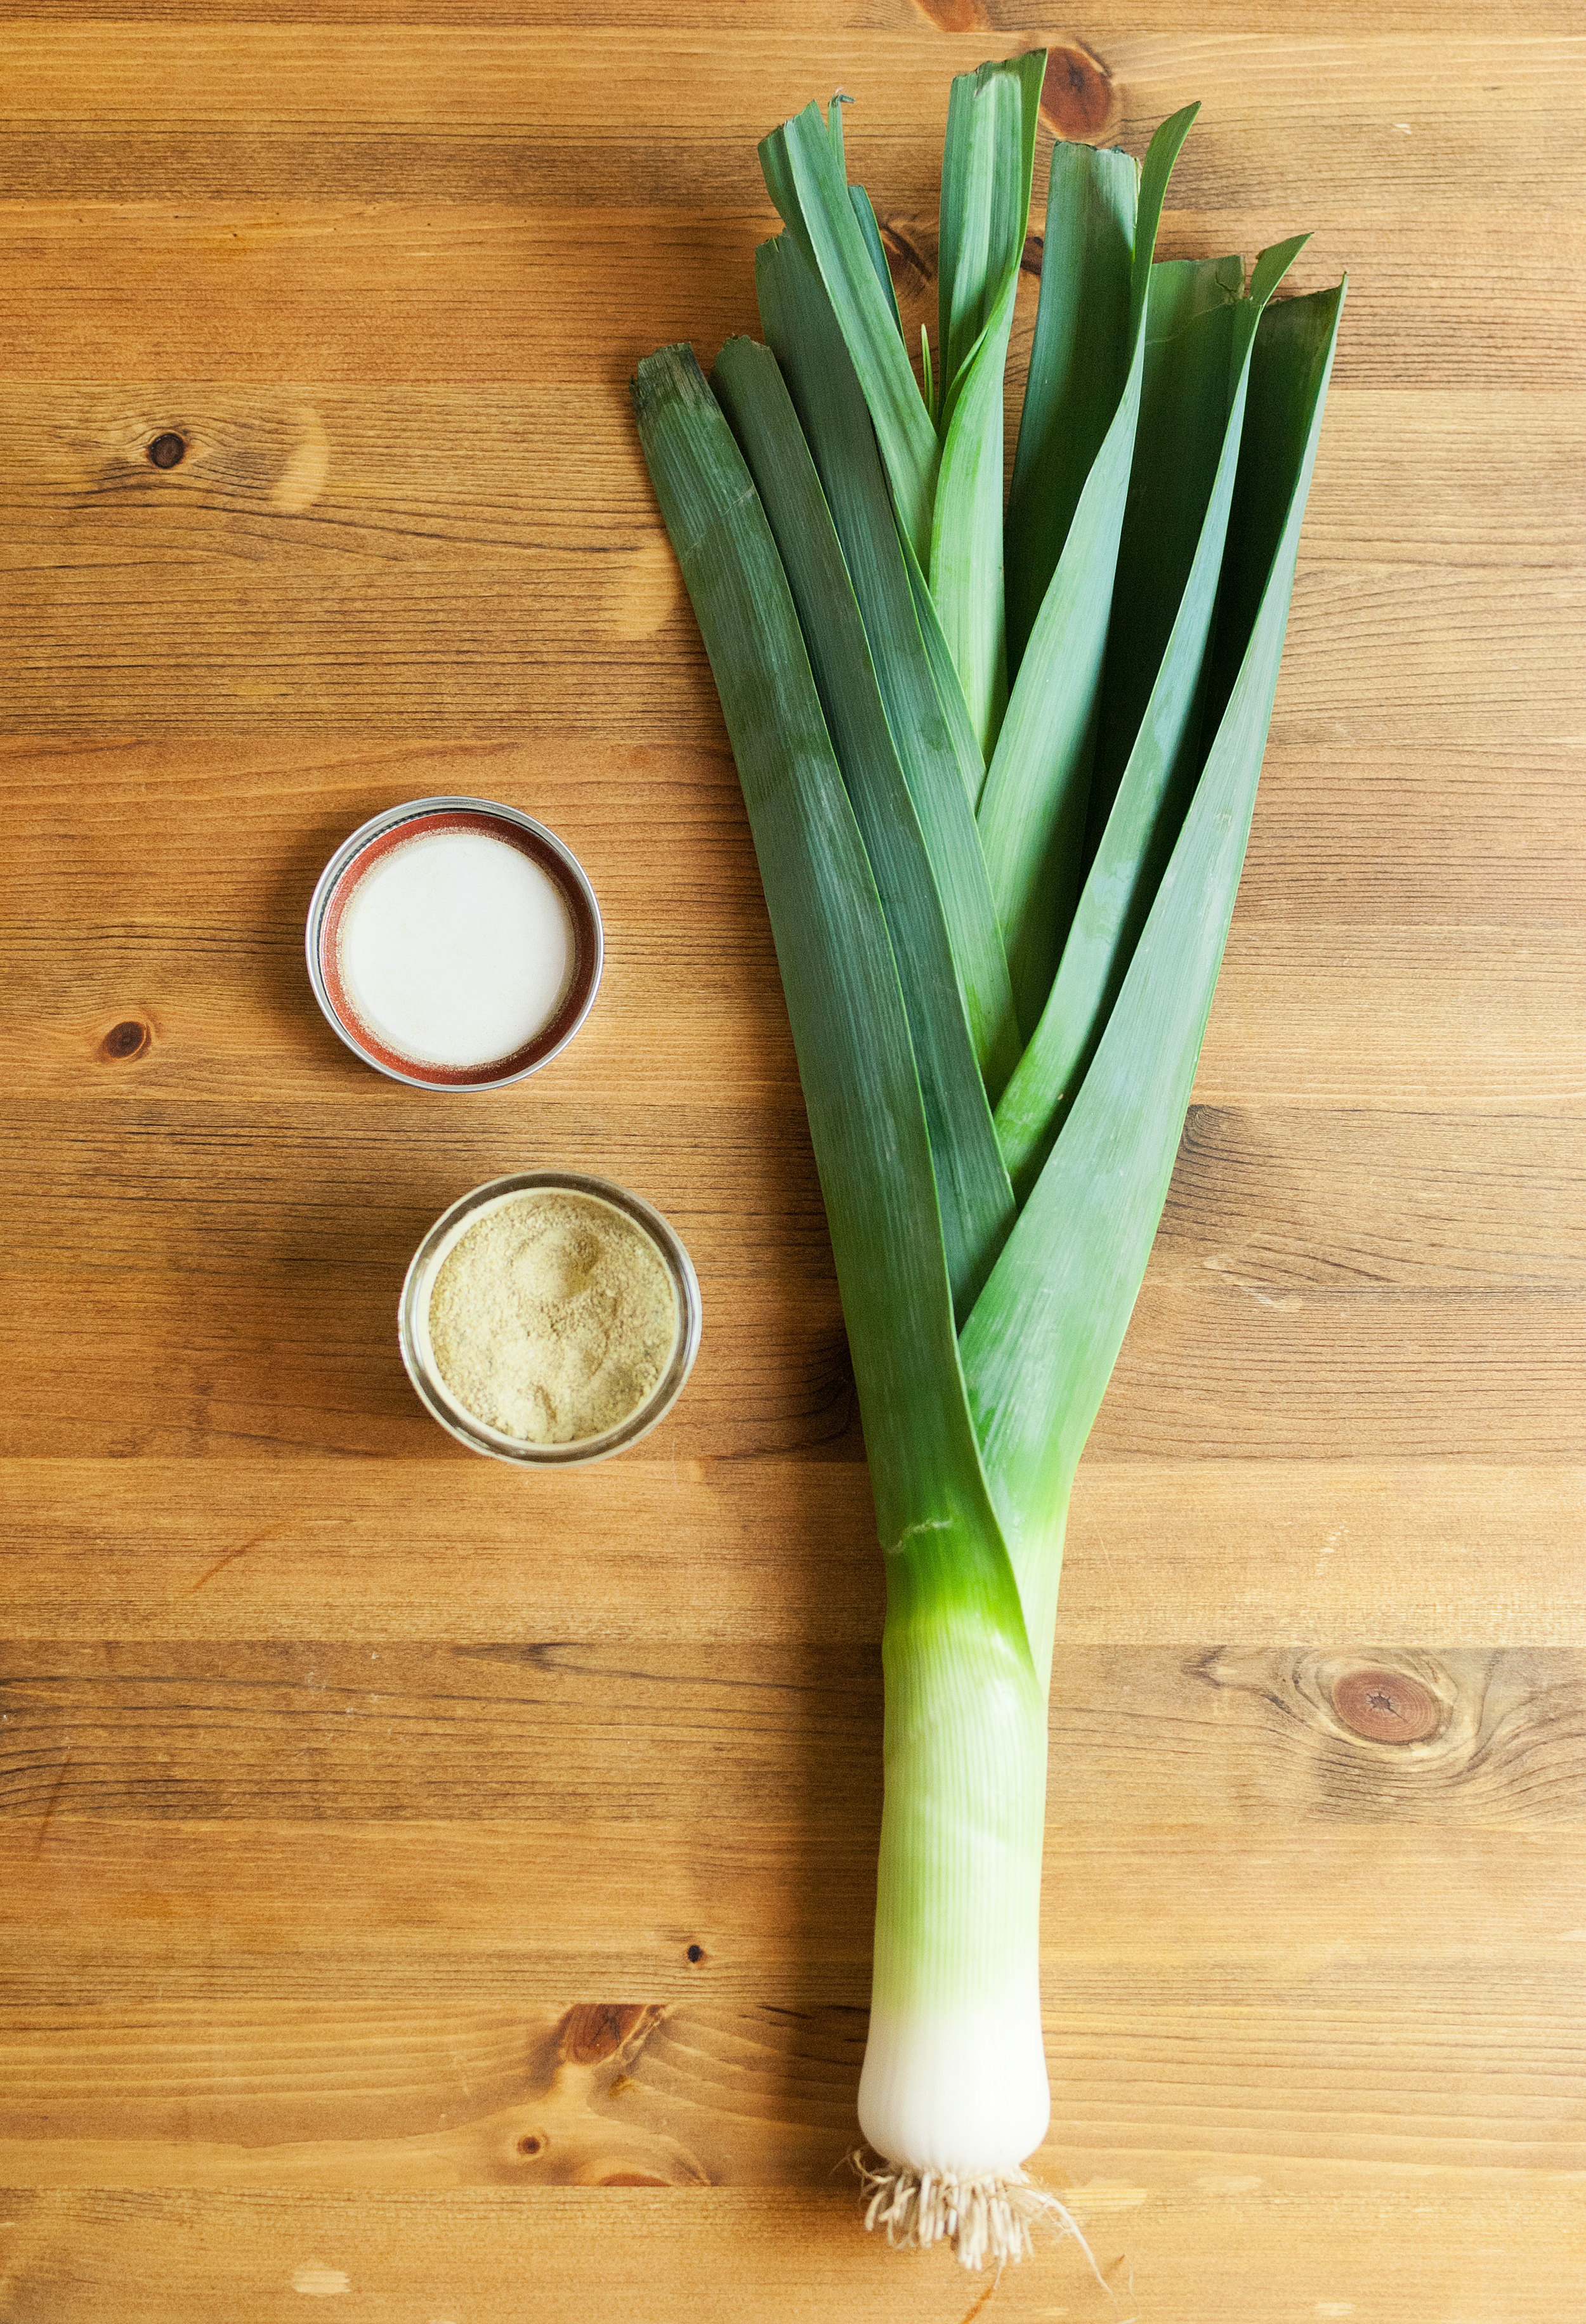
    • 2 whole leeks, roots removed, cleaned

    Preheat oven to 170.

    Cut the leeks into smaller segments (including the greens) then place them in the food processor. Blend until they resemble finely minced onions. If you don’t have a food processor, just do this by hand with a sharp knife. Be careful since the greens are fibrous and might be hard to cut.

    On a baking sheet with parchment paper, spread the minced leeks as thinly and evenly as you can. Place them in the oven and allow them to “bake” for about 6 hours, or until all the moisture in them is gone. They should be light and crispy, like dead autumn leaves.

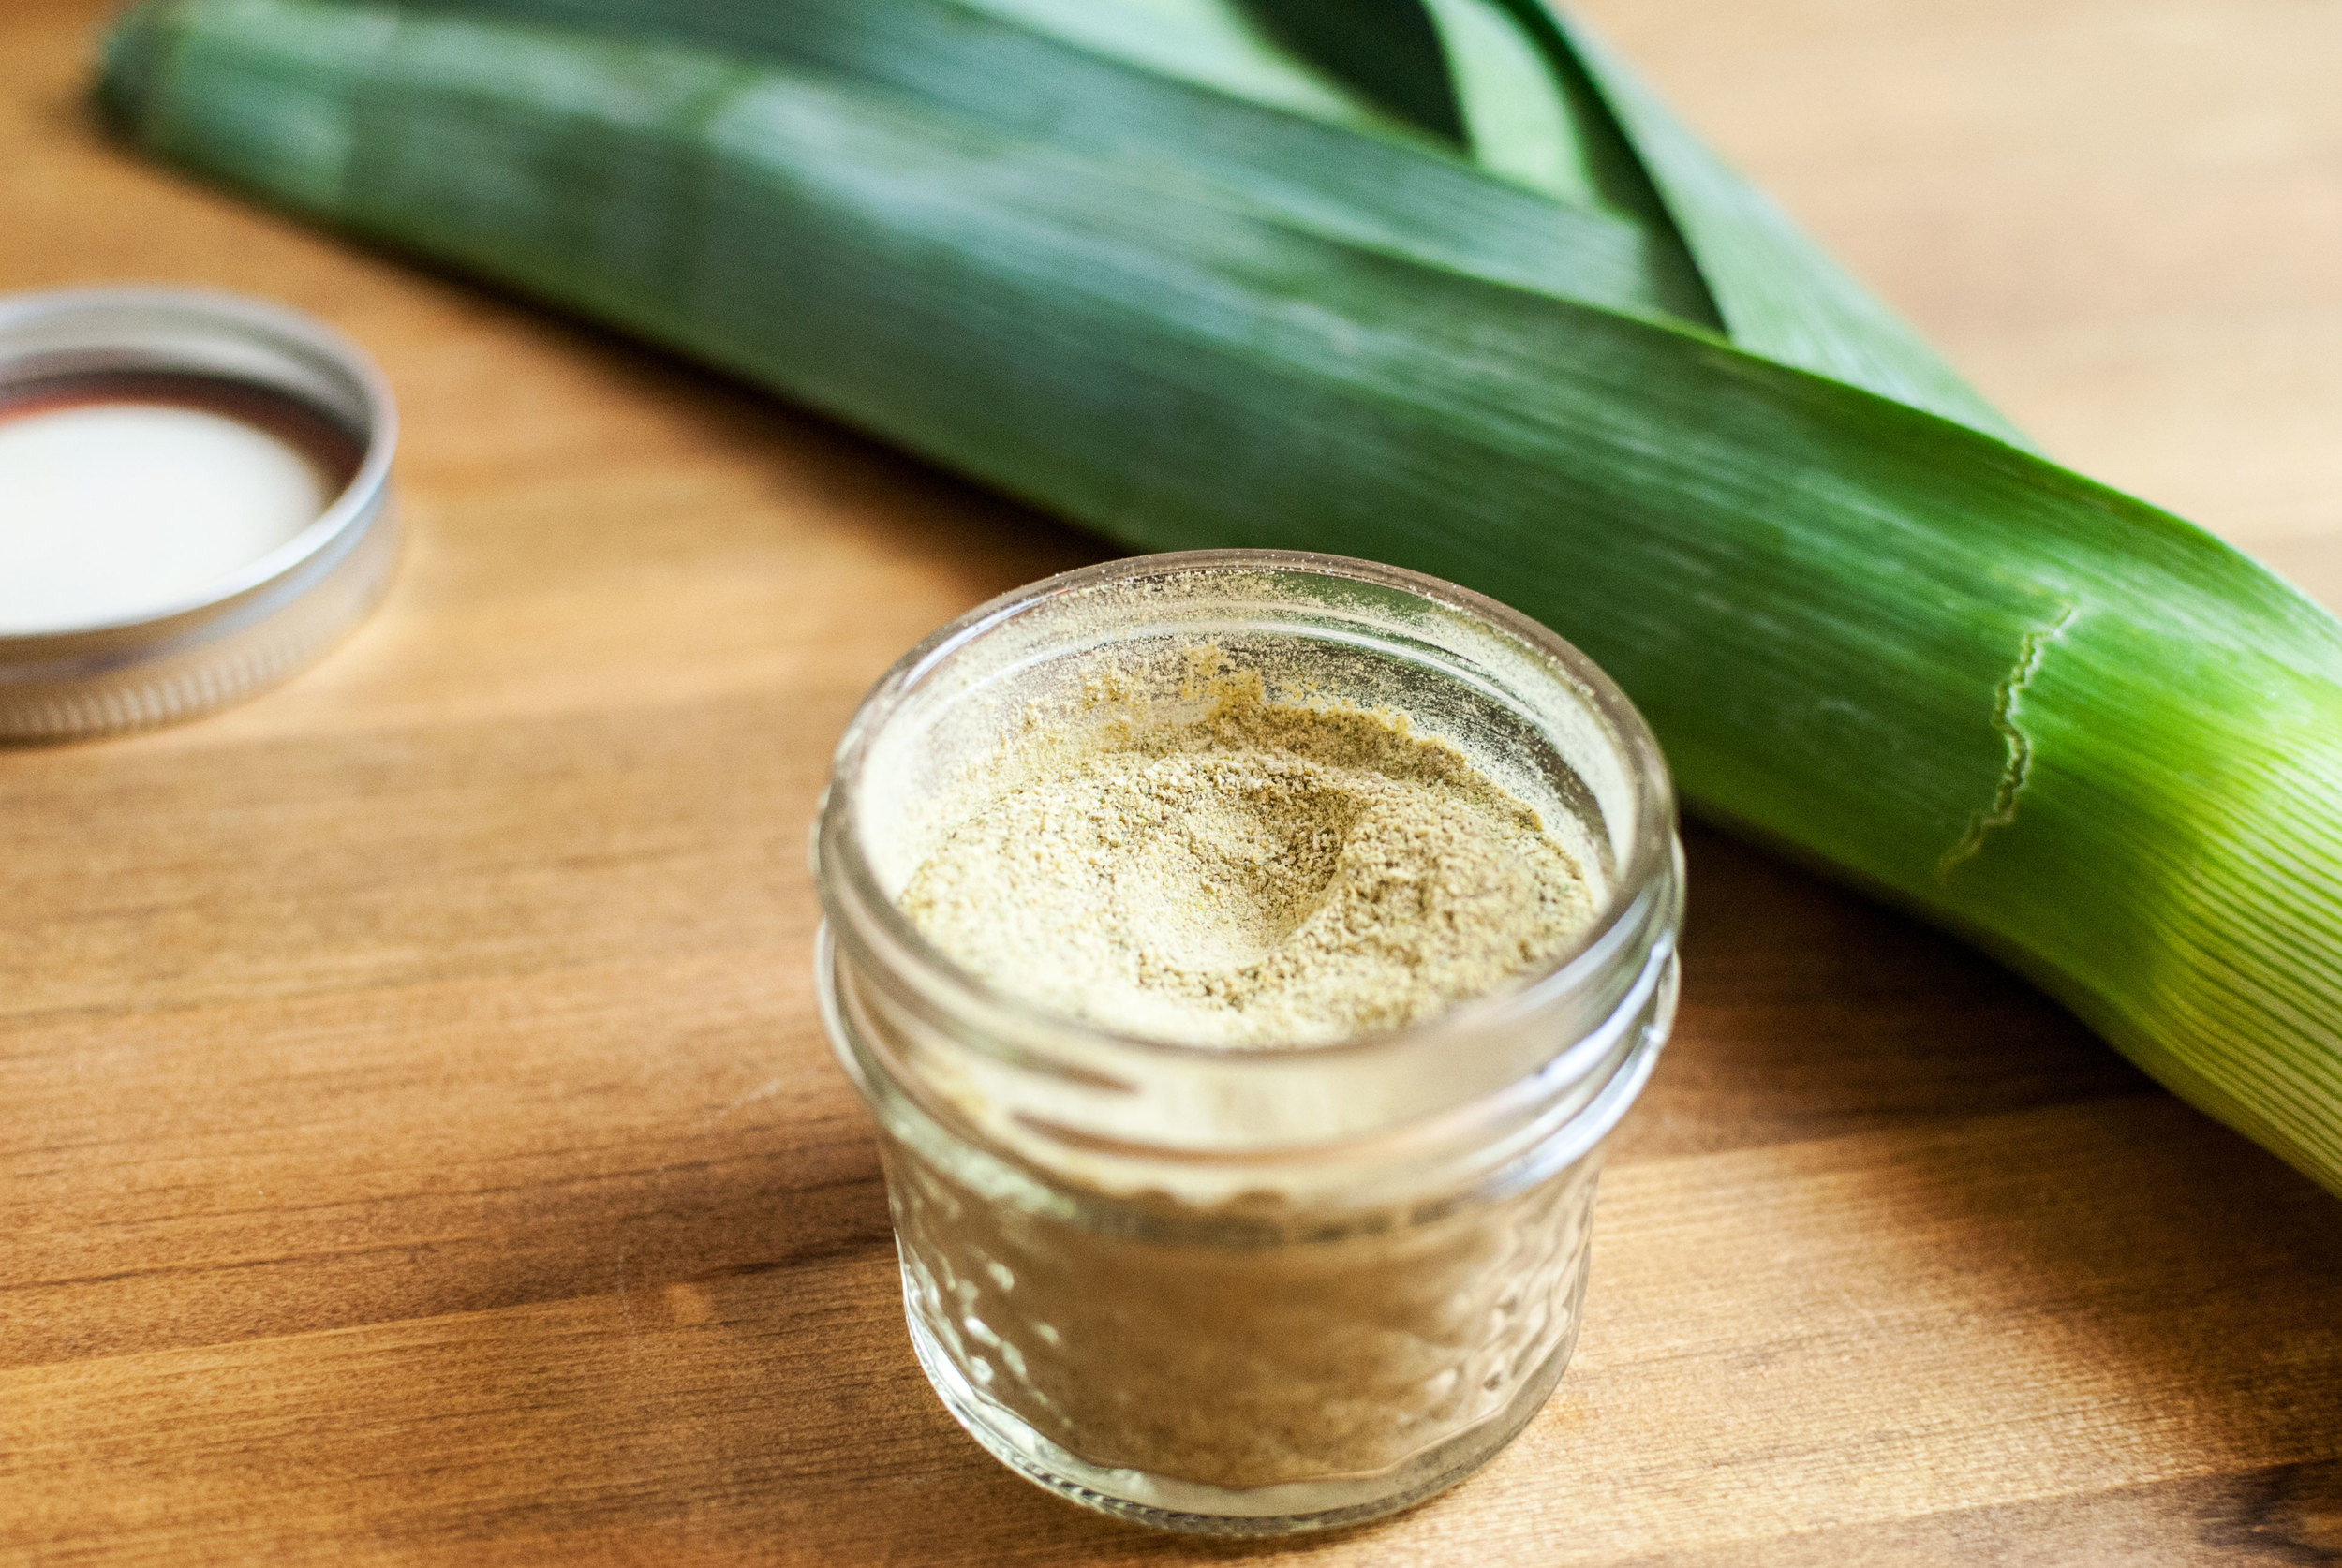
    Place the dehydrated leeks in a coffee grinder and grind until it becomes a fine powder. Store in an airtight container. Keeps for months.

    Yields about ½ cup of leek powder.

  • Strawberry Jam


    strawberry-jam_021.jpg

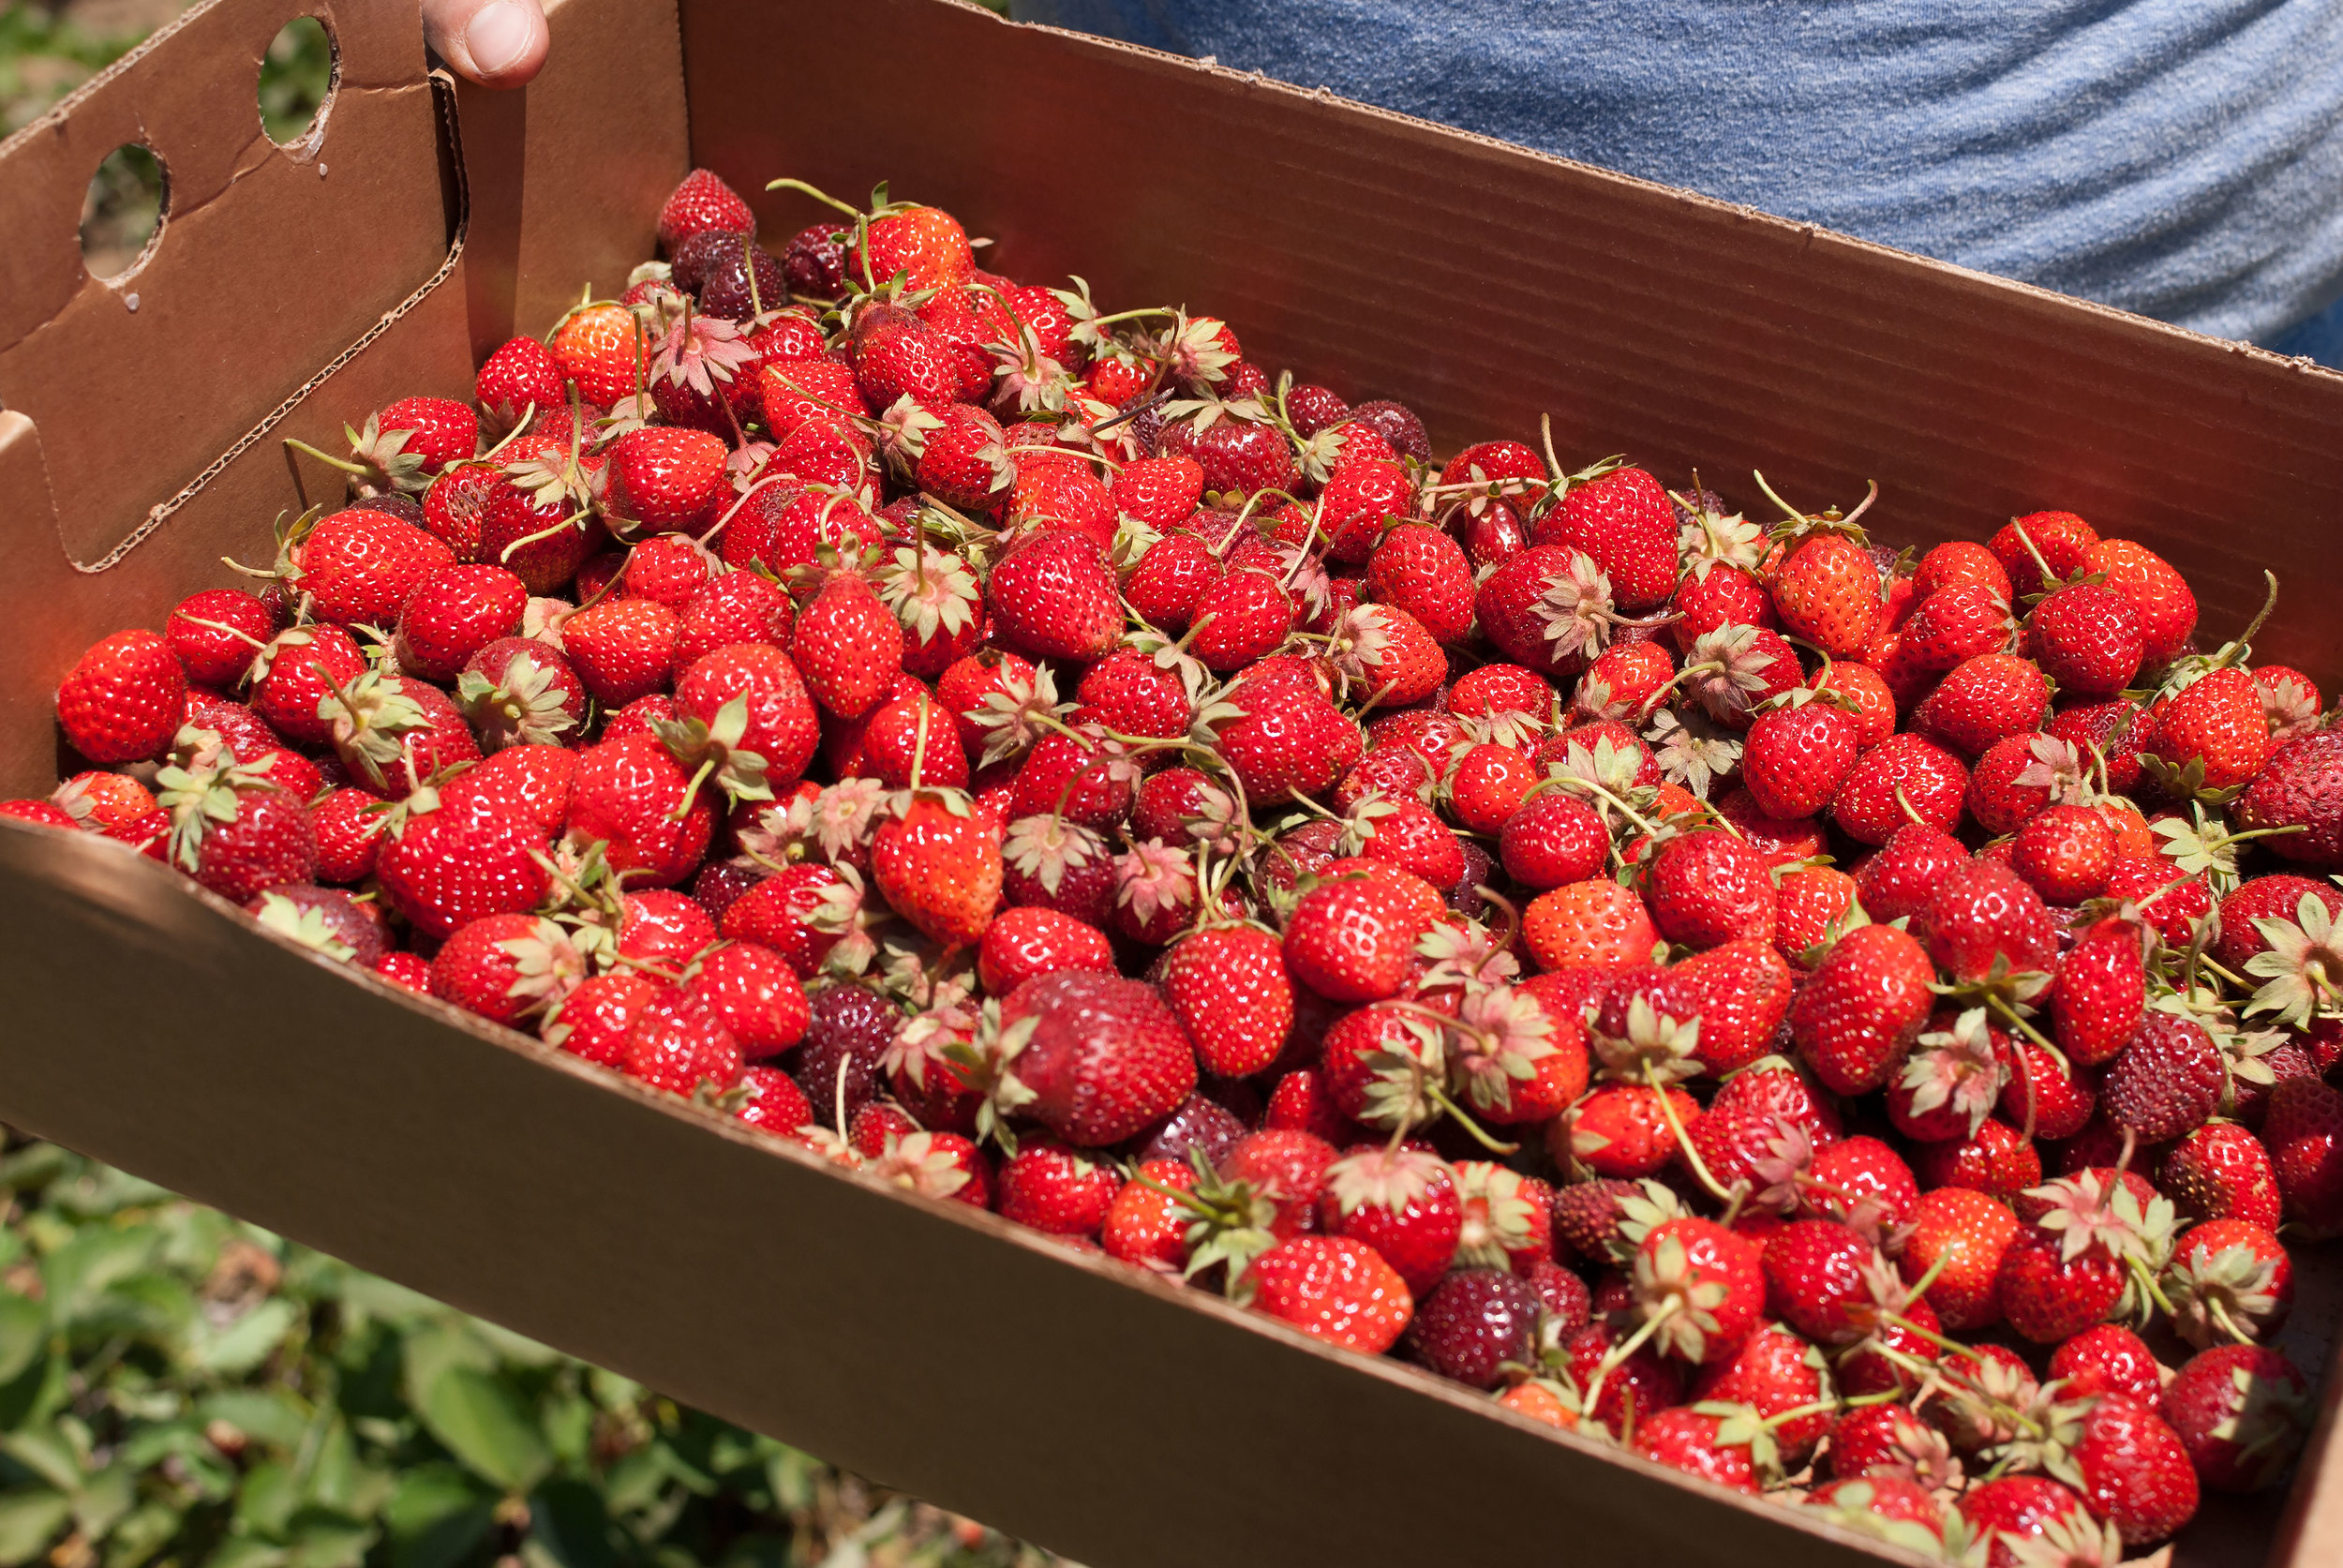
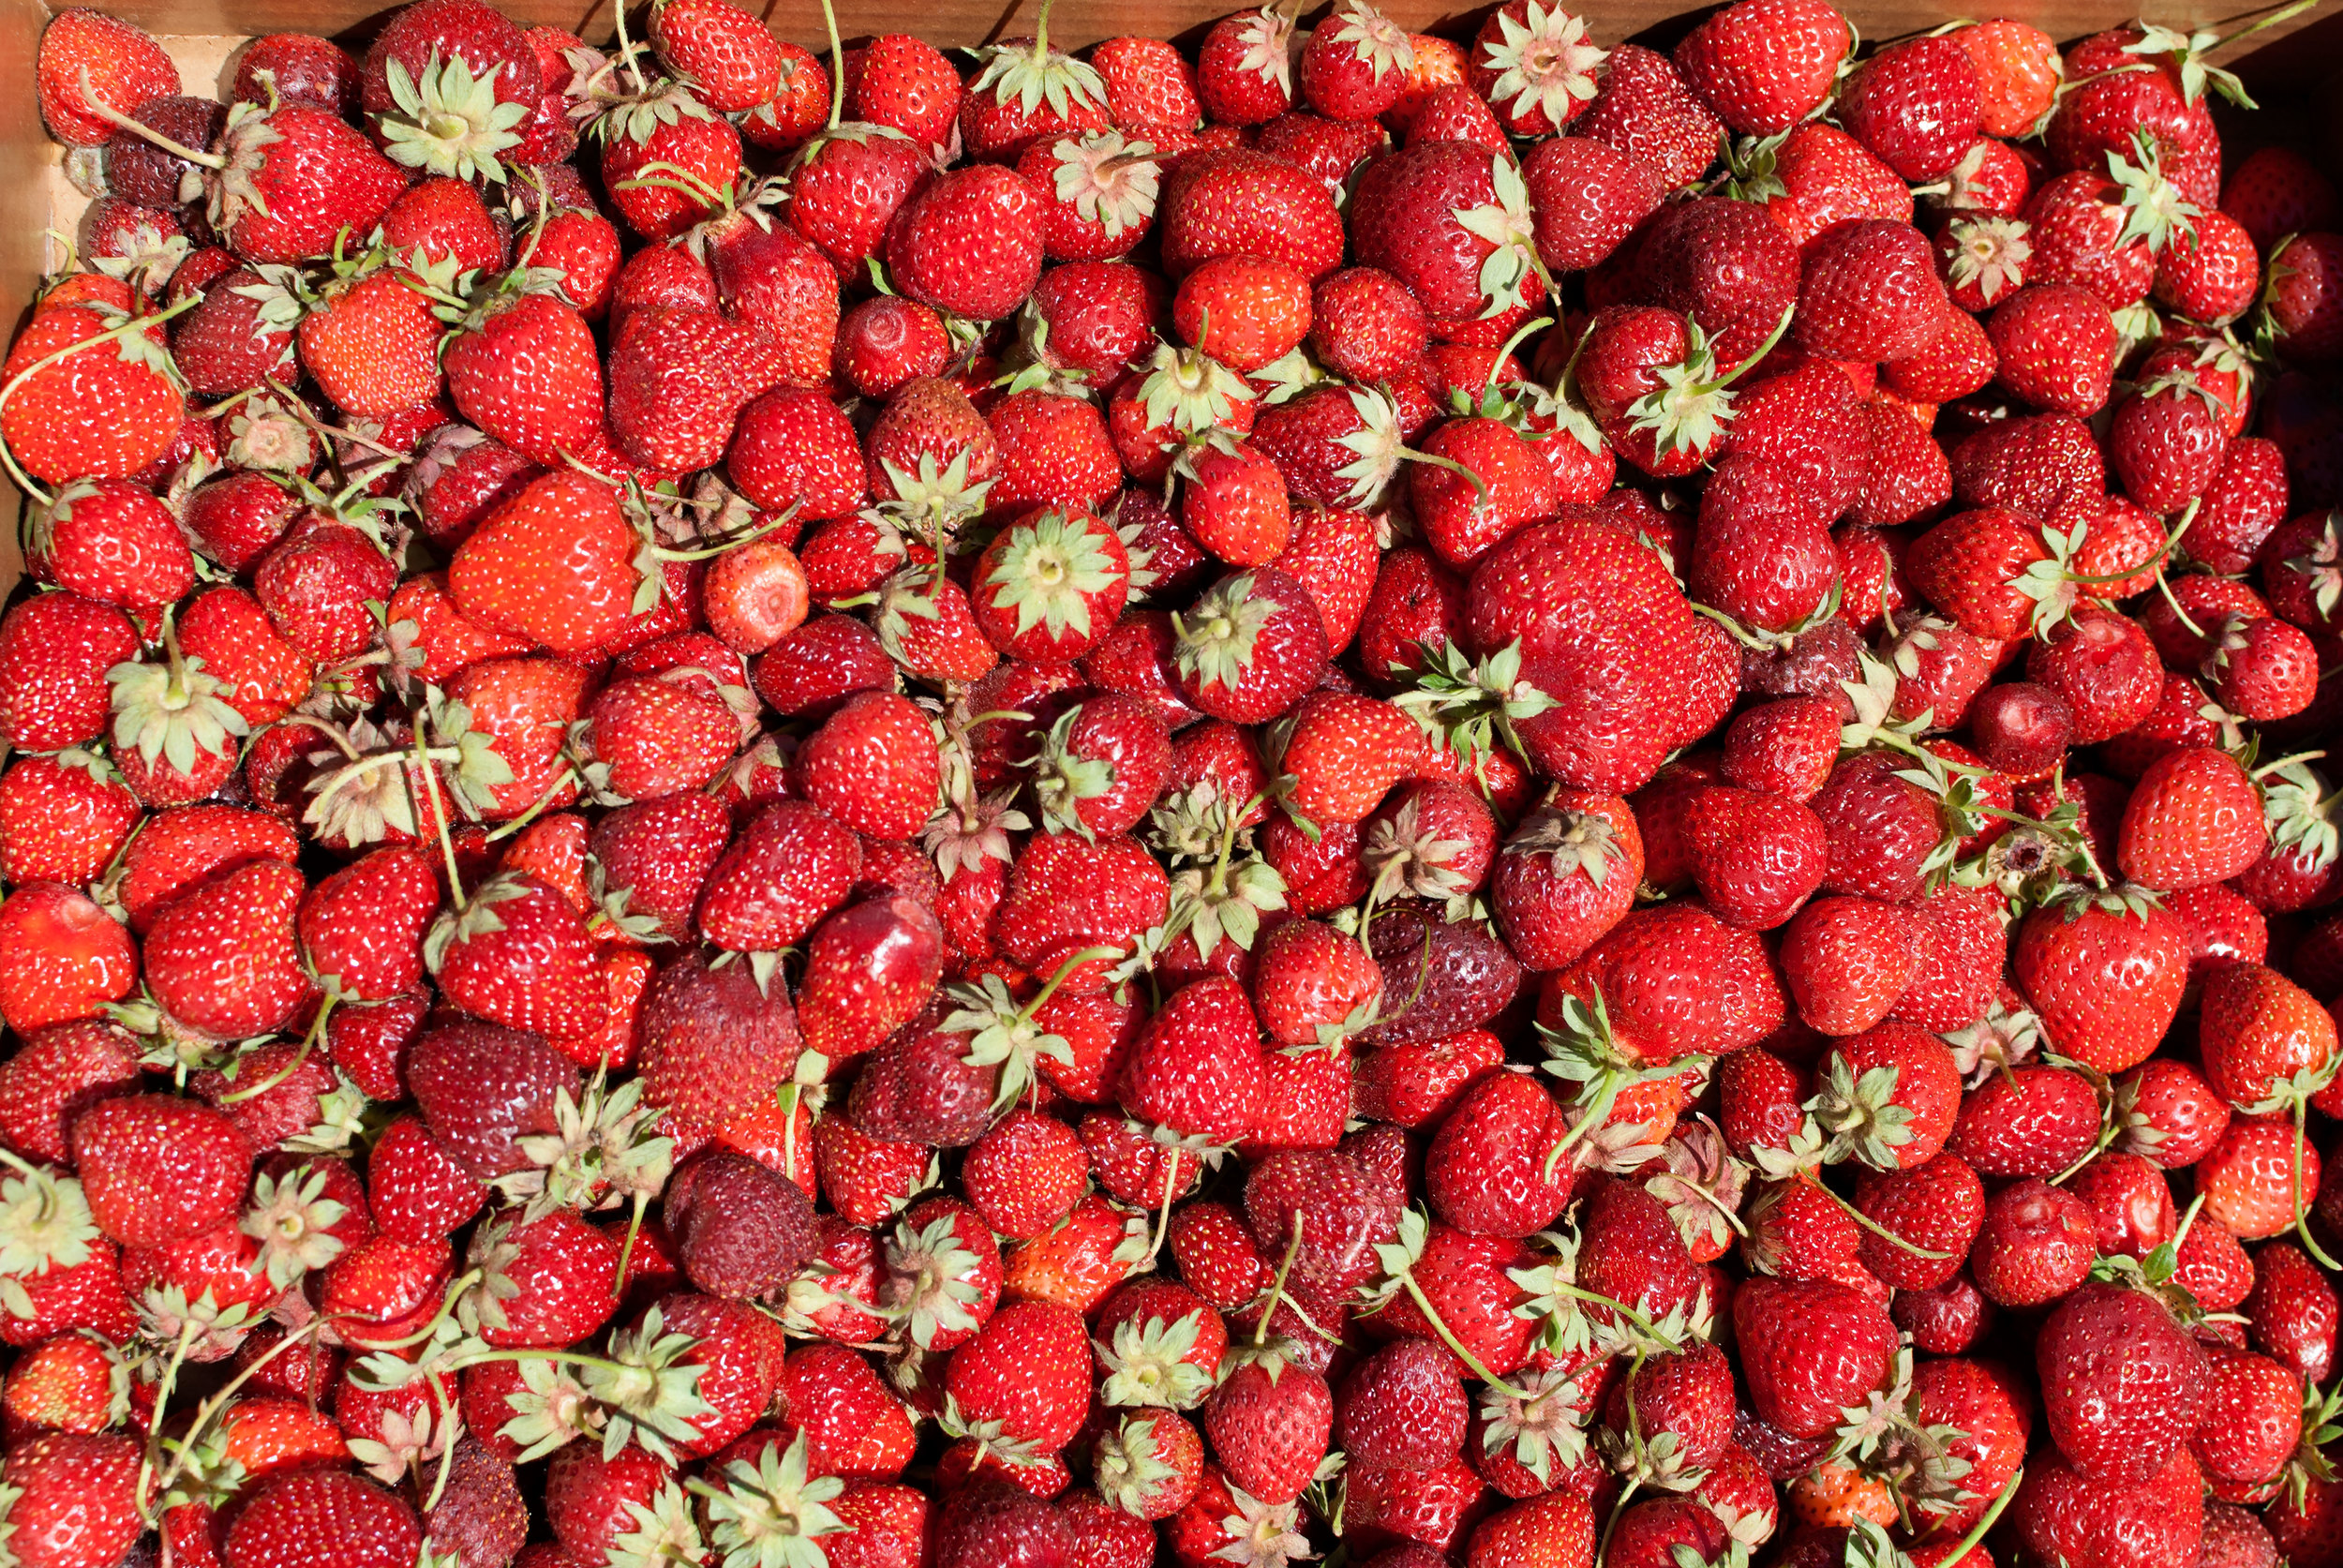
    When we bought the strawberries at the farmer’s market for our strawberry caprese salad, we had a pint and a half of strawberries left over. They were so ripe they left juice stains on the pint boxes. I said, “How about we make jam?” And Jon agreed. What else are you going to do with that many strawberries? (I will admit I was tempted to split the spoils with Jon and just sit down and eat them. Jam was a much better idea.) We looked online for a recipe, and found this one from Ina Garten. We love Ina, but there was too much sugar and lemon for us, so we went to Sauvie Island, here in Portland, and determined to get more strawberries (and raspberries!). We ended up with around 7½ pounds of strawberries bursting with sweet juice.


    strawberry-jam_03

    strawberry-jam_03


    Jon

    Jon


    Nate

    Nate

    After adapting the jam recipe for our own tastes (like we do), we ended up with our favorite strawberry jam ever. It’s sweet, but not overwhelming. It’s floral and the strawberry flavor is bright, but not cloying. It’s perfect on toast by itself, and it’s even better with a savory element, such as peanut butter or chèvre. We’ll be making this for many summers to come.


    strawberry-jam_05

    strawberry-jam_05

    Strawberry Jam

    • 7 lb (3.2 kg, about 9 pints) ripe strawberries, hulled and halved
    • 5 cups (2.2 lb/1 kg) white sugar
    • zest of 4 lemons
    • juice of 3 lemons

    Cook sugar, lemon juice and zest over low heat stirring constantly until sugar is completely melted, about 10 minutes. Add strawberries and stir until combined. Let simmer on low heat for 20–30 minutes, stirring frequently to prevent scorching. Jam is done when the juice gels when you put it on a cold surface (we used a plate in the freezer for this). Remove from heat. If strawberries are too chunky, use an immersion blender to achieve desired consistency. Use a canning funnel to put in pint jars. If not using immediately, you will need to preserve it. If canning see instructions here. If freezing, put into freezer-safe containers (most wide mouth canning jars will work for this, just leave room at the top to account for expansion), and freeze after cooling completely.

    Yields a little more than 7 pints.


    strawberry-jam_06

    strawberry-jam_06

  • Morita Salsa


    There are many different kinds of salsas out there, but more often than not, for one person who is educated in “salsa literacy” there is just The One. When someone finds The One, they usually end up putting it on everything. For some people this might be Tabasco. For others, Sriracha, Tapatio, Cholula. You get the picture. We have The One for us, too. But we don’t go out and buy ours. We make it at home. And this recipe tells you how to do it.
    Finding out which salsa will be yours takes time. You need to experiment. It’s kinda like dating. You gotta spread yourself around a little bit and maybe go outside of your comfort zone from time to time. Finding your salsa will require you to be in touch with yourself and really understand what you like to eat. Do you like bold flavors, or subtle complex ones? Do you prefer a fresh flavor profile, or a smoky one? Tart or sweet? Do you like your spicy food to tickle or tackle you? Your salsa should represent what you wish every food had, so that when you use it, it does!

    Our salsa is made with a special little chile called a morita. Moritas are smoked jalapeños, just like chipotles are, but they aren’t smoked for as long. They still have some of that dark, smoky, sexy-ness that chipotles have, but they have also retained some sweetness from their fresher form. We like that they are balanced. We blend a lot them with charred tomatoes, onions, garlic, and spices to make a light and smoky, slightly sweet and savory sauce. You best believe it’s in our fridge at all times.

    • 5 ripe roma tomatoes, halved, divided
    • ½ large onion, halved
    • 4 large cloves of garlic, peeled
    • 6 morita chiles, de-stemmed
    • 1 tbs. ground cumin
    • ¼ cup white vinegar
    • ⅓ cup vegetable oil
    • salt to taste

    Note: Moritas aren’t exactly easy to find. You won’t find them at any standard corporate grocery store. You need to go to a Mexican market for these babies. For this recipe, use ones on the bigger side as opposed to the little uns.

    Rehydrate the moritas by placing them in a microwave safe dish with enough water to cover. Microwave for 90 seconds then set aside.


    Morita_Salsa_02

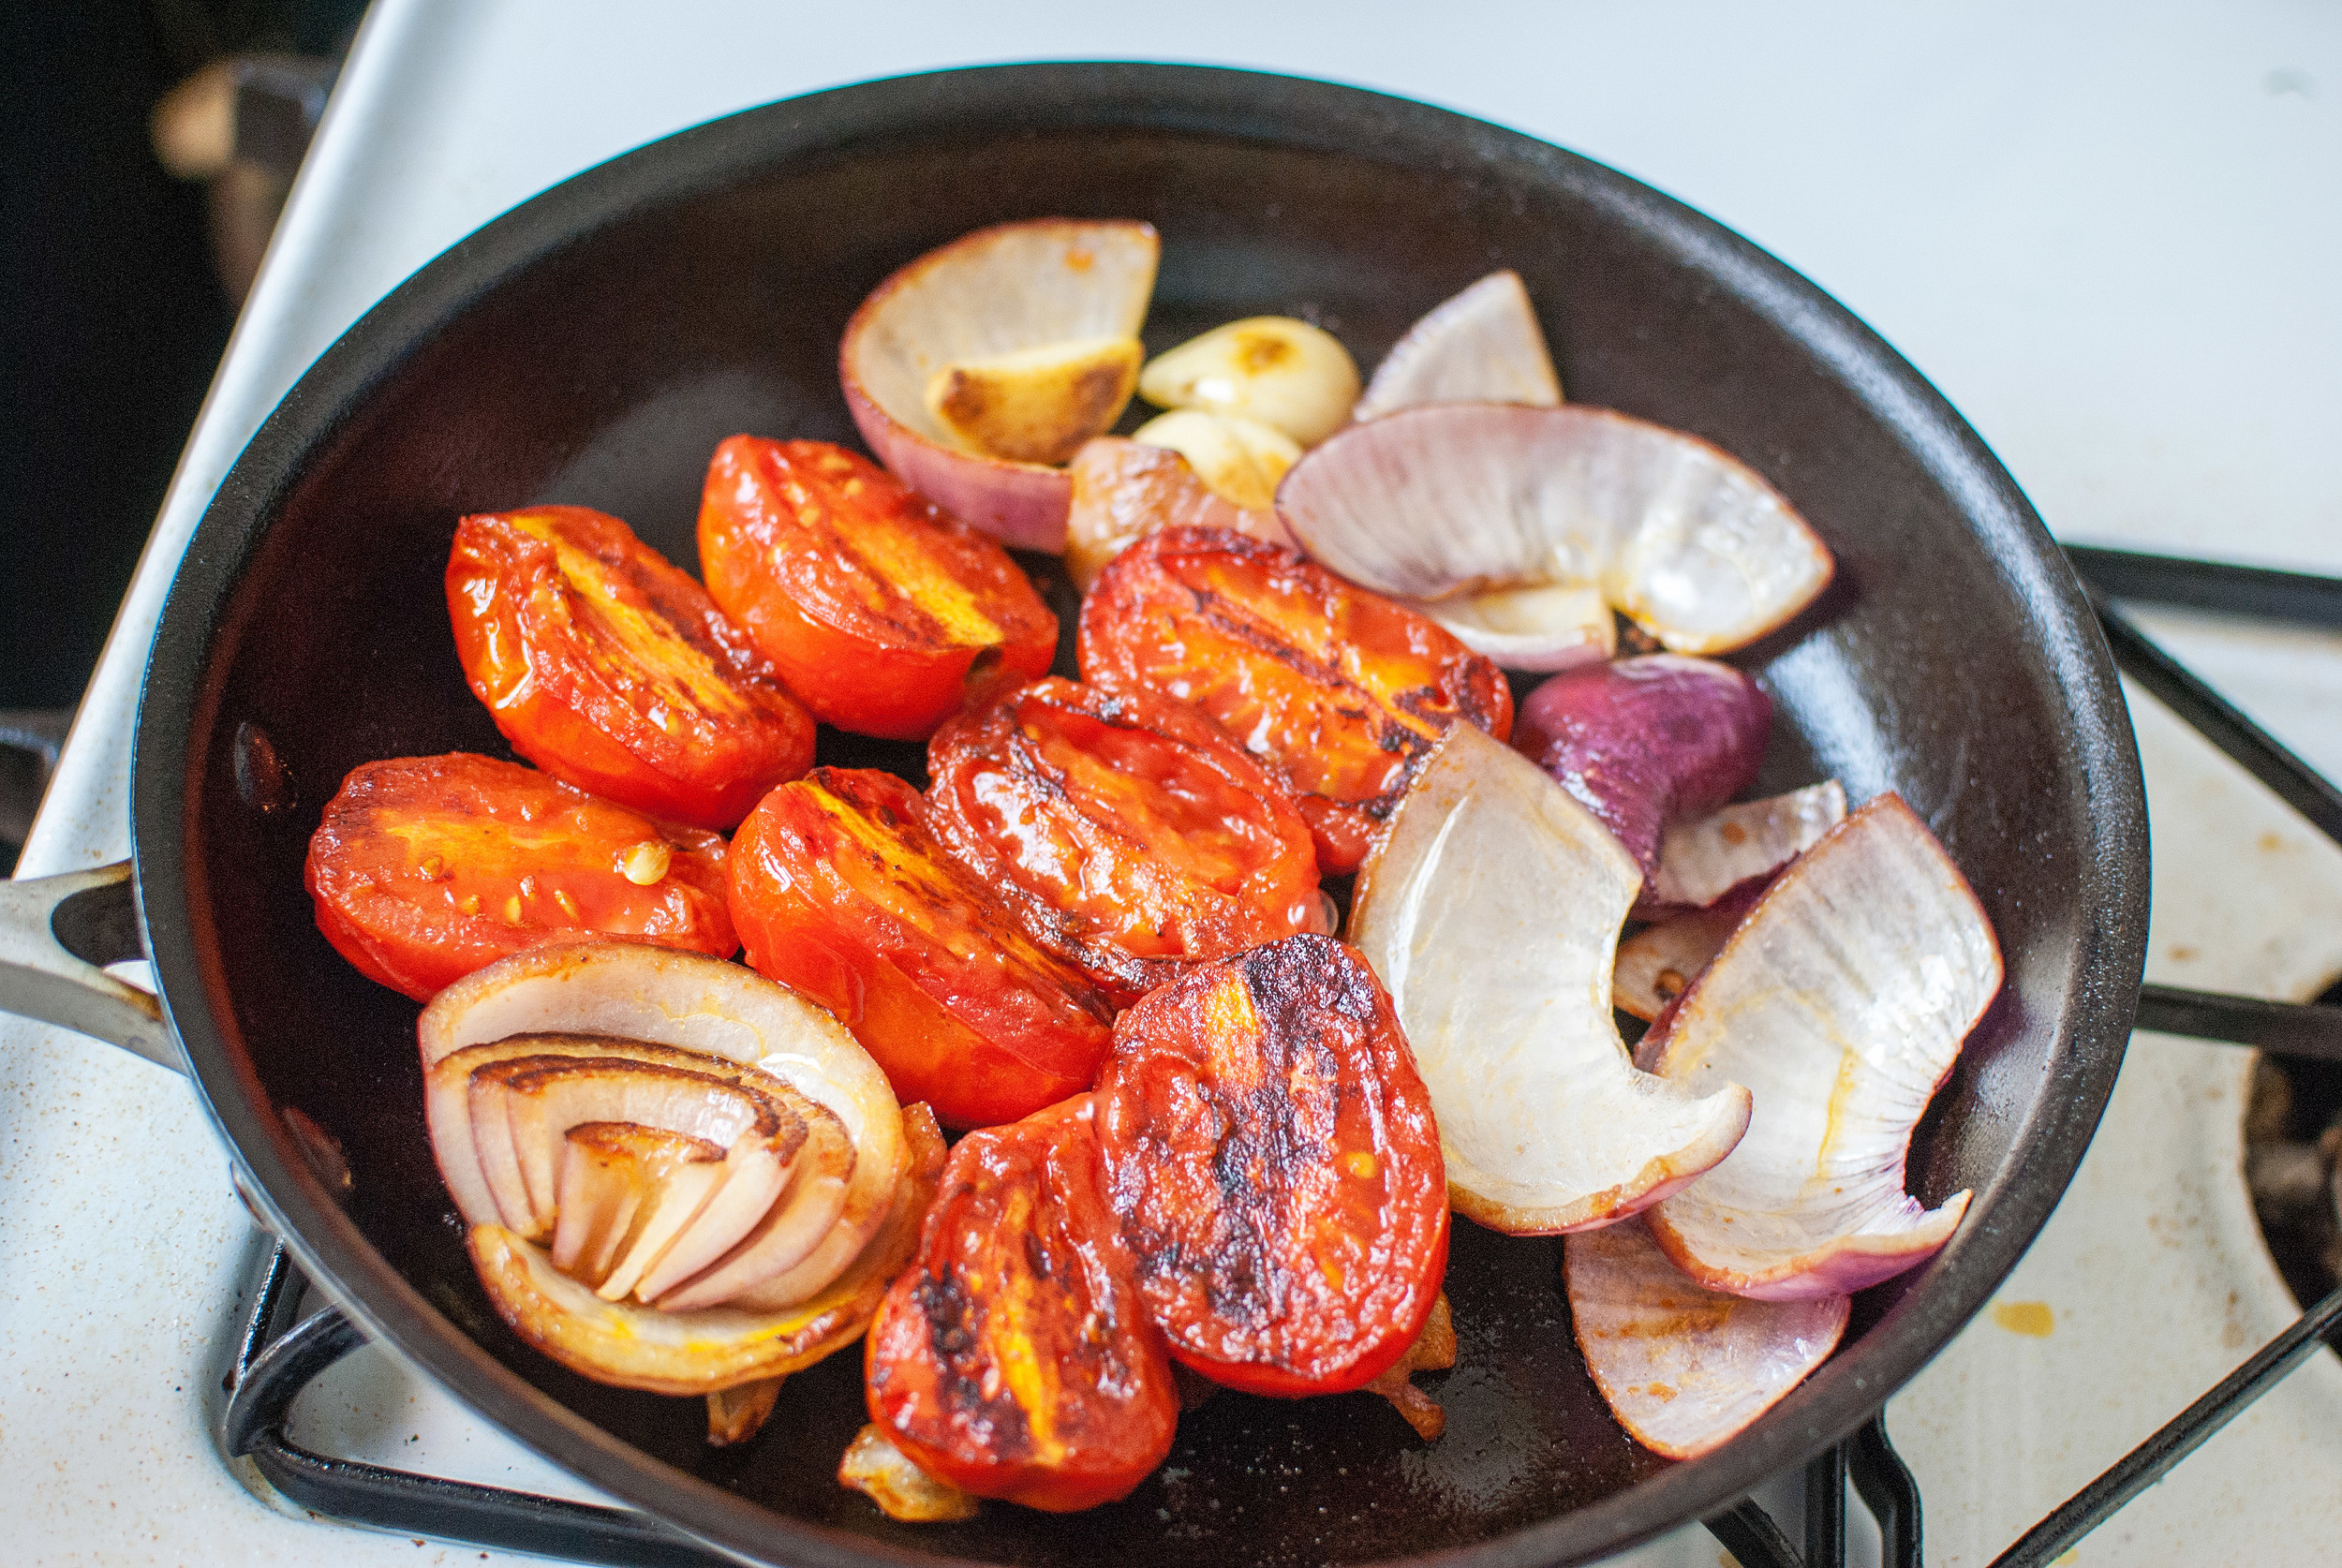
    Coat a non-stick pan with vegetable oil and bring to medium high heat. When the oil shimmers, add four halved tomatoes flat face down, onion, and garlic to the pan. Sear until slightly charred. When the tomatoes are golden, flip them over to char the skin slightly. Stir onions and garlic occasionally. When the tomato skins wrinkle, transfer everything to a food processor. Remove the moritas from the water and add them to the food processor. Add the cumin and vinegar. Blend until completely smooth. Put the mixture back in your pan and cook on medium low heat to reduce the liquid, about 20–30 minutes, stirring frequently.

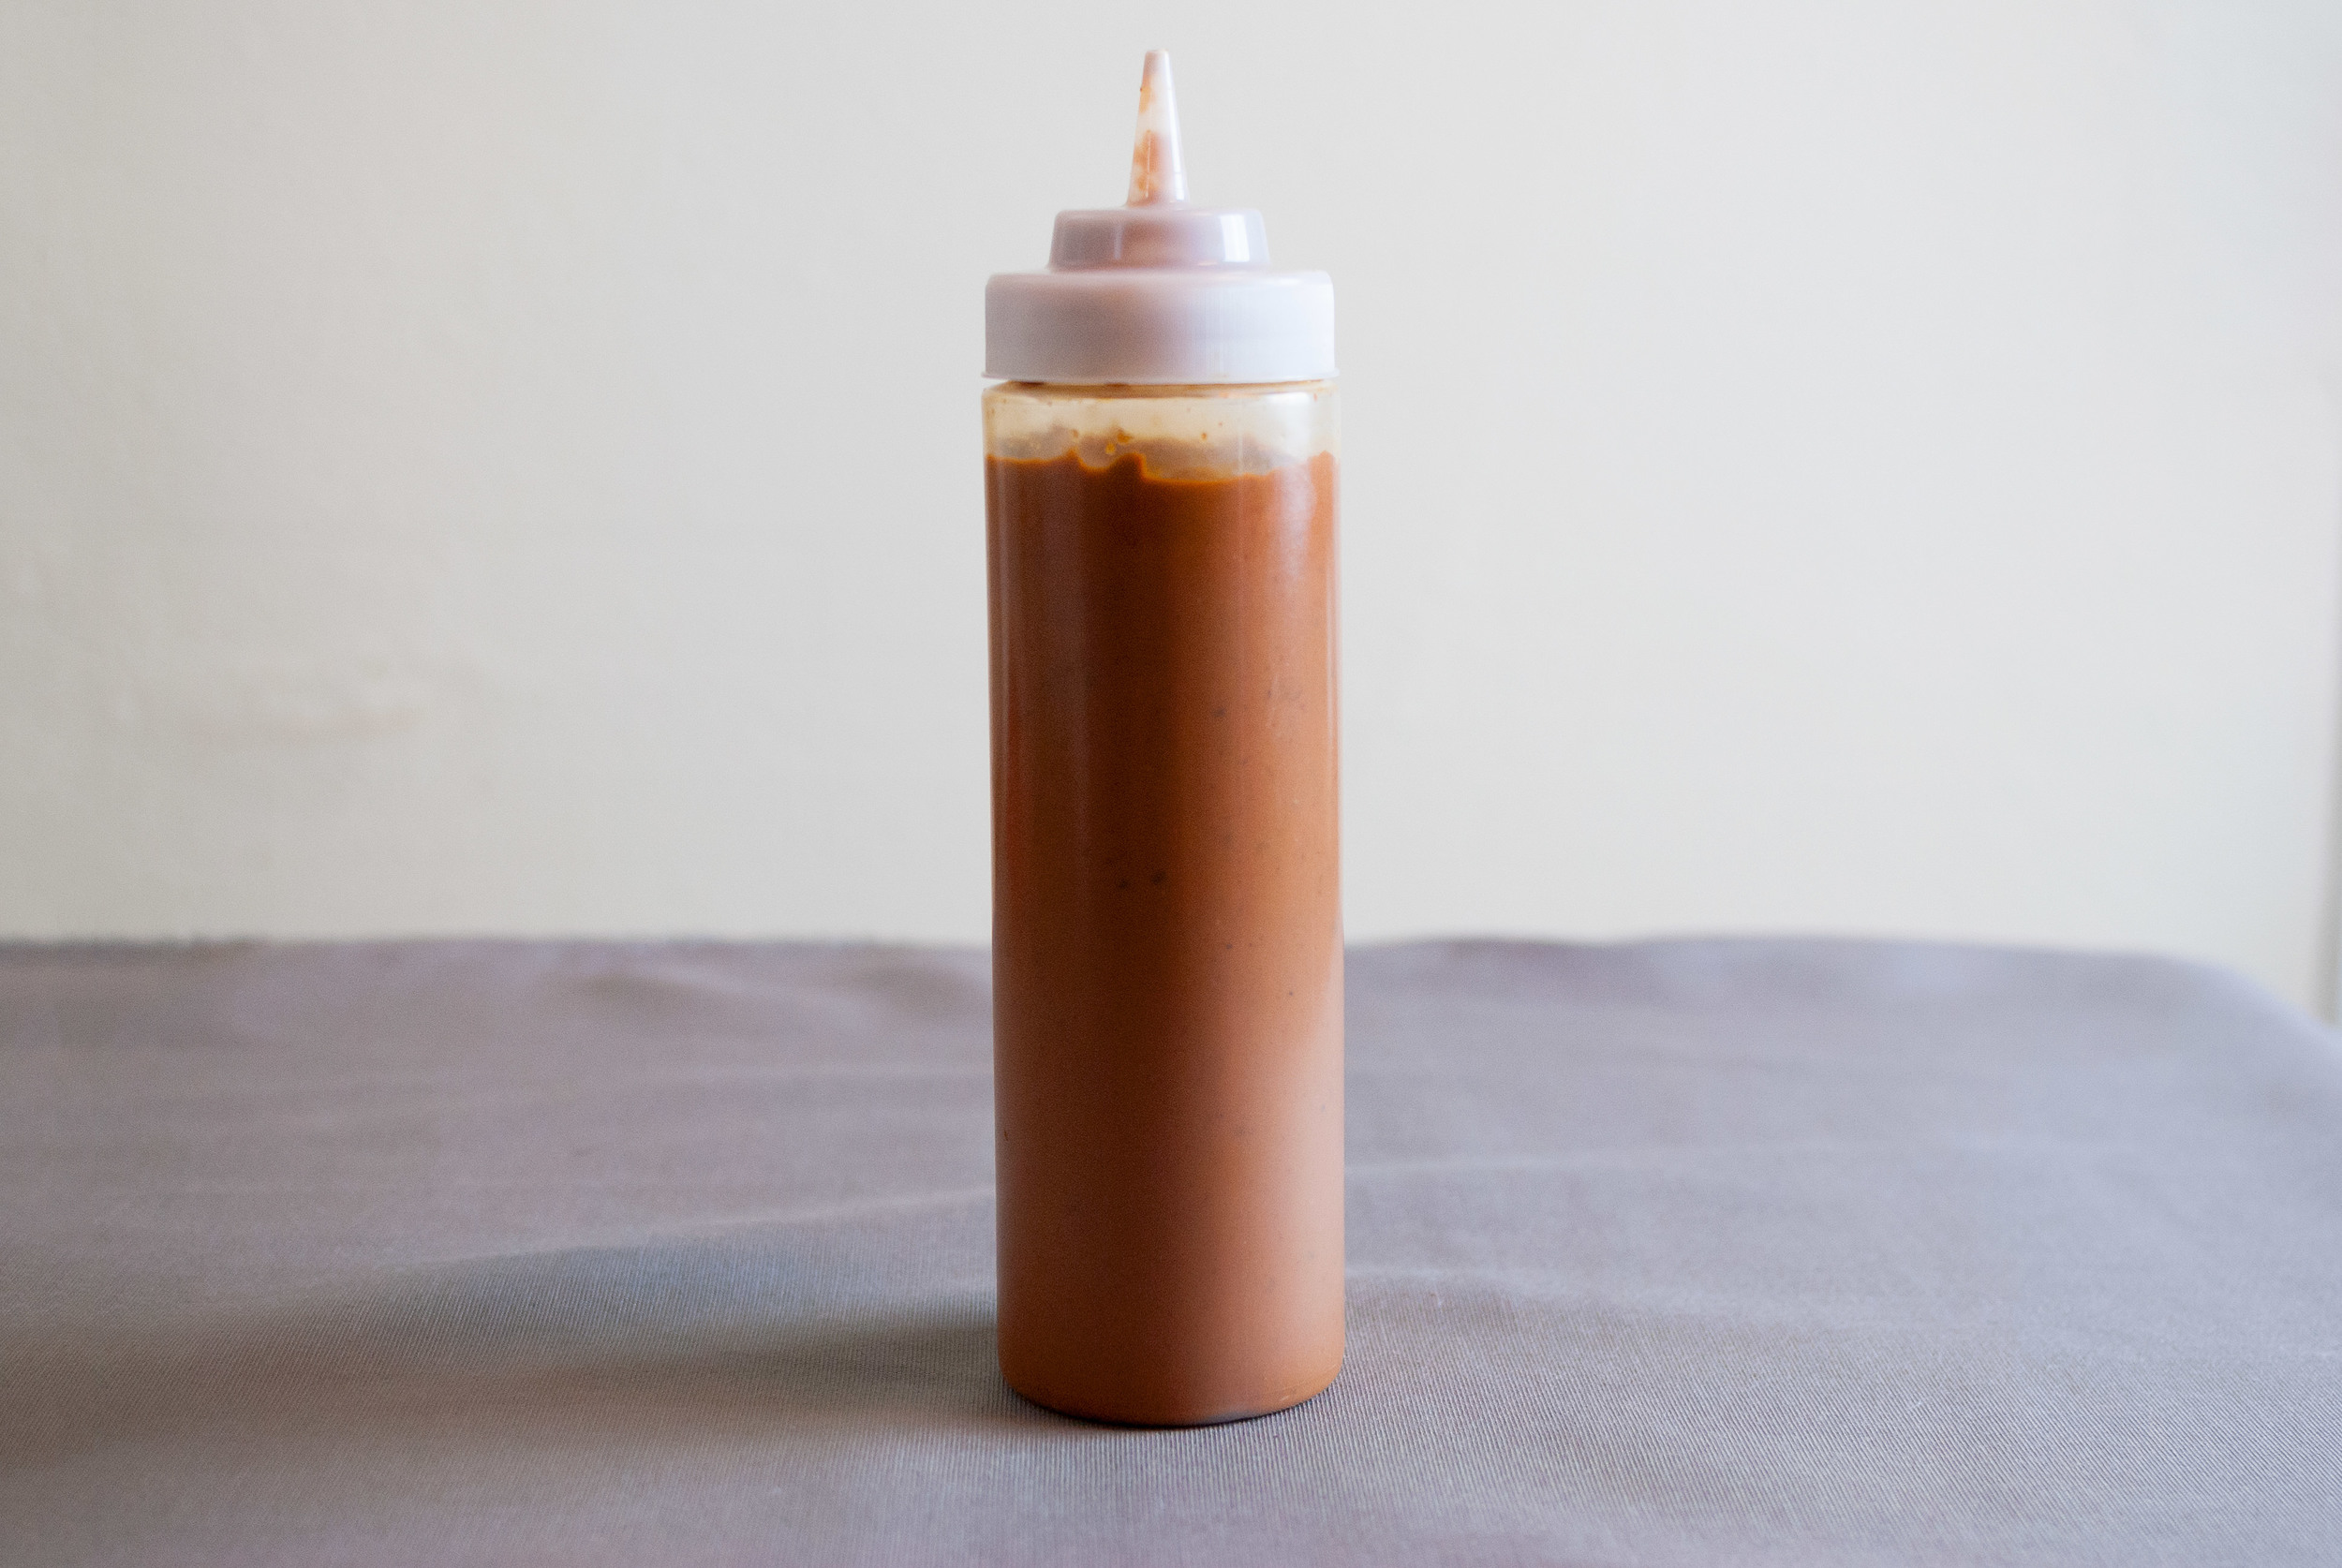
    When your mixture is paste-like, place it back in the food processor and blend in the last tomato you set aside. Keep the food processor running and drizzle the oil through the top to emulsify. Add salt to taste. If the salsa is still too thick, add some water. The desired consistency should resemble heavy whipping cream. Use immediately. Refrigerate any unused salsa for around a month, perhaps longer (trust your nose).

    Yields one pint, plus a little extra.


    Morita_Salsa_03

  • Chard and Walnut Pesto


    DSC00361.jpg

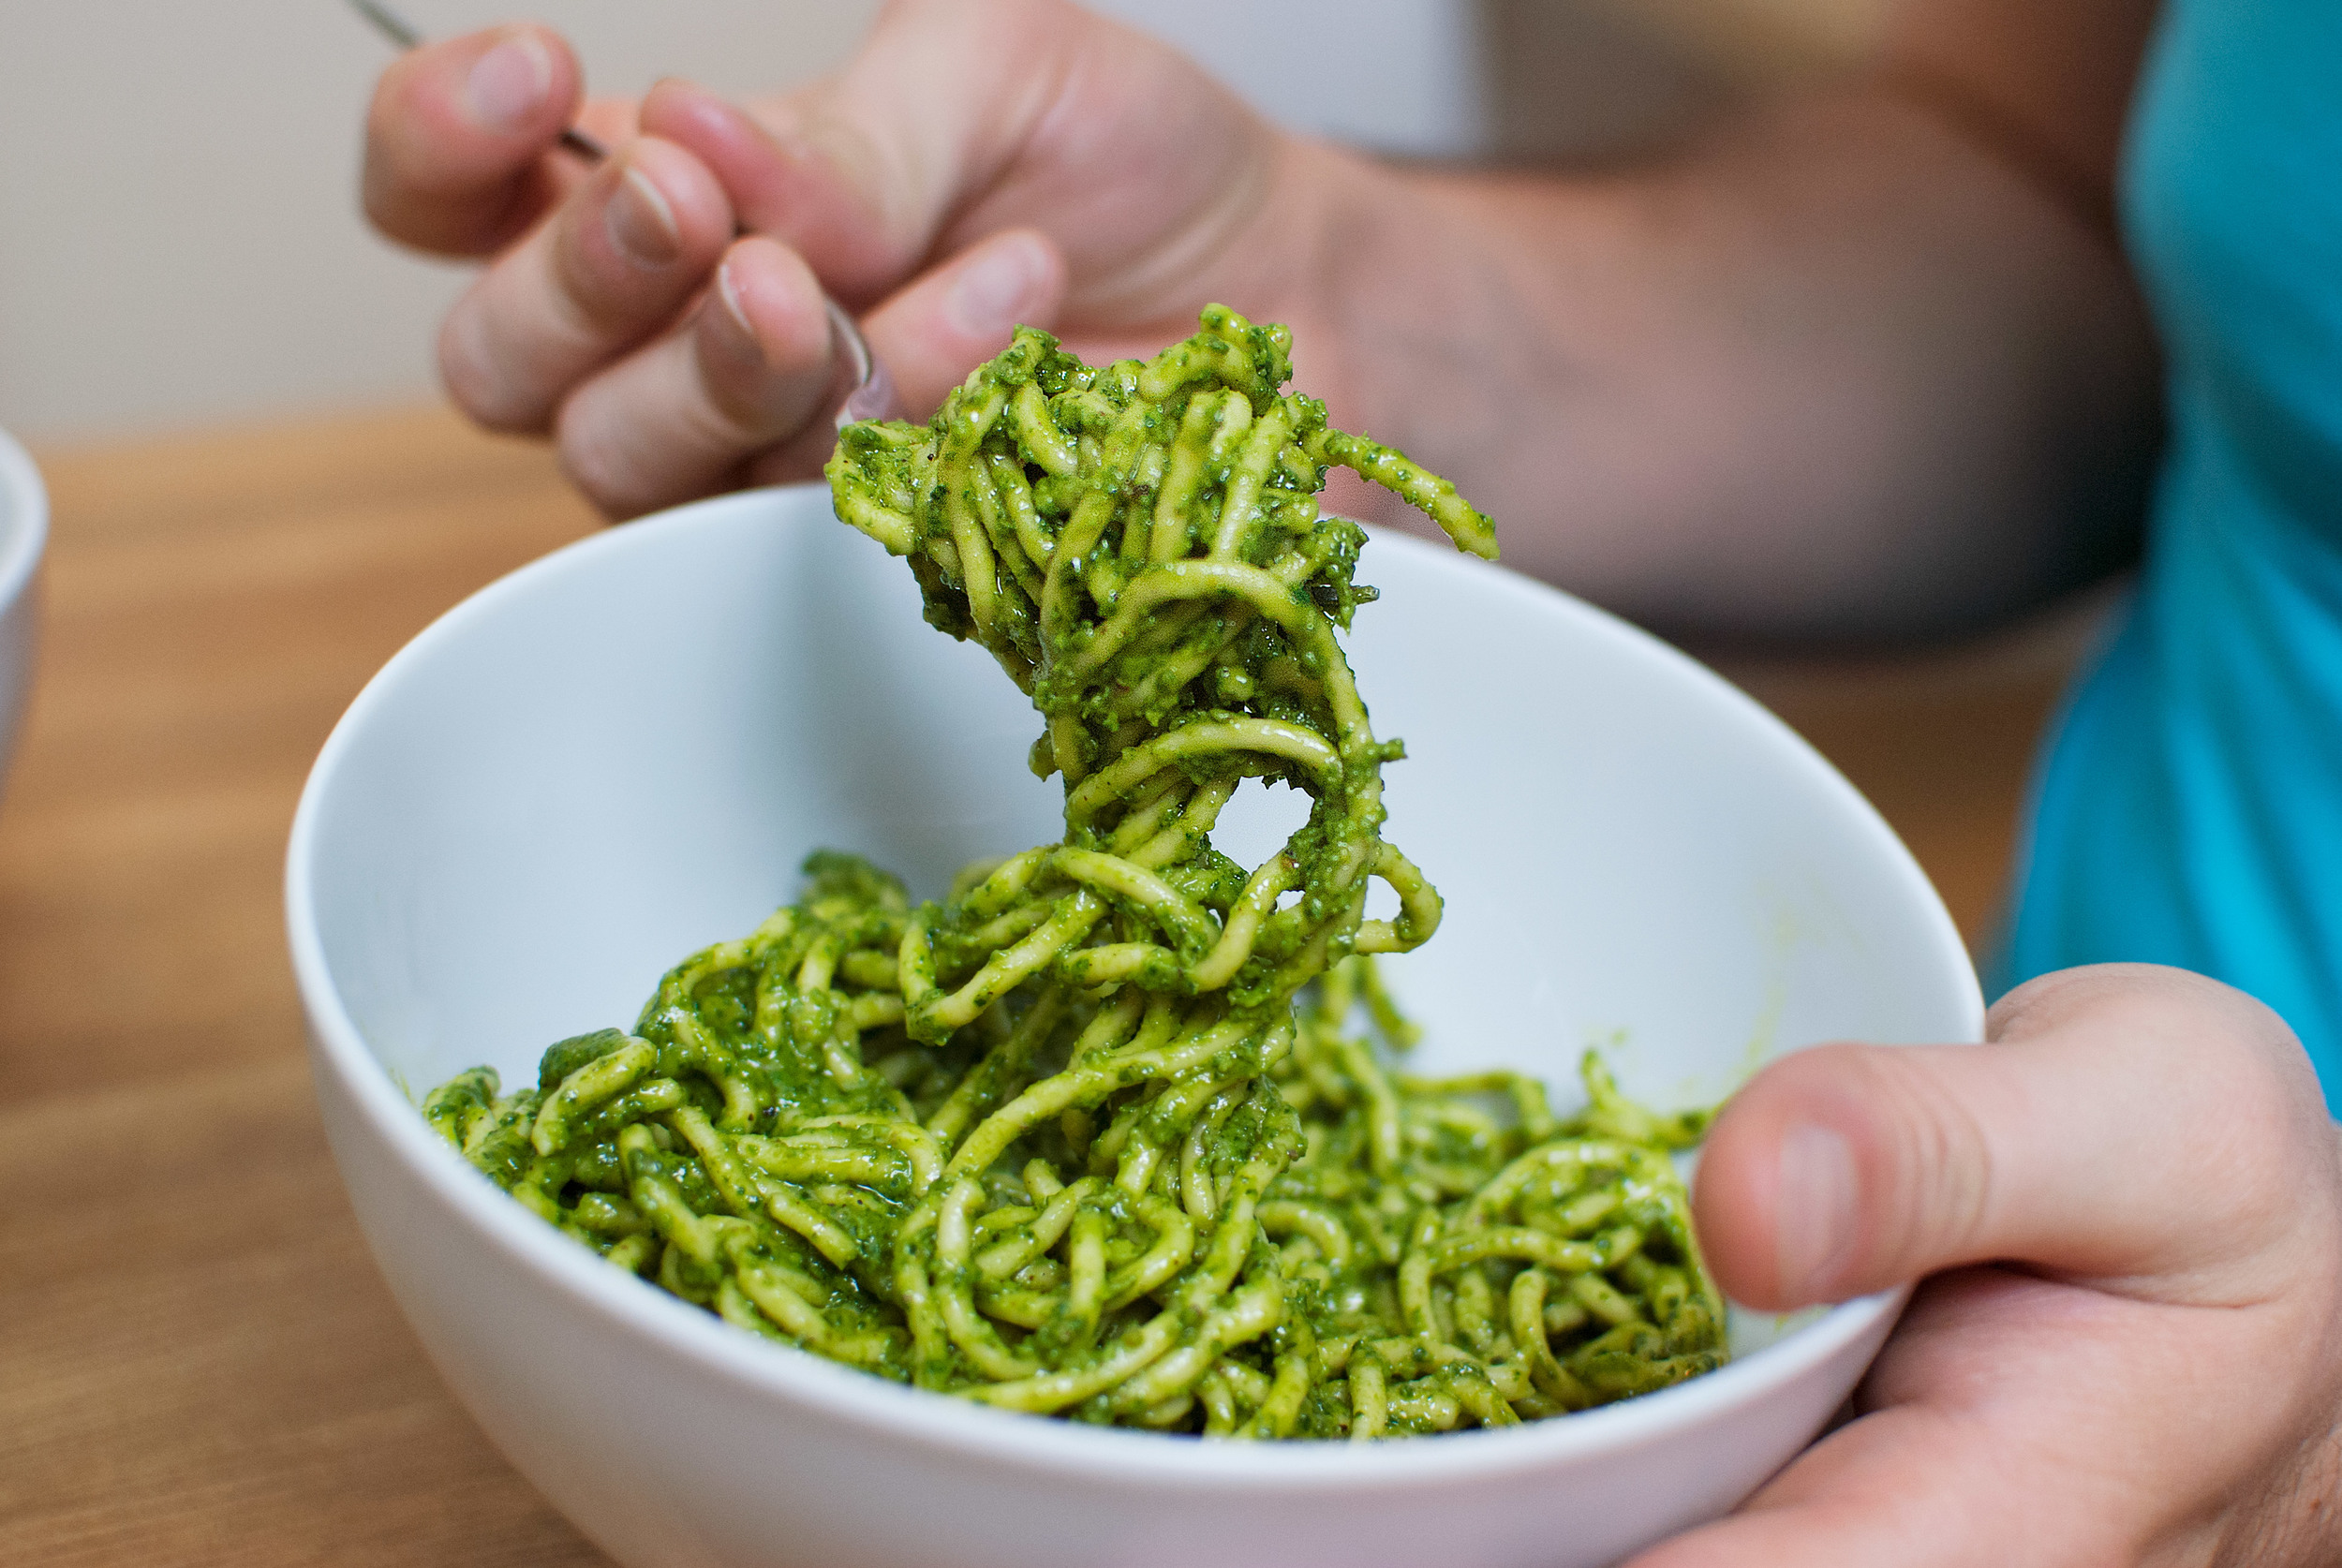
    I’m not gonna lie. The conception of this dish resulted from me trying to be totally cheap. Basil is usually overpriced, and lasts for, like, a freakin’ day. I get stressed when I have basil in my fridge. I’m serious. Oh, and heaven knows why pine nuts are 50 bucks a pound. Were they harvested by an endangered genus of sparrow who delicately extract them with their dainty beaks from the cones of old growth pine trees on the summit of some deserted mountaintop? Even Costco can’t give you much of a break on this one.
    But pesto is an amazing, beautiful, luscious thing, and sometimes you’ve just gotta have it. So you bite the bullet and spend the money on the ingredients, and it’s usually worth it. But it doesn’t always need to be such an expensive undertaking. As a way to avoid spending 30 dollars to make something fresh and fast, I looked to other ingredients. After experimenting with a few different greens and nuts, I concocted this. It’s a darker, more savory, and slightly bitter pesto that’s a little heartier than its basil-y sibling. Oh, and it’s way cheaper to make.

    Eat your greens, kids.

    Chard and Walnut Pesto

    • 2 cups green chard leaves, stems removed, torn, and tightly packed
    • ⅓ cup walnuts, roughly chopped and toasted
    • ¾ cup parmesan cheese, grated
    • ¾ cup olive oil
    • ¼ tsp. red pepper flakes
    • salt & pepper to taste


    chard-walnut-pesto-04

    chard-walnut-pesto-04

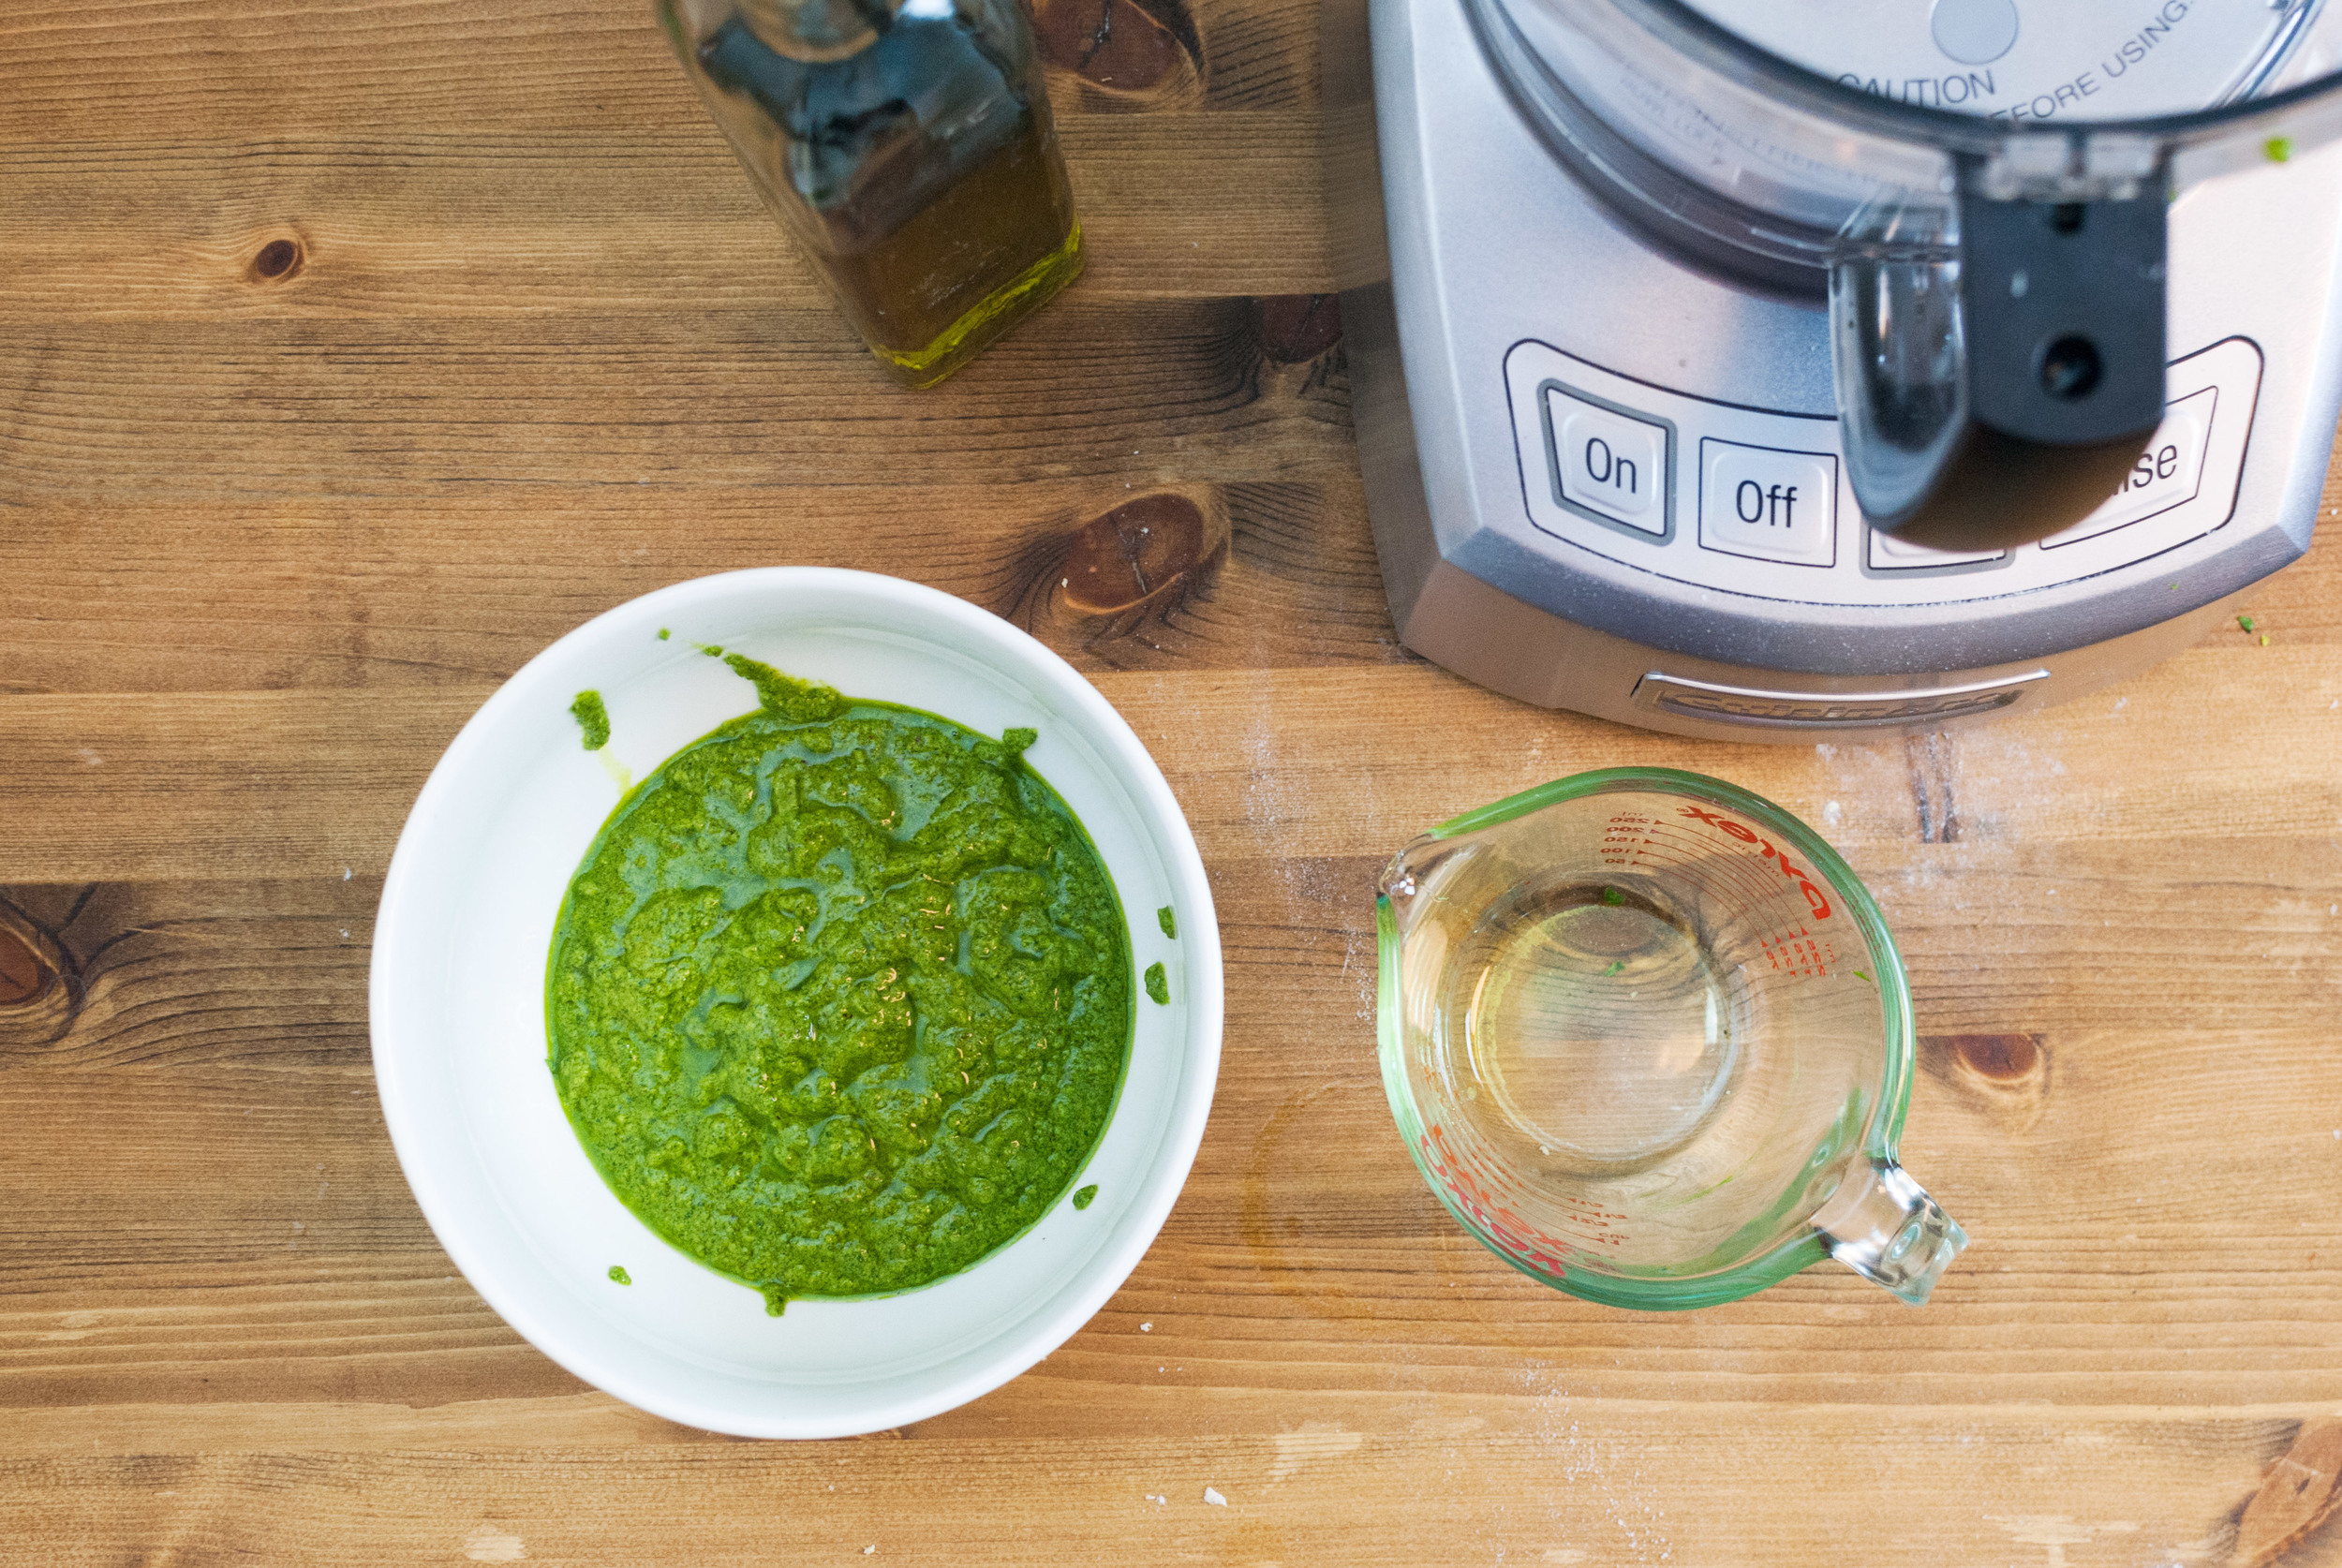
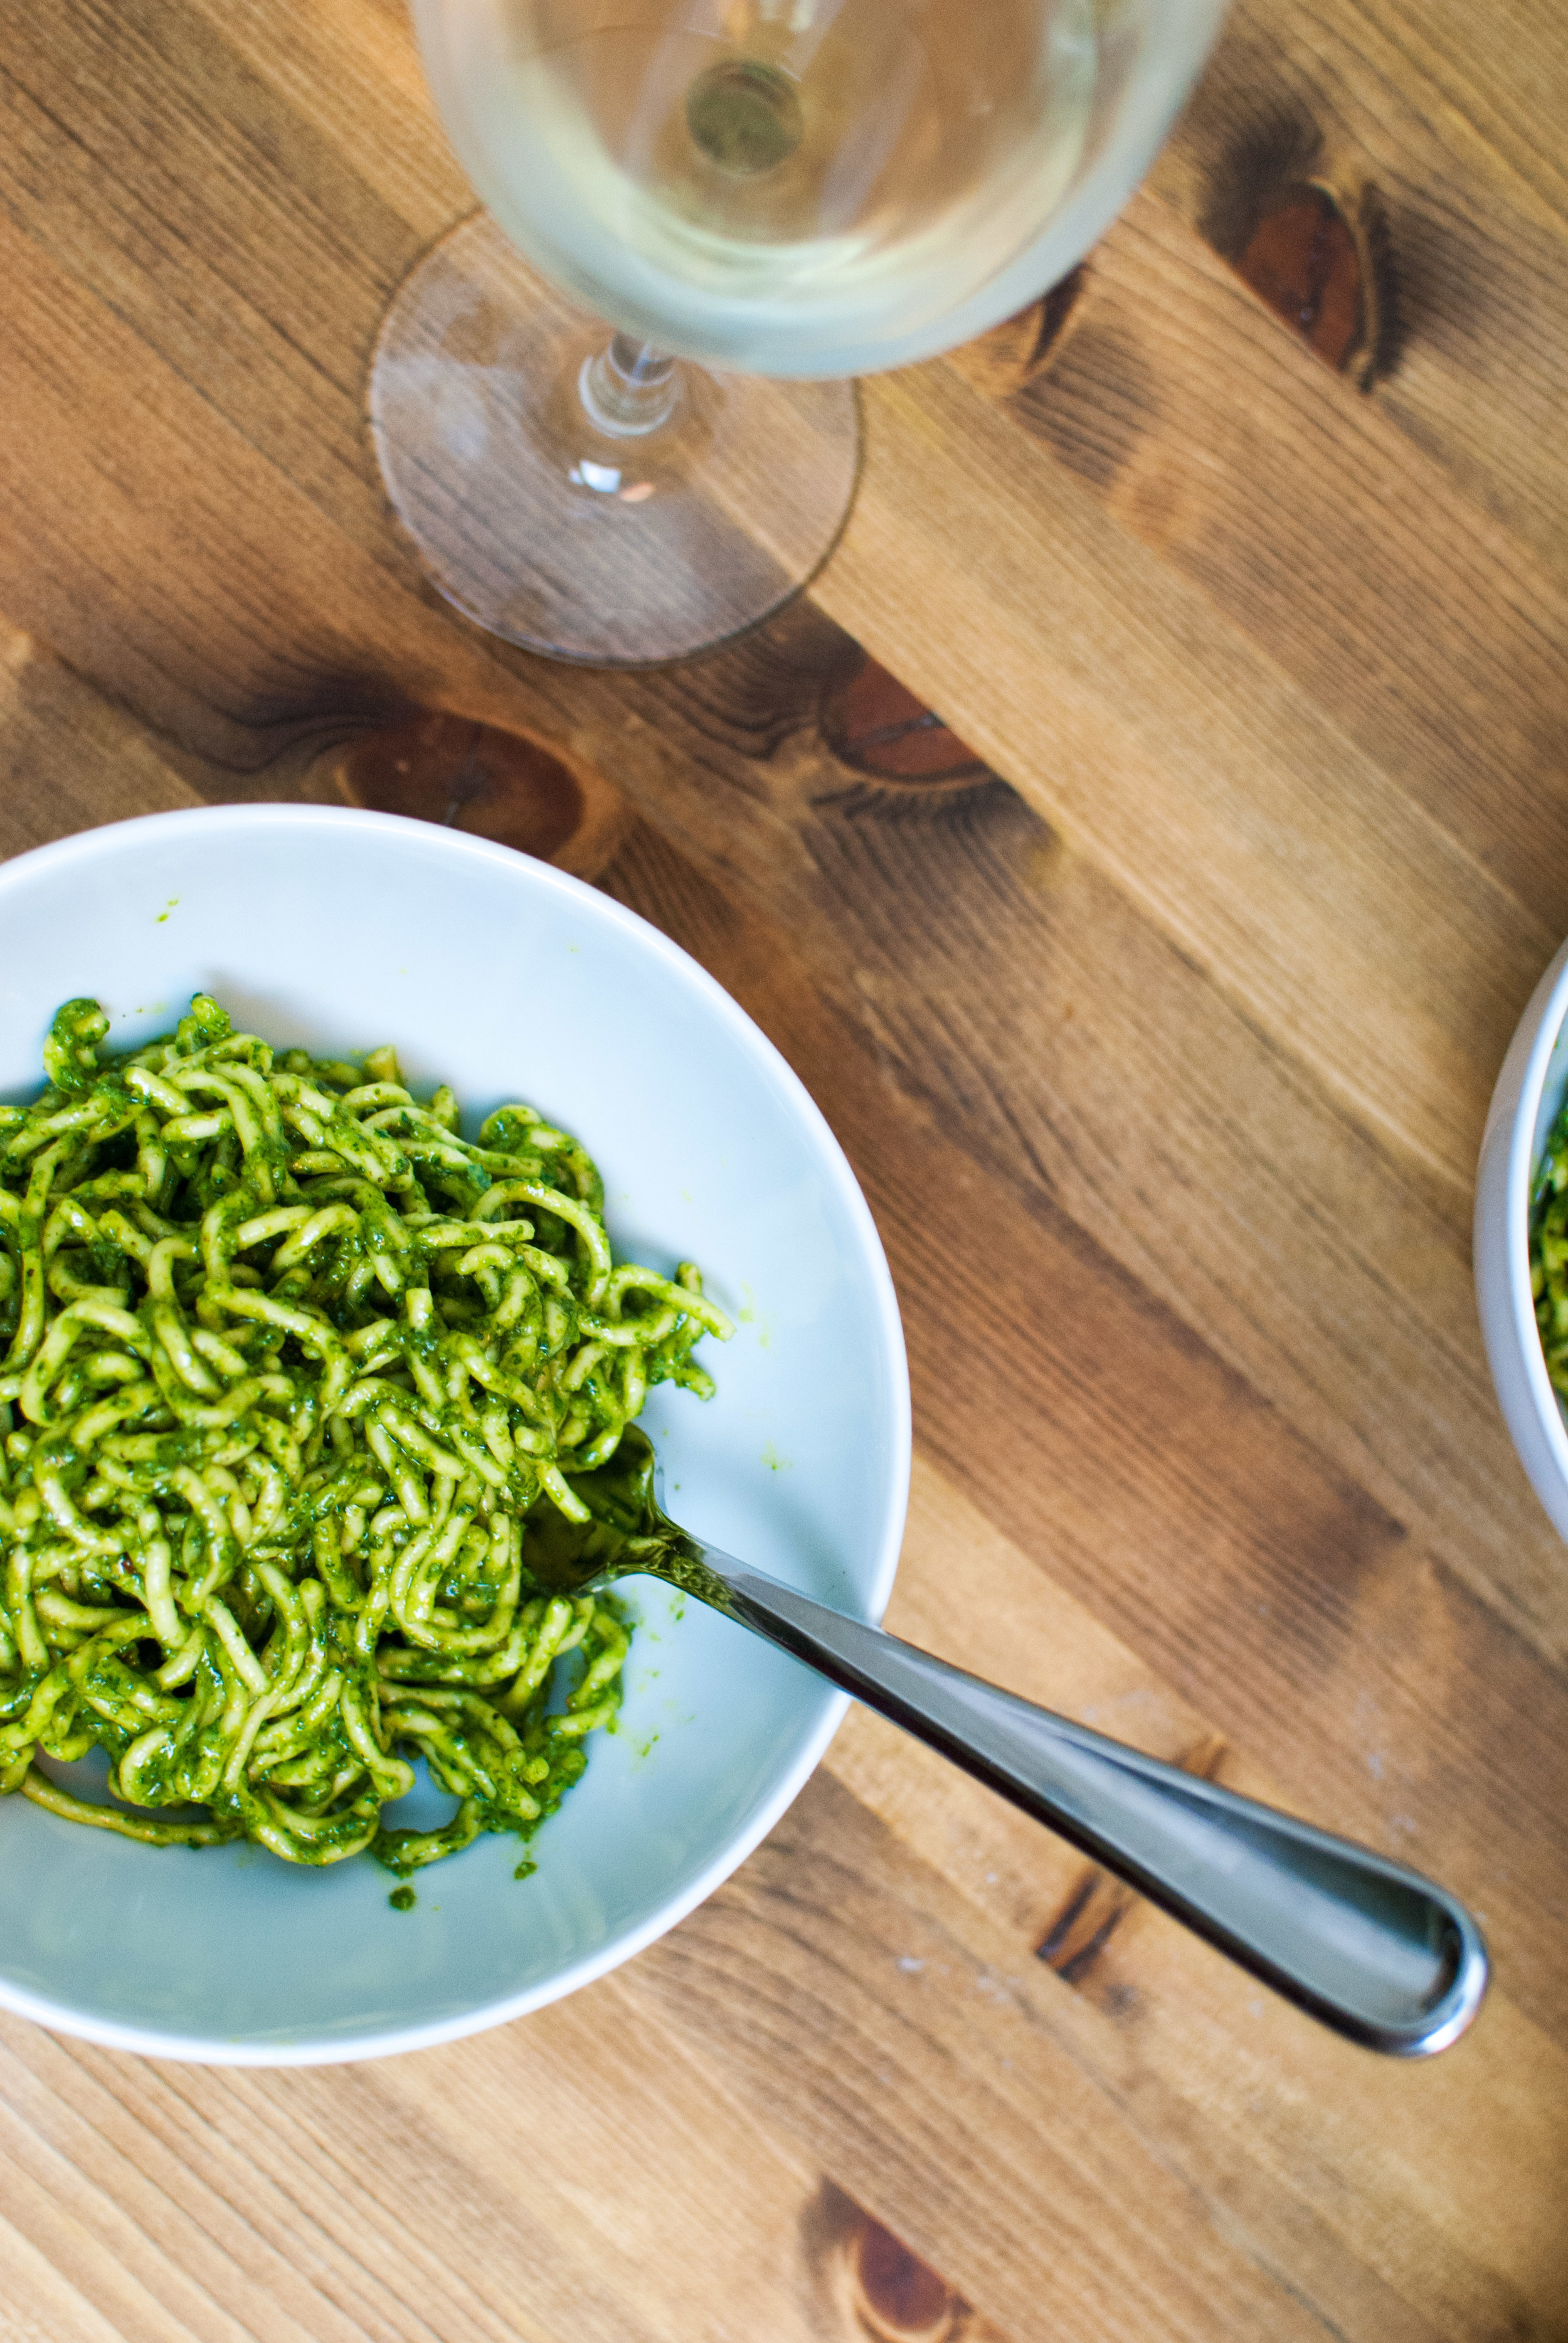
    In a food processor, pulse the walnuts, cheese, and chili flakes together until smooth. Add the chard leaves and blend. Pour the oil in through the top slowly and steady to help emulsify. Blend everything until completely smooth. Taste test for salt and pepper then adjust accordingly. Toss with pasta and serve.

    Yields enough pesto to coat an entire batch of everyday pasta, or 12 ounces of dry pasta.

    Serves 4, or 2 for two meals


    chard-walnut-pesto-01

    chard-walnut-pesto-01

  • Nate’s Pinot Noir Marinara


    Marinara_01.jpg

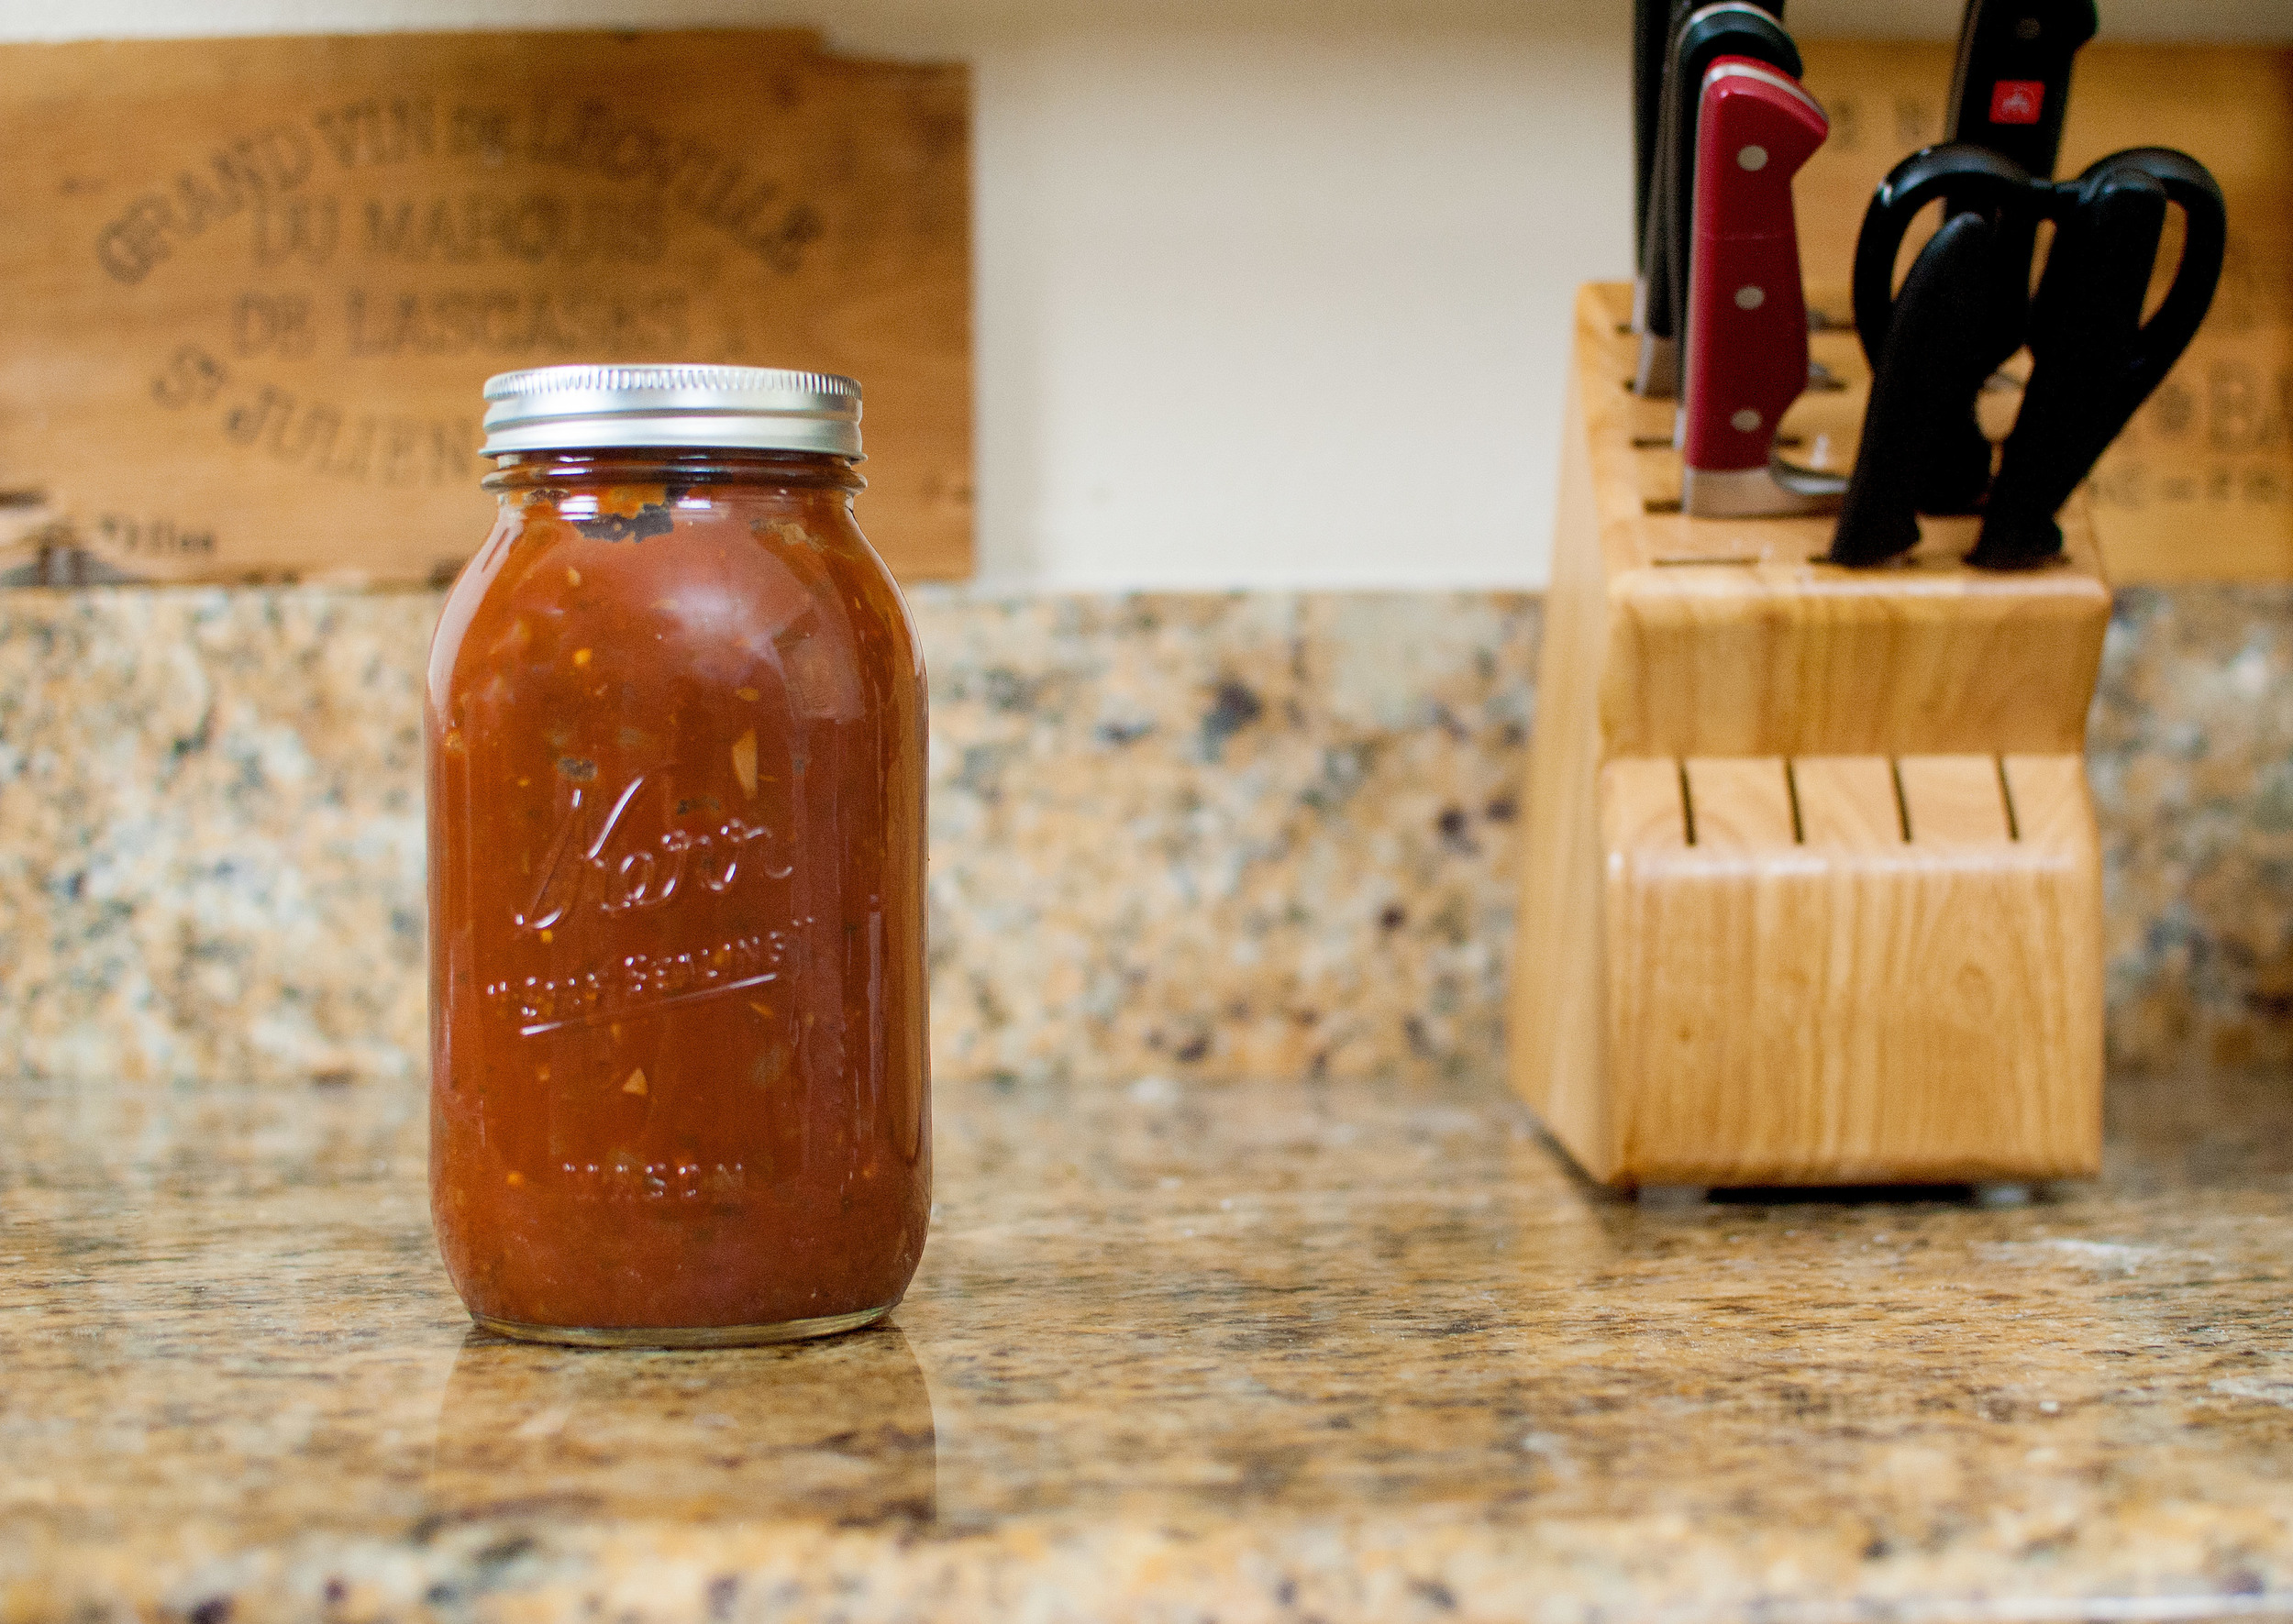
    Marinara is a mother sauce that you can use in all sorts of Italian dishes, from spaghetti to pizza to lasagna to meatball subs, even just for dipping breadsticks.
    Jon and I make marinara differently. His turns out smoky and rich. Mine is more bright and floral with a slight acidic edge. (I think it’s because of the bay leaf and I put waaay less wine in the sauce.) You can’t make marinara wrong, but sometimes the freshness is nice. You can customize the sauce for the dish as you see fit.

    Nate’s Pinot Noir Marinara

    • 2 28-ounce cans crushed tomatoes
    • 1 medium sweet onion, diced
    • 6 cloves garlic, minced
    • 2 tbs. dried Mediterranean oregano
    • 1 tbs. fennel seed
    • 1 10-inch sprig rosemary, leaves removed, minced (reserve the stick)
    • ¼ tsp. red pepper flakes
    • 1 bay leaf
    • 2 cup pinot noir red wine
    • 2 tbs. olive oil
    • salt & pepper to taste


    Marinara_02

    Marinara_02

    In a large heavy-bottomed stock pot, heat oil over medium heat. Sweat the onions (cook them until translucent), stirring constantly. Add tomatoes and stir. Add everything else, and bring to a simmer. Reduce to low heat and cook uncovered for 1 hour, stirring frequently. The sauce will reduce about halfway.

    You can refrigerate the sauce for up to 3 days or freeze for up to 3 months.

    Yields scant 3 pints.