Blog

  • Ancho Chili Snickerdoodles

    If there’s one thing we really enjoy doing with food, it’s making something familiar just a little bit more new and exciting; and that’s something I think we’ve really accomplished with this recipe. Anchos lend a warmth and a smoky/sweet complexity to this classic cookie which makes them even more addictive for people with less of a sweet tooth like us.

    These are, without a doubt, our new favorite cookie.

    Pro tip: make an ice cream sandwich out of them with our whiskey ice cream.


    ancho_chili_snickerdoodle_cookies_08.jpg

    Ancho Chili Snickerdoodles

    • 2 sticks of butter, room temperature

    • 200 grams (1 c) granulated sugar

    • 100 grams (½ c, packed) light brown sugar

    • 1 tsp ancho chili powder

    • 2 eggs

    • 1 tsp vanilla extract

    • 400 grams (2¾ c) flour

    • 2 tsp cream of tartar

    • 1 tsp baking soda

    • ½ tsp salt

    Cinnamon-ancho-sugar mixture for rolling

    • 1½ Tbs super fine baking sugar

    • ½ Tbs ground cinnamon

    • ½ tsp ancho chili powder

    Preheat oven to 350°F/175°C.

    In an electric mixer, cream together the butter, sugars, and 1 tsp of ancho chili powder until totally integrated, then scrape the mixture down from the sides of the bowl. Add the eggs and vanilla, then whip together until light and fluffy.

    In a separate bowl mix together the flour, cream of tartar, baking soda, and salt. Add the dry ingredients to the mixing bowl with the butter, sugar, and eggs, then mix until just combined. Set aside.

    In a pinch-bowl, mix together the super fine sugar, cinnamon, and ½ tsp of ancho chili powder. Form cookie dough into balls weighing around 50 grams each (golf ball sized), then toss each ball around in the spiced sugar until completely covered. Chill the dough balls in the fridge or freezer for at least 20 minutes.

    Bake cookies for 13–15 minutes, or until cracks just begin to open on the surface, then allow cookies to cool on a rack. Store your cookies in an airtight container for up to a week, if they last that long!


    ancho_chili_snickerdoodle_cookies_02.jpg

    Makes about 20 cookies.


    ancho_chili_snickerdoodle_cookies_09.jpg

  • Whiskey Caramel Ice Cream

    After deciding to make caramel ice cream on a whim, I discovered that almost every recipe for it online was a custard base, which irritated me. I don’t have anything against custard ice creams, I swear; I just don’t want to go through the trouble of making them at home. I don’t know what it is, but the thought of separating all the eggs then carefully tempering them (STRESS!) and then trying to figure out what I’m going to do with six or seven egg whites just makes me want to throw up my hands and take a nap. Luckily after some trial and error, I cracked the code for an easier way to churn up exactly what I was craving.

    The best thing about this ice cream recipe, other than the fact that it’s easier than a custard, is that it’s less sweet than other caramel ice creams out there and still doesn’t compromise that buttery flavor you’re hoping to get. The whiskey also plays a bigger role than just being delicious: the small amount of alcohol actually improves its texture, inhibiting ice crystal growth during the churning process; something the eggs would’ve helped with had they been in the recipe.

    I’m a crafty bitch.


    caramel_bourbon_ice_cream_02.jpg

    Whiskey Caramel Ice Cream

    • ¾ cups sugar

    • 3 Tbs, plus 1 Tbs, whiskey or bourbon, divided

    • 2 cups whipping cream (not heavy whipping cream)

    • 1 cup milk

    • 1 Tbs vanilla extract

    • 1 tsp sea salt

    Pour all sugar and the 3 tablespoons of whiskey into a heavy bottomed sauce pan (avoid using a darker colored one if you can) then bring to medium heat. Please resist the urge to stir. When all the sugar melts and starts bubbling away, bring the heat down a little bit and watch it like a hawk until it just becomes a medium shade of amber. This might take up to 15 minutes, so be patient! Caramel can be tricky, which is why I like to cook it on a lower heat so I have more control over its color and flavor; your base can go from luscious caramel to bitter burned marshmallow in a matter of seconds.


    caramel_bourbon_ice_cream_04.jpg

    The second (I mean it) your caramel reaches the perfect color, add about half of the whipping cream to the pan. It will bubble up and congeal slightly, but don’t worry about it. Give into your desire to stir with a rubber spatula, making sure that none of the caramel has stuck to the bottom of the pan and bring the heat back up to medium. Heat the caramel and cream until the mixture has bonded and is totally smooth, then add the rest of the cream, milk, vanilla extract, and sea salt. Heat the ice cream base until it is totally smooth again, then add the final tablespoon of whiskey. Remove from the heat and store your base in an airtight container to chill in the fridge overnight, or until cold.

    Churn your whiskey ice cream base according to your ice cream churner’s instructions, making sure to stop the churning process when it resembles soft serve. Store in an airtight container with a sheet of plastic wrap pressed directly onto the entire surface of the churned ice cream. Freeze overnight, or until the ice cream sets.

    Makes about 4.5 cups of ice cream.


    caramel_bourbon_ice_cream_08.jpg

  • Pasta al Fumo

    The name of this recipe means “smoky pasta” in Italian, and it hails from the Cortona region of Italy. A friend told me about this recipe years ago since his family is originally from Cortona, and one day I decided to try to make it, only to discover that there was not a lot of information about it online. Naturally, I decided to figure out my own version since the idea of a pasta sauce made from bacon, tomato, rosemary, and cream sounded too good to be true.

    After a lot of fiddling, this recipe is what I came up with: a thick, rich sauce that clings to the noodles and capitalizes on the flavor in its name: smoke. The aromatic baseline for this hearty meal supports the more delicate flavors of rosemary and garlic which mingle in the background. Over the past year, and especially in lockdown, I think this has become our favorite pasta sauce. Maybe ever.


    savory_love_pasta_al_fumo_06.jpg

    Post script: Yes, I am wearing quarantine sweats in this photoshoot.

    Post post script: No, I am not accepting criticism at this time.

    Pasta al Fumo

    Serves 4–6

    • 7 oz good bacon (around 8 strips) or pancetta, finely chopped

    Note: Higher quality bacon is recommended for this recipe. Not only does the flavor of your final product benefit, there’s also less fat that gets rendered out. Using cheap bacon will give you about twice as much fat you need for this recipe and it’ll just weight the whole dish down. That being said, if you do end up using cheaper bacon, take some of the fat out of the pan until you have around ¼ cup left. My rule of thumb is around 1 Tbsp of bacon fat per ¼ lb of pasta.

    • ¼ cup, plus 2 Tbsp tomato paste

    • 6 large garlic cloves, crushed

    • ¼ tsp red pepper flakes

    • ½ tsp freshly ground black pepper

    • 1 8–10” sprig of rosemary, leaves removed, minced

    • ½ cup heavy cream

    • A drop or two of liquid smoke

    • 1 lb pasta, or one batch of Everyday Pasta Dough, cut into spaghetti

    • Parmigiano-Reggiano for serving

    Bring a Dutch oven or large heavy-bottom soup pot to medium heat. Add the chopped bacon and cook until the fat has rendered out completely and the bacon has become crispy and golden. Remove the bacon bits with a spoon and set aside in a small bowl.

    Bring the pan to medium low heat. Add the tomato paste, garlic, red pepper flakes, pepper, and chopped rosemary and sauté in the bacon fat until the tomato paste becomes just a shade darker and the garlic becomes fragrant and translucent. Add cream and liquid smoke, stir to combine, then remove from the heat. Add salt to taste.


    savory_love_pasta_al_fumo_07.jpg

    Cook pasta in boiling water until al dente then strain, saving at least a cup of the pasta water. Add the cooked pasta to the pan along with 1/2 cup of the pasta water to start and stir until all noodles are coated and the sauce has a velvety texture. Add more pasta water as you see fit and toss until your desired sauce texture is achieved. Add the bacon bits, stir to combine, then serve with some freshly grated Parmigiano-Reggiano.


    savory_love_pasta_al_fumo_03.jpg

  • Hungarian Nut Sticks

    Unfortunate name.

    Incredible cookie.

    This is one of the oldest recipes passed down through my family. It’s one of the few holiday cookies I can remember my Nana teaching me how to make, step by step, along with gingerbread, and it just isn’t the holiday season for our family without these cookies. I’m not entirely sure where my Nana got the recipe, but she made them every year for as long as I can remember. While I’m certain this recipe has its roots through the Eastern European cookies called kolacky or roczki, these cookies aren’t built on a yeasted dough, and the shape and end texture end up being totally different.

    The base of these bbs is a tender and buttery shortbread, then it’s topped with a crispy, spiced pecan meringue. The recipe doubles well, which is good news for you because you’re going to want a lot of these once you try them. My favorite way to eat them is with a cup of coffee.

    Hungarian Nut Sticks:

    Cookie Base:

    • 1 cup (2 sticks, 110 g) softened butter

    • 1/2 cup (100 g) sugar

    • 1 large egg

    • 1 tsp. vanilla extract

    • ½ tsp. kosher salt

    • 2½ cups (383 g) flour

    Pecan Meringue Topping:

    • ½ lb. (230 g) pecans

    • 1 cup (200 g) sugar

    • 1½ tsp. cinnamon

    • ½ tsp. salt

    • 4 large egg whites

    In a stand mixer (or very large bowl with a wooden spoon), cream together the butter and sugar, then add the eggs, vanilla extract, and salt and mix until all ingredients are homogenous. Gradually add all the flour and mix until just combined, being careful not to over-work the dough. If you fuss with it too much, you won’t have the tender cookie base you’re looking for. Cover your cookie dough in plastic wrap, press it into a disk, and let it chill in the fridge for at least half an hour.

    Preheat your oven to 350°F (175°C).

    Roast the pecans on a baking sheet for about 15 minutes, or until they become slightly darkened and fragrant. Let the nuts cool, then chop them until they’re very fine (I usually just throw them into a food processor and blitz them a few times). Set aside.

    Let the chilled dough soften for about 10 minutes at room temperature, then place it on a floured surface and roll it out until it will fit the entirety of a 9×13 baking pan. Transfer your dough to the pan (a bench scraper really helps with moving it since the dough tears very easily), which should be lined with parchment or oiled and floured. Gently squish the dough with your fingers until it covers every inch of the pan and nestles into the edges. For this process, you will probably need to cut off some of the sides of the dough and then use the trimmings to fill in the empty gaps. Don’t worry too much about it looking pretty; it’s all gonna be covered anyway. Once this is completed, chill the dough again in the freezer until it is very cold, then par-bake the the dough in the oven for 15 minutes.

    While the cookie base is baking, make the pecan topping by placing the chopped pecans, sugar, cinnamon, salt, and egg whites into a heavy bottomed sauce pan. Keep in mind that the cookie base needs to be out of the oven by the time the pecan topping is done so that it can be spread over the surface while every component is still warm. Cook the mixture on medium heat, stirring constantly until it starts to thicken up a bit and it becomes darker in color. Once the topping starts to pull away from the sides of the sauce pan and look to be more paste-like, remove it from the heat immediately. Take your par baked shortbread out of the oven when it’s ready and spread the pecan paste all over the top of the cookie base, ideally leaving almost no bit of cookie uncovered. Try and smooth it out so that the pecan layer is as even as possible, then put the pan back in the oven and bake for another 20 minutes. The pecan layer will puff up a bit and should get slightly more golden in color.


    Remove the giant cookie from the oven and let it cool for a few minutes on a cooling rack. While everything is still a little warm, trim off the edges of the cookie with a bench scraper or a knife, then proceed to cut it into bars. We cut them into 1.5” x 3” (35 mm x 75 mm) bars, but you can make them however big or small you like. I would recommend using a ruler and making a slight indentation in the still soft meringue to create a clear path for cutting. Allow the cookies to cool a little more before extracting them from the baking pan, then let them finish cooling on a rack.

    Store in an airtight container. I don’t know how long they last because they never last that long.


    Hungarian_Nut_Sticks_012.jpg

    Makes about 30 cookies.

  • Thai Pot Pie

    This creation is simply a hybrid of two of our favorite things to eat during the winter months: chicken pot pie and Thai coconut curry. Making it can be a bit of a labor of love but, in my opinion, it’s a perfect sleepy Sunday project that will feed you handsomely for several days afterward.

    There’s not much else to say about this recipe other than how hearty and delicious it is…and also how fun it is to say three times fast.

    Thai pot pie.

    Thai pot pie.

    Thai pot pie.

    It’s stuck in your head now, isn’t it?

    Thai Pot Pie:

    • 1 cup chicken broth

    • 1 cup coconut cream

    • ½ Tbs sugar

    • 1 Tbs fish sauce

    • 1 stalk of lemongrass, end removed, chopped in half

    • 1 inch of fresh ginger, sliced

    • ¼ cup butter

    • 3 Tbs Thai curry paste

    Note: You have some freedom here. Our favorite to use in this recipe is yellow curry paste, but we would highly recommend using red or massaman, as well.

    • 1 large onion, chopped

    • ¼ cup flour

    • 2 carrots, cut into half-inch cubes (about 1 cup)

    • 1 large russet potato, peeled, cut into half-inch cubes (a little over 1 cup)

    • 1½ lbs cooked chicken, chopped (preferably a mix of white and dark meat)

    • 1 cup frozen peas

    • Salt to taste

    • 1 batch of homemade pie dough, divided and formed into two disks, chilled

    • 1 egg, beaten for an egg wash 


    thai_pot_pie_01.jpg

    Make the filling:

    In a sauce pan on low heat, warm the chicken broth and coconut cream along with the sugar, fish sauce, lemongrass stalk and ginger. Cover and let these flavors infuse while you prepare the rest of the filling.

    Bring a dutch oven to medium heat and add the butter and the curry paste. Be sure to break up the curry paste so that there aren’t any clumps, then cook it until it becomes aromatic and only slightly darker in color. Add the onions and sauté until translucent, then add the flour to the pot. Make sure all the butter gets mixed evenly into the flour to make a roux, then cook for a couple minutes to darken it a bit, stirring constantly.

    Add the chopped carrots and potatoes to the dutch oven and mix to get all the vegetables covered in the curried roux.  Uncover the coconut cream/chicken broth mixture and discard the lemongrass stalk and ginger pieces. Gradually pour the liquid into the dutch oven, stirring well after every addition to avoid lumps, then cover and cook on medium low for about 10 minutes, or until the potatoes and carrots are par cooked; you don’t want to cook them all the way since they will finish cooking in the oven.

    Remove the dutch oven from the heat and fold in the cooked chicken and frozen peas, then add salt to taste. Set aside to cool until barely warm, then store the filling in the fridge until chilled. This pot pie filling can be made ahead of time and will last for a few days.


    thai_pot_pie_03.jpg

    Assembly and baking:

    Preheat oven to 425.

    Roll out half of your pie crust on a floured surface until it reaches around 12” in circumference, then transfer the dough to a 9” pie pan. Gently press the dough into the pan and trim off any excess dough hanging over the sides. Add the cold pot pie filling to your pie shell, then set aside.

    Roll out the other half of your pie crust on a floured surface until it’s big enough to cover the pie. Brush the edges of the filled pie crust with water, then transfer the newly rolled pie dough on top. Trim off any excess pie crust, then seal the pie by pressing the edges of the pie with a fork, or crimping according to your preference. Cut some slits on top of the pie so that it can vent a bit while baking, then cover the pie in an egg wash.

    Place the assembled pie onto a baking sheet to catch any possible overflow of filling during the baking process, then bake the pie for 60–70 minutes, rotating halfway through. The crust should be a deep golden brown and the filling should bubble through the slits a little bit when it’s finished. Let the pie cool on a baking rack for at least an hour before cutting into it.

    Serves 8.


  • Mekelesha Pumpkin Pie

    I became enamored with Ethiopian food earlier in the year, and for months afterward, I played with one of its mother spice blends extensively: mekelesha. Mekelesha isn’t very well known to most American cooks. It can be rather tricky to use: it isn’t spicy, or even savory, and yet it is still utilized in so many savory dishes. Due to the dominating presence of cardamom and cinnamon in it, it has a funny ability to generate the illusion of sweetness in anything you use it in. It possesses a complex and inviting floral aroma and flavor, and it’s a revelation on vegetables; especially carrots. The strong flavor match with carrot led my curiosity to sweet potato, and sweet potato led to…

    Pumpkin.

    Then my wheels really started turning.


    mekelesha_pumpkin_pie_03.jpg

    I’ll be honest. I think Thanksgiving food is boring. It’s not that I don’t enjoy the holiday—I do—but I also enjoy diversity and newness, especially with food. With the Thanksgiving usual suspects, there’s very little textural variety, and it’s basically an assault of tryptophan, potatoes, beta-carotene, and fat. We all have family members who are steeped in tradition and can’t bear the thought of changing anything, so some of us sit in silence and eat the same things every single year. However, that desire for something new still remains. And it bugs me.

    This pie might not be for everyone. It isn’t traditional by any means, and eating it might not summon up holiday memories that people cherish and seek out around this time of year, but I will say this: it IS delicious. For me, the mekelesha breathes new life into this staple and has made me love pumpkin pie even more than I already do (and it’s a lot). For anyone who wants to shake things up a bit and explore something new, I’d highly recommend giving this pie a chance to be on your holiday table.


    mekelesha_pumpkin_pie_01.jpg

    Mekelesha Spice Blend:

    • 6 whole cloves

    • ½ tsp cumin seeds

    • ½ tsp whole peppercorns

    • ½ tsp fenugreek seeds

    • 1 tsp cardamom meats

    • 2 tsp ground ginger

    • 1 tsp ground turmeric

    • ¾ tsp ground cinnamon

    • ¼ tsp freshly grated nutmeg (or ground)

    In a small pan on medium heat, add the cloves, cumin seeds, peppercorns, fenugreek, and cardamom. Stir occasionally to avoid too much browning, and toast the spices until they begin to give off a heady perfume. Remove from the heat and add the toasted spices along with the ground ginger, turmeric, cinnamon, and nutmeg to a spice grinder (we use a designated coffee grinder) and blend blend blend until everything is a very fine powder.

    Store your mekelesha spice blend in an airtight container in the freezer to maintain maximum freshness for a couple months.


    mekelesha_pumpkin_pie_02.jpg

    Mekelesha Pumpkin Pie:

    • 1 9-inch pie crust shell, pricked, chilled.

    Note: People have strong preferences about their crust, so you should use your most beloved recipe for this, or your preferred pre-made iteration. Nate and I like Martha Stewart’s pâte brisée recipe because it’s delightfully flaky and less sweet (of course), and it’s also the crust recipe that I grew up with, so I’m partial to it.

    • 1 15-oz. can of pumpkin puree

    • ⅓ cup sugar

    • ⅓ cup brown sugar

    • ½ tsp salt

    • 1 Tbs cornstarch

    • 1½ tsp mekelesha spice blend

    Note: Even though this recipe has a twist, at its core, this is a solid pumpkin pie recipe. If you don’t want to use mekelesha spice in it, swap it out for more traditional pumpkin pie spices. It won’t change the chemistry, and it’ll still turn out sweet, silky, aromatic, and delicious.

    • 2 eggs

    • 1 cup cream

    • 1/2 cup milk

    Preheat your oven to 425 degrees.

    Blind bake your pie shell for up to 10 minutes, making sure to put some parchment paper and pie beads on top to keep your crust from ballooning up on you.

    While the crust is blind baking, make the pie filling by mixing the pumpkin puree with your sugars, salt, cornstarch, and mekelesha spice blend until everything is completely homogenous (no cornstarch clumps!). Add the eggs and whisk everything together, then gradually add in your cream and milk and mix until all the ingredients are thoroughly integrated.

    When your crust is done blind baking, remove it from the oven and take out the parchment and pie beads. Add all of your pumpkin pie filling to your pie shell and place it back in the oven. Bake for 15 minutes at 425, then decrease the heat to 350 and bake for another 40 minutes. Check on the pie by shaking it very gently to see if the middle jiggles only slightly. If not, bake the pie for a few more minutes until it does, then remove it from the oven and allow it to cool completely for at least two hours.

    Serves 8.


    mekelesha_pumpkin_pie_05.jpg

  • Chicken Lionhead Meatball Soup

    I’m so tired, you guys. I really am.

    I must confess: blog testing has gone a bit to the wayside recently. After experiencing a string of failures for recipes that I was sure were going to work, I got a little discouraged. Then the weather got colder, and it just became so much easier to wrap myself up in a blanket burrito and knit while watching the newest season of the Great British Bake Off than do anything new in the kitchen.

    That being said, sometimes when you don’t succeed in looking for something new, you’re bound to realize how good some old things you already have are. This recipe is something I make every year when the rainy season arrives in Portland, and if I could describe this soup in one word, it would be cozy. It’s one of our favorites, and to be honest, I can’t believe I forgot about recording it until now.

    This soup is a variation on a classic Shanghainese soup by the same name: lionhead. The name comes from the size of the meatballs, which are too large to be eaten in one bite, and when picked up with noodles out of the soup, it’s said to look like a lion’s mane. The meatballs are traditionally made with pork, beef, or some combination of the two, but we tend to prefer chicken, so I adapted the recipe. With the protein change, I tweaked the aromatics to respond more to the flavor of chicken—So. Much. Ginger.—and the soup also turns out a bit leaner as a result. If you make this, I hope that it turns out just as warm and comforting for you as it does for us.


    chicken_lionhead_mealball_soup_01.jpg

    Chicken Lionhead Meatballs:

    • 1 lb ground chicken

    • 1 egg

    • 2 Tbs light soy sauce

    • ½ Tbs sesame oil

    • 2 inch nub of fresh ginger, minced

    • 3–4 cloves of garlic, minced

    • ½ tsp salt

    • 1 Tbs cornstarch

    • ¼ cup panko bread crumbs

    • 1 green onion, thinly sliced

    Lionhead Broth:

    • 6 cups chicken broth, homemade preferred

    • ⅓ cup xiaoxing wine

    • 3 Tbs light soy sauce

    • 1 Tbs sugar

    • Salt to taste

    • 8 baby bok choy, halved

    • 8 oz dried noodles of choice

    Note: We tend to like cellophane noodles (glass noodles) or rice noodles for this soup, but if you have a different preference, there’s nothing stopping you from using those. Our only recommendation is that the noodles be thin or vermicelli and that you allot about 2 oz per serving.

    Garnishes:

    • Finely sliced green onion

    • Chili oil

    • Sesame Oil

    • Soy sauce

    Make the meatball mixture by combining the egg, soy sauce, sesame oil, ginger, garlic, salt, cornstarch, panko bread crumbs, and green onion in a bowl and mix until everything is thoroughly integrated. Add the ground chicken to the mixture and mix until everything is completely homogenous. Set aside and let the mixture rest for about half an hour so that the binders can activate a bit and the flavors meld.

    Making this meatball mixture can also be done way ahead of time, in fact I’d recommend that you do so that the flavors in the meatballs intensify; that, and it’s nice to eliminate a step for later when you’re ready to cook.

    Once the mixture has rested and thickened up, form it into 12 meatballs (3 per serving). Keep in mind that this meatball mixture is going to be very loose. Keeping your hands wet will prevent the meat from sticking to your hands while you form the ball. They will fall flat a bit while they rest, but don’t worry; you can fix that a bit later. I like to weigh them for uniformity, and for this recipe each meatball tends to be around 50–52 grams each. Set aside the shaped meatballs.

    Rehydrate your dried noodles in boiling water. Be sure to check on them and fish them out of the water when they are al dente, and keep them ready to serve in cold water so that they don’t cook anymore or stick together.


    Make the soup base by adding the chicken broth, xiaoxing wine, soy sauce, and sugar to a medium sized soup pot that has a lid, then bring it to a boil. Once the broth reaches a boil, bring the heat down to medium and very gently plop—yes, plop—each raw meatball into the bubbling broth.

    You might need to re-form the meatballs a little bit before moving them to the broth to make sure that they come out nice and round, so keep your hands wet during this process.

    Once all your meatballs are in, cover the pot with a lid and let them simmer for 10 minutes. At the 8 minute mark, remove the lid and add all of the halved bok choy to the pot, then put the lid back on and allow everything to cook for two more minutes, or until the bok choy are bright green and cooked through.

    Strain out the meatballs and the bok choy, then divide them evenly in four bowls (3 meatballs, 4 halves of bok choy) along with your noodles. Taste the broth and add salt to taste, then portion it into the four bowls and serve. Garnish the soup with a little more green onion, as well as some chili oil and sesame oil if you have it.

    Serves 4.


    chicken_lionhead_mealball_soup_04.jpg

  • Apple Pie Ice Cream

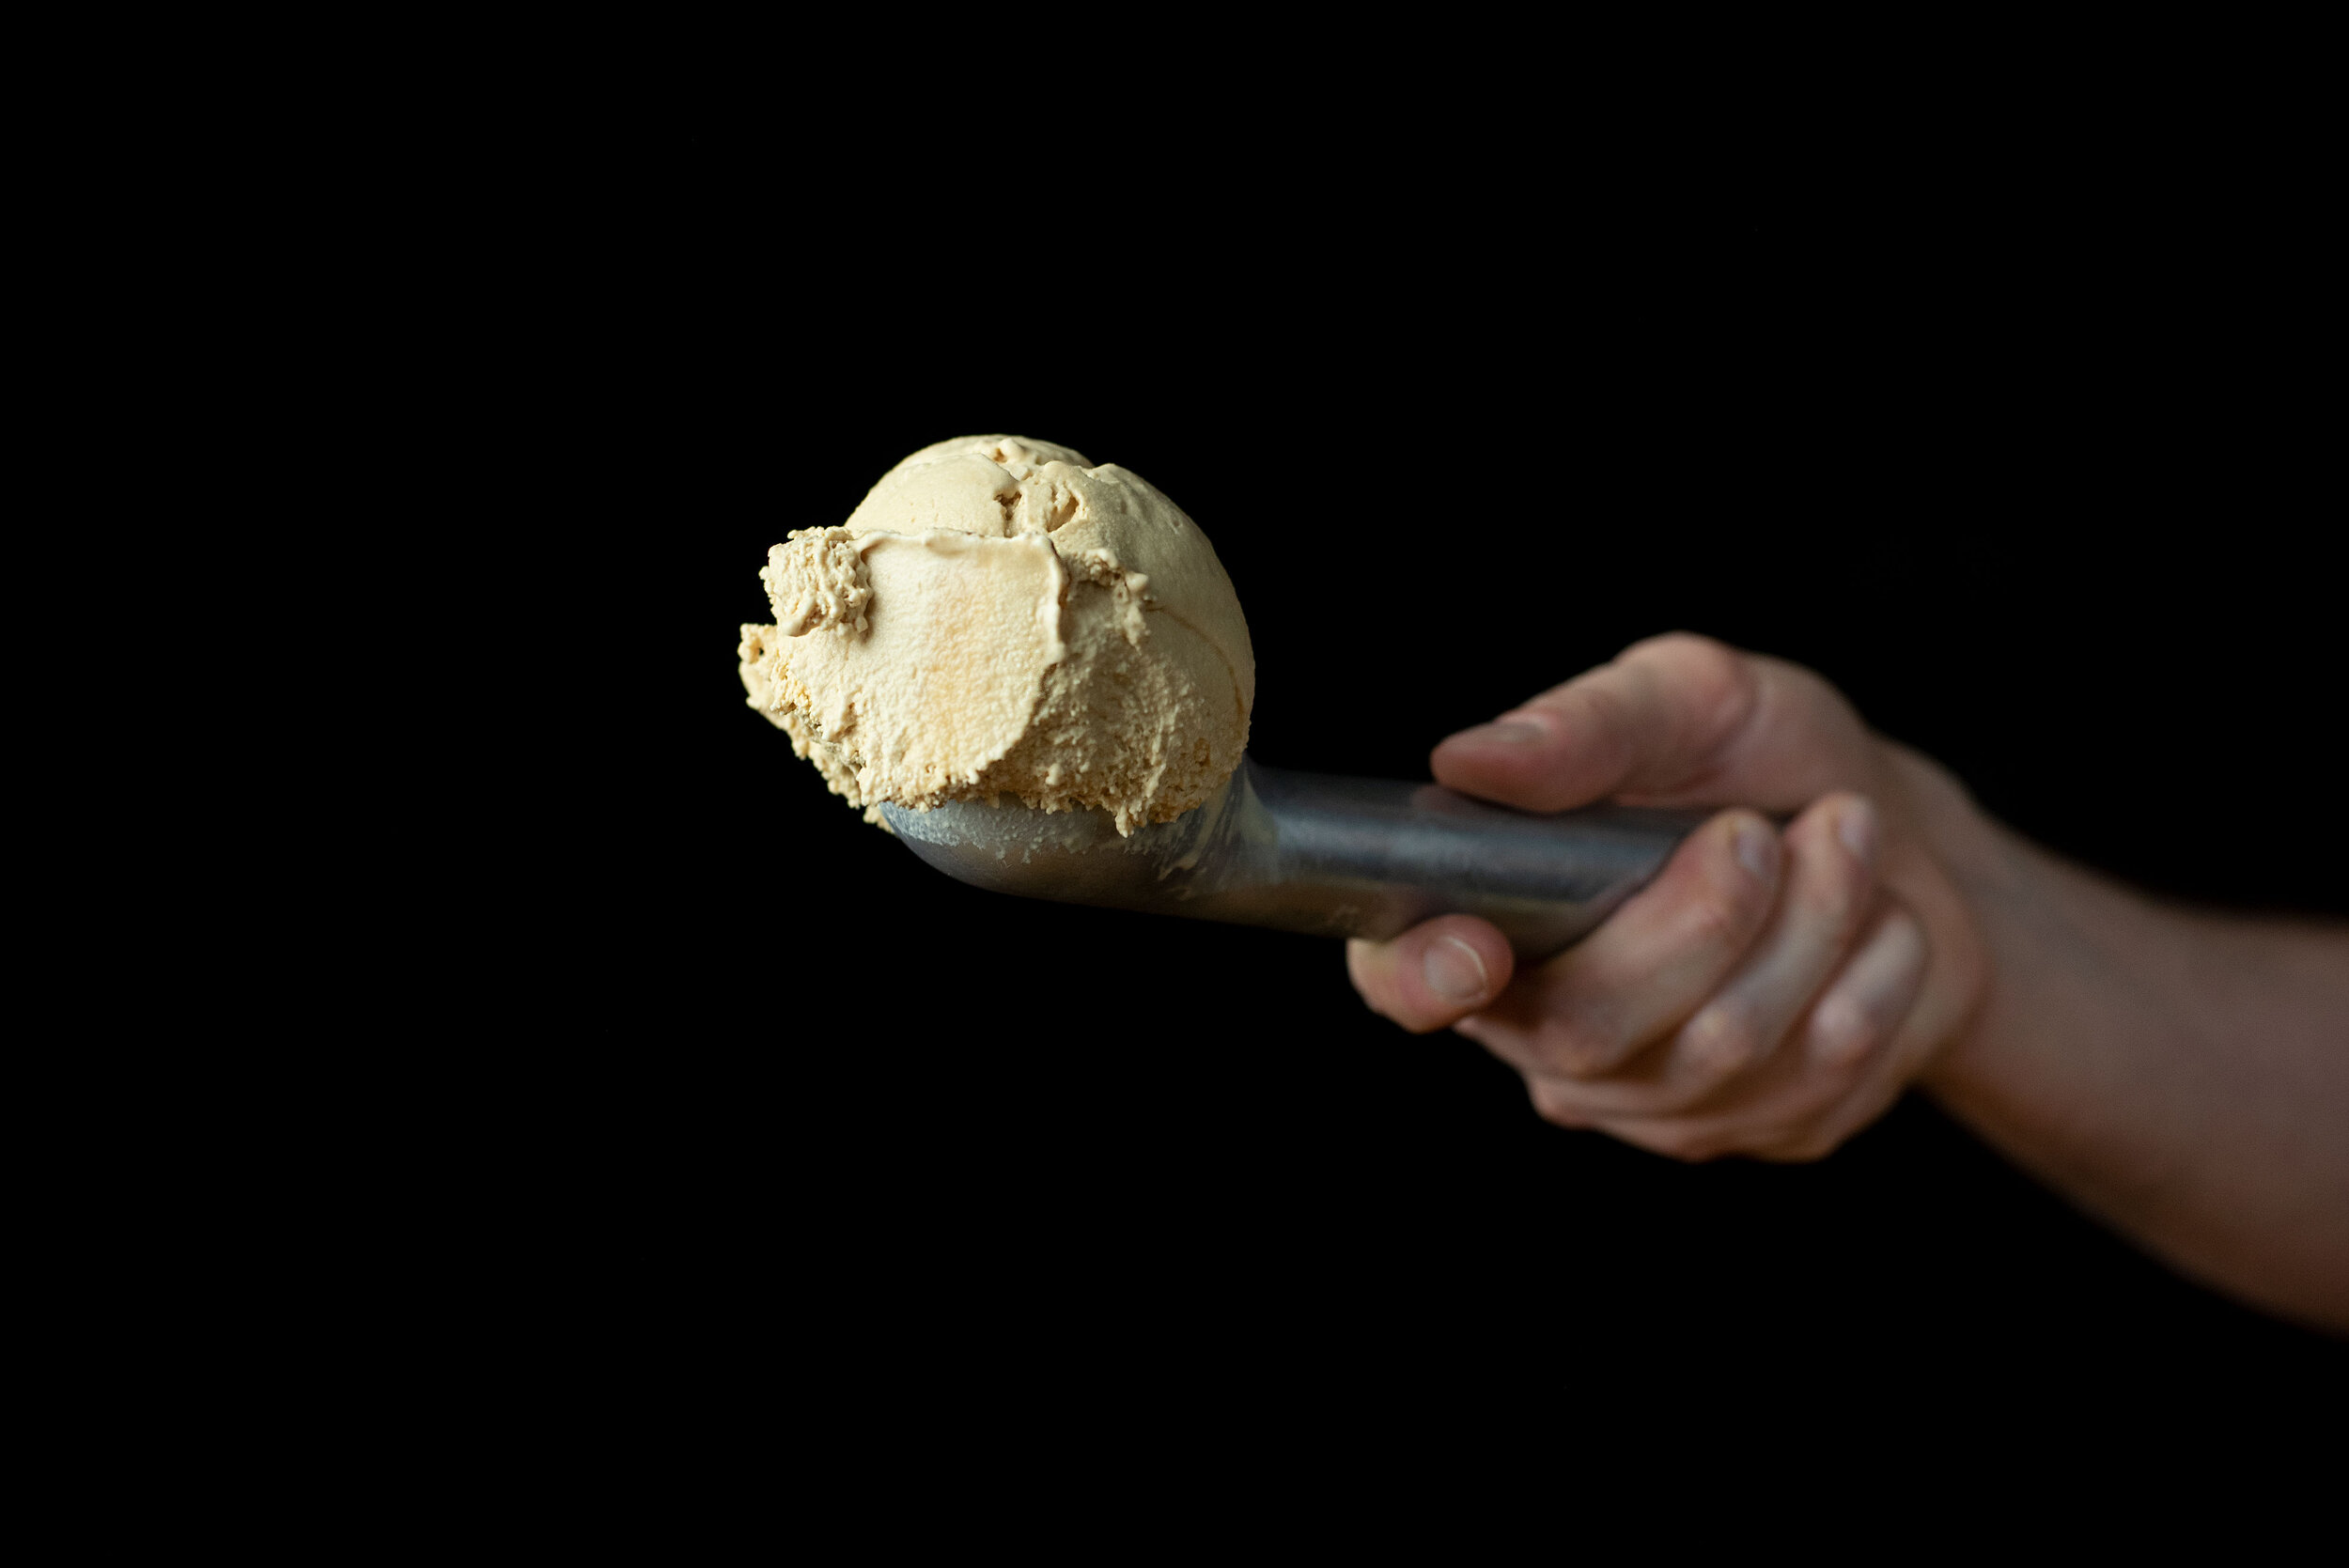
    I love pie. Nate does not.

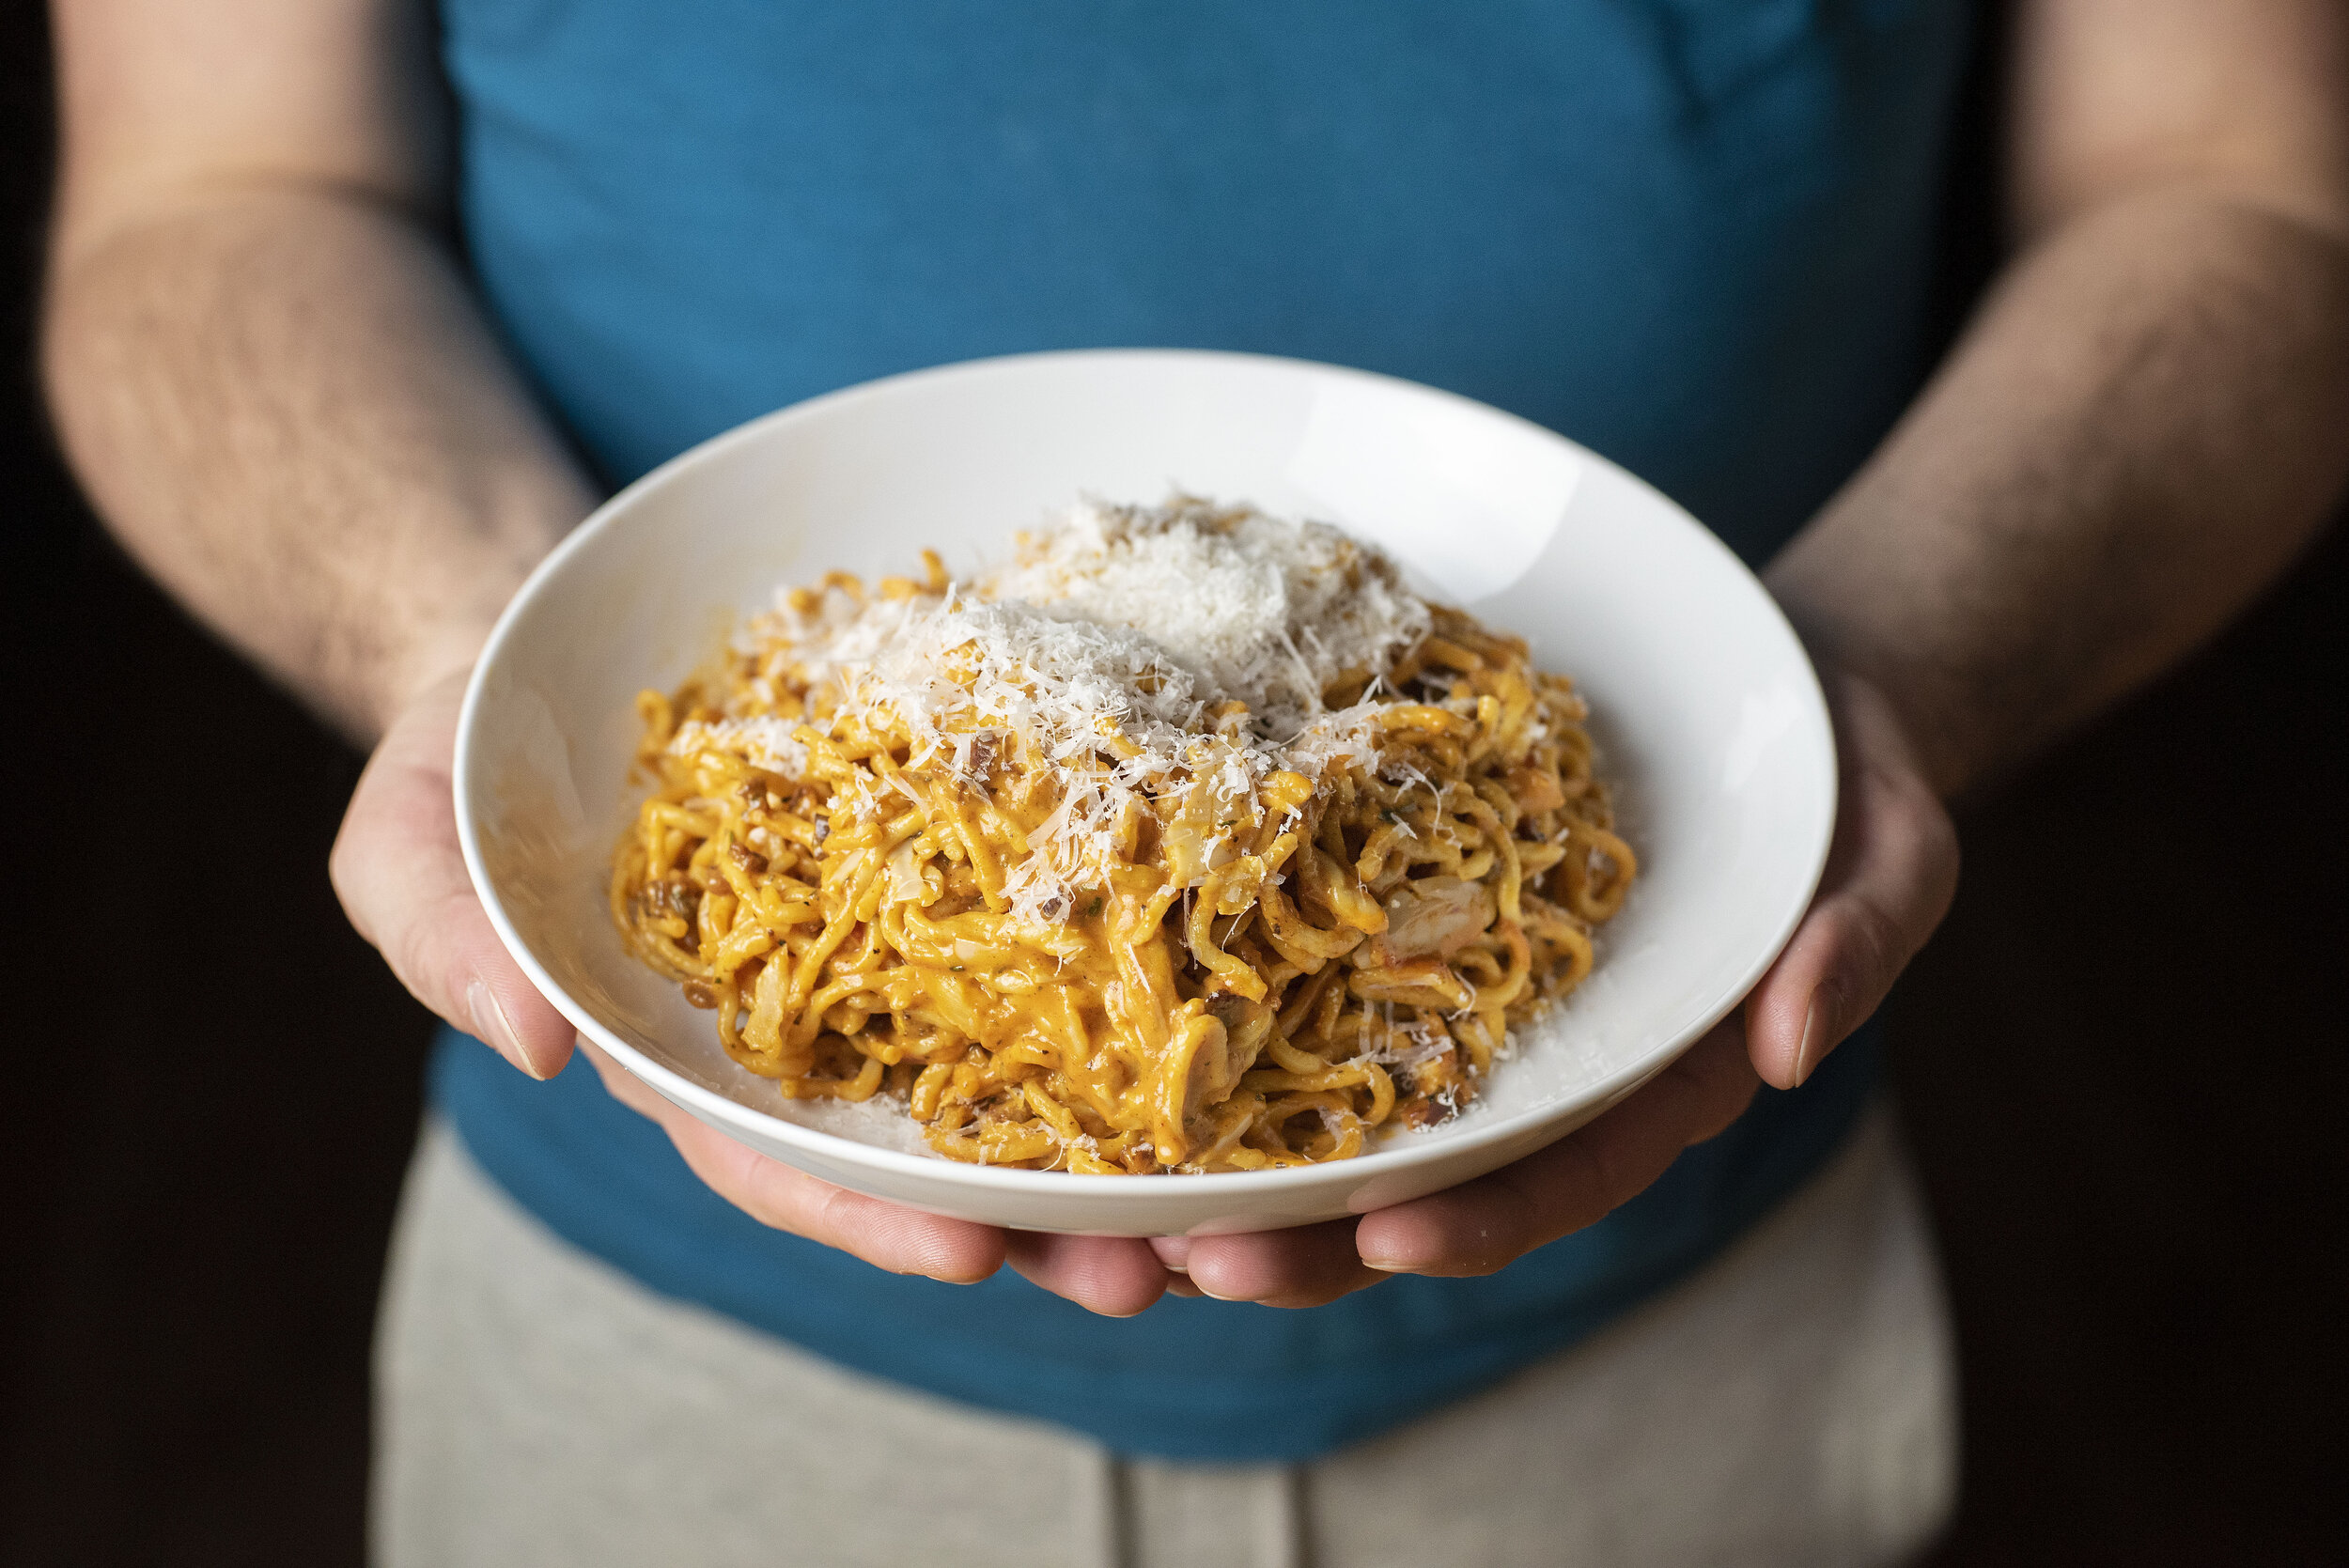
    Even though he’s wrong, I’ve grown to accept it over the course of our relationship. He’ll eat it a la mode on holidays even if it isn’t his cup of tea, but recently I stumbled upon a rather interesting compromise: Nate actually really enjoys pie as long as it’s inside of an ice cream, and not underneath one.

    What a discovery. I’m going to take advantage of it any chance I get.

    The pie crumb used in this ice cream is a recipe made by Christina Tosi (a baking goddess) in one of my all time favorite baking cookbooks: her first Milk Bar cookbook. It tastes almost like pie crust flavored breakfast cereal, so be prepared to utilize every ounce of self-control you have to not eat it when it comes out of the oven so that you have enough for the ice cream.

    At this recipe’s core (hurr hurr) it’s quite versatile. This version calls for homemade apple pie filling (and it’s stupid good), but really, it’s just mimicking pie a la mode; so what’s to stop you from using a different kind of pie filling to suit your taste?

    Absolutely nothing.

    Make a blackberry pie filling and use it instead if you’re feeling it. Give strawberry rhubarb a shot. Try out cherry or blueberry. Maybe pear, plum, or peach (or one of each?). Just make sure your pie filling ribbon is cooked down (you aren’t baking it in the oven, after all) and that you have about 1 cup of it to disperse throughout the ice cream, and a whole world of possibilities will open up for you.

    Be a pie slut. Do what you want.

    Apple Pie Ice Cream:

    Ice Cream Base:

    • 2 cups heavy cream

    • 1 cup milk

    • ½ cup sugar

    • 2 tbs corn syrup

    • 1 tsp vanilla extract

    • ¼ tsp salt

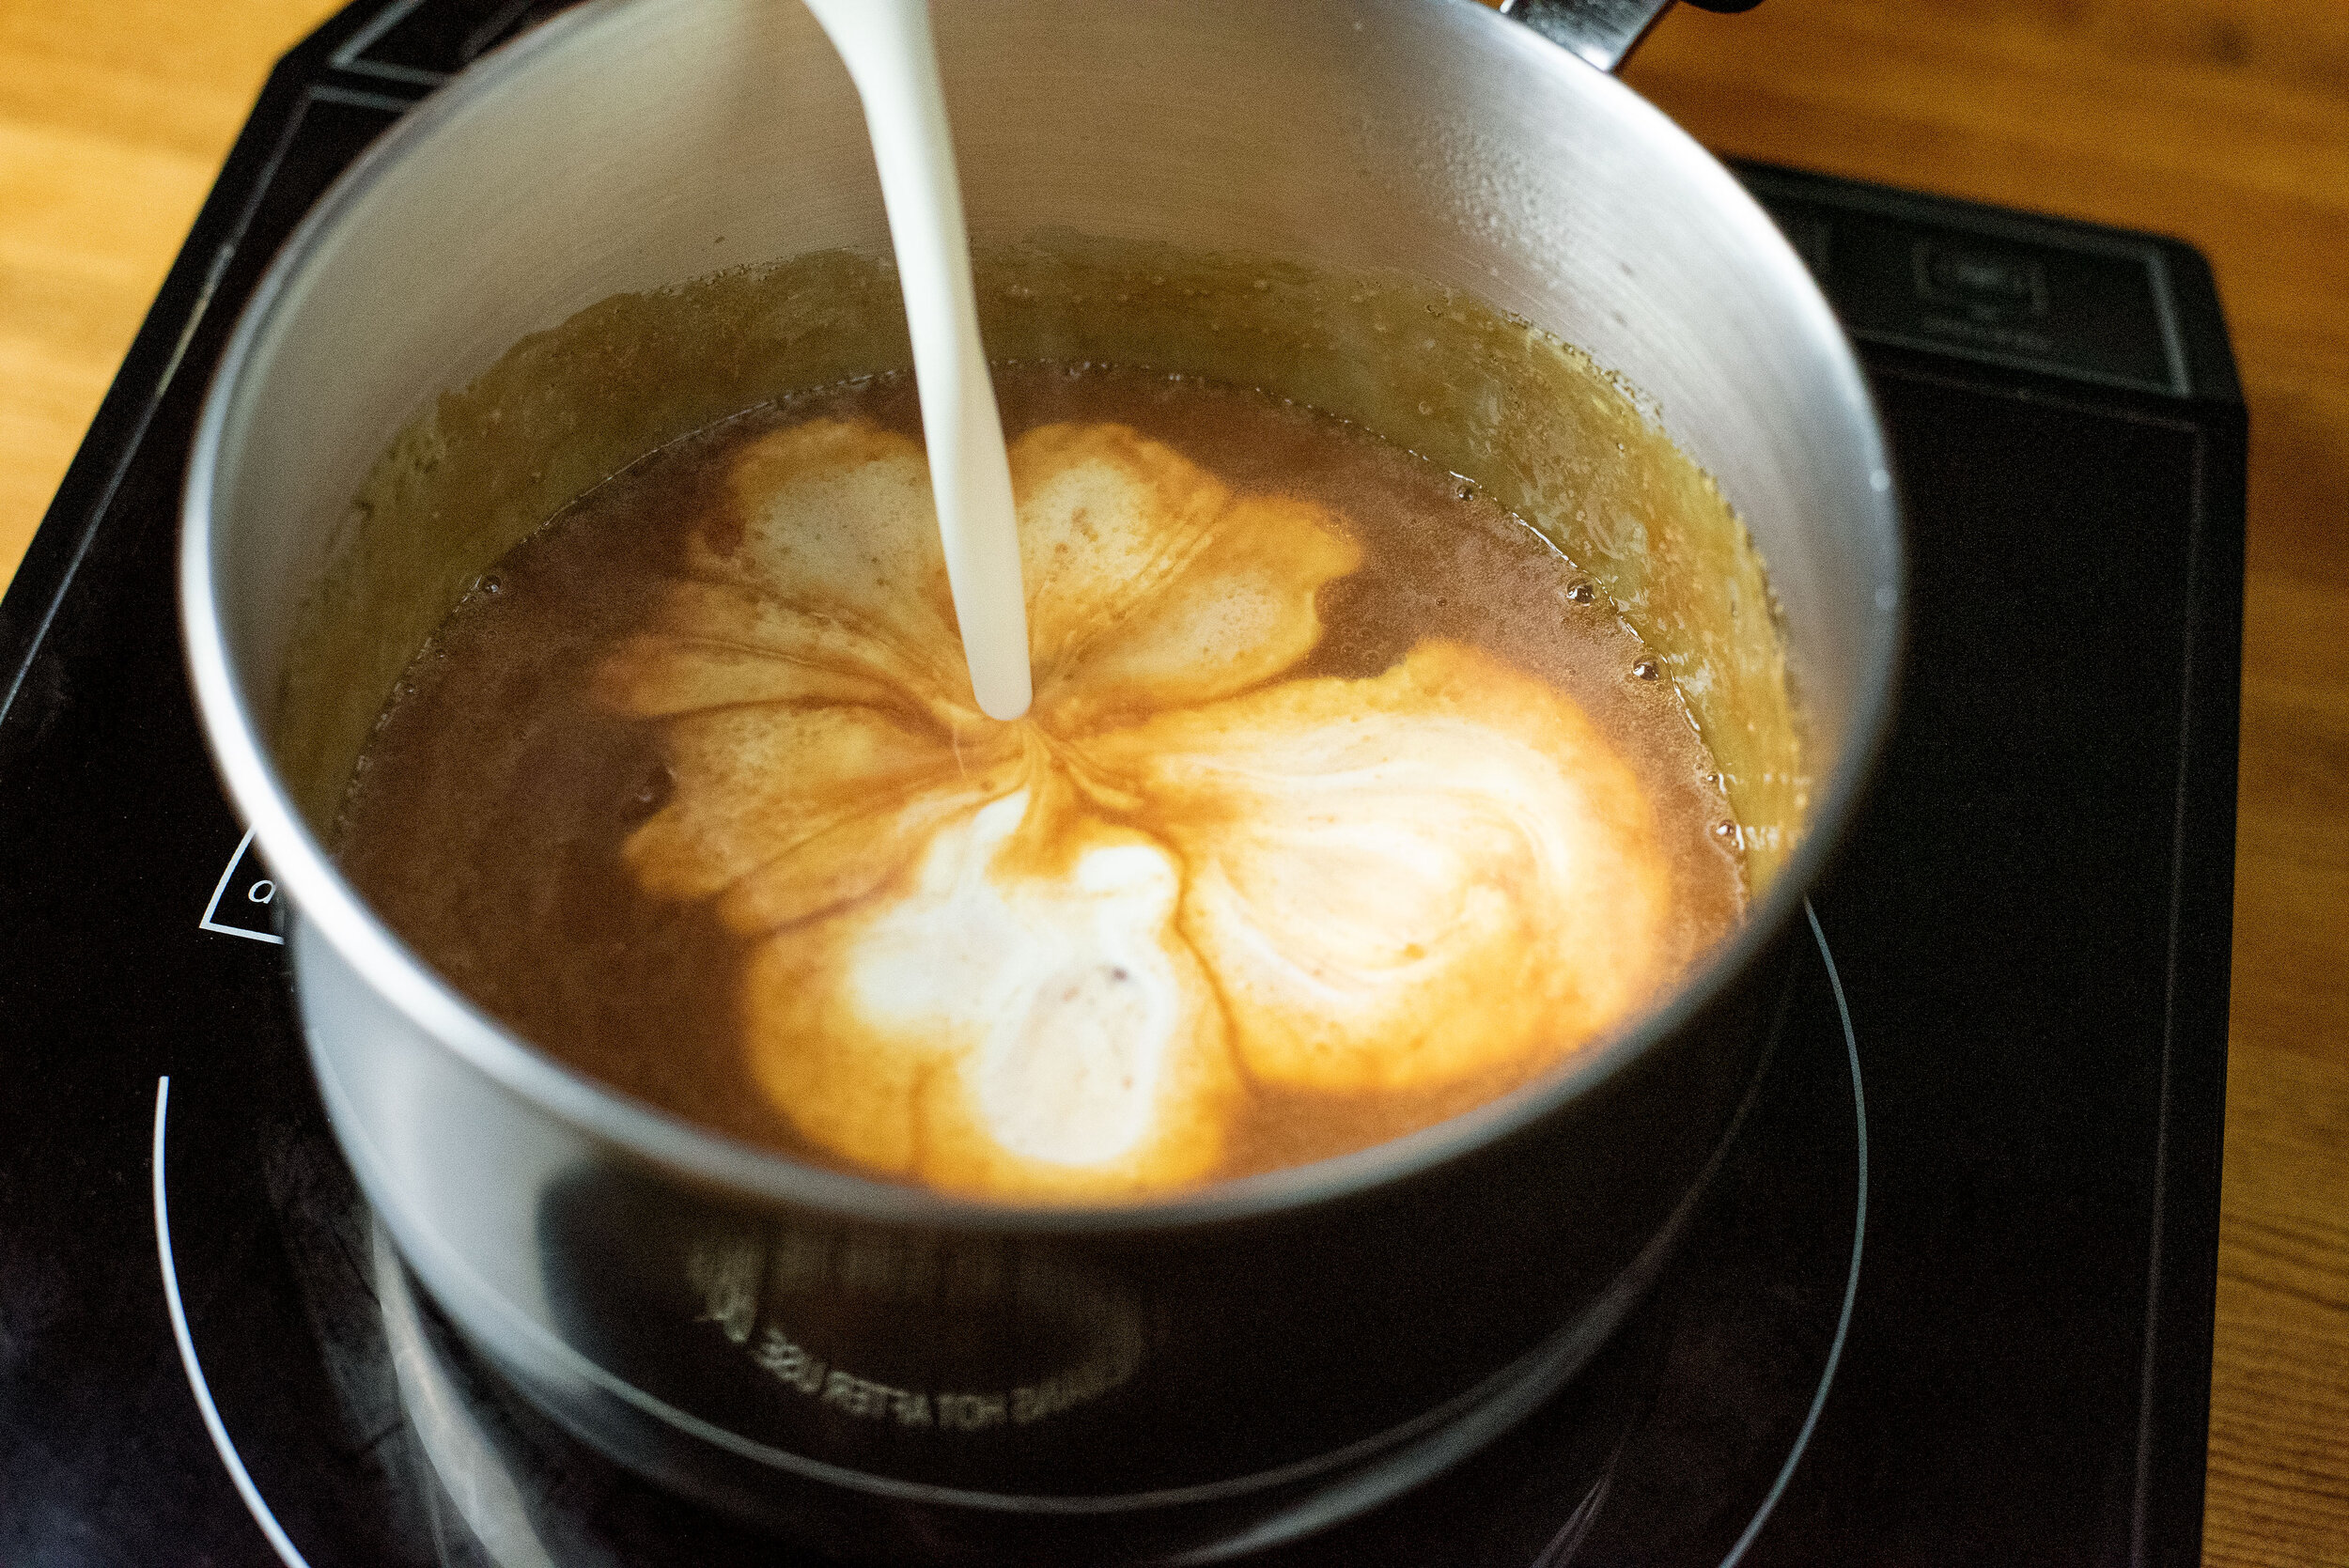
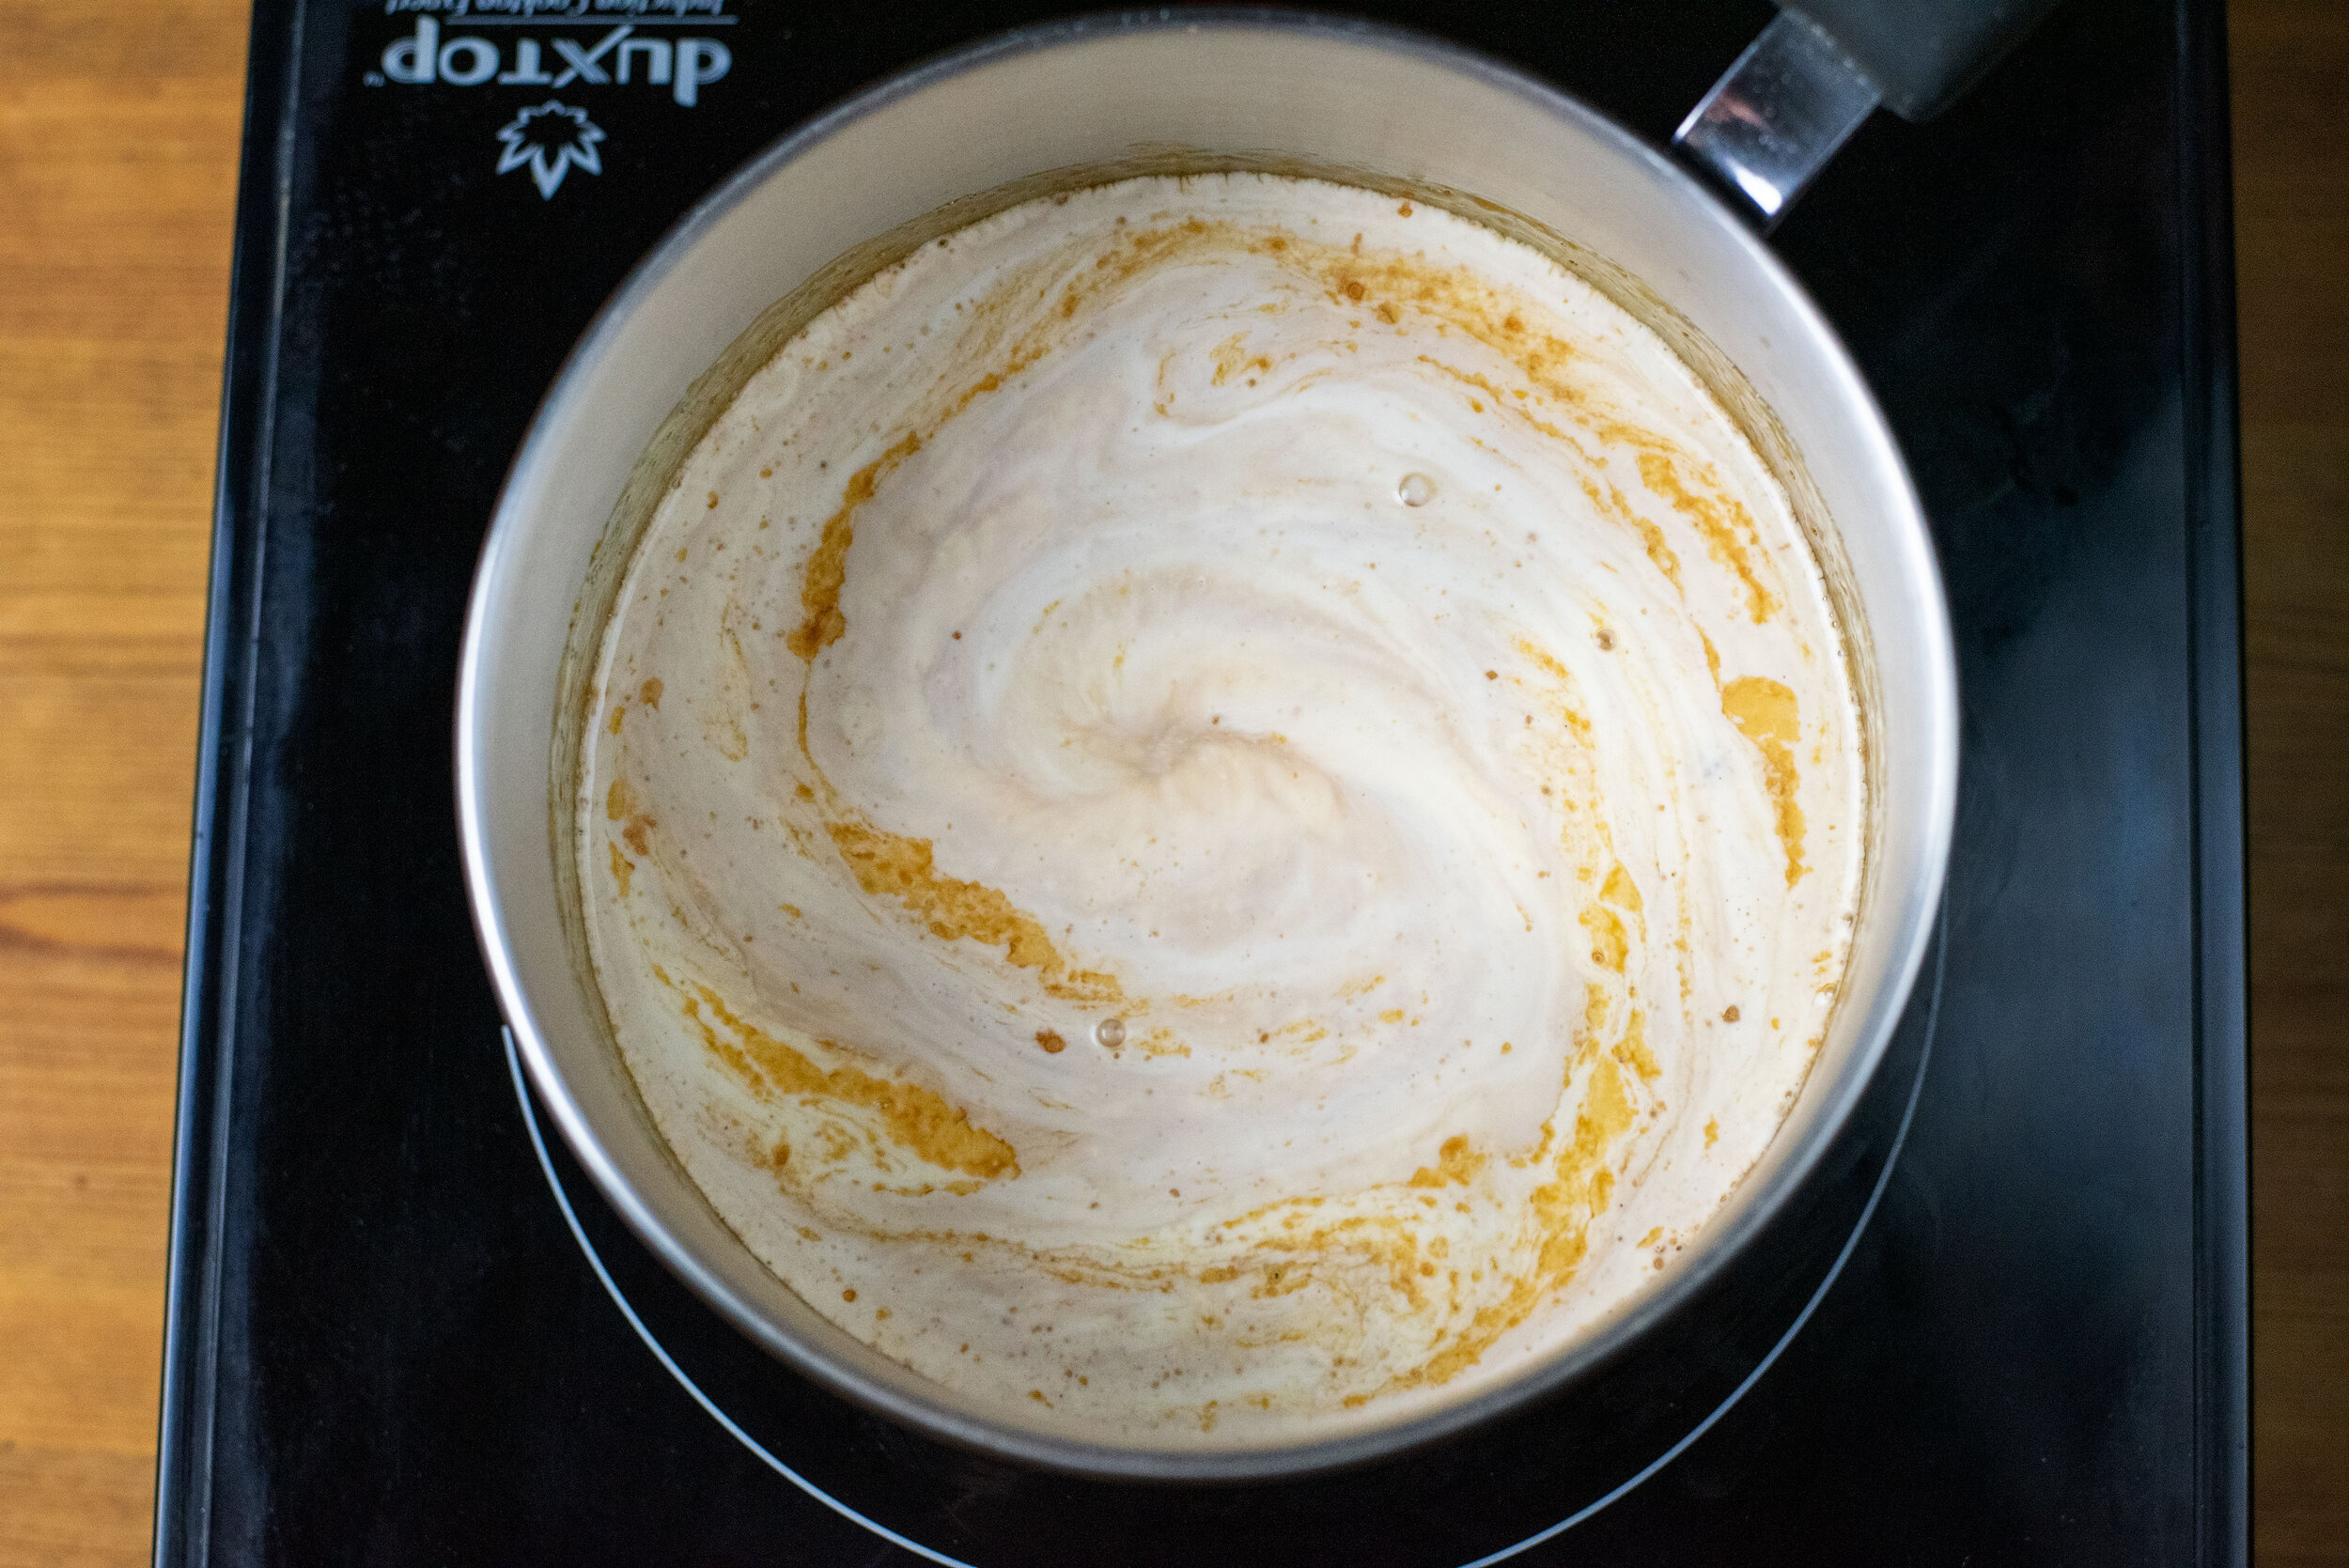
    Mix the milk, sugar, corn syrup, vanilla extract, and salt together in a bowl until everything is incorporated, then add all of the heavy cream. Stir until all ingredients are completely integrated, then store the mixed base in an air tight container in the fridge until it’s cold.
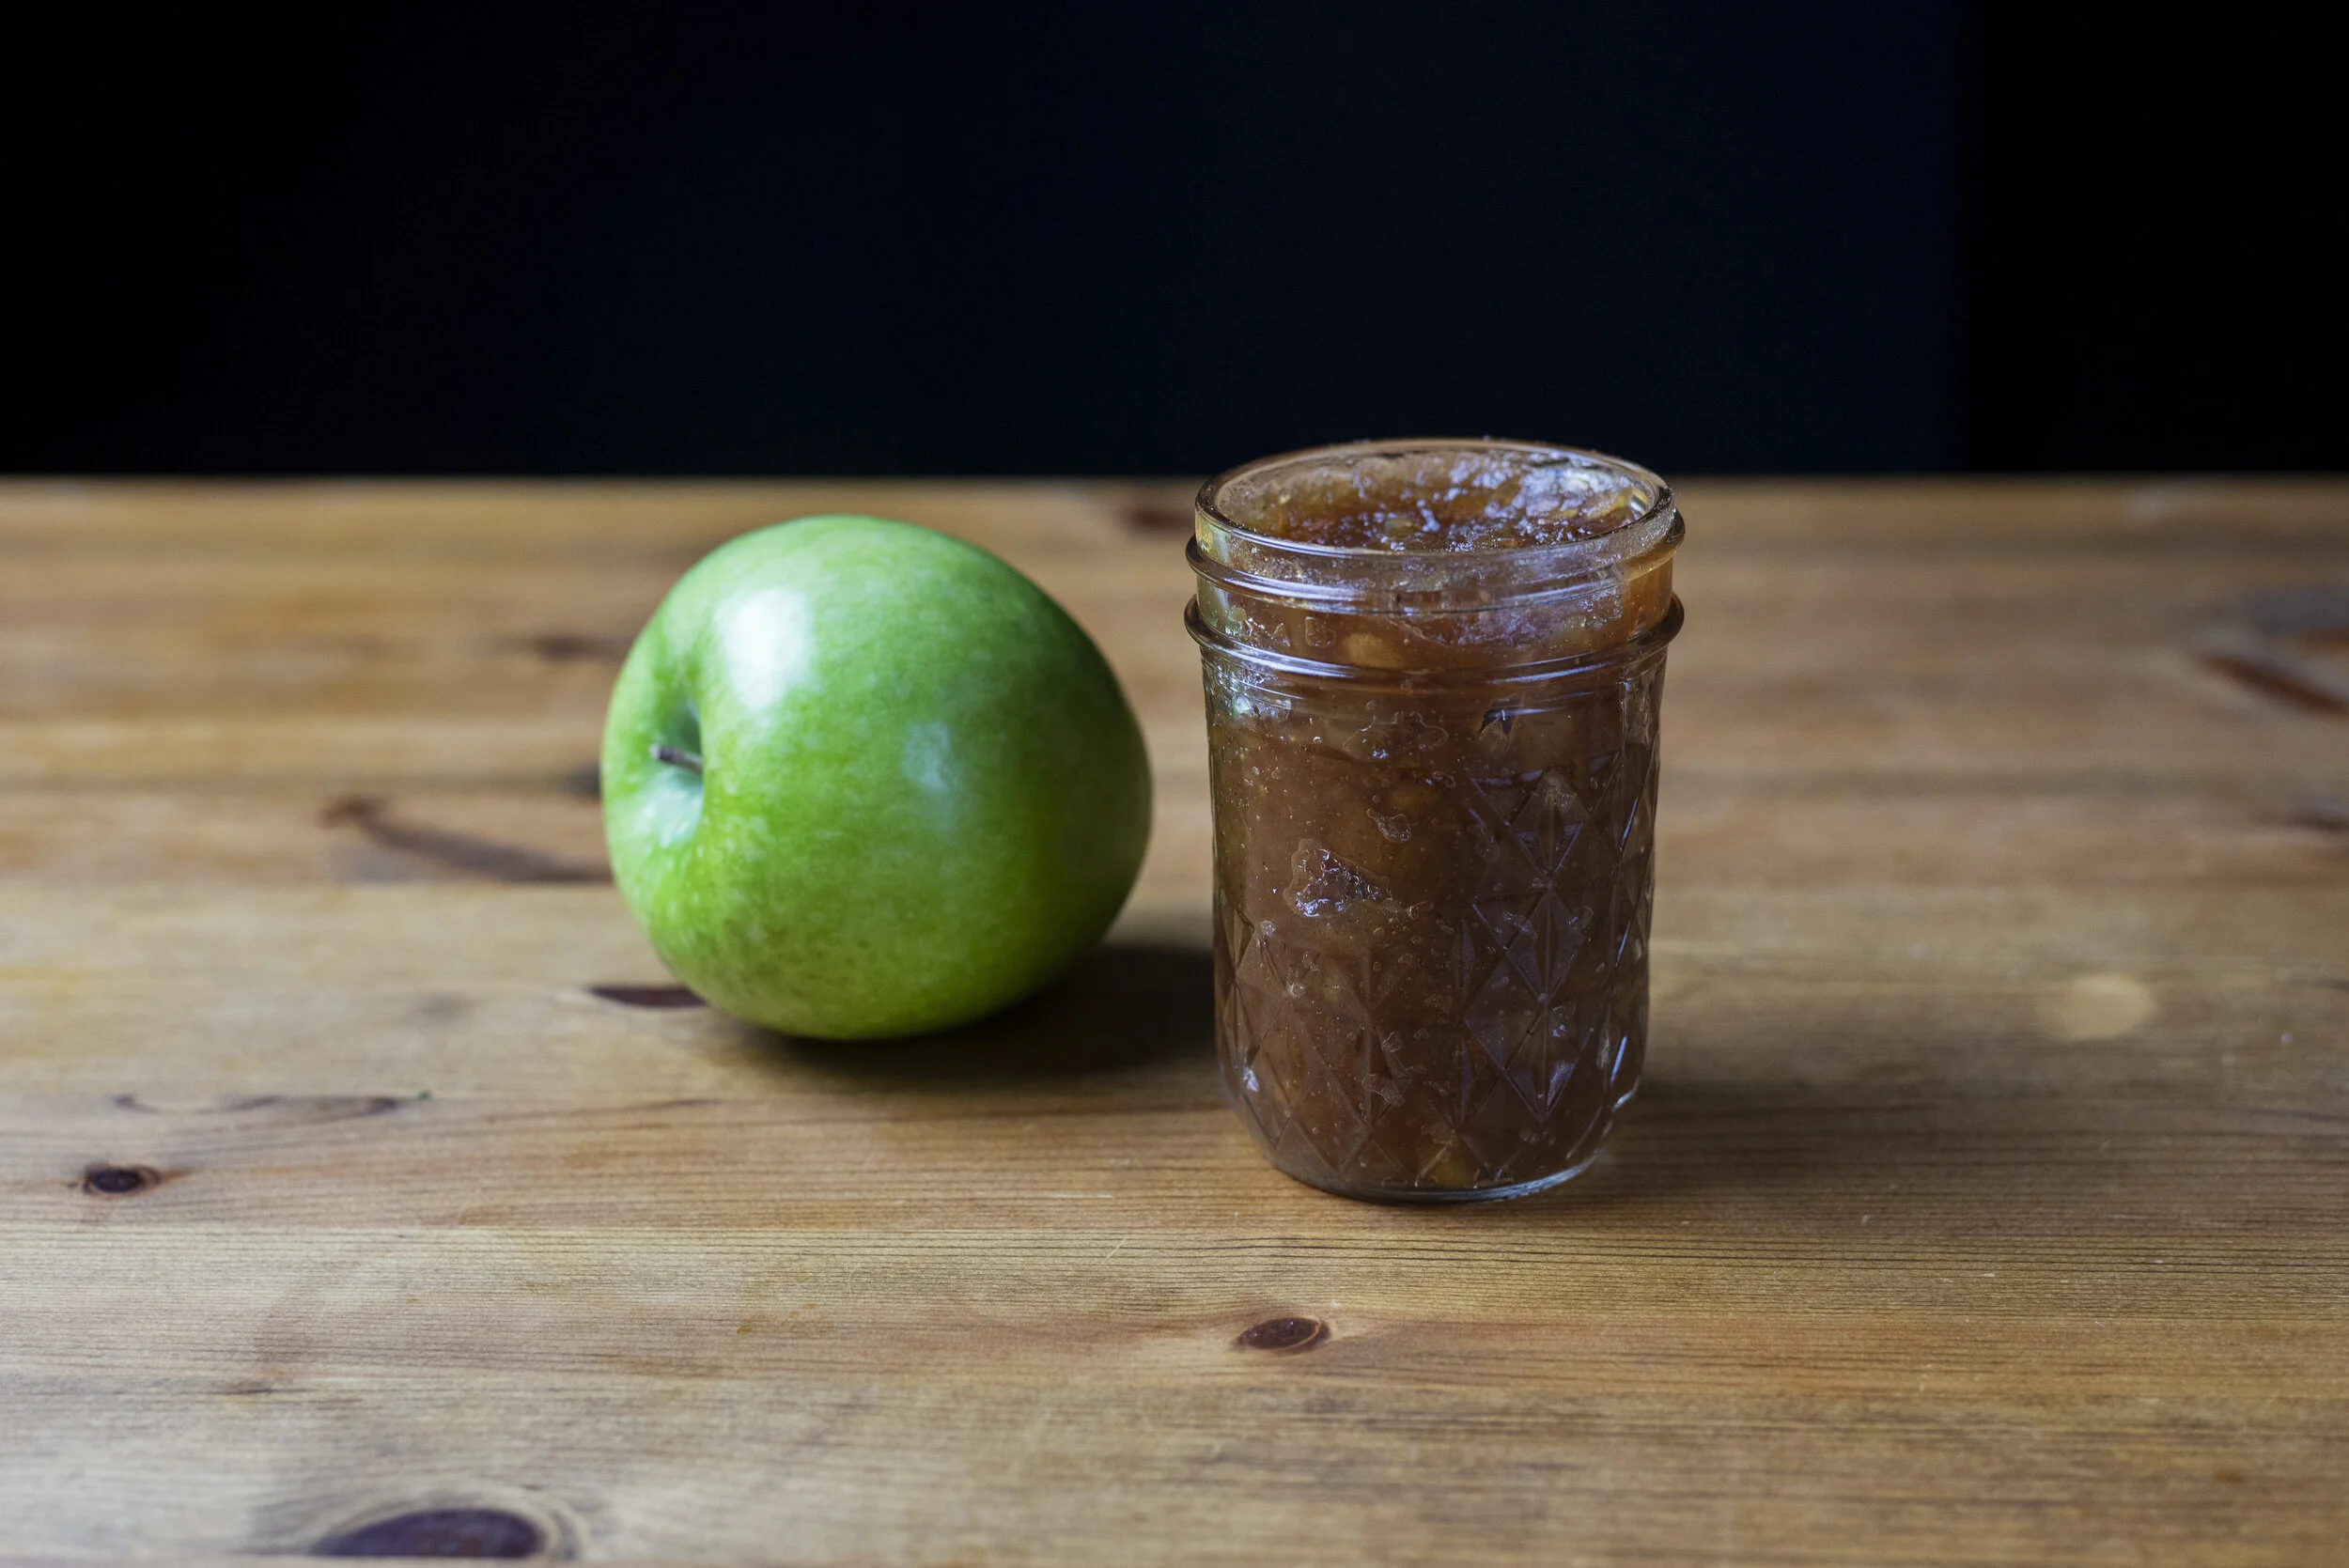

    Apple Pie Filling:

    • 2 large pie apples, peeled, cored, and cut into tiny cubes (about ¼”)

    Note: We know that determining what kind of apple is best for pies if often a point of contention. We used Granny Smiths for this recipe, and it turned out amazing, but if you have a go-to variety that you like more for pie, you should use that one instead. Just…don’t use a Red Delicious. They are, in fact, not delicious at all. A gross mealy apple = a gross mealy pie filling. 0/10. Would not recommend.

    • ¼ cup white sugar

    • ¼ dark brown sugar

    • ½ cup water

    • ½ tsp ground cinnamon

    • A dash of nutmeg, freshly grated if you can swing it

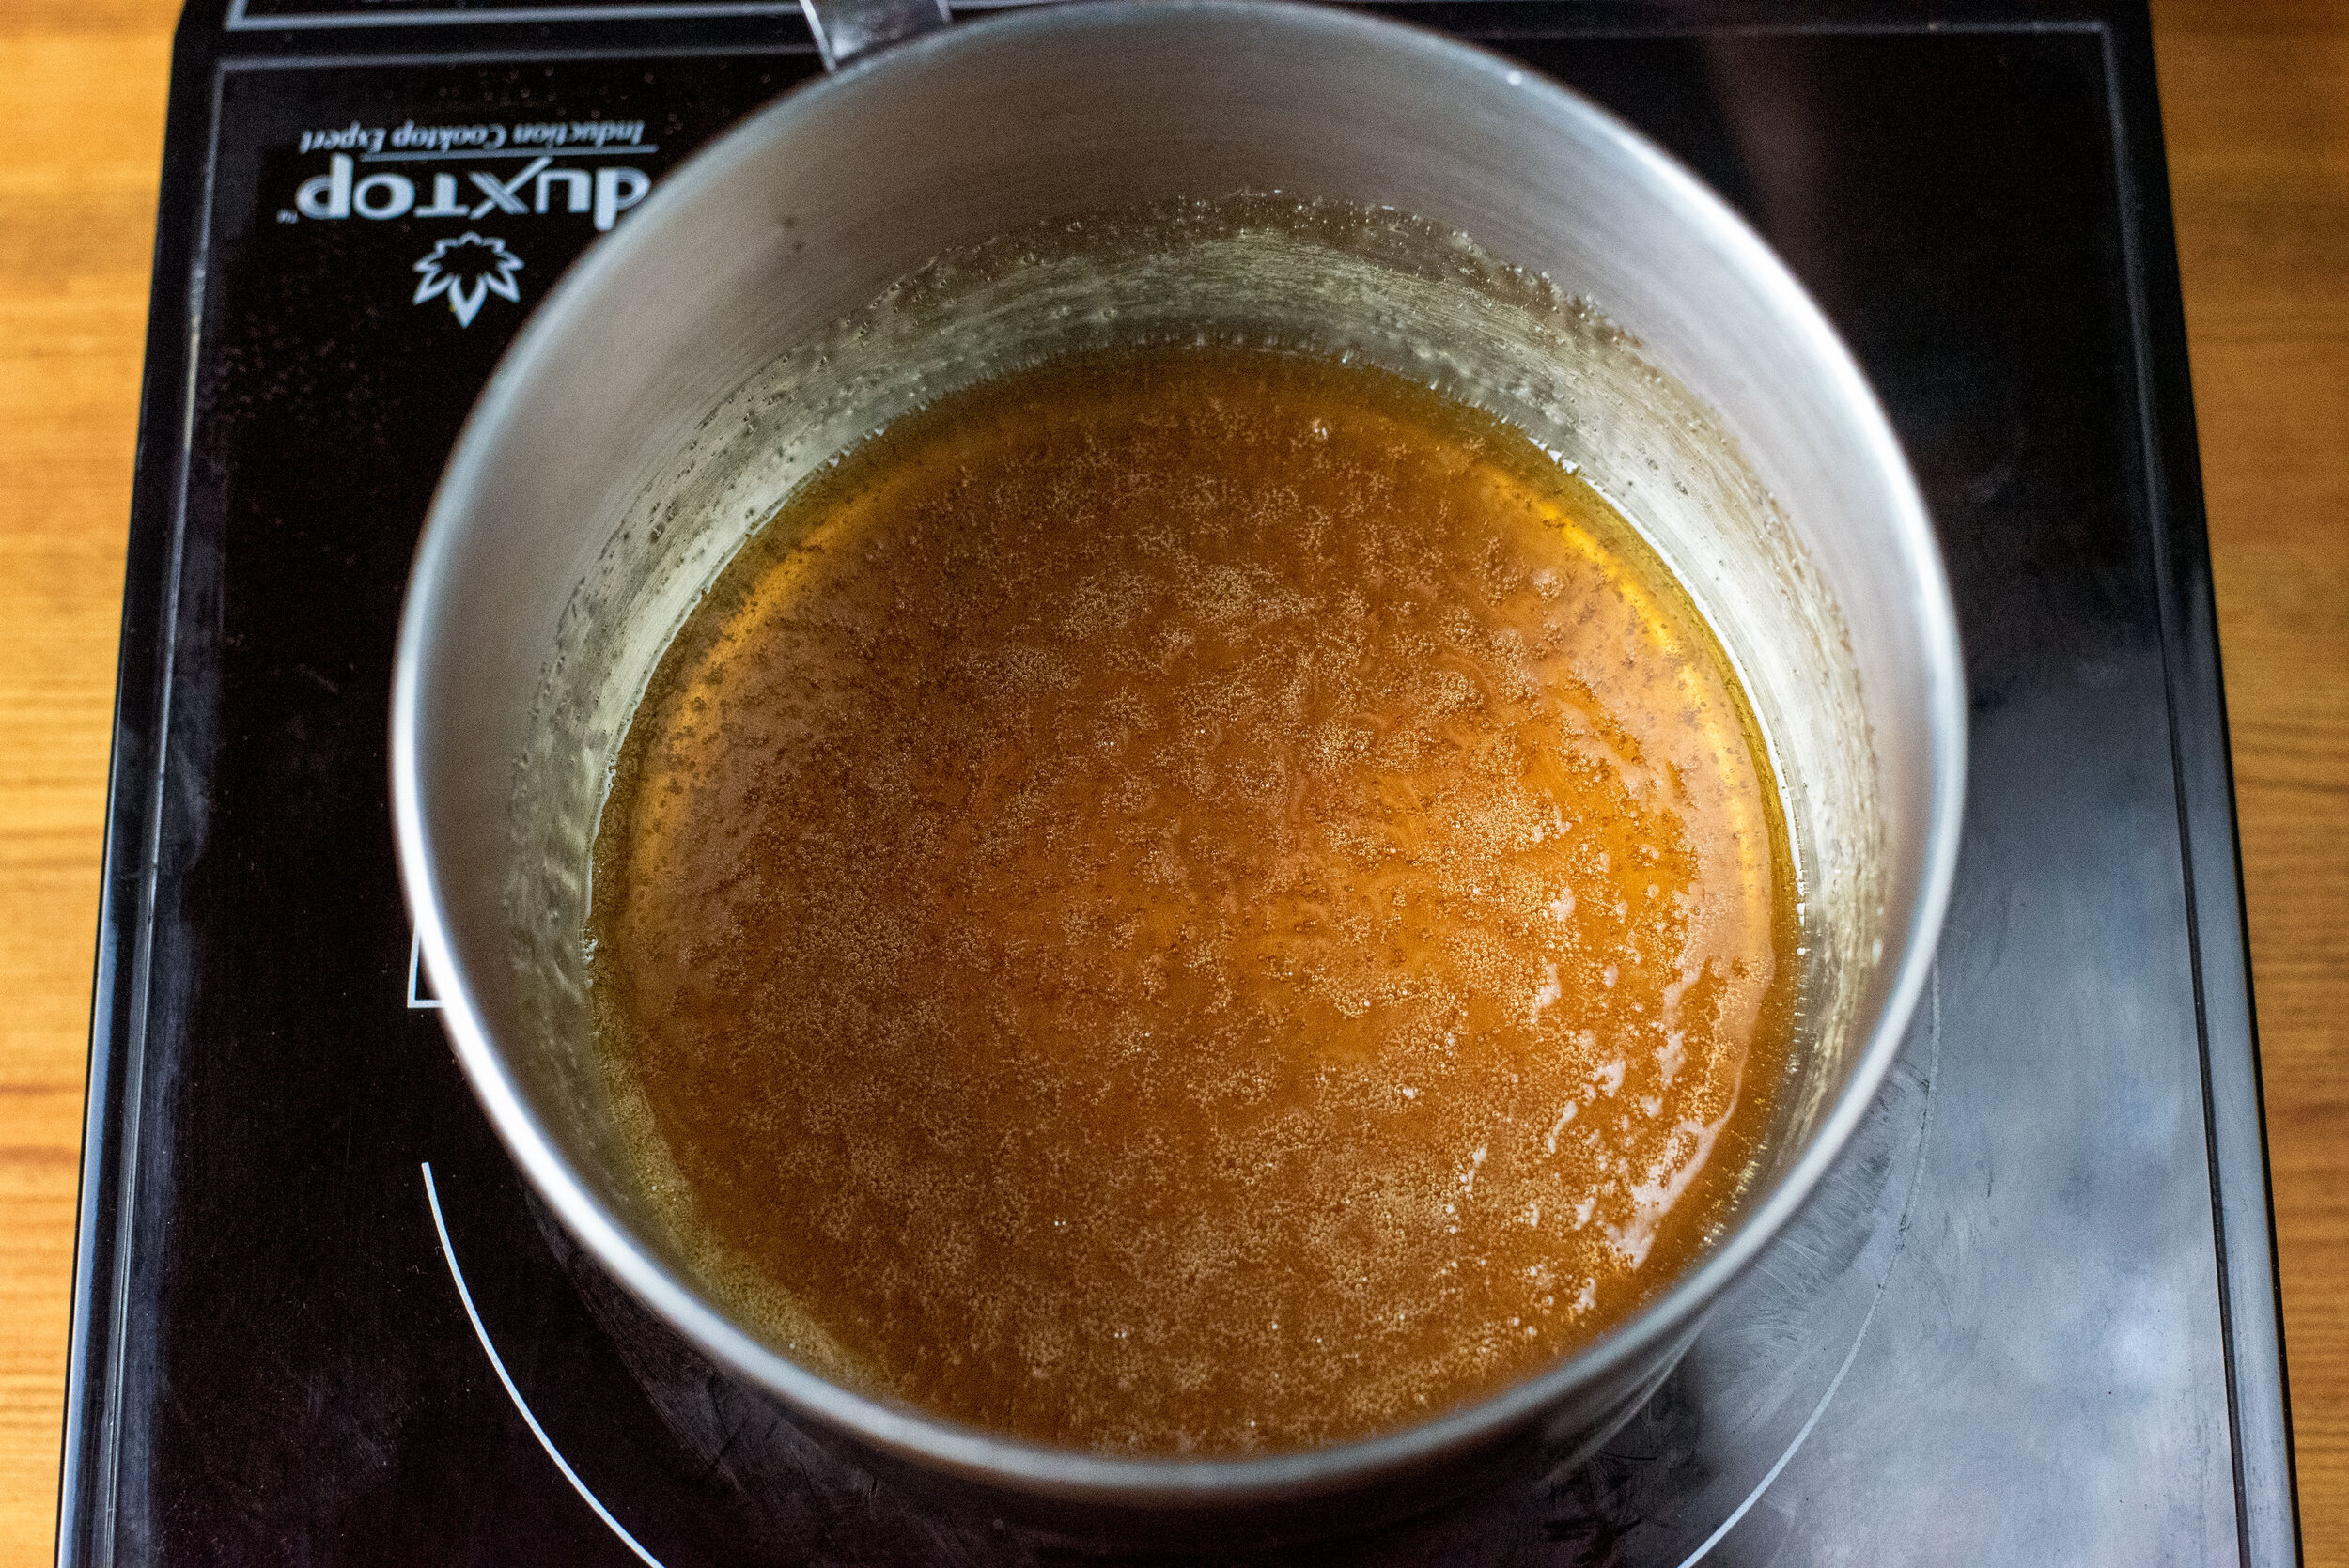
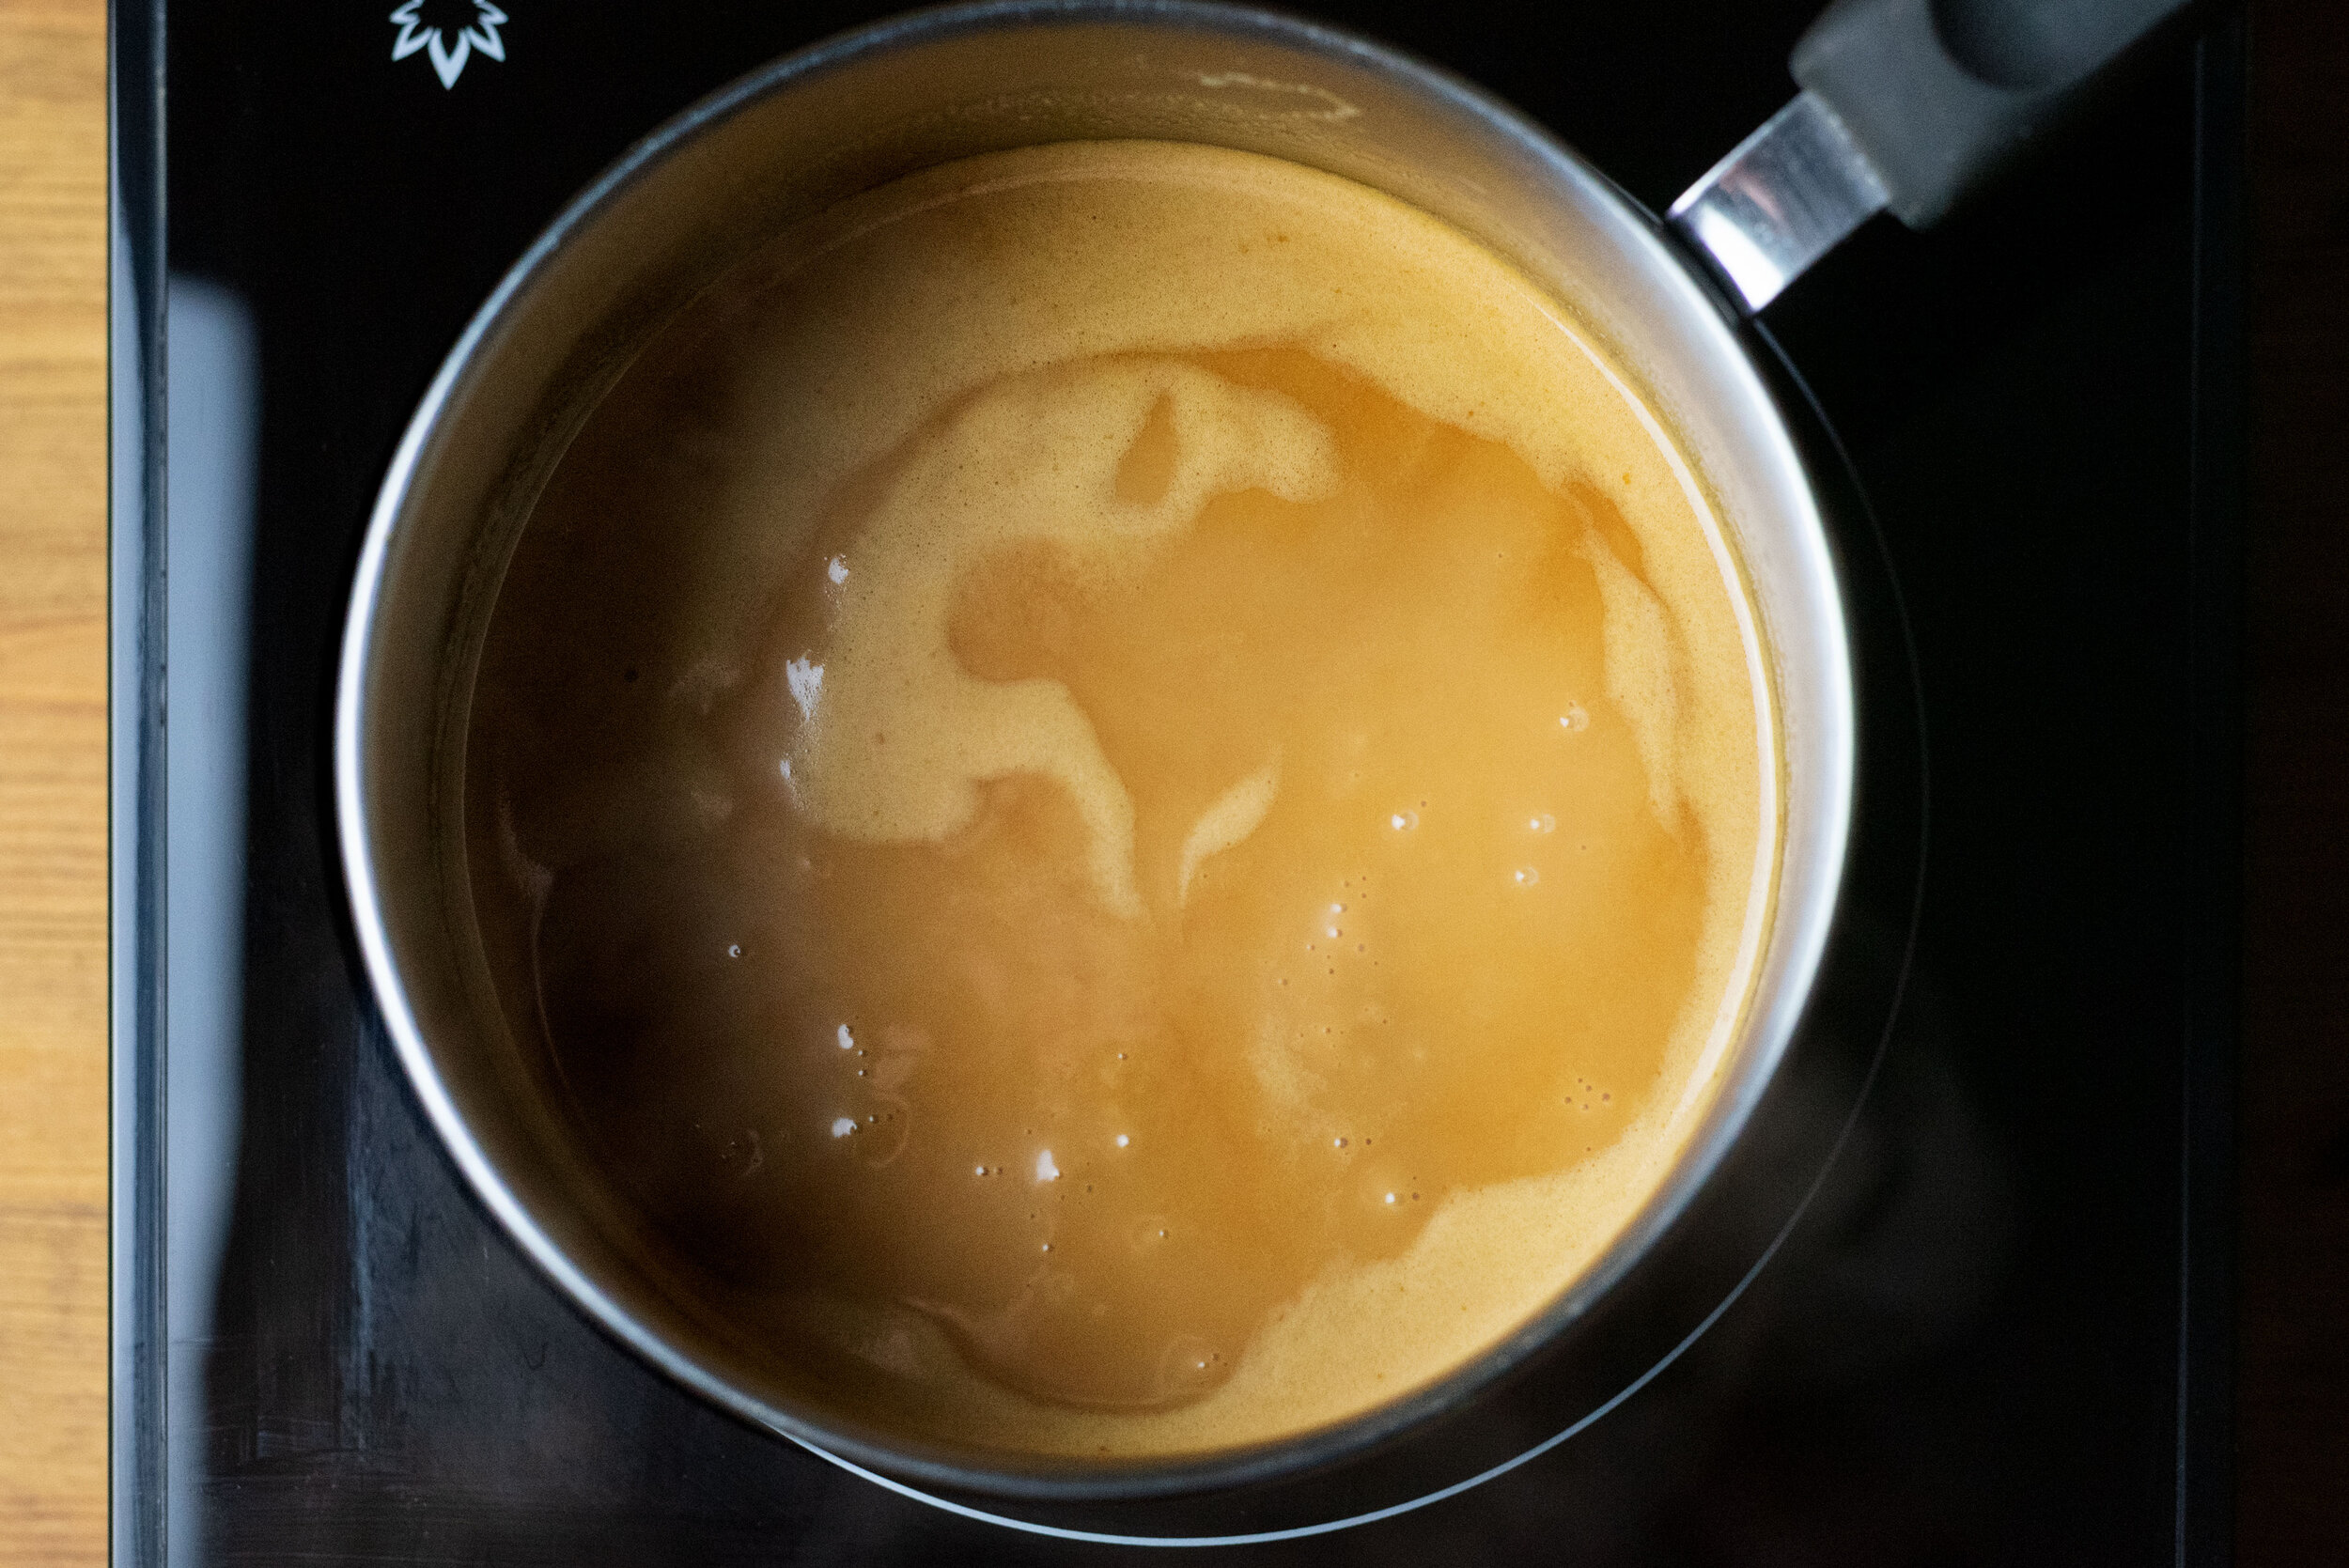
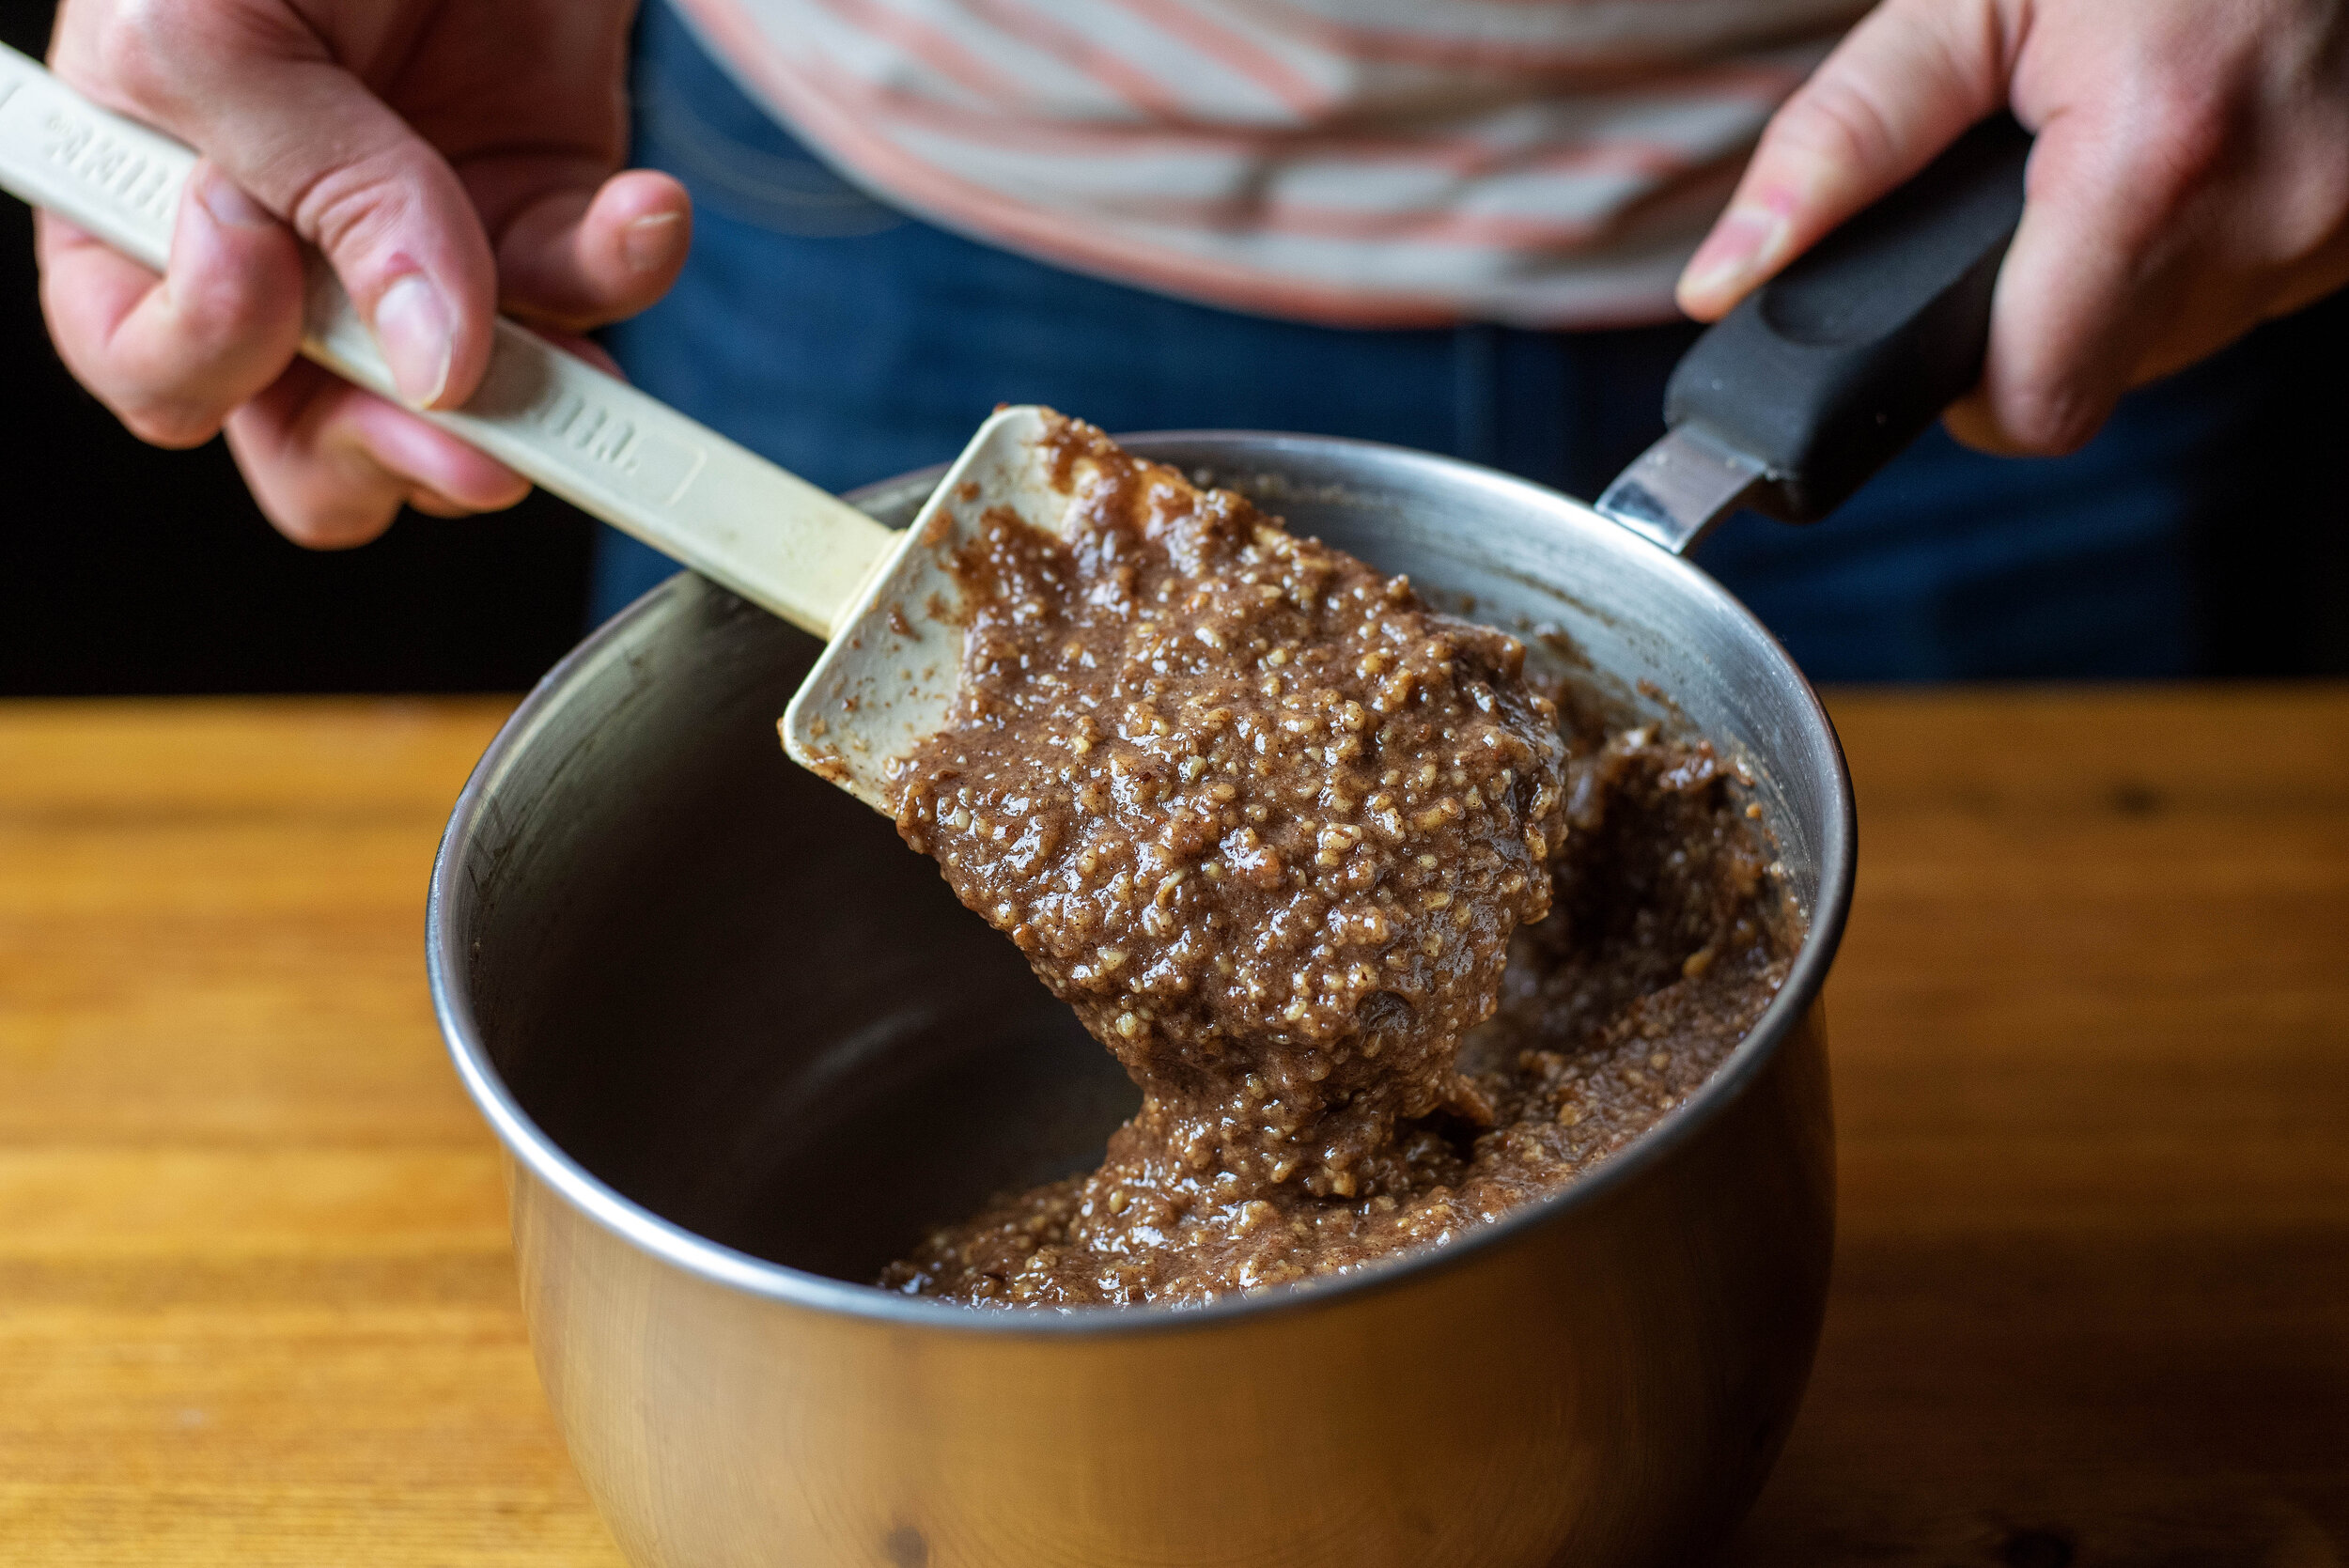
    In a small sauce pan, add the chopped apple, sugars, water, cinnamon, and nutmeg, then cook covered on medium heat for about 20 minutes. The apple should cook all the way through and begin to disintegrate. Remove the pan lid, then let the mixture reduce for about 10 more minutes, or until the pie filling thickens up and reaches a sexy shade of dark caramel. Essentially what you’re doing here is making a really small batch of caramelized apple sauce. Feel free to add a little more water if the filling gets too dry, then remove from the heat.

    At this stage, I like to blend the filling just a little with an immersion blender to give it a bit of a smoother texture, but if you want a chunky filling ribbon, feel free to skip that step. Store the filling in a small air-tight container in the fridge until completely cool. 


    apple_pie_ice_cream_02.jpg

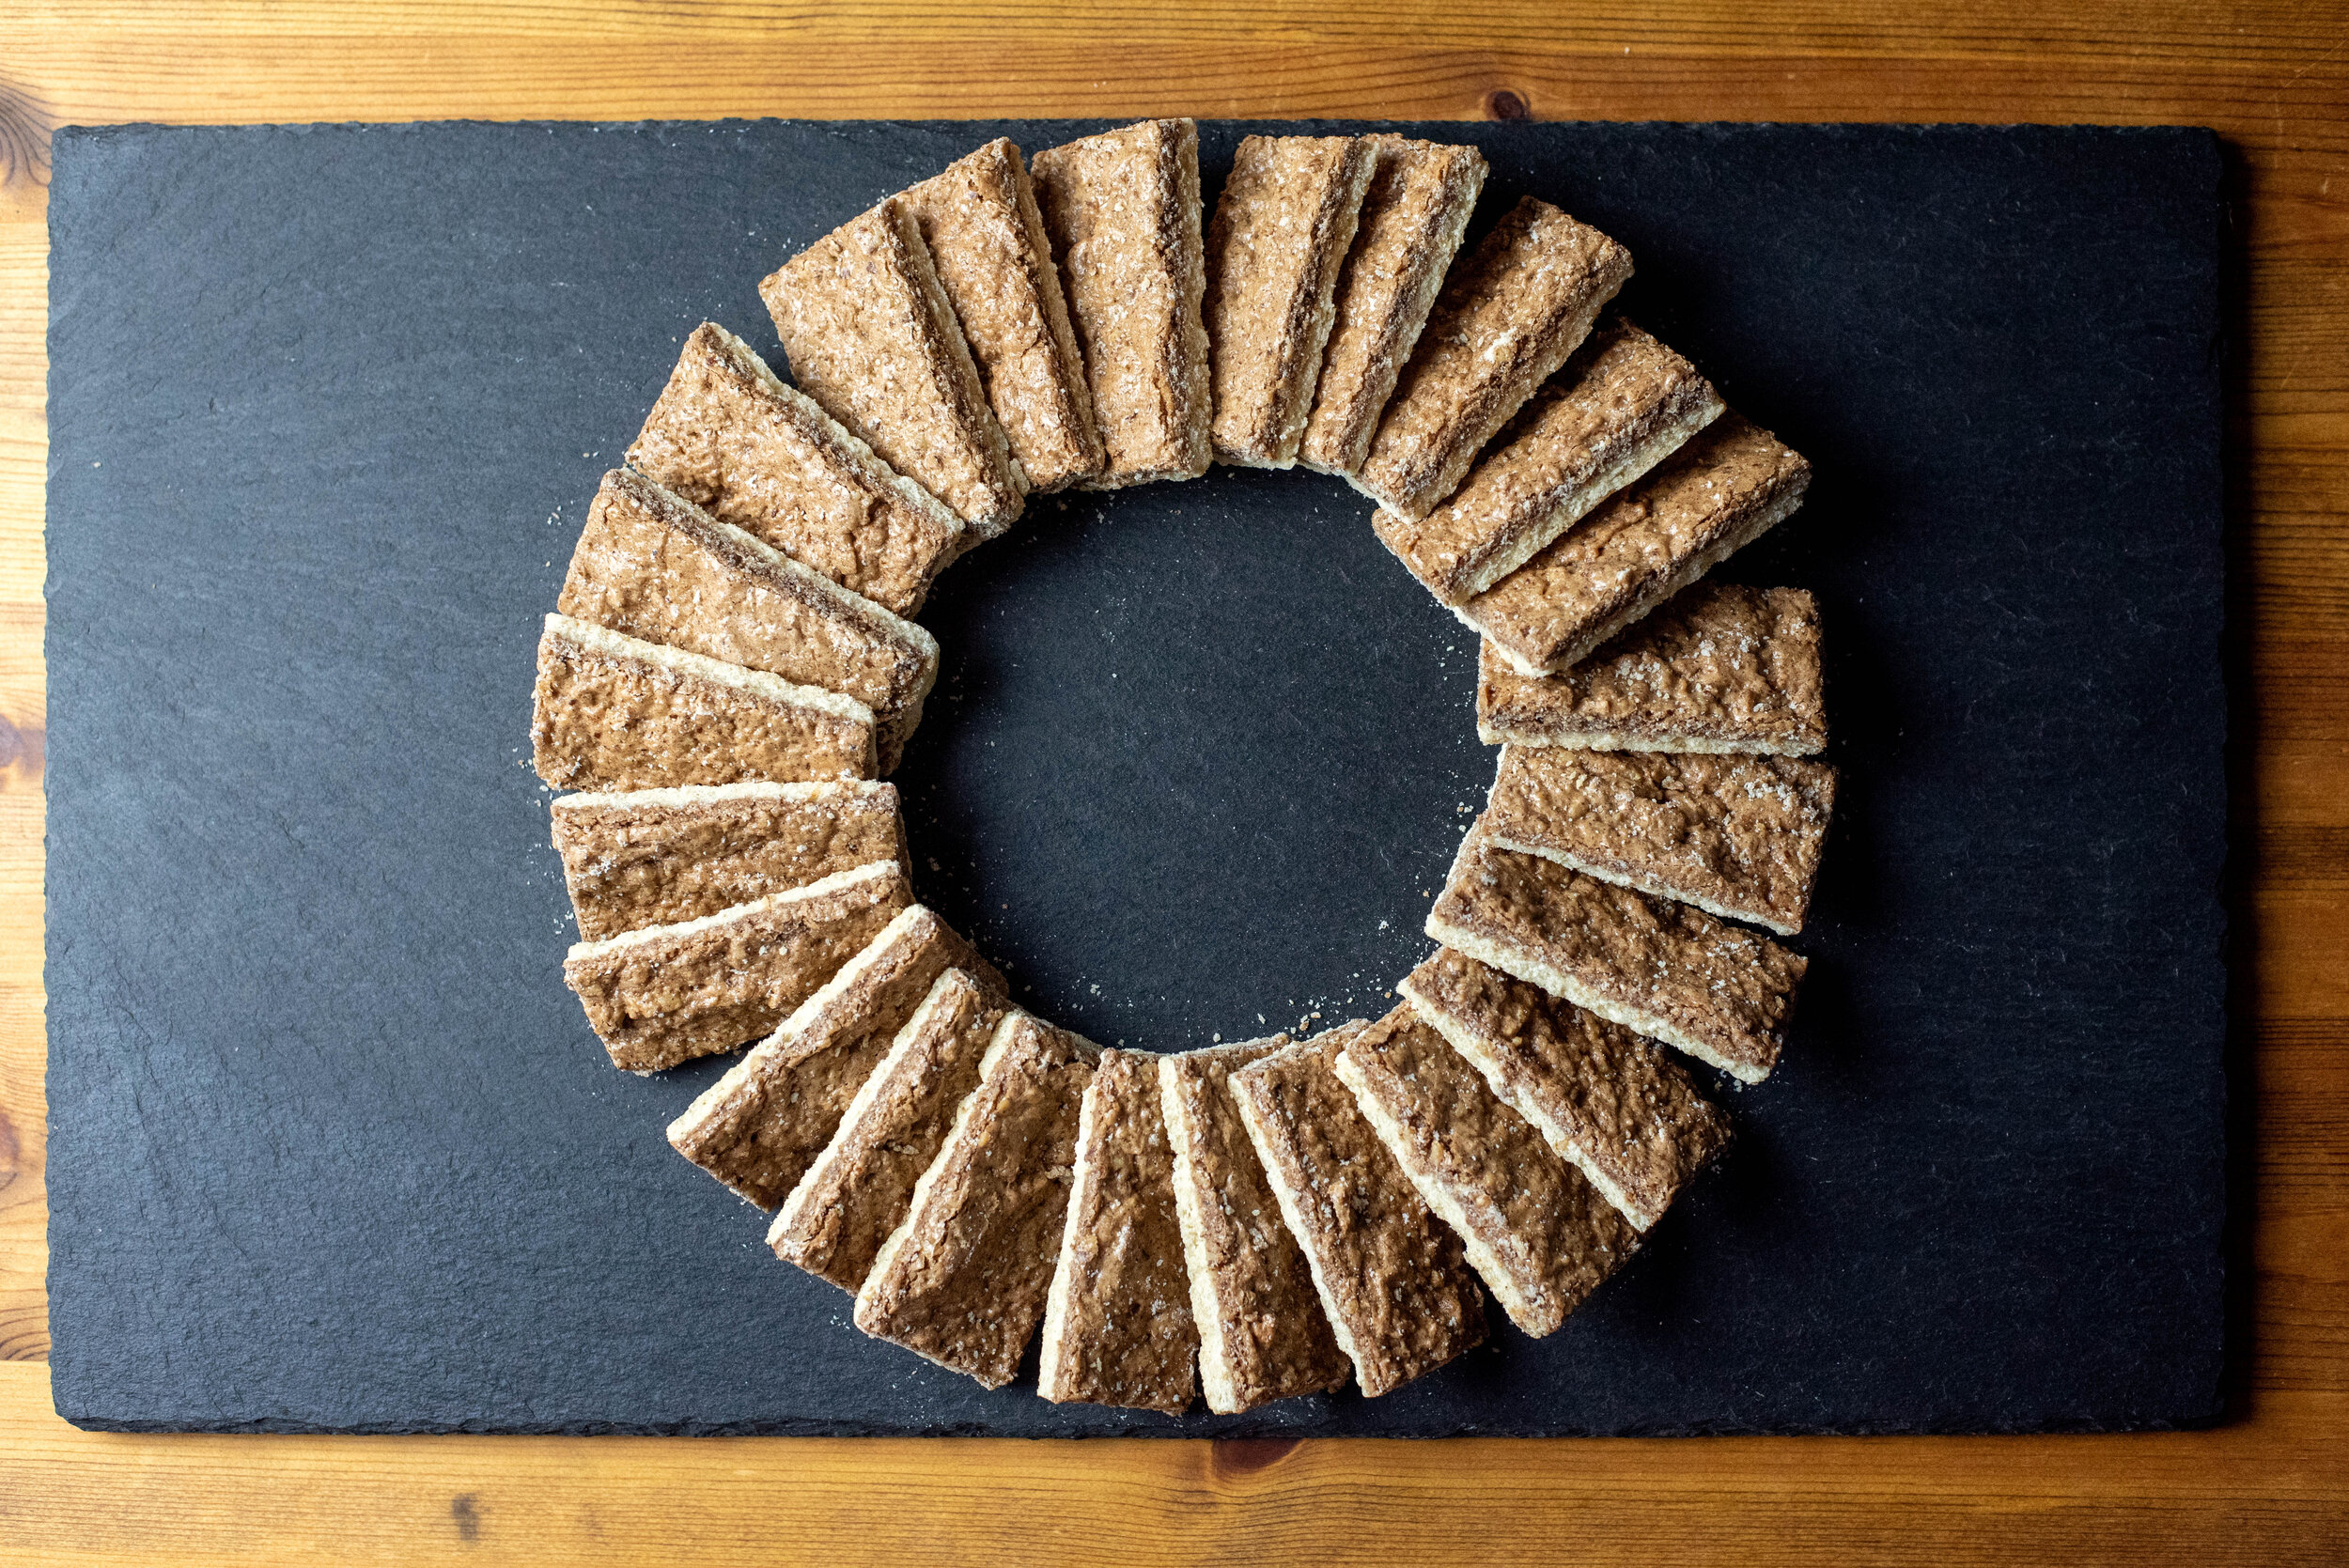
    Christina Tosi’s Pie Crust Crumb:

    • 1½ cups (240 grams) flour

    • 2 Tbs (18 grams) sugar

    • 1 tsp (4 grams) salt

    • 8 Tbs butter (115 grams, 1 stick), melted

    • 1½ Tbs (20 grams) water

    Note: You’re only going to use half of this recipe in your ice cream, so be prepared to come up with other uses for what you’ll have leftover. You could sprinkle some on top of a scoop for an extra crunch. You could make a second batch of pie ice cream. Or maybe you could just snack on it. This crumb is delicious and you’re not going to be upset that you made extra.

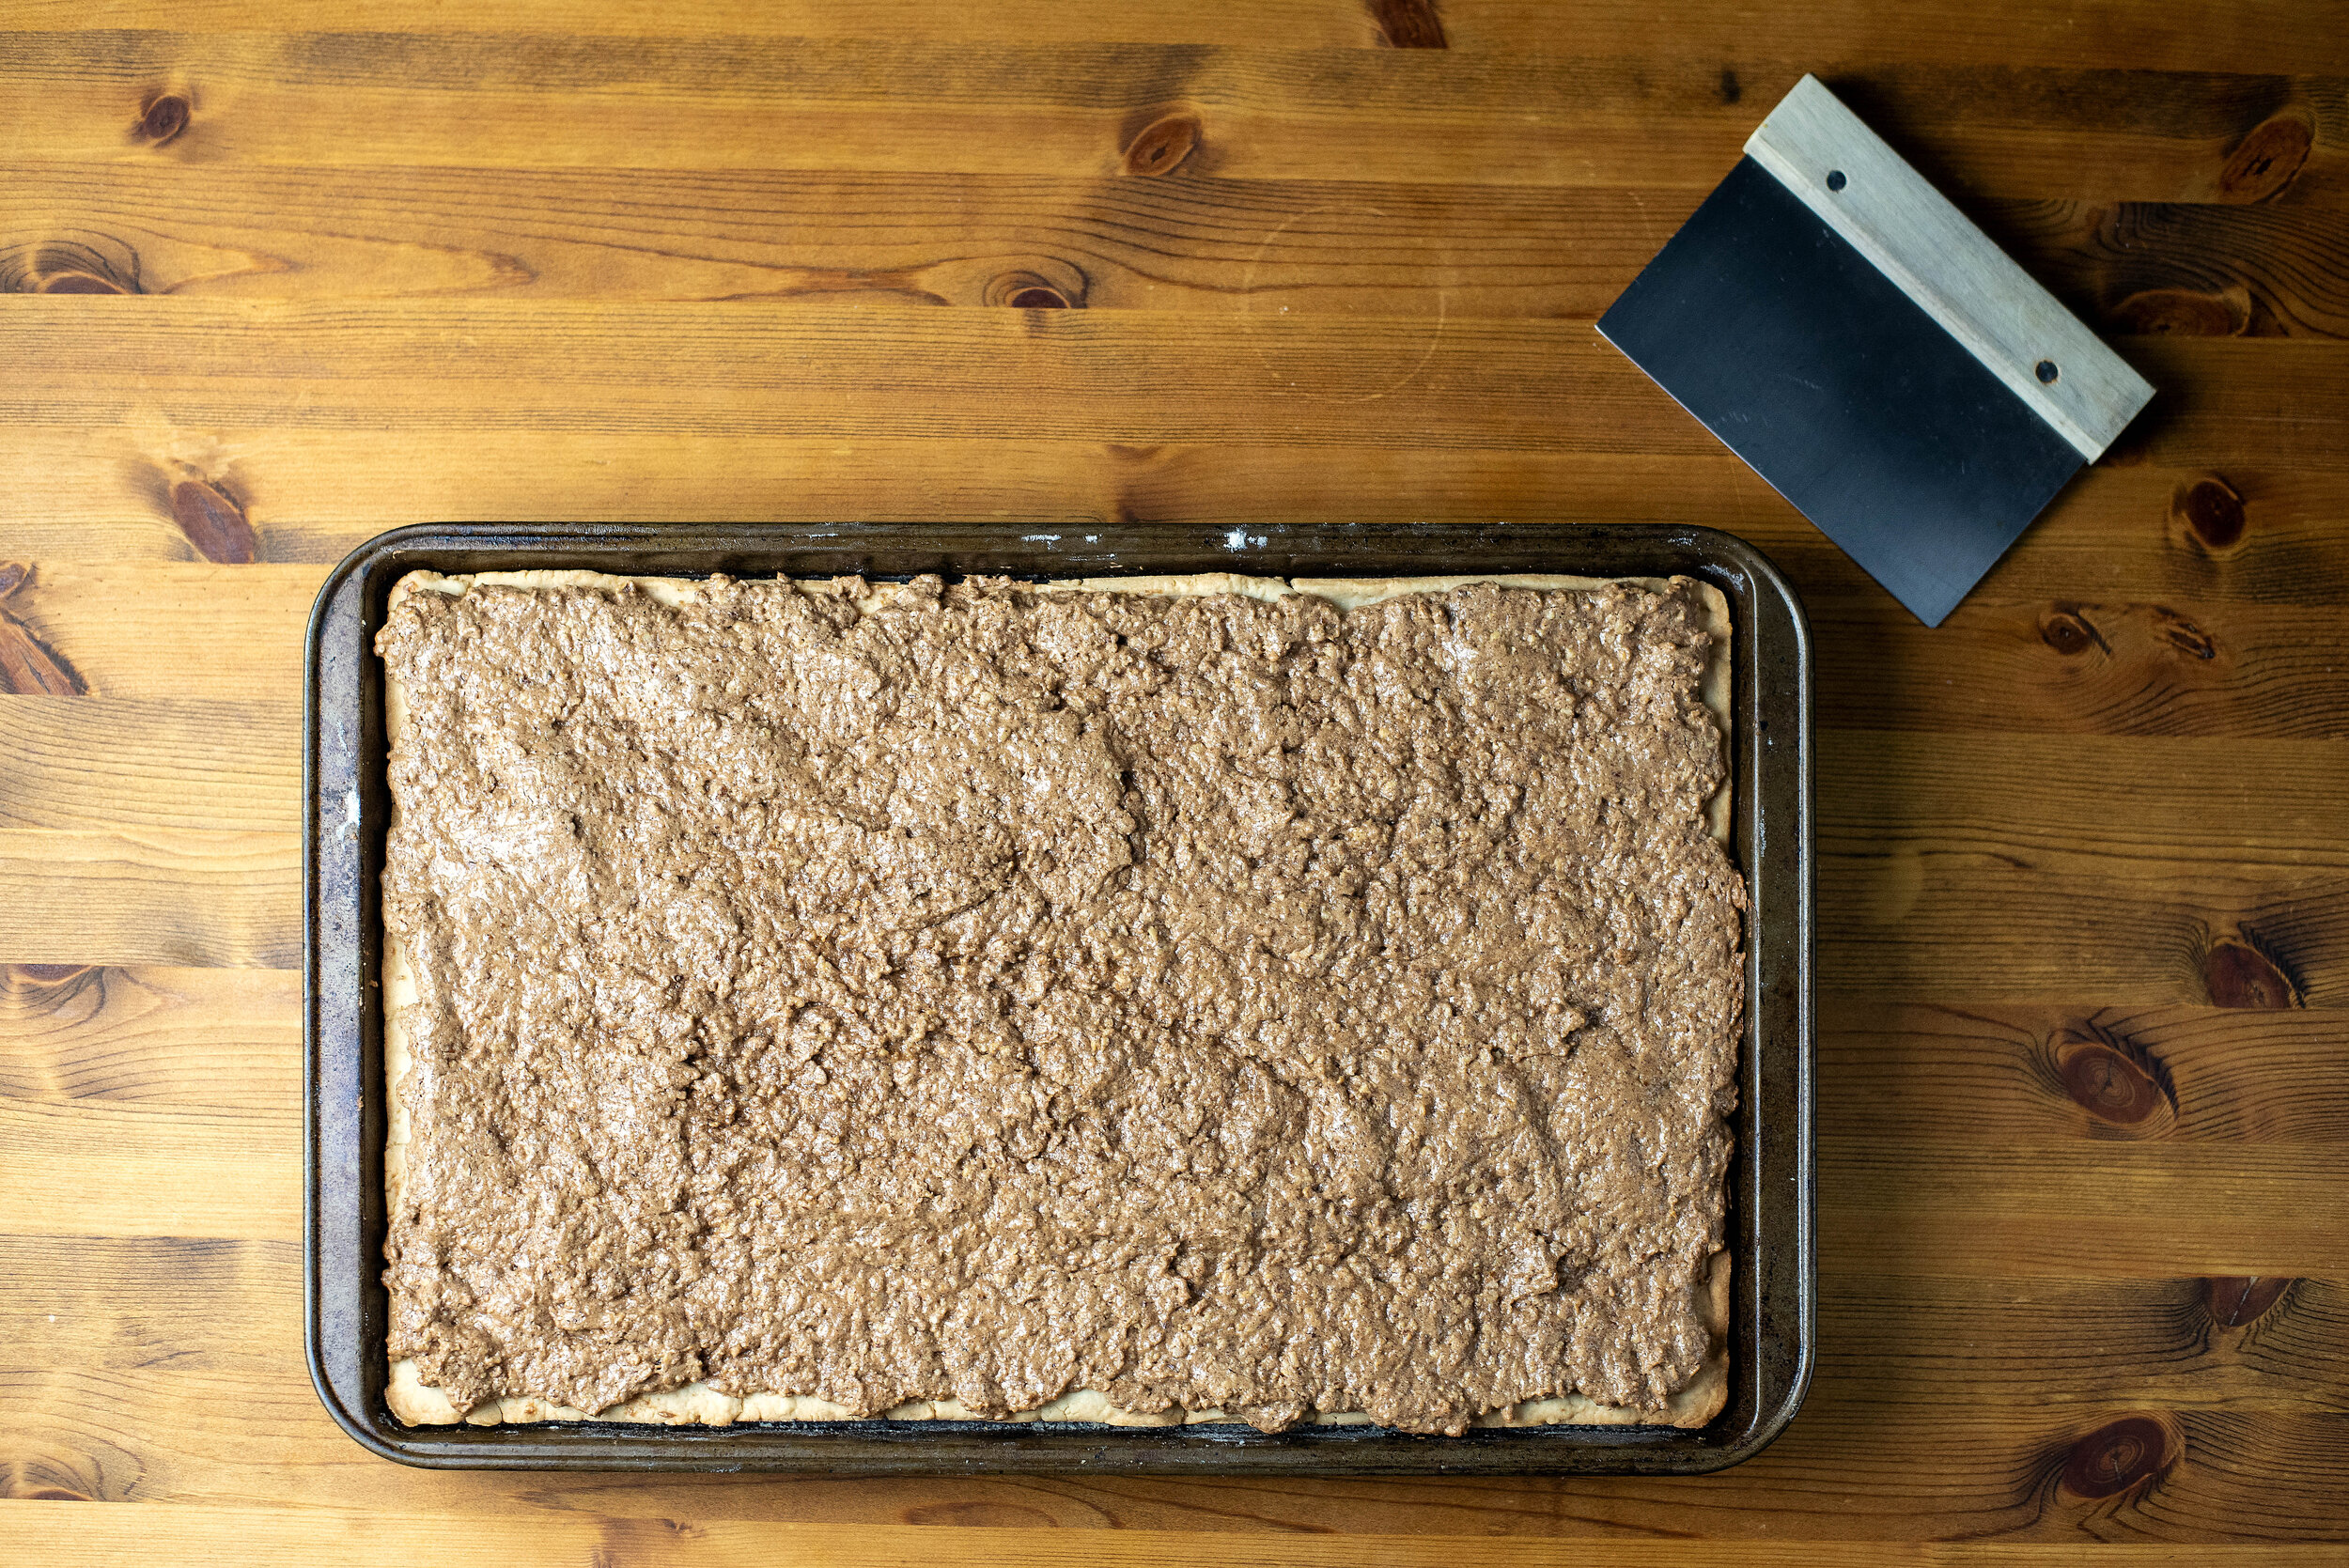
    Preheat your oven to 350 degrees. In a mixing bowl, add the flour, sugar, and salt and mix until completely incorporated. If you’re using a stand mixer for this recipe, use the paddle attachment for this process on low speed.

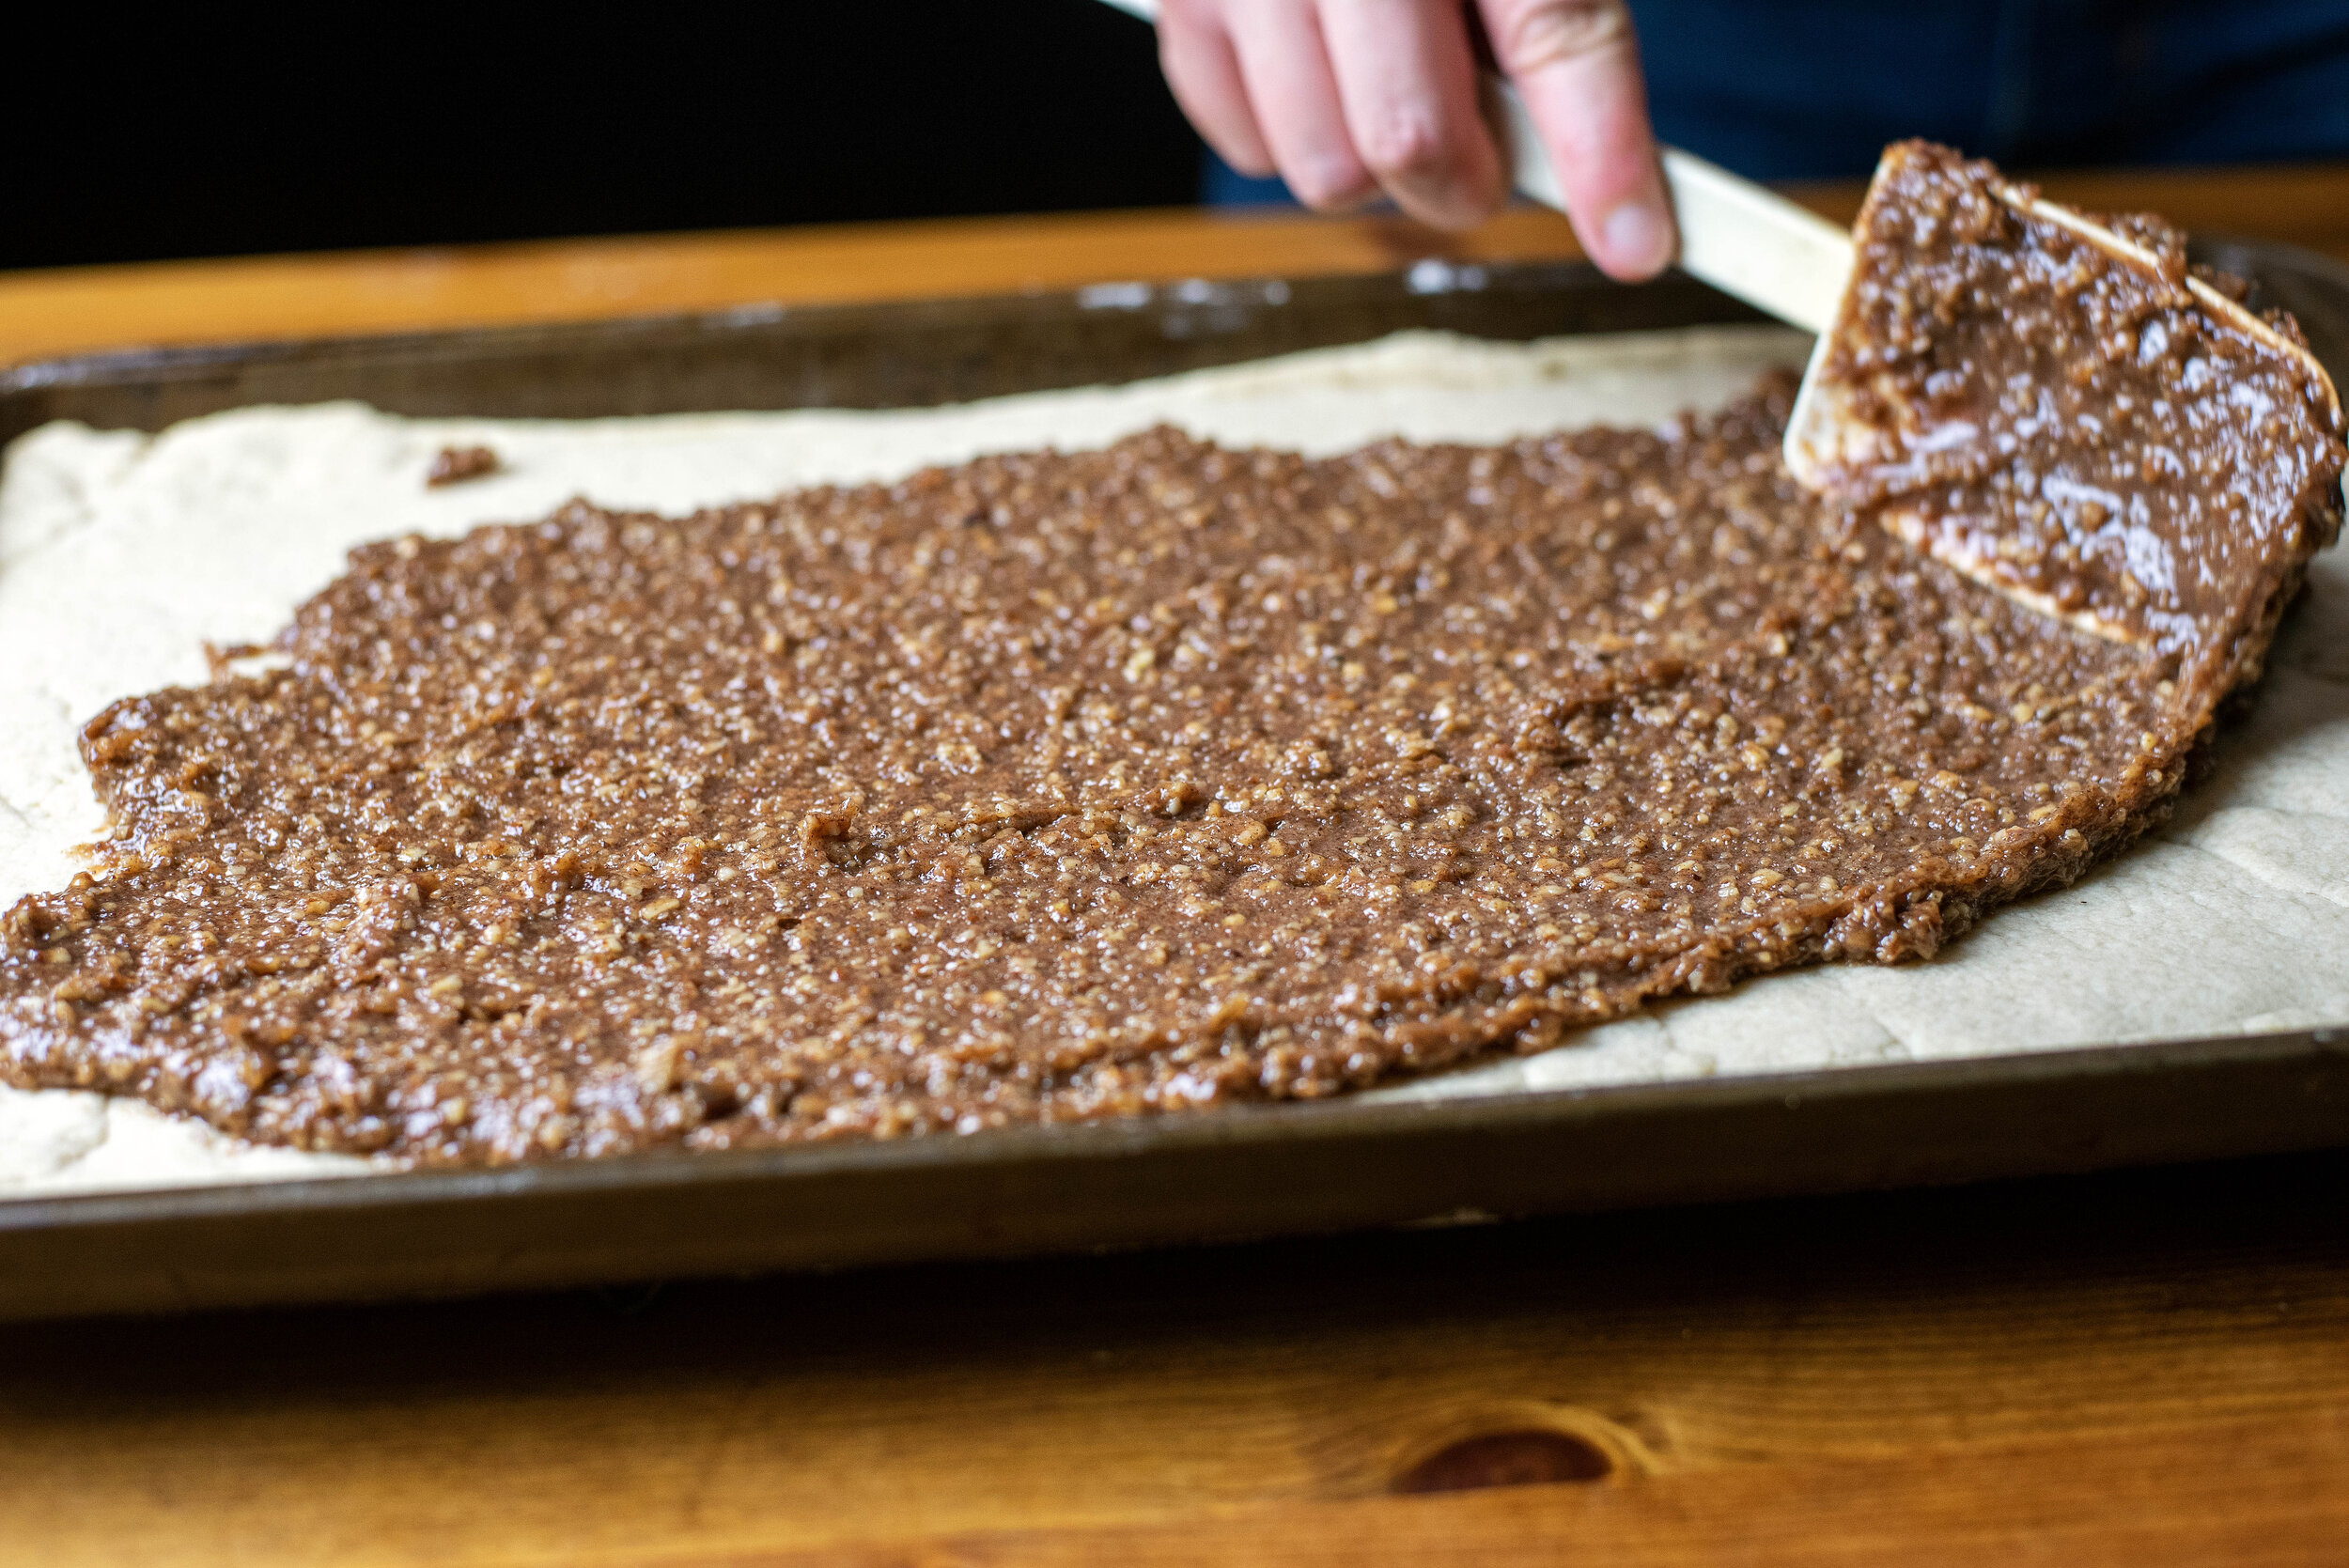
    Pour in the melted butter and water and mix all the ingredients (still on low speed with the paddle attachment if you’re using a stand mixer) until the mixture just starts to come together in little crumbs.

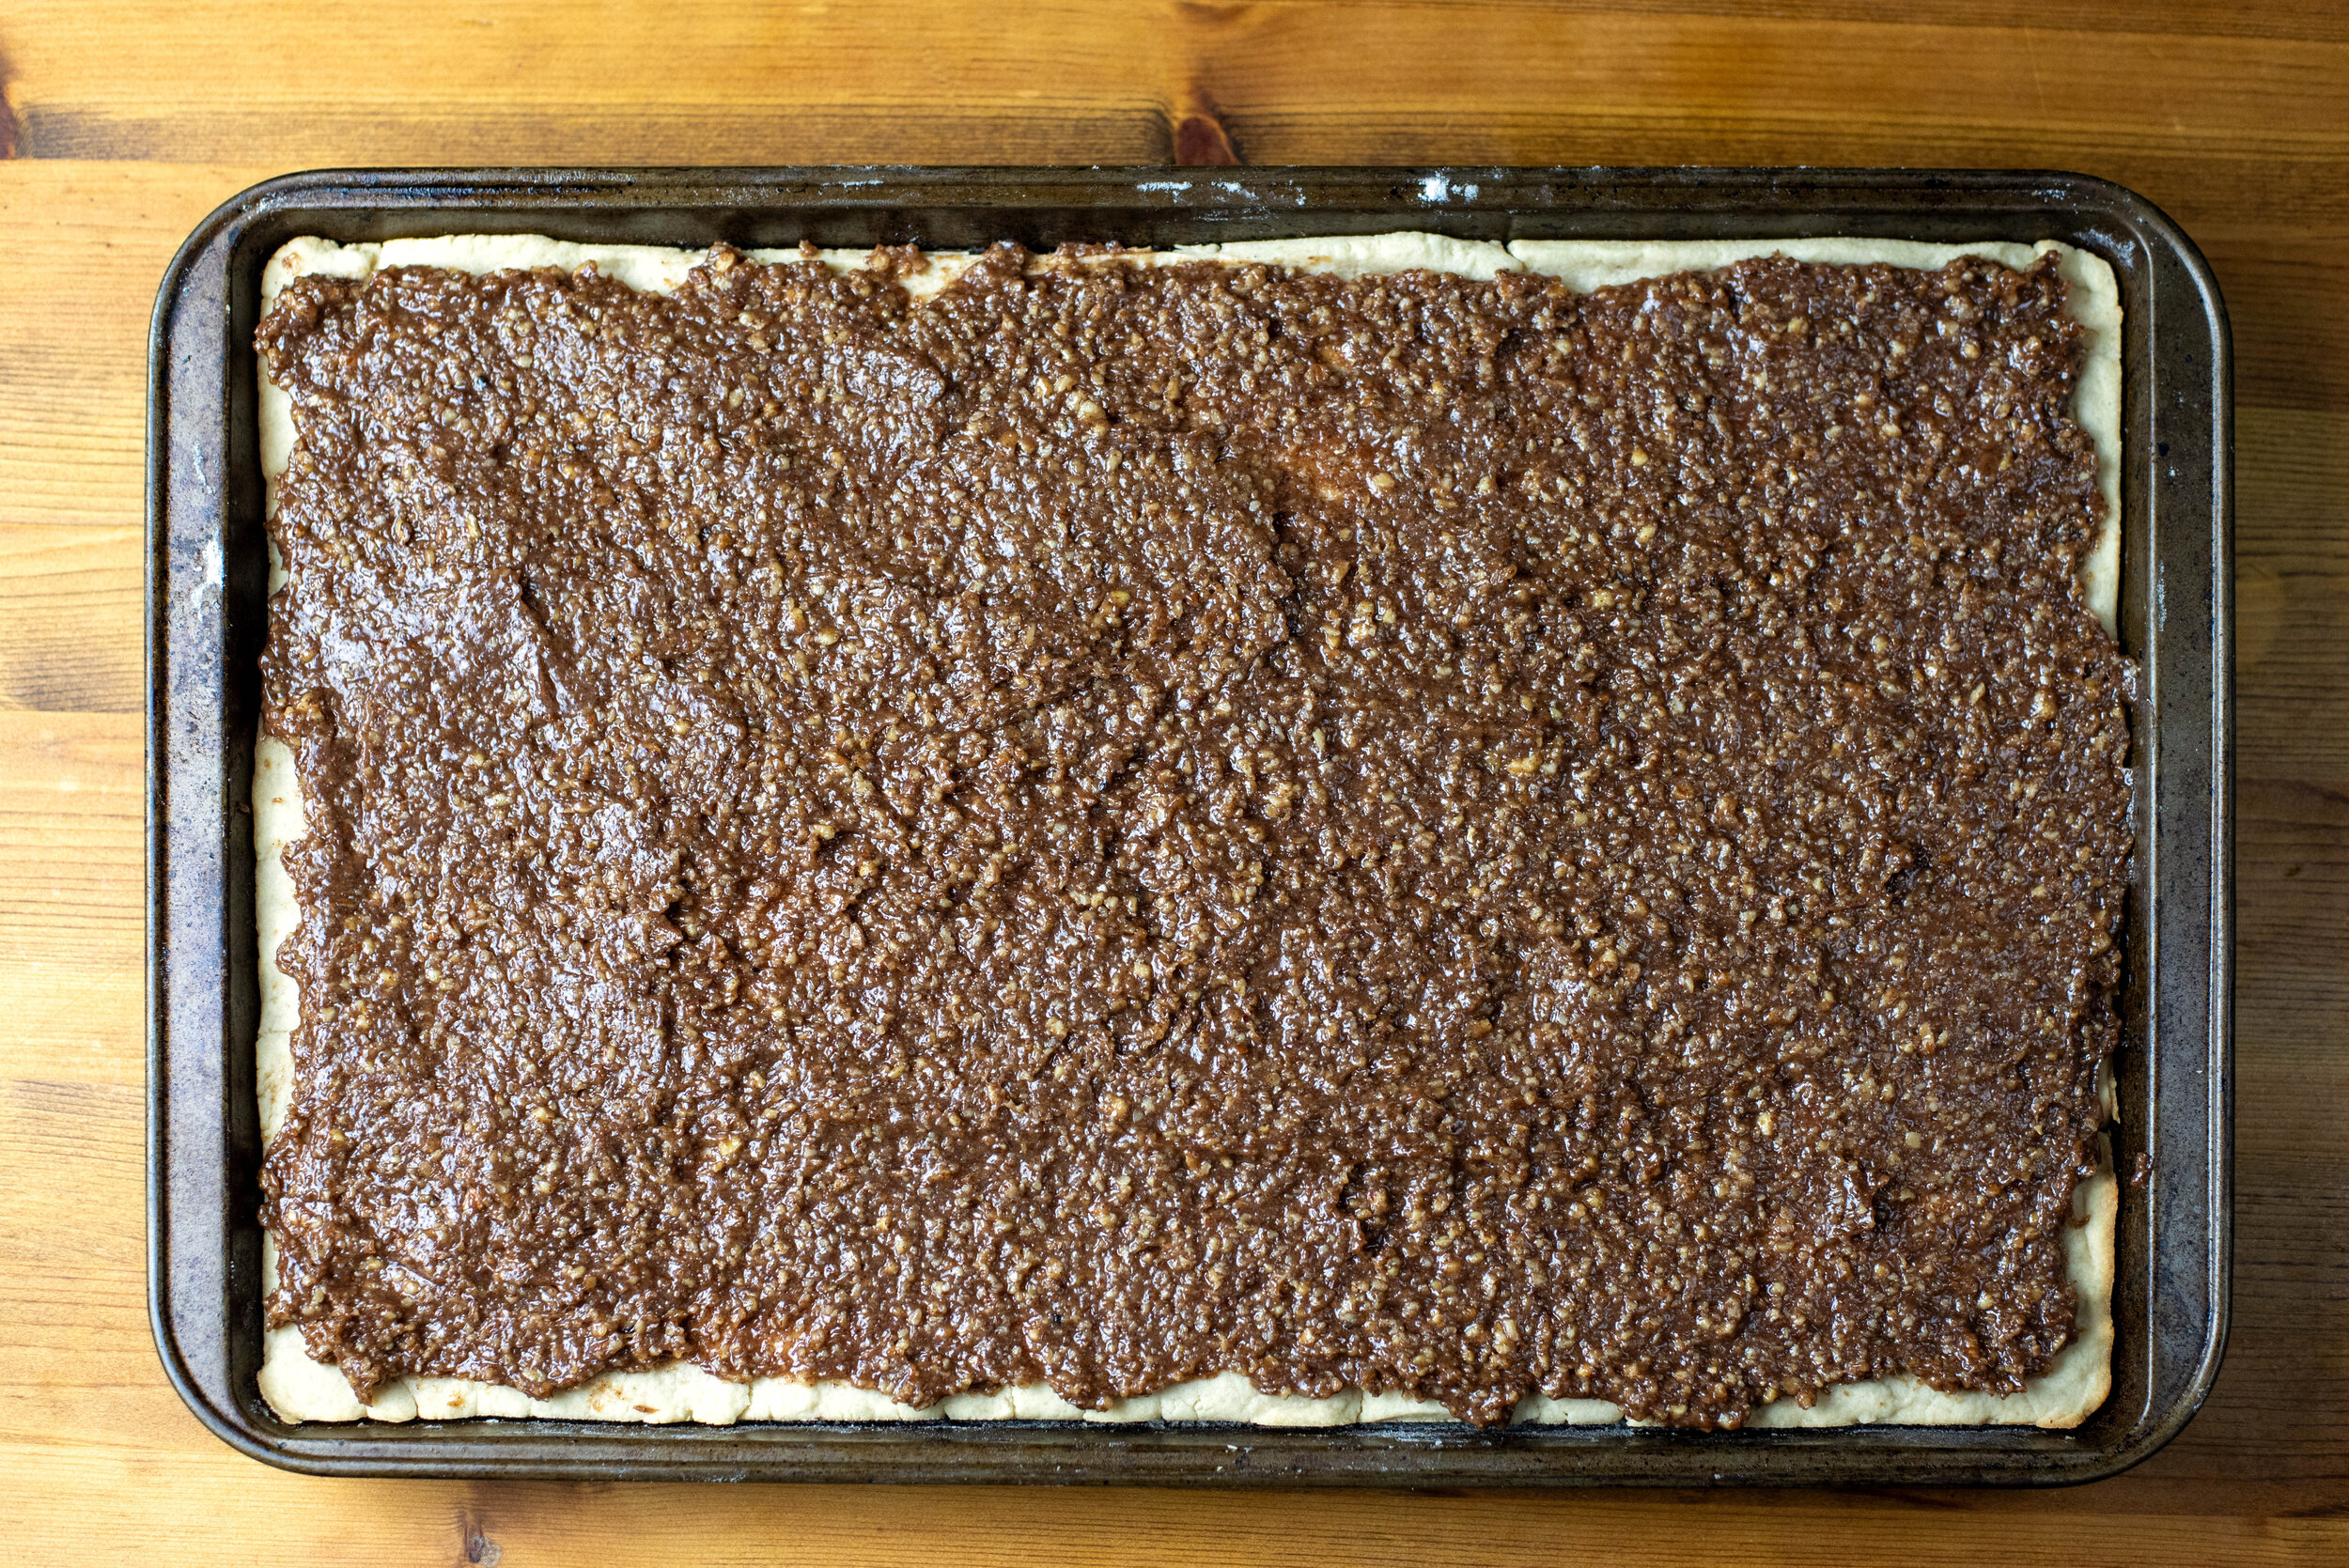
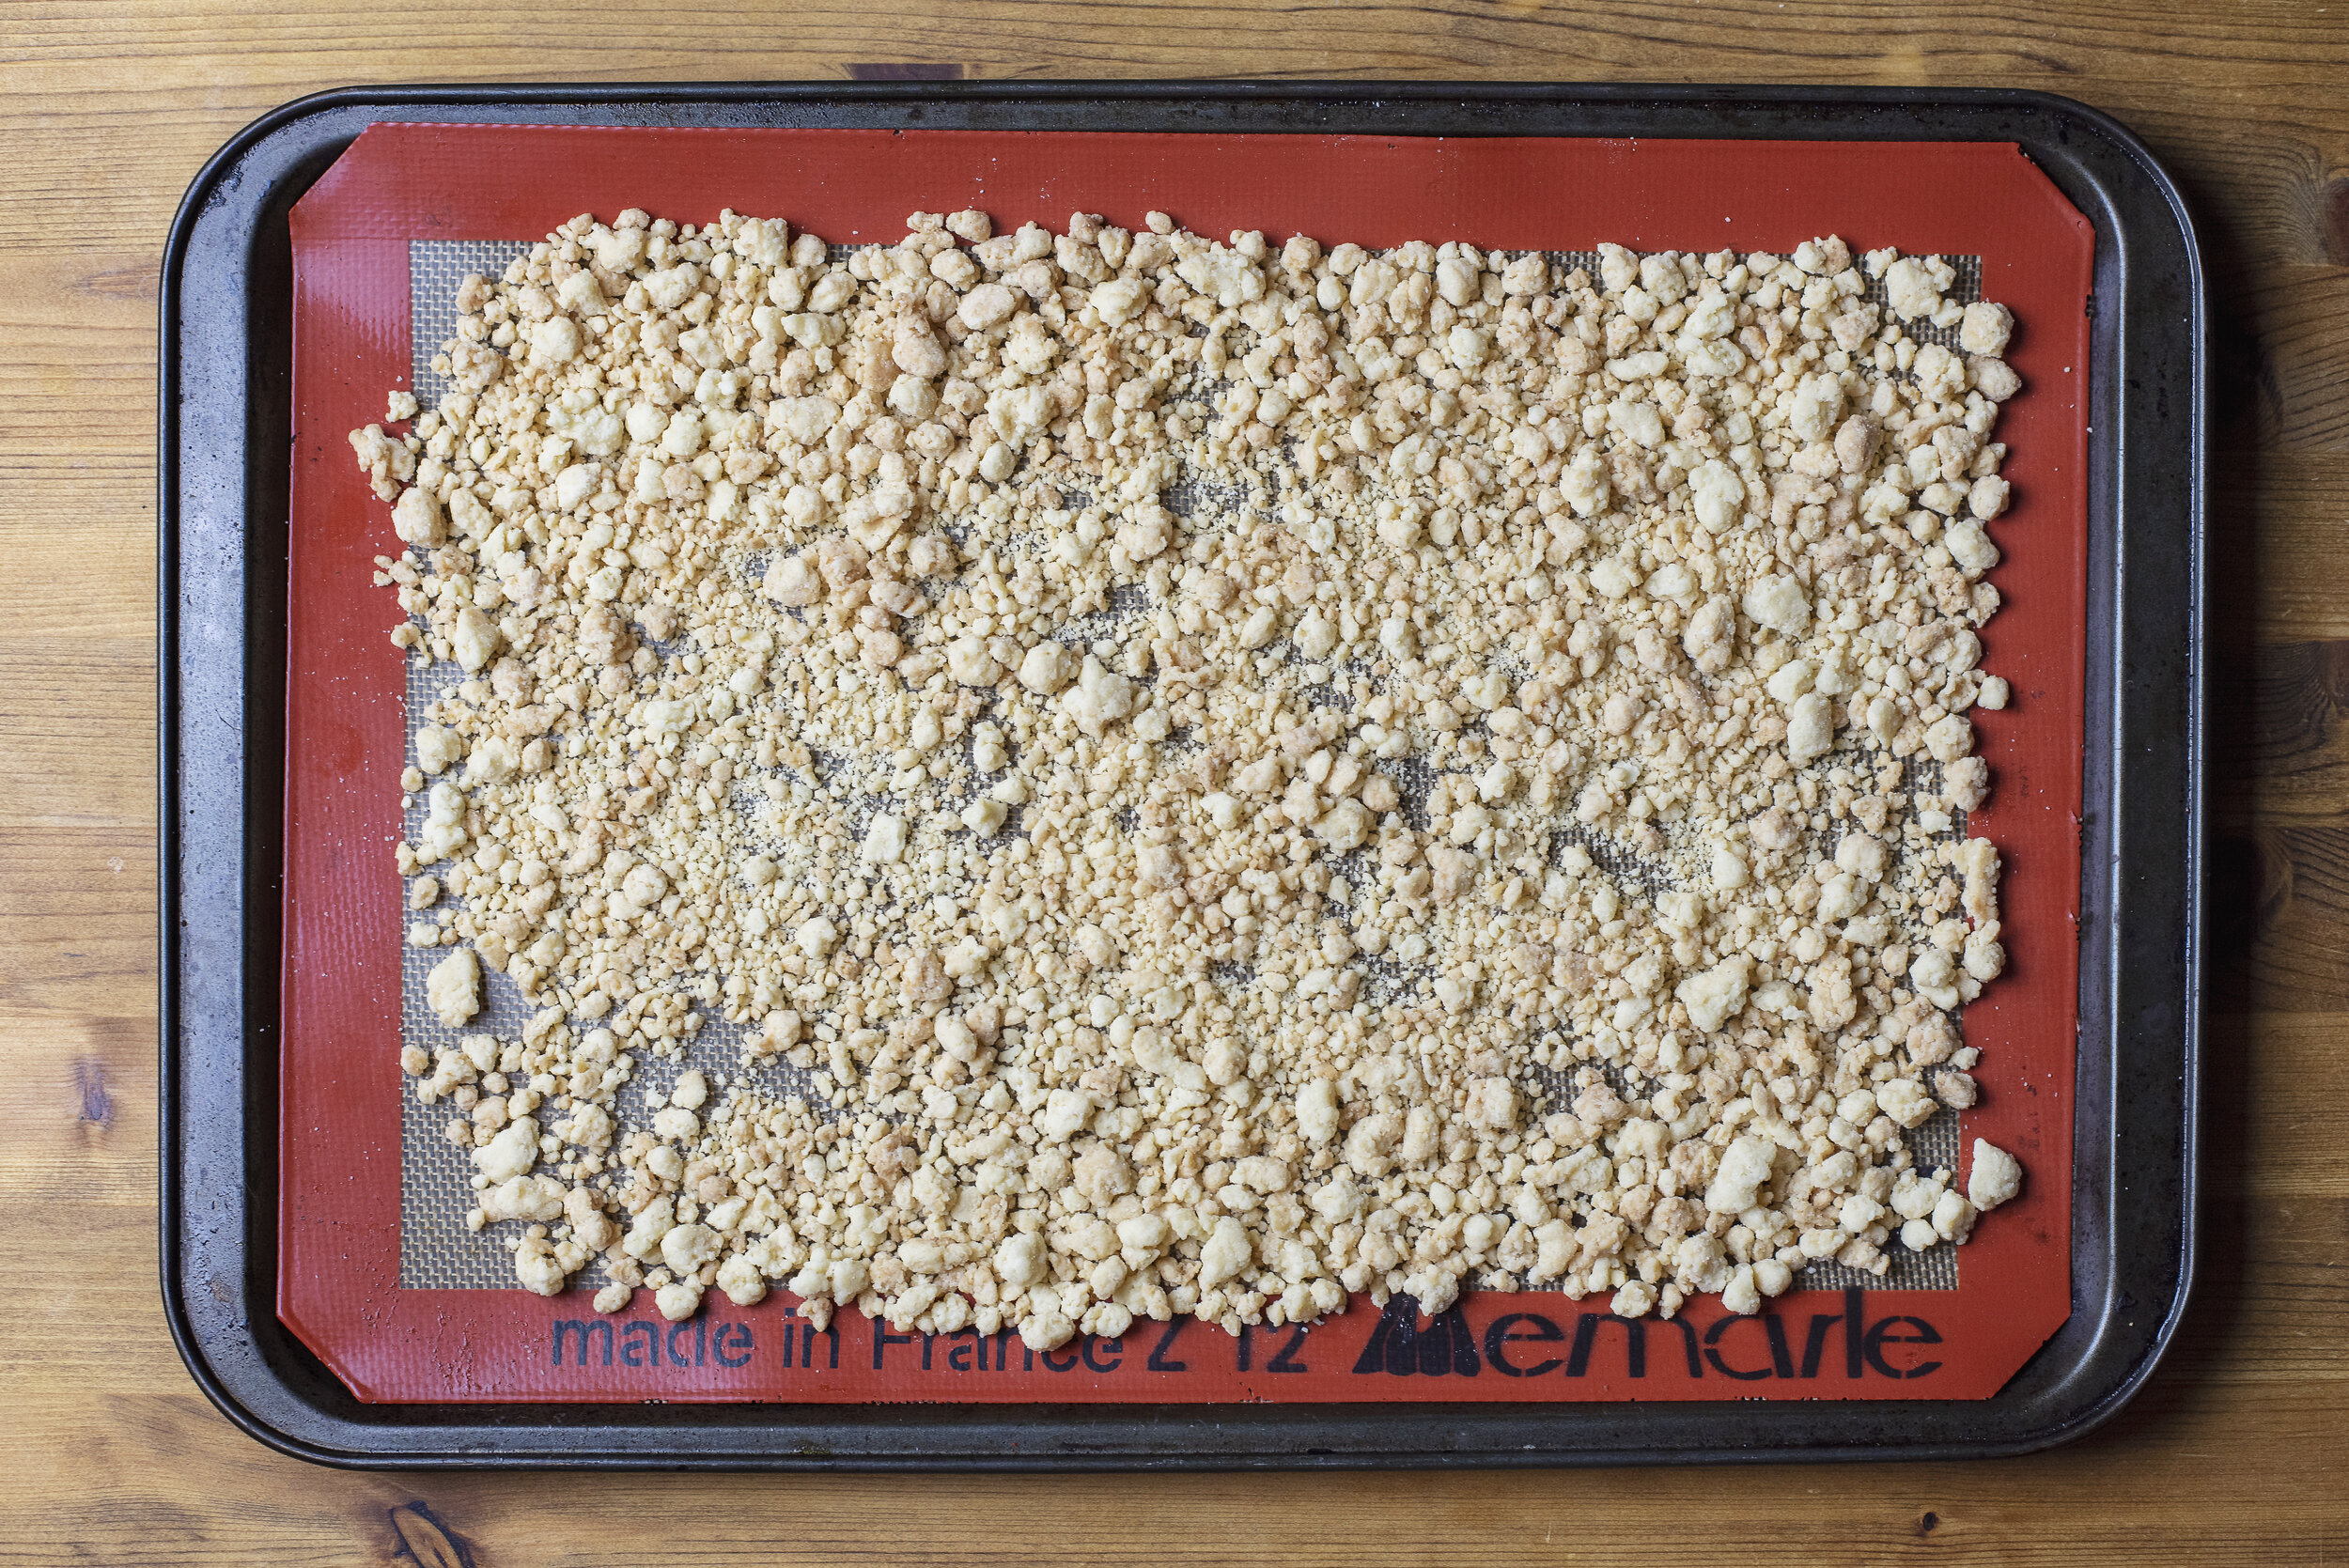
    Spread the pie crumbs on a parchment lined baking sheet, or on top of a Silpat if you have one. I’d recommend inspecting the crumb to make sure that none of the pieces are too large. While larger chunks would be perfect to eat at room temperature, keep in mind that what you’ll be using is going to be frozen and that larger chunks will be difficult to chew. I’d make sure that none of your pie crumble bits are larger than the size of a pea.

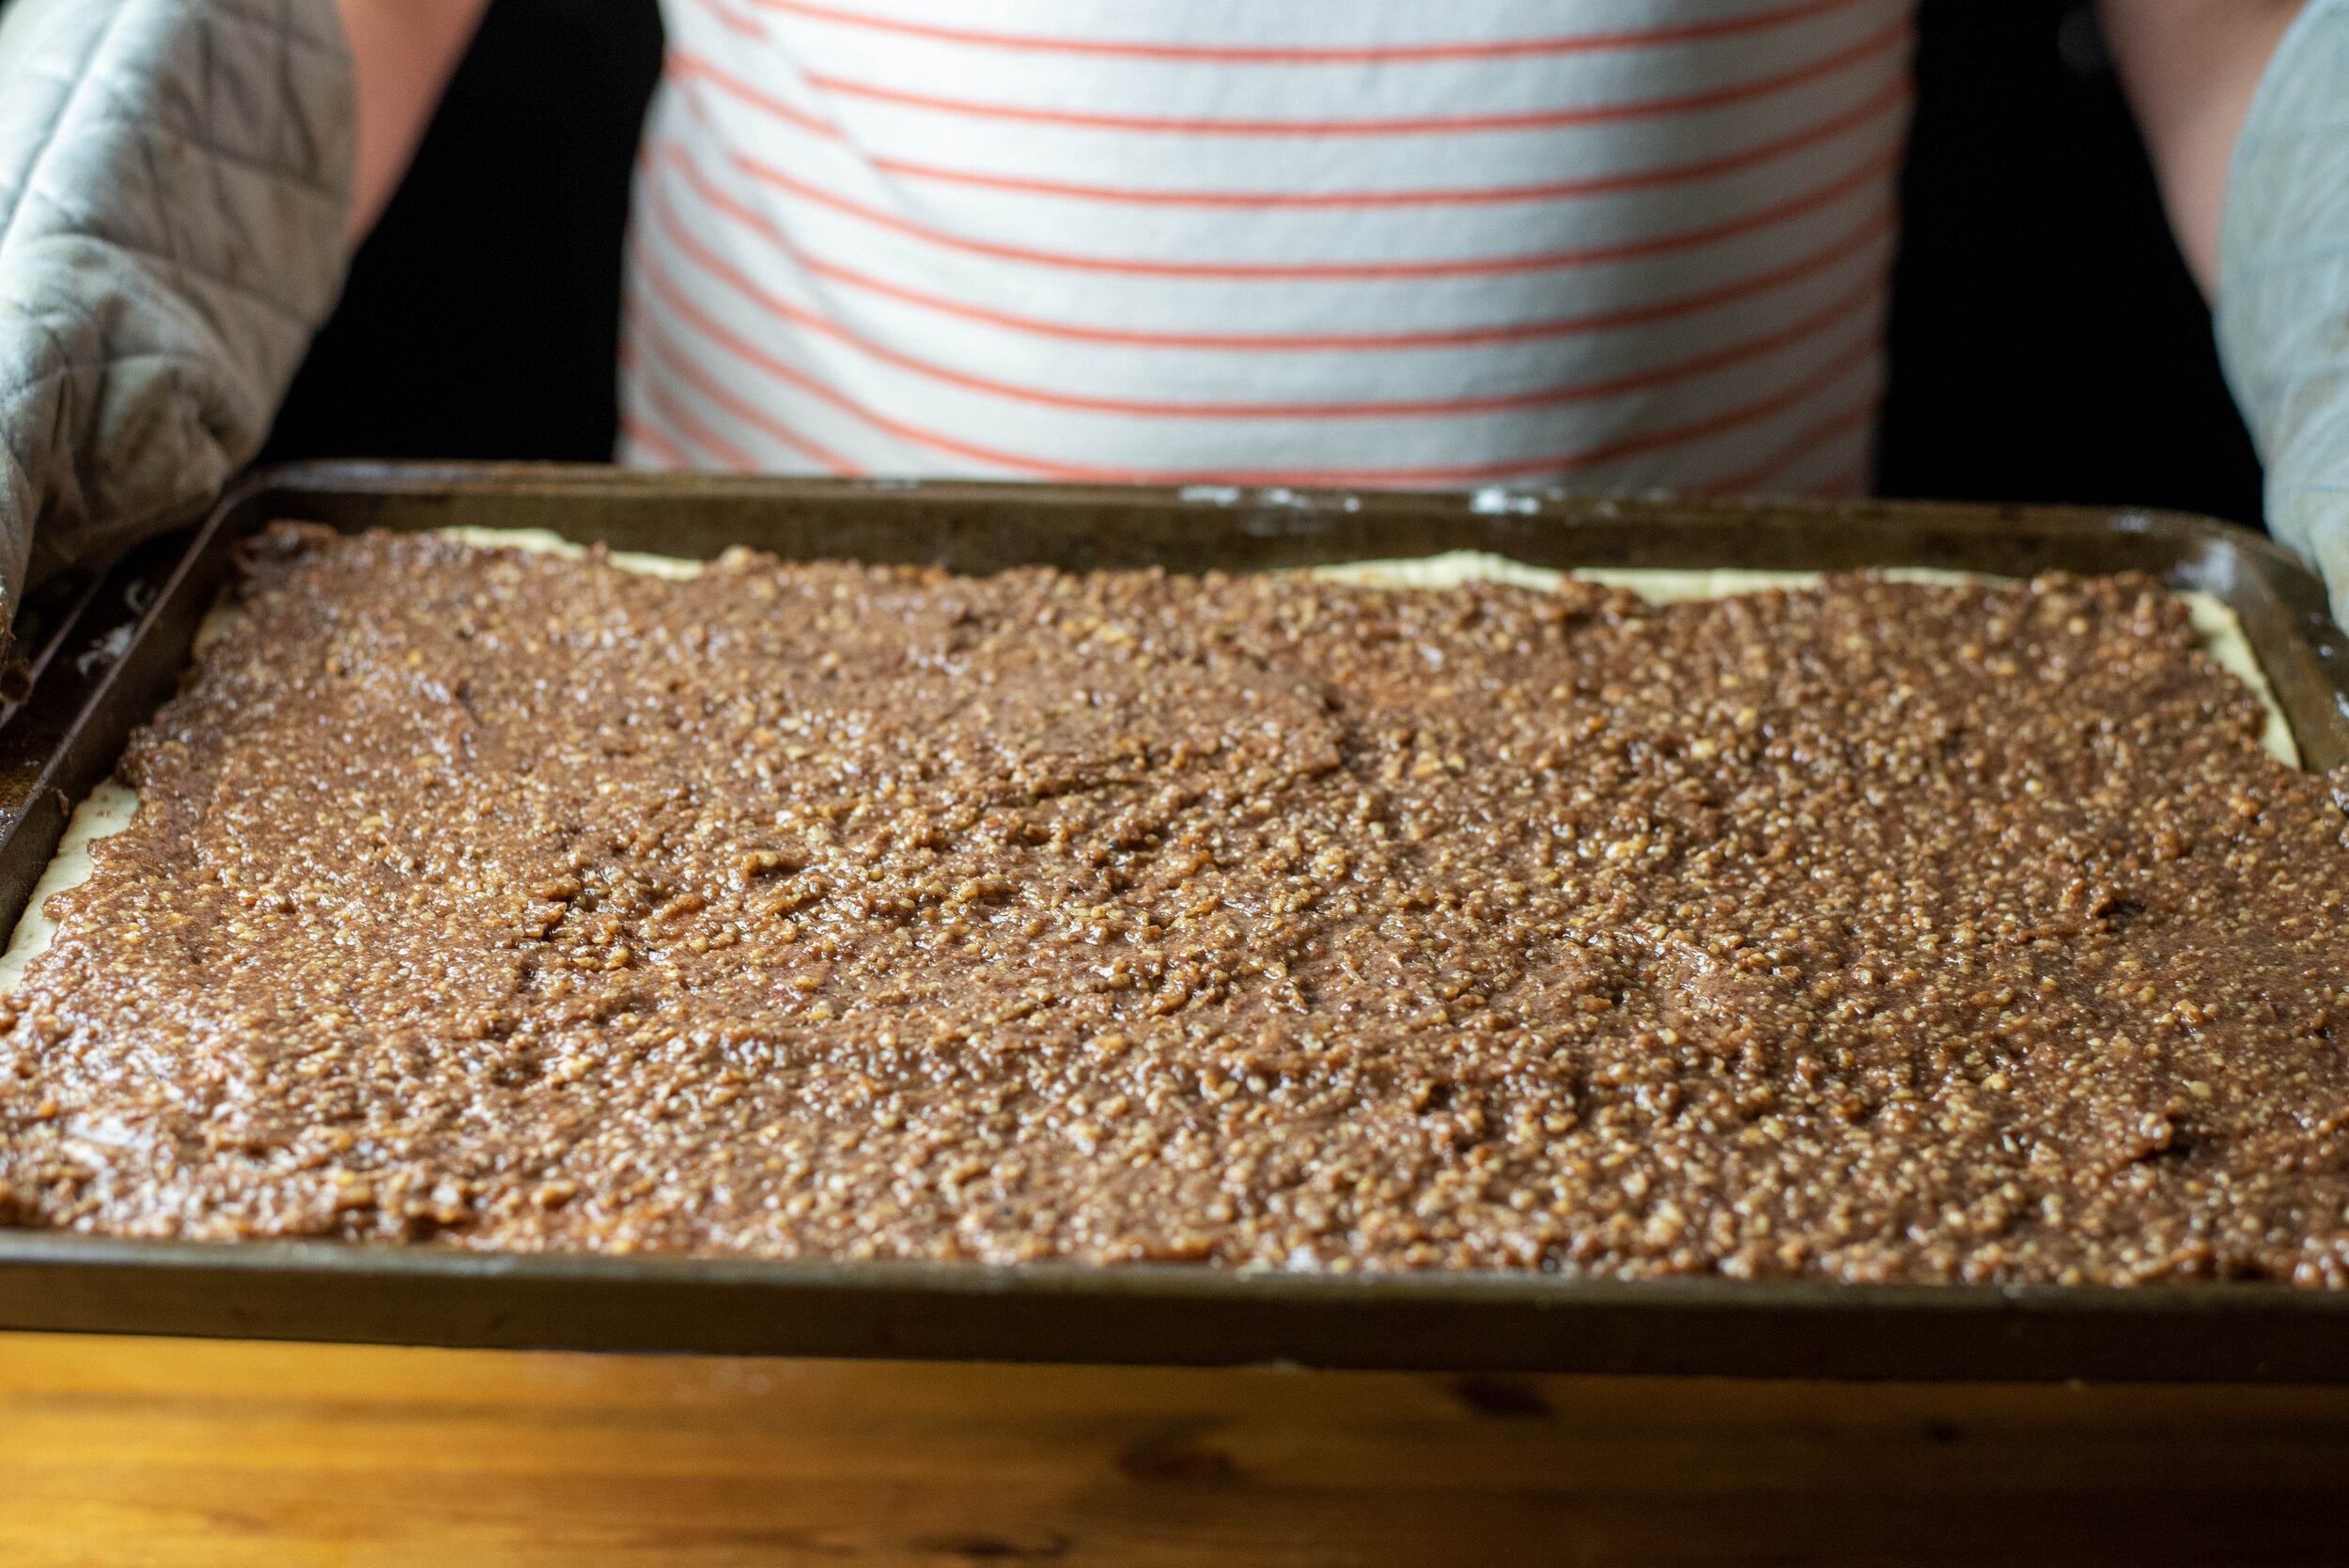
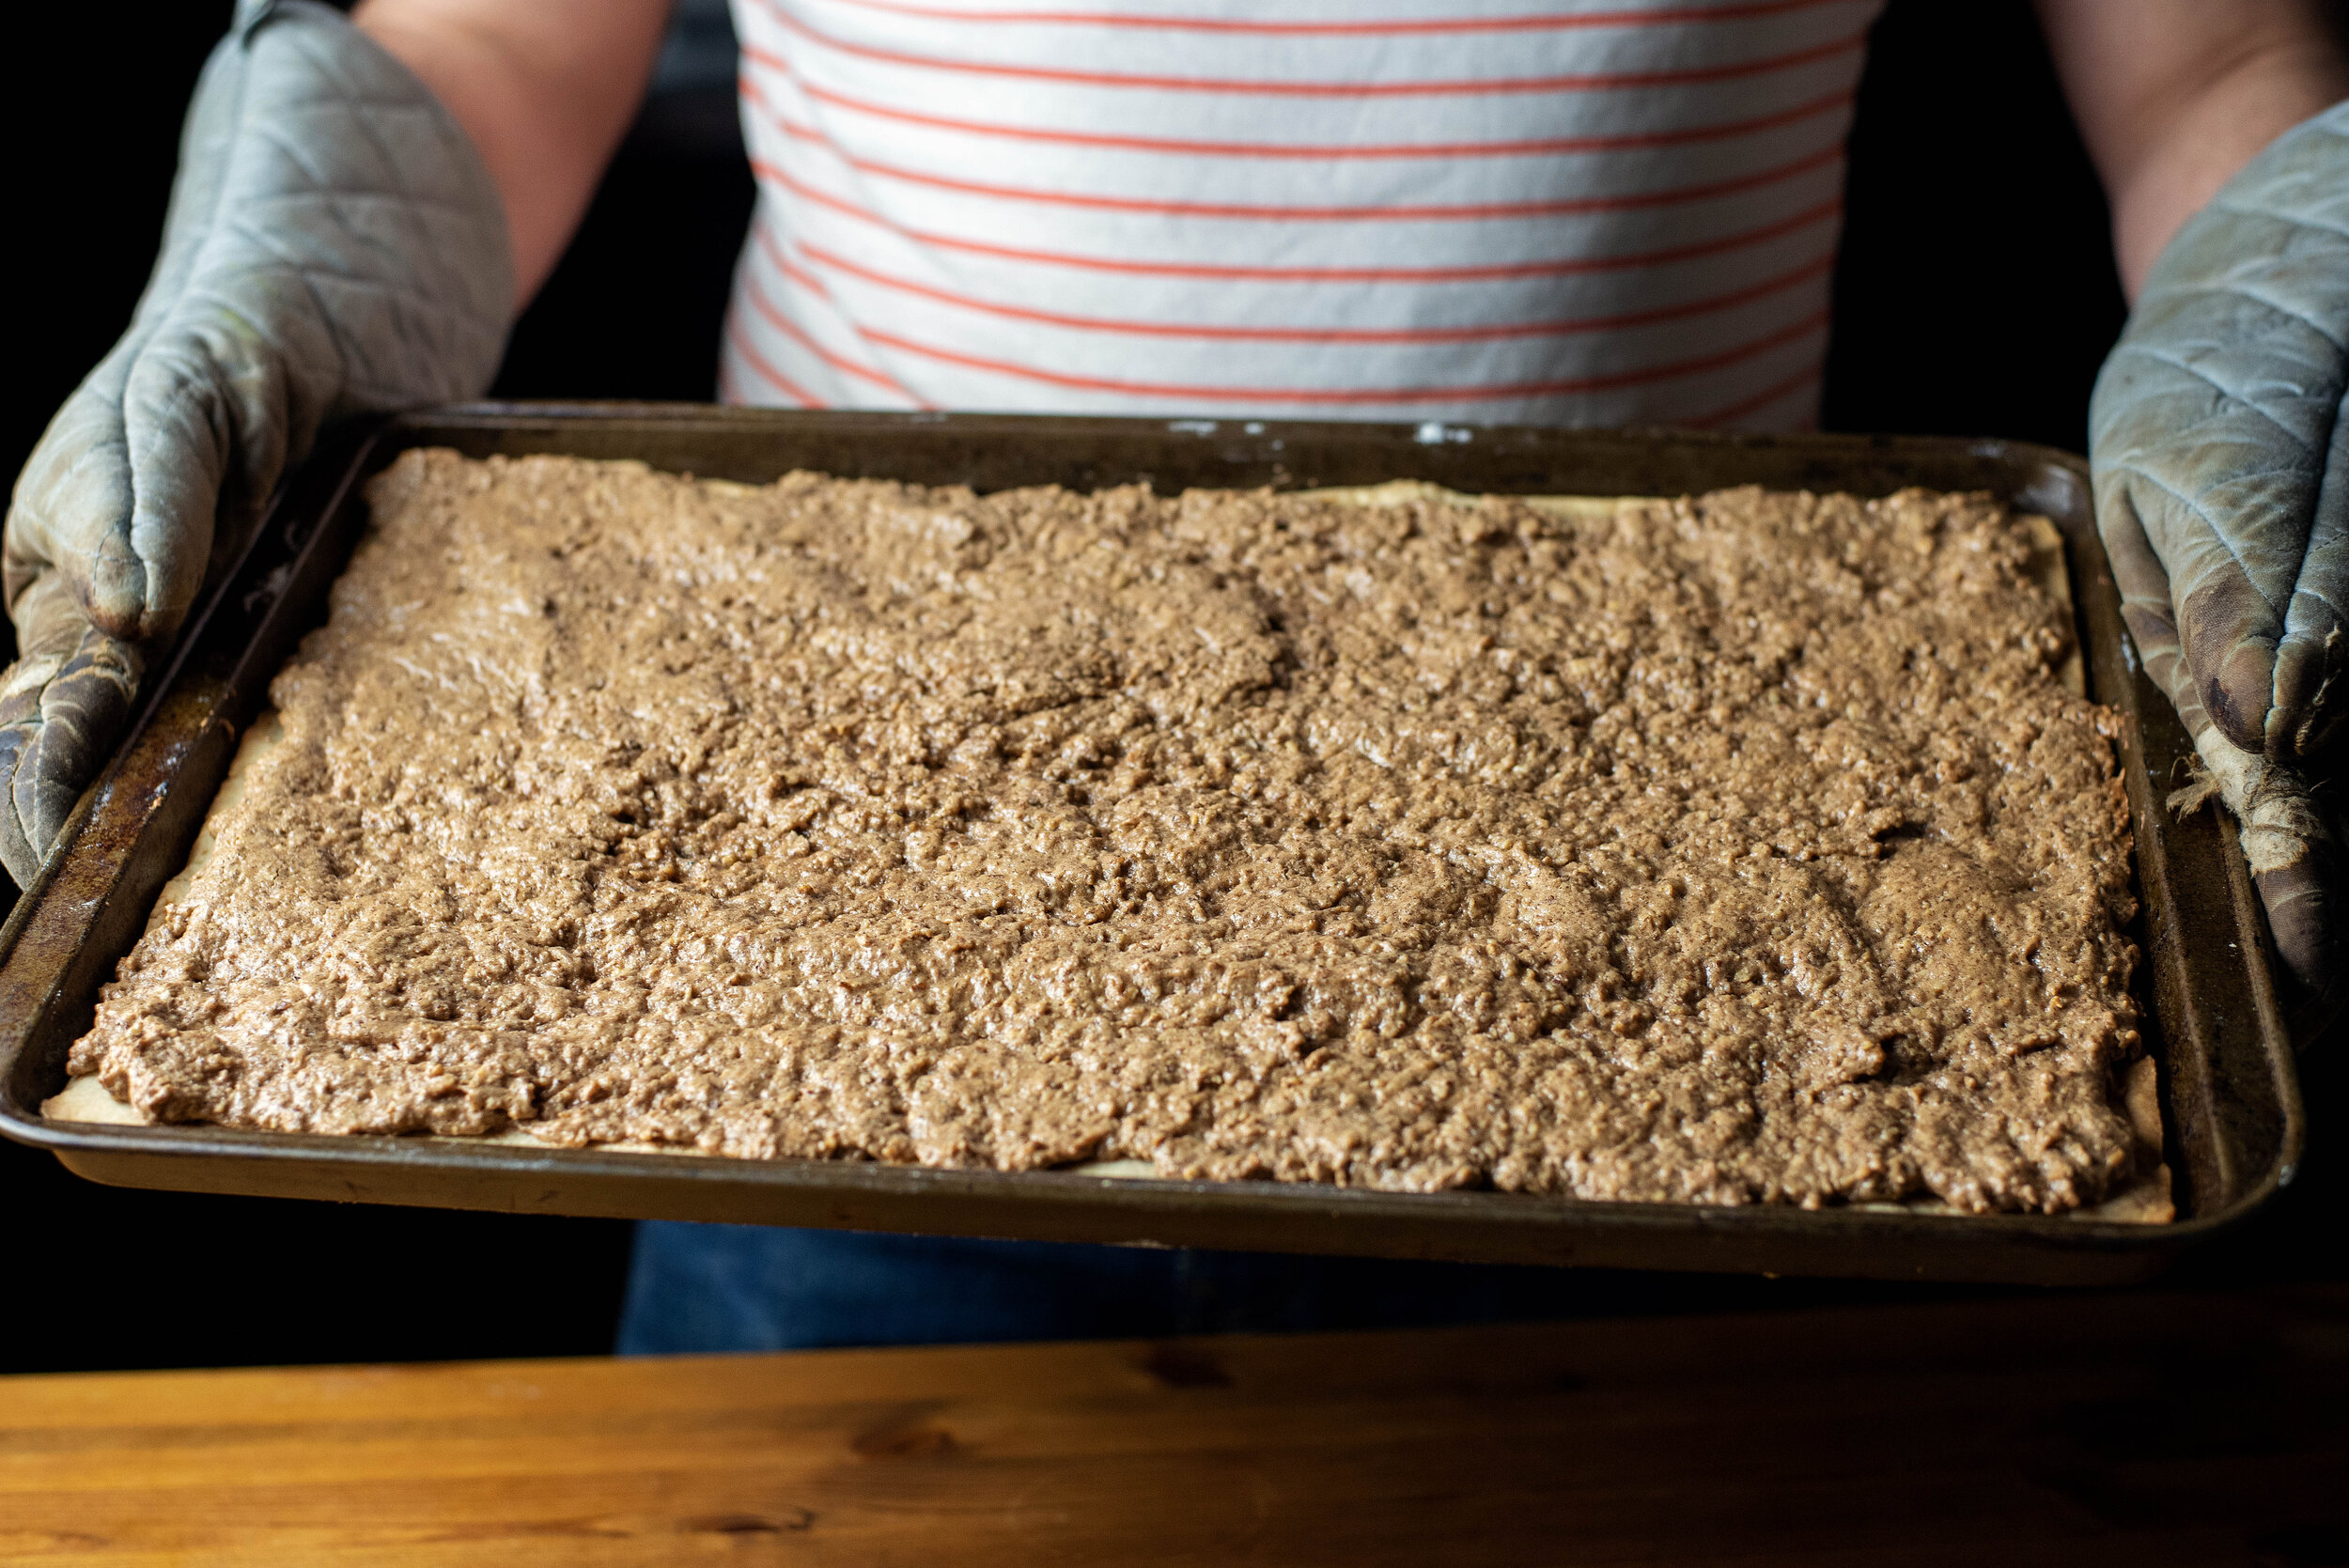
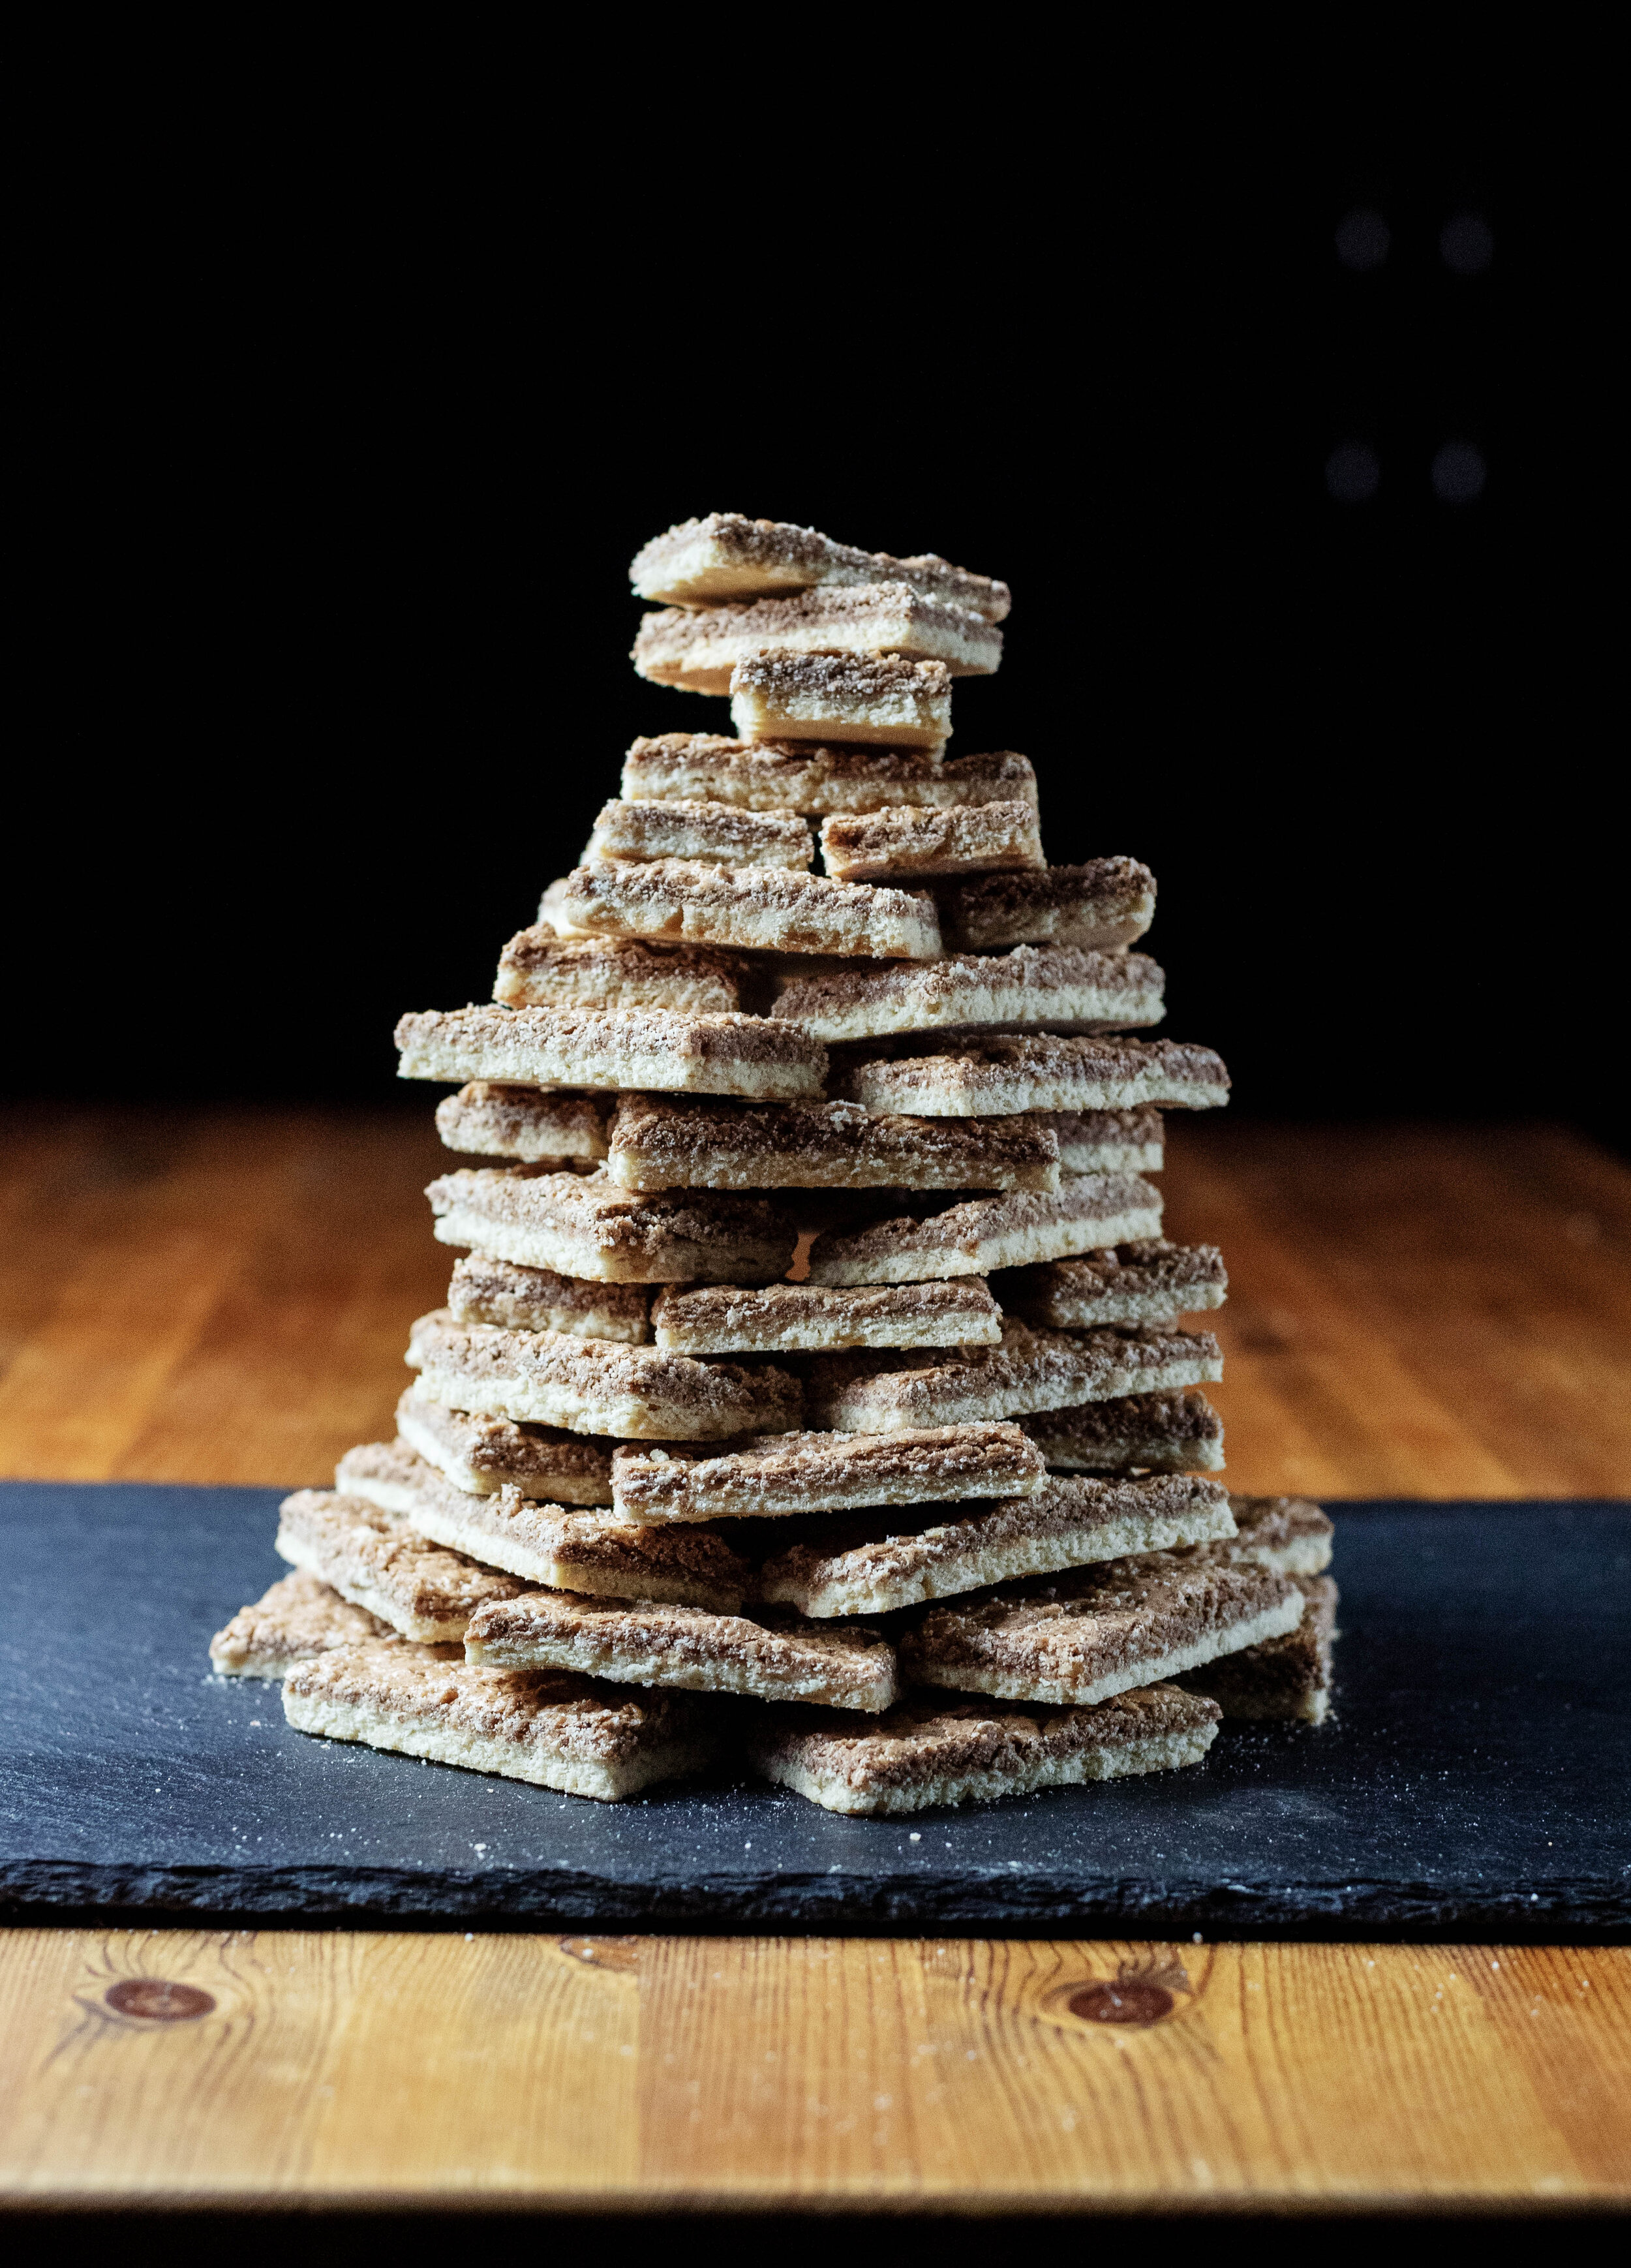
    Bake the crumbs for 25 minutes, or until they begin to become slightly golden, but not golden brown. The crumbs will be soft to the touch when they come out of the oven, but they will harden up when they cool. Make sure that your crumbs are completely cool before using them, and store them in an air-tight container. They should last a week at room temperature, or up to a month in the fridge or the freezer.


    apple_pie_ice_cream_04.jpg

    Churning and Assembly:

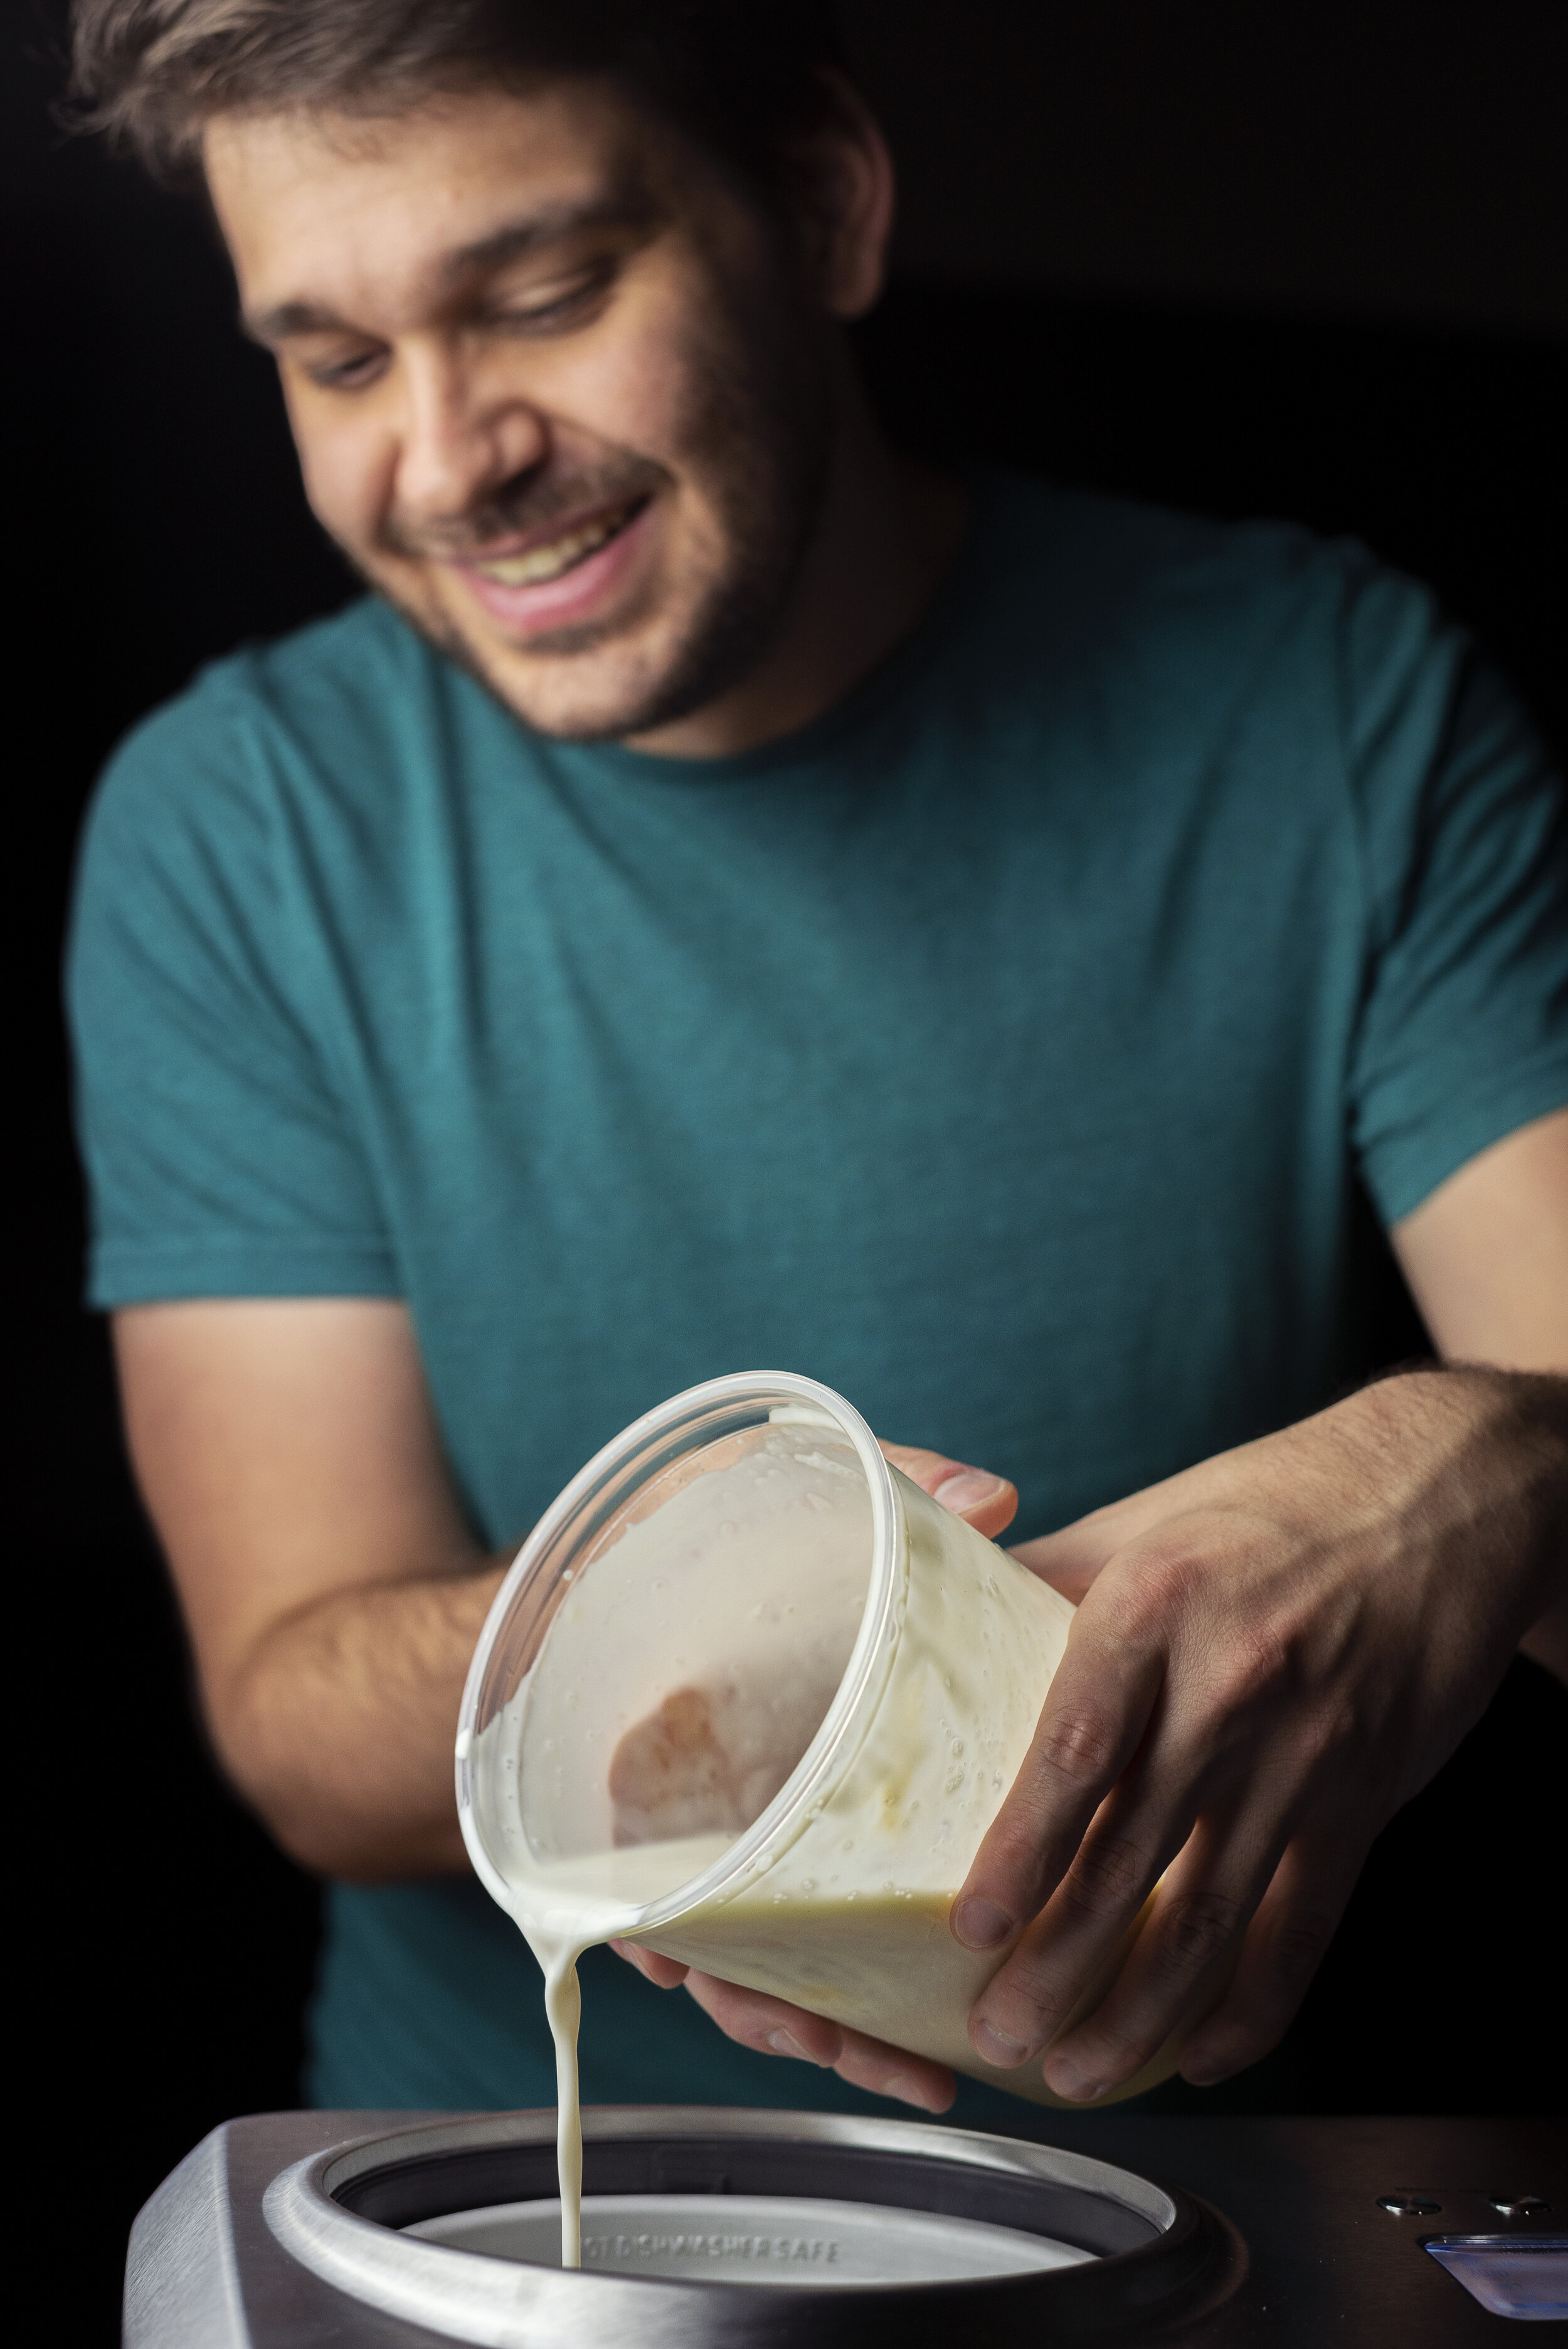
    Note: Please make sure that the container you store your ice cream in has a lid. I see so many food blogs that have homemade ice cream stored inside of antique metal bread pans, and it drives me absolutely crazy. While it makes for a pretty picture, it’s wildly impractical to store your ice cream like that. If your container doesn’t have a lid, you are basically ASKING for ice crystals to grow on the surface of your ice cream. Don’t do it.

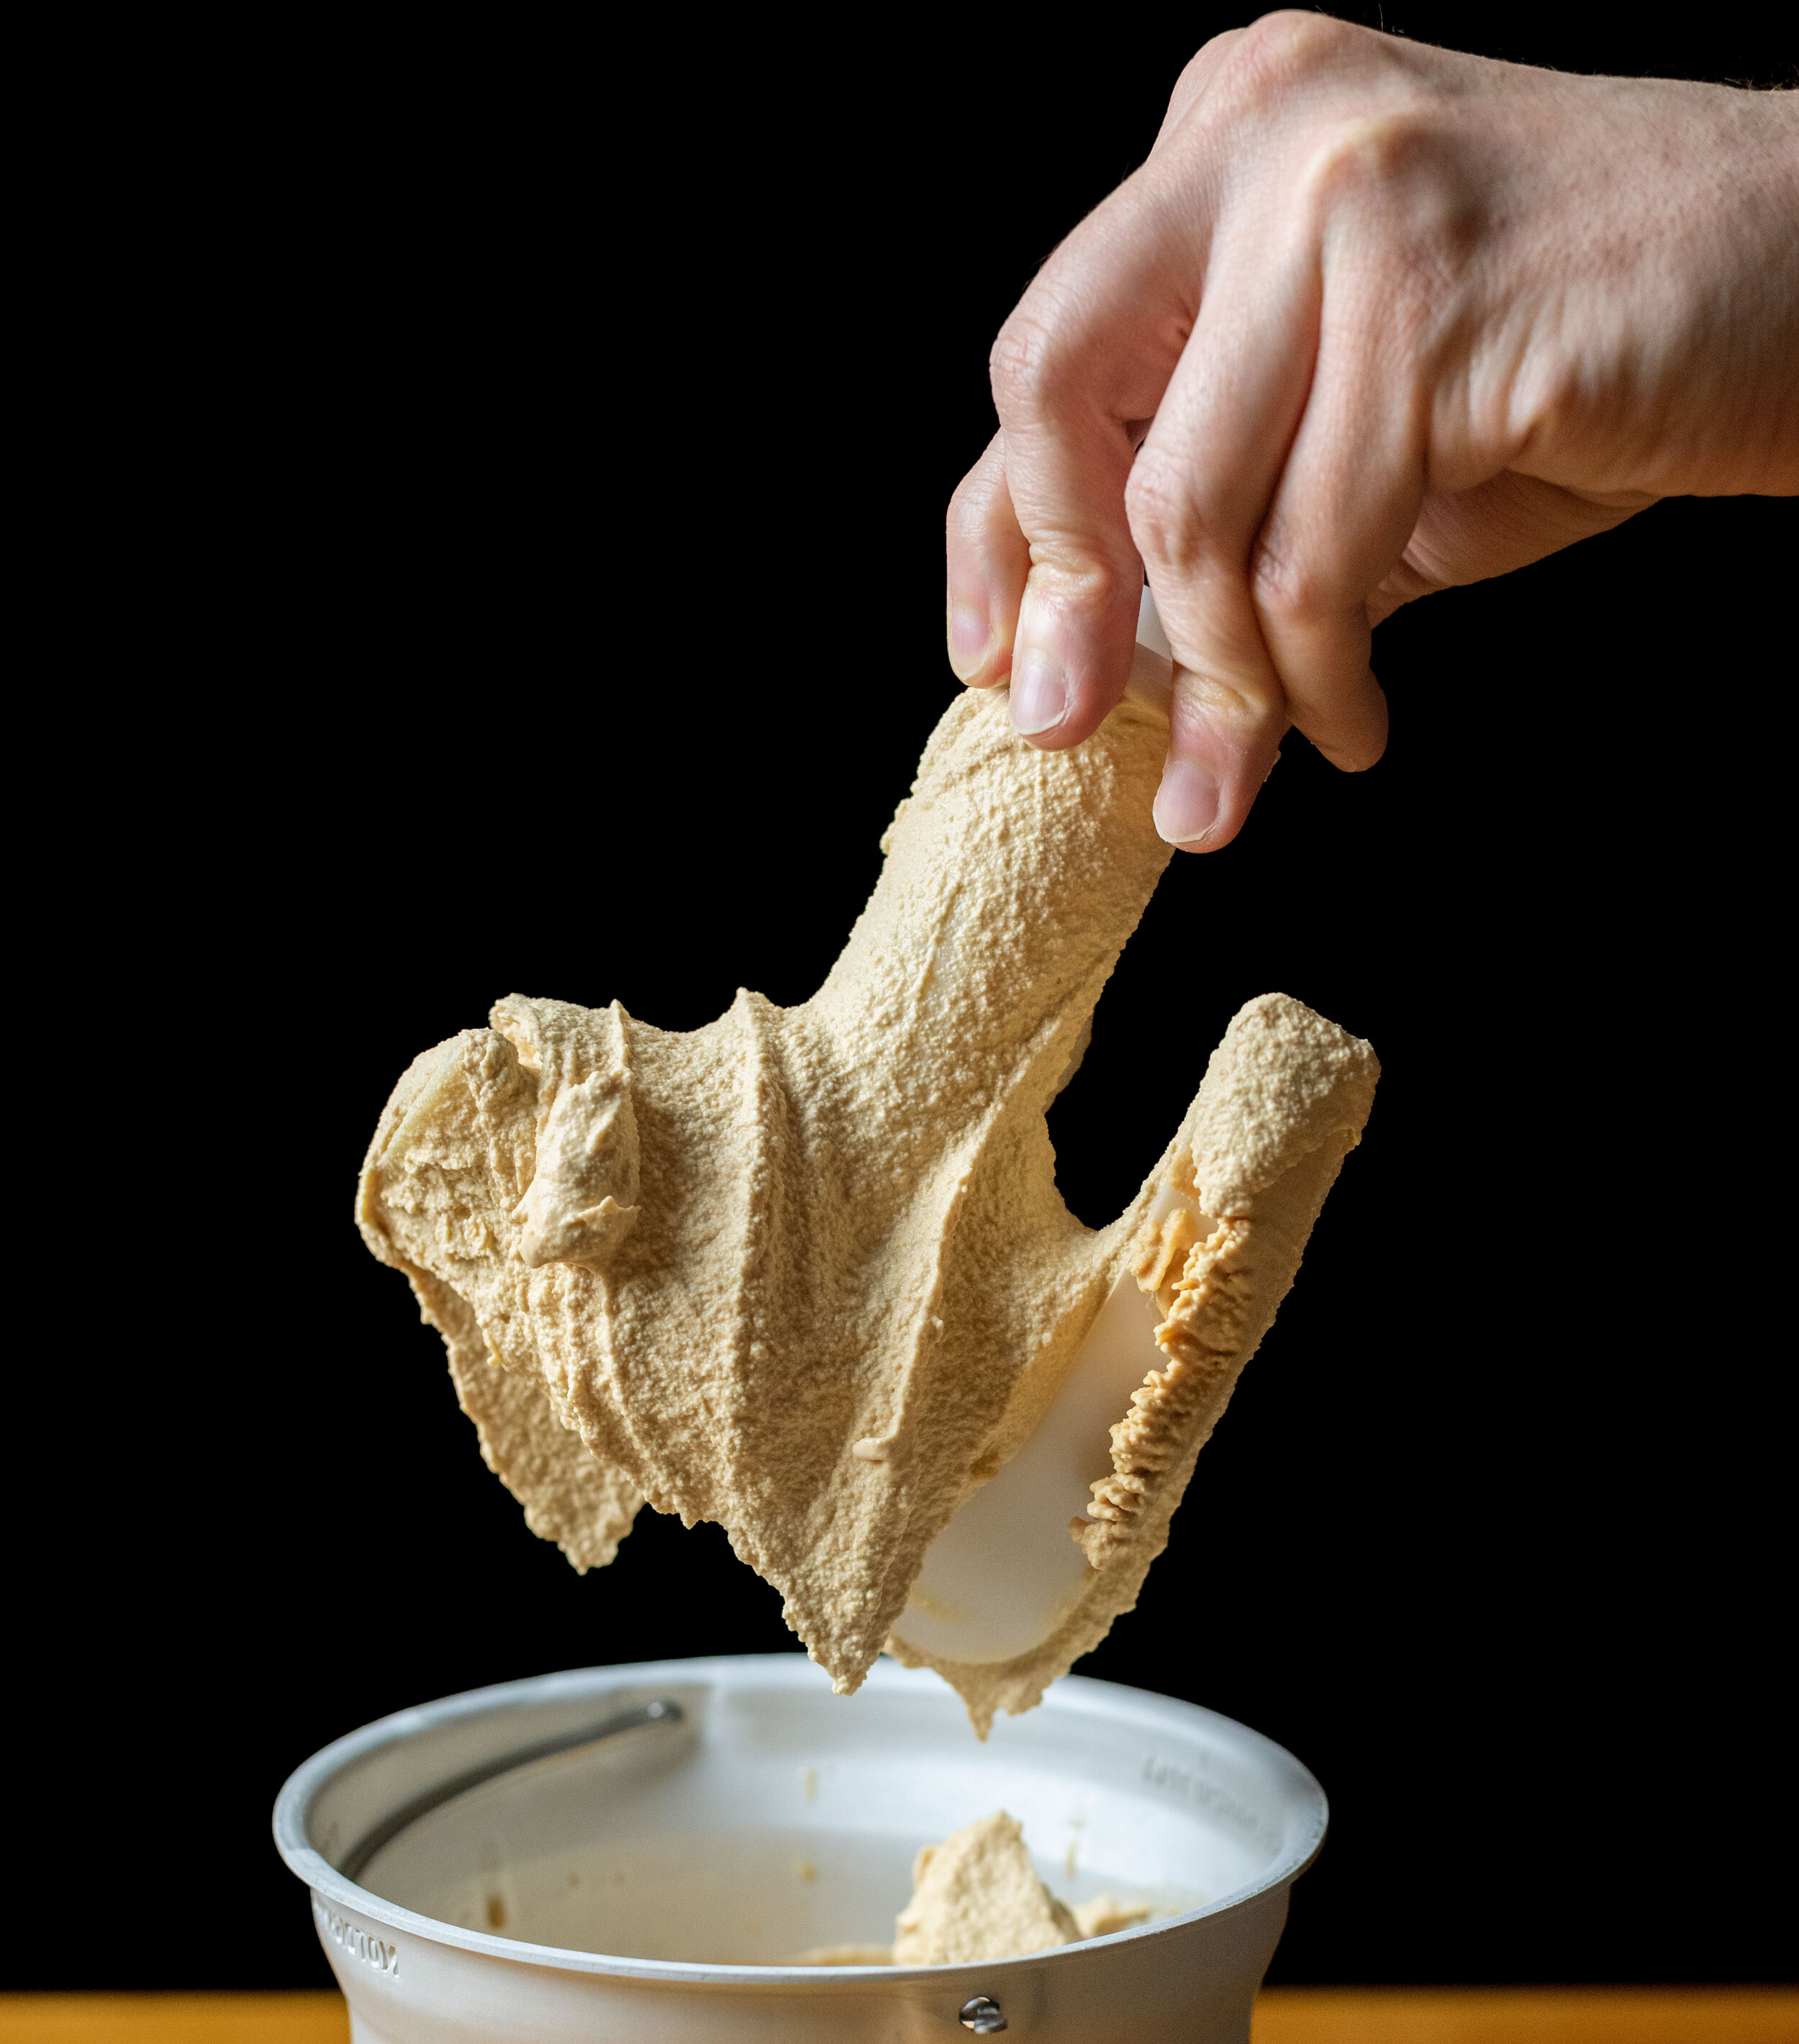
    Set up your ice cream maker according to its instructions, then turn it on and pour in your chilled ice cream base. Churn until the base resembles soft serve (this will take about 20-30 minutes, depending on what kind of ice cream maker you have). In the last few moments of churning, add half of the pie crumbs you made to the churning ice cream bowl. Let the ice cream maker disperse all of the crumbs evenly into the base, then shut off the ice cream maker and get ready to move fast, because it’s time to place it into a freezing container and swirl in your pie filling. This process needs to be done quickly because you don’t want all of your hard work to melt on you!

    Spread some of the pie filling on the bottom of the container you’re storing your ice cream in, then pour some of the churned ice cream on top of it. Spread out the ice cream with a spatula, the dollop more of the pie filling on top and gently streak it through the base. Think about how it’s going to be scooped, and make sure that from every possible angle, each scoop will have just a bit of filling in there. Add more of the base on top, then another dollop or two of pie filling, and swirl again. Repeat this process until all the pie filling and ice cream base in the the container, then sprinkle just a little bit more pie crumbs on top (because it looks nice). Take some plastic wrap and press it directly on top of your ice cream, making sure that it’s covering the entire surface, then snap on the lid of your air-tight ice cream vessel and put it in the freezer. Chill until ice cream has set; we usually wait overnight.

    Makes around 5½ cups of ice cream.


    apple_pie_ice_cream_06.jpg

  • Singapore Noodles with Lots and Lots of Vegetables

    Each bite of these noodles is just a little bit different, ranging from deeply savory to bright and sweet, all thanks to its star ingredients: so so many damn vegetables. If you ever want to trick someone into eating more veggies, this is the recipe to do it. Everything is cut to be long and thin so that the textures mimic one another; it feels like you’re eating a ton of noodles, but you aren’t. Don’t be deterred by the initial volume of vegetables before you start stir-frying, they all cook waaaaay down.

    Your palate (and your guts) will thank you if you make this.


    singapore_noodles_04.jpg

    Singapore Noodles with Lots and Lots of Vegetables

    Protein

    • 4 oz protein of choice (we always use 2 oz of pork and 2 oz of shrimp, and it’s awesome)

    Note: You have complete freedom here. If you want to use the pork and shrimp combo, we would highly recommend it. But if you want to use beef or chicken instead? Go for it. Do you have an irrational love of shrimp? You do you. Wanna make it vegetarian? Tofu would work wonderfully in this recipe. I’d recommend using extra firm since it’s going to need to hold its structural integrity in the face of getting tossed around so much; just make sure that there’s 4 oz in there, and you’re good to go!

    • 1 tsp light soy sauce

    • 1/4 tsp salt

    • 1/4 tsp sugar

    Vegetables

    • 1/4 large red bell pepper (or 1/2 of a small one), thinly sliced

    • 1/4 medium red onion, thinly sliced

    • About 1/2 cup finely shredded cabbage

    • 1/2 cup bean sprouts, tightly packed

    • About 1/4 carrot, cut into very thin matchsticks

    • 1 red chili, sliced (optional, but encouraged)

    • 1 tsp curry powder

    Sauce

    • 1 Tbs xiaoxing wine (or dry sherry)

    • 1 Tbs water

    • 1/2 Tbs light soy sauce (or use a full tablespoon for a vegetarian version if omitting fish sauce)

    • 1/2 Tbs fish sauce

    Everything else

    • 1 Tbs neutral oil with high smoking point (we use grapeseed oil)

    • 1 egg, beaten

    • 2 oz vermicelli rice noodles

    • Chopped cilantro and lime wedges for garnish

    This recipe has a “wait and hurry up” trajectory, so do all the things that require waiting first (before you cut all your vegetables) so you don’t go stir crazy. 

    Prepare your protein. If you’re using meat, I’d recommend slicing it really thin if you can. If you’re using shrimp, make sure that the shells are removed and that they are deveined. If you’re using tofu, I’d recommend cutting it into small cubes (around 1/2 inch in size). Place all of your cut protein in a small bowl and add the 1 tsp of light soy sauce, 1/4 tsp of salt and sugar, then toss to coat evenly. Allow the protein to marinate for at least 30 minutes.

    Note: This is a step you can (and should!) do ahead of time. If you want, you can even stockpile marinated stir fry protein in your fridge to use at any notice! We certainly do. The marinade provided in this recipe can easily be doubled, tripled, quadrupled etc. depending on how much protein you’re preparing. If you’re just making enough for a single batch and you’re going to wait out the 30 minutes, I’d leave the protein at room temperature since it’ll cook better if it isn’t cold, but if you’re waiting any longer, store your protein in the fridge inside of an air-tight container; it should last for a few days.

    Start soaking your rice noodles in room temperature/lukewarm water until they are pliable, but not cooked all the way. This will take about 20 minutes. Before using them, fish them out of the water and drain them in a fine mesh strainer, making sure you get as much water out of them as you can.


    singapore_noodles_01.jpg

    Now is the time to cut your vegetables. Take your time with this process. Getting vegetables thin takes a little patience, but it’s worth it when they all come together in the final product. Place all of your chopped viggles in a bowl along with the teaspoon of curry powder and toss until they’re all well mixed and covered in the spice mixture. Set aside.

    Make the noodle sauce by mixing the xiaoxing wine (or sherry), water, light soy sauce, and fish sauce together in a small bowl. Set aside.

    Alright, it’s time to fry. Do a check-in. Make sure your noodles are out of the water and drained. Have your protein portioned and at room temp. Have your vegetables at arm’s reach. Have your egg beaten and ready to be thrown into the pan, and then…

    Heat up your pan (a wok or cast iron skillet is ideal) up to medium high heat, then add your oil. Once it shimmers, pour in the beaten egg; it should fizzle and spatter the second it hits the surface of the pan. Stir it around almost immediately, roughly scrambling it, then add your protein and stir to evenly incorporate. Let the protein sit and fry a bit on one side to get a little bit of caramelization (about 30 seconds), then add all of your vegetables and stir again.

    Once everything in the pan is all mixed together, let it sit for about a minute, allowing the vegetables to cook and get a little caramelization as well. Stir again, then add your rice noodles to the pan. Now is the time to get everything in your pan all tangled up in your rice noodles: the goal is to make sure that every part of them is yellow. Alternate in between stirring your rice noodles around and using a folding motion, moving all the ingredients in the pan on top of themselves. This will make it easier to coat all the noodles in the spices.

    Once this process is done (it’ll take around 30 seconds), add your sauce and let it deglaze the pan for about 3–5 seconds, then quickly remove it from the heat. If you leave your pan on the heat for any longer, you run the risk of having your sauce vanish completely, then everything will burn. Stir all your noodles together with the sauce once your pan is off the heat, then let everything cool down in the pan for a couple of minutes while the noodles cover the entirety of the pan’s surface. This allows for any final crispy bits to be released, adding more flavor to your dish, and also decreasing the amount of clean up you’ll have to do later. After the noodles have cooled a bit, they’re ready to serve. Garnish with a big lime wedge, some chopped cilantro, and maybe some extra fish sauce if you’re feeling it.

    Serves one hungry person.


    singapore_noodles_03.jpg

  • Hatch Green Chile Stew

    A plethora of peppers come into season every September, but for me, the most exciting is the Hatch green chile. It’s a versatile chile that can come in many different levels of heat (it’s the choose your own adventure chile), and I can’t think of a better meal that features them than green chile stew. It’s hearty, comforting, and reminds me of all the times my dad made it for me as a kid.


    green_chili_stew_01.jpg

    For this recipe, I not only pack it with a ton of Hatch green chiles, but I also include a variety of others that come into season: serranos, jalapeños, and poblanos are also in their peak around this time, and they lend their own lovely flavors and natural sweetness to the stew. Another fun deviation you’ll see in this recipe includes a trick I learned from my love of making Indian curries: the pork is not only coated in a ton of spices, but also marinated in sour cream (instead of yogurt). It works incredibly well since they both possess the same enzyme that breaks down proteins; the result is perfectly tender and meaty moments perfumed by the spices, creating textural and flavorful variation in the dish, which can be in danger of being entirely homogenous.


    green_chili_stew_03.jpg

    Hatch Green Chili Stew

    • 2 lbs pork shoulder, trimmed of excess fat, cut into bite sized cubes (about an inch)

    • 2 heaping Tbs salt

    • 1 heaping Tbs ground cumin

    • 1/2 Tbs ground coriander

    • 1 tsp ground black pepper

    • 2 Tbs sour cream

    • 2 lbs fresh Hatch green chiles

    Note: Hatch chiles come in many different gradients of heat. Luckily, vendors tend to make it pretty clear about which ones you’re buying. The mild ones tend to be true to their classification, however once you start venturing into hot territory, you can really experience a lot of variation. Sometimes the hot ones are pleasantly spicy, and sometimes they are mean, and there’s no way to determine how hot your chiles are going to be until you’re eating them, so be warned. I like to prepare a mix of mild and hot when I make this recipe, and I usually do about 3/4 mild to 1/4 hot as my proportion.

    • 2 large poblano chiles (or three small ones)

    • 3 serranos

    • 2 jalapeños

    • 1 onion, skin removed, quartered

    • 4 large tomatillos, paper removed, halved

    • 6–8 cloves of garlic, skins removed

    • 1/4 cup canola oil

    • 4 cups broth (pork broth would be ideal) or water

    • 1 Tbs Mexican oregano

    • 2 bay leaves

    • 1 lb potatoes, skins left on, cubed into bite sized pieces

    Note: I like using Yukon golds. They can cook longer while still maintaining their structural integrity, and they are sweeter, which I think matches the flavor of the stew better. If all you can find is russets, those will still be delicious, but I’d recommend removing the skins for them. Also, keep in mind that they will cook faster and have a higher risk of completely melting into the stew if you don’t keep an eye on ‘em.

    • Salt to taste

    To serve:

    • Sour cream or crema

    • Shredded Monterey jack cheese

    • Chopped cilantro

    • Lime wedges

    In a bowl, mix together the cubed pork, salt, cumin, coriander, pepper, and sour cream until all surfaces of the pork are covered. Cover and set aside to let the pork marinate in the fridge for at least an hour (I like to do overnight). Keep in mind that when you cook the pork, you’ll want it to be at room temperature before you sear it off.


    green_chili_stew_02.jpg

    To make the stew base, turn on the broiler in your oven and place the green chiles, poblanos, serranos, jalapeños, onion, tomatillos, and garlic all on a large and lightly oiled sheet tray. Make sure that a rack in your oven is right underneath the heat element, and put the sheet try in the oven. Broil for about 10 minutes, or until the majority of the skin on all of the larger chiles becomes charred and start to peel (I’d recommend rotating the tray after 5 minutes), then remove the sheet tray from the oven and flip all the chiles over. Put it back in the oven to broil for 10 more minutes, charring the other side of the chiles (don’t forget to rotate the tray after 5 minutes). Remove the pan from the oven and put all of the green chiles, poblanos, serranos, and jalapeños into a large plastic bag using a pair of tongs, and seal it to have them “sweat” and cool down for at least half an hour. Set aside the onion, tomatillos, and garlic for later when the chiles are ready.

    Once the chiles have cooled down enough so that you can touch then without burning yourself, remove them from the bag and slip all of them out of their skins by running your fingers underneath any of the tears made by the charring process. Some of them will come right off, some of them will require a bit more tedious peeling effort. Be patient. After the skins are removed, open all of the chiles gently and de-seed them. You don’t need to get every seed; just get most of them. Discard all the peeled skins and seeds, then put all of the chile flesh into a blender along with the onions, tomatillos, and garlic. Blend until completely smooth, then set aside.

    After this step, please, good God wash your hands. Thoroughly. You’ll forget what you were just handling for a fraction of a second and rub your eyes or something and you will suffer. I’m definitely not speaking from personal experience…

    Bring a dutch oven to medium high heat, then add the 1/4 cup of oil. Once it starts to shimmer, add all of the room temperature marinated pork and sear it off until most of its surfaces are golden brown. Add the chile puree to the dutch oven along with the 4 cups of broth or water (I like to slosh some of it around in the blender to make sure that every last scrap of the chili puree ends up in the stew). Turn the stove up to high to bring your stew to a boil, then immediately turn it down to medium low heat to get it simmering. Add the Mexican oregano and bay leaves, then cover the stew with a lid. Let it simmer for about half an hour. Remove the lid and plop in your chopped potatoes . Keep the stove on medium low heat and cook covered for an hour, or until the potatoes are tender. Add salt to taste, then serve.

    Serves about 8 and makes some of the best leftovers in the universe.


    green_chili_stew_04.jpg