Tag: spicy

  • Warm Broccolini Salad


    It really is a shame that people don’t eat more vegetables. Too often they take the back seat, pushed to the side of the plate only to be overshadowed by protein, and we think that this mentality is problematic. Yes, protein is important, but if that’s all you think about, that’s all you really get. Nothing you decide to eat (or cook, for that matter) deserves to be an afterthought.

    This is a case argument for the multi-course meal at home. Not only does it create more of an experience for what you’re about to eat, it shifts the focus of the eater. You aren’t barraged with a bunch of things together on one plate that you’re forced to eat all at once, and often convinced to prioritize. Instead, you take your time, savoring one thing after another. The multi-course meal affects the cook as well. If you’re creating things to be eaten one at a time, then every course needs to be independent and be as delicious as possible. A vegetable dish meant to stand out on its own is far better than a vegetable side that is meant to compliment something else, and that’s exactly what this dish we’ve made does: it stands out.

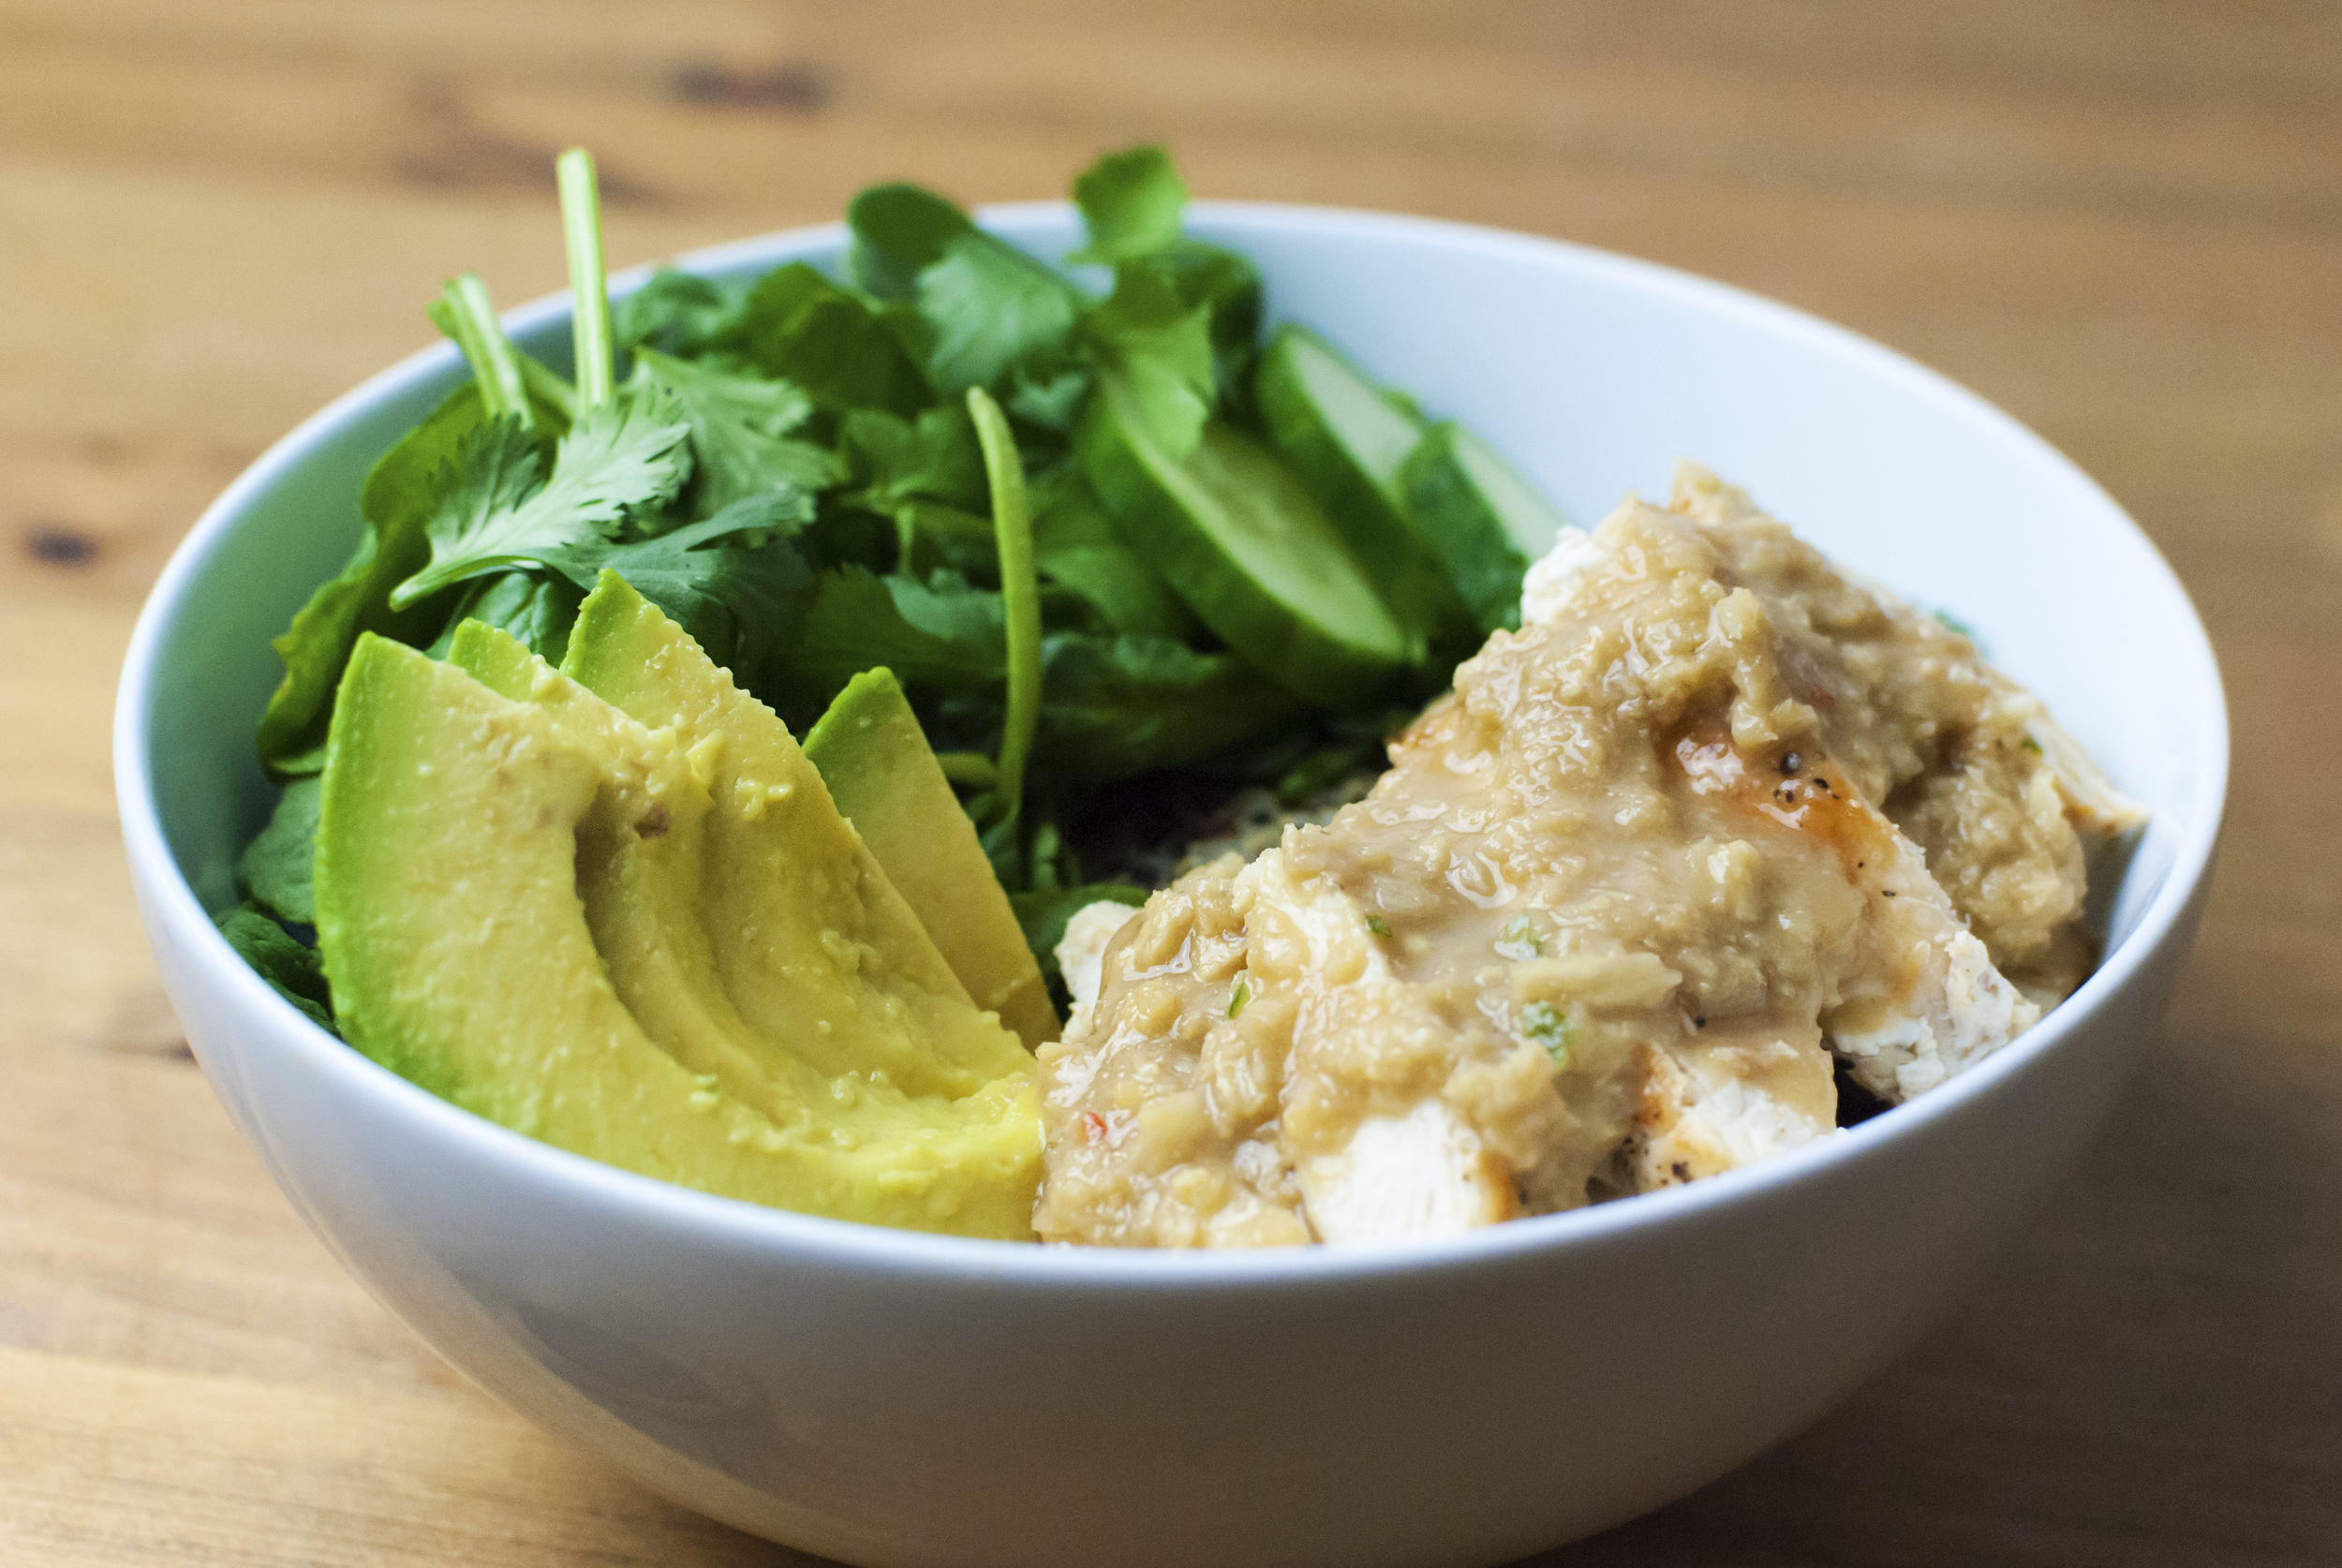
    This salad is really simple, but still possesses many of the primary flavors needed to feel “complete.” While it can certainly be made in a large skillet or frying pan, our favorite method of cooking is actually a wok or a grill. These methods promote a good sear on the broccolini quickly, more easily avoiding the mushy side effects of over cooking. The vibrant and green stalks still have a little bit of a crunch as well as a slightly blistered exterior. You can make this for a group of people easily, but it also makes for a delicious finger food in about five minutes. We like picking up the stalks and eating the florets first that have sopped up the spicy garlic and lemon dressing and finishing with the crunchy stems.


    Warm Broccolini Salad:

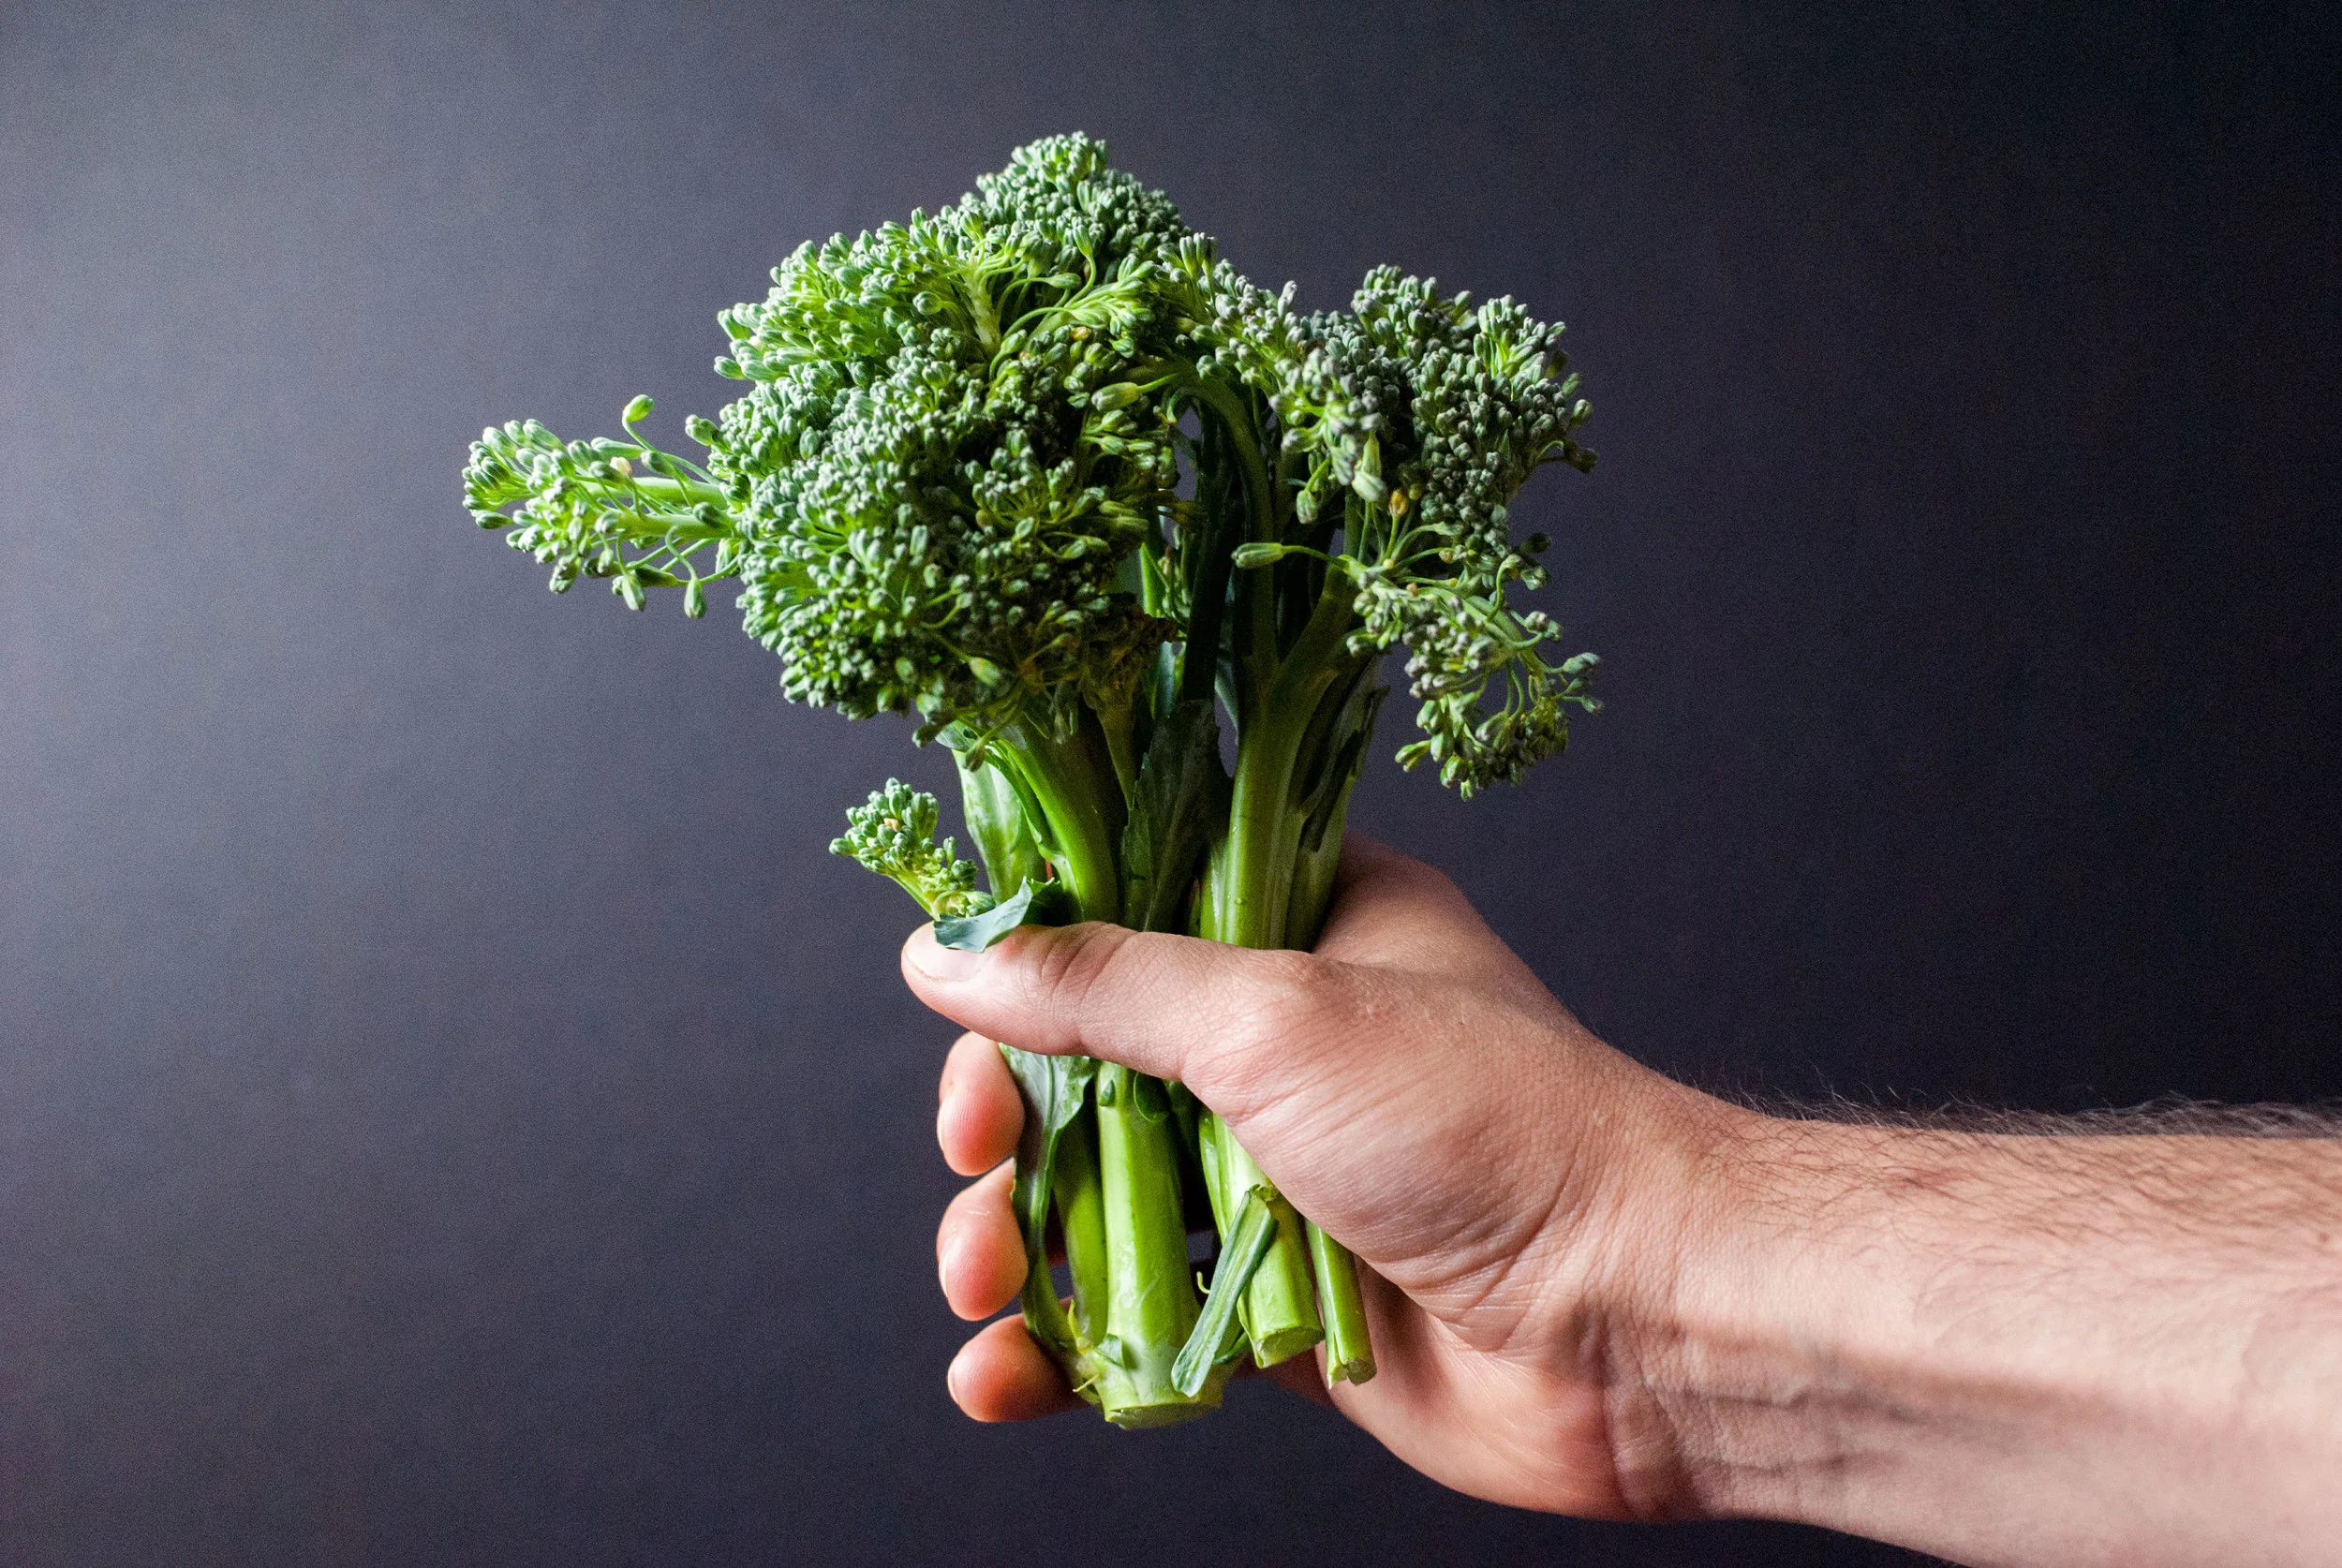
    • 2 bunches broccolini
    • 1 teaspoon vegetable oil
    • Pinch red pepper flakes
    • ¼ teaspoon fennel seeds
    • 2 peppercorns
    • 1 large clove garlic, peeled
    • 1 tablespoon extra virgin olive oil
    • 1 tablespoon lemon juice
    • Salt to taste
    • ¼ cup fresh parsley leaves, packed, roughly chopped, for garnish
    • ½ ounce feta cheese, crumbled, for garnish

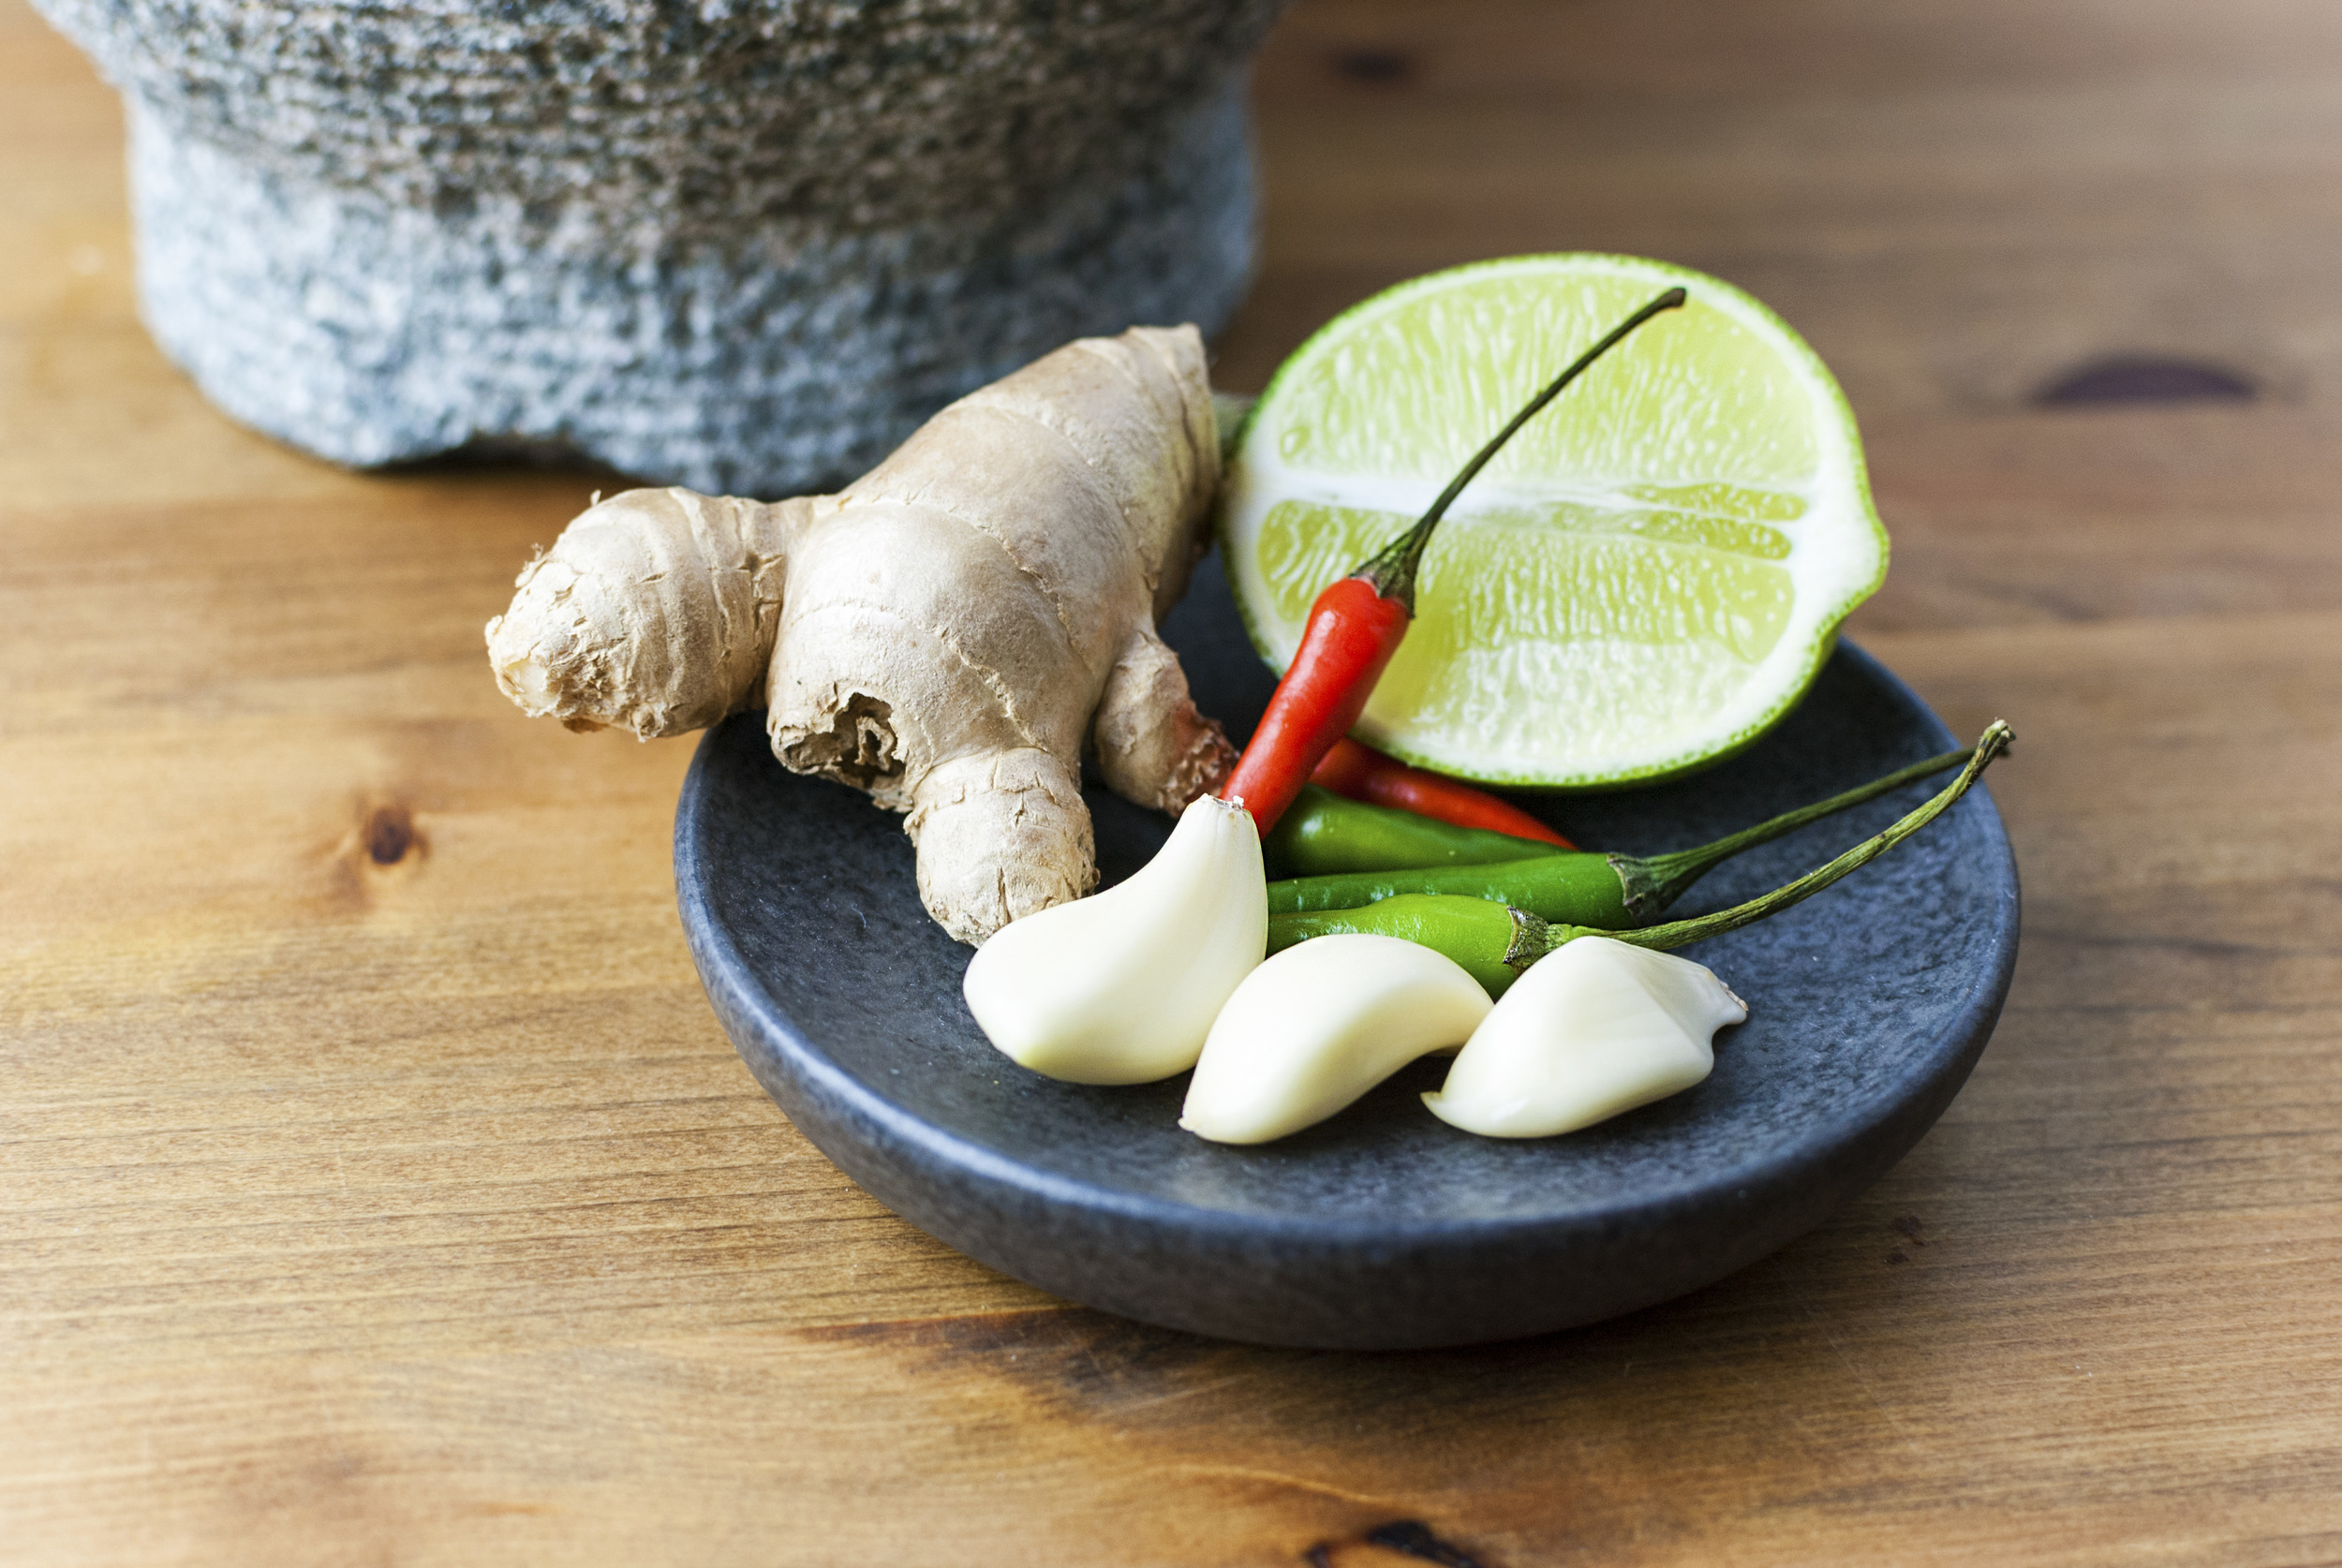
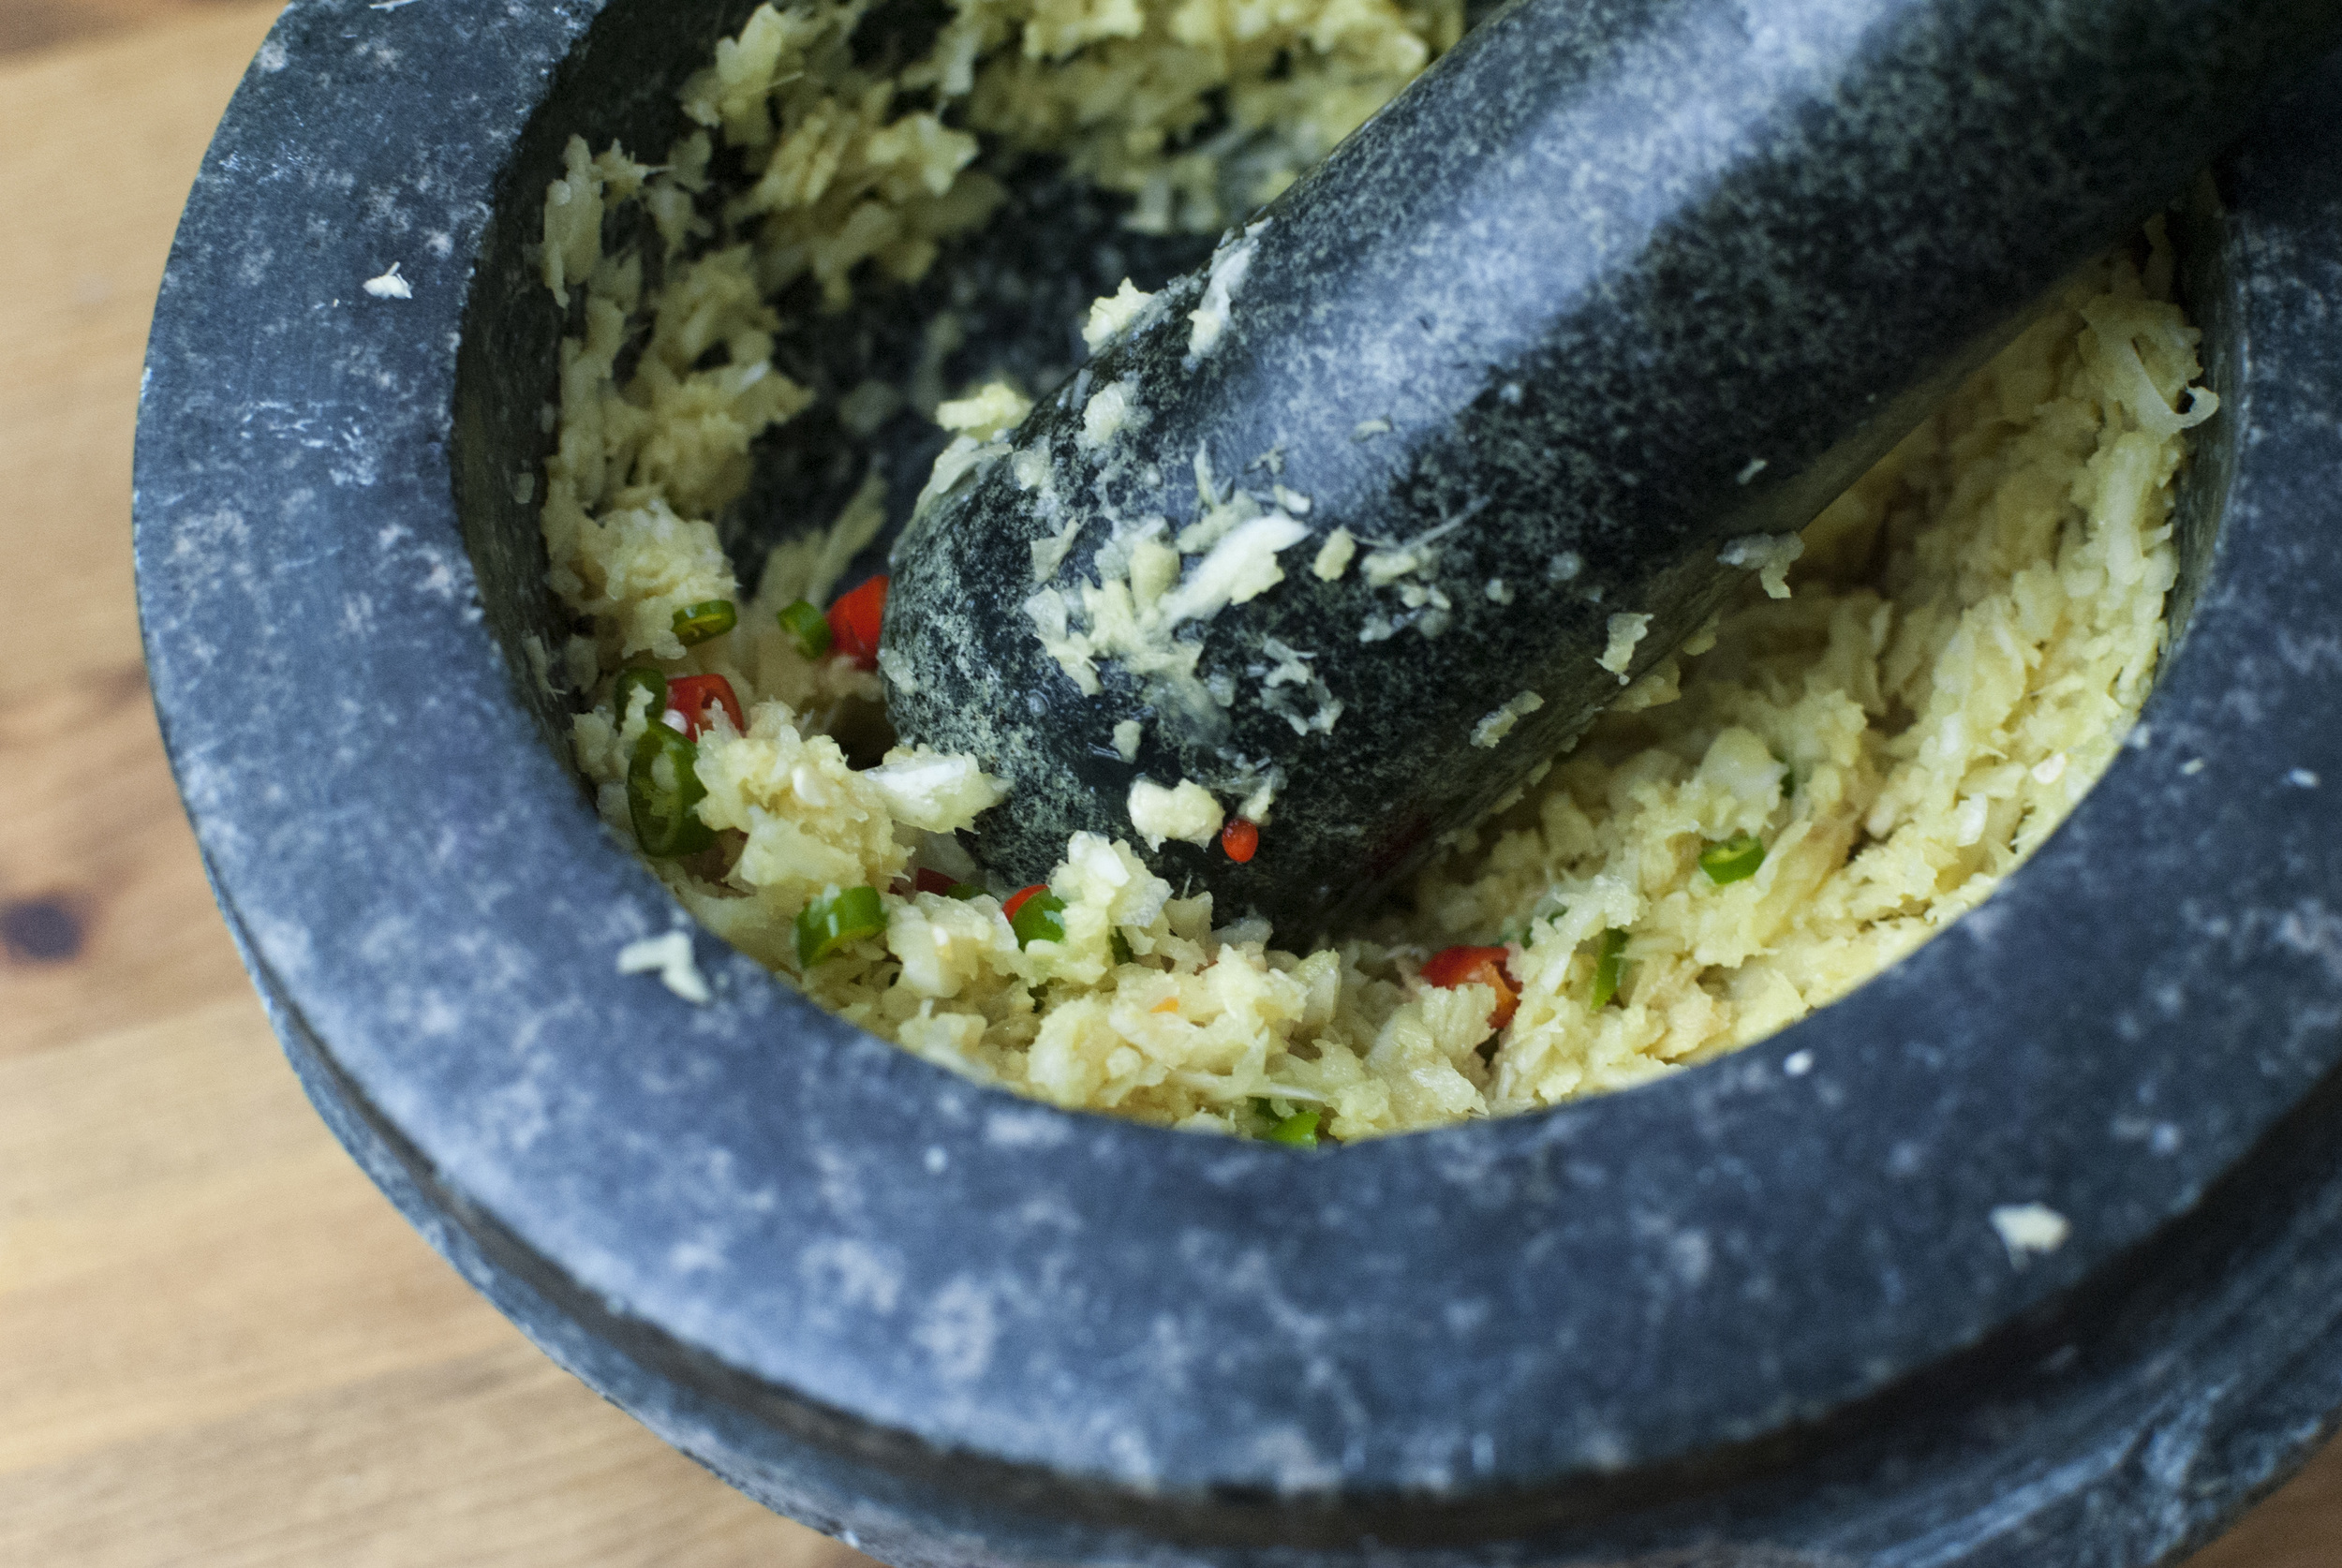
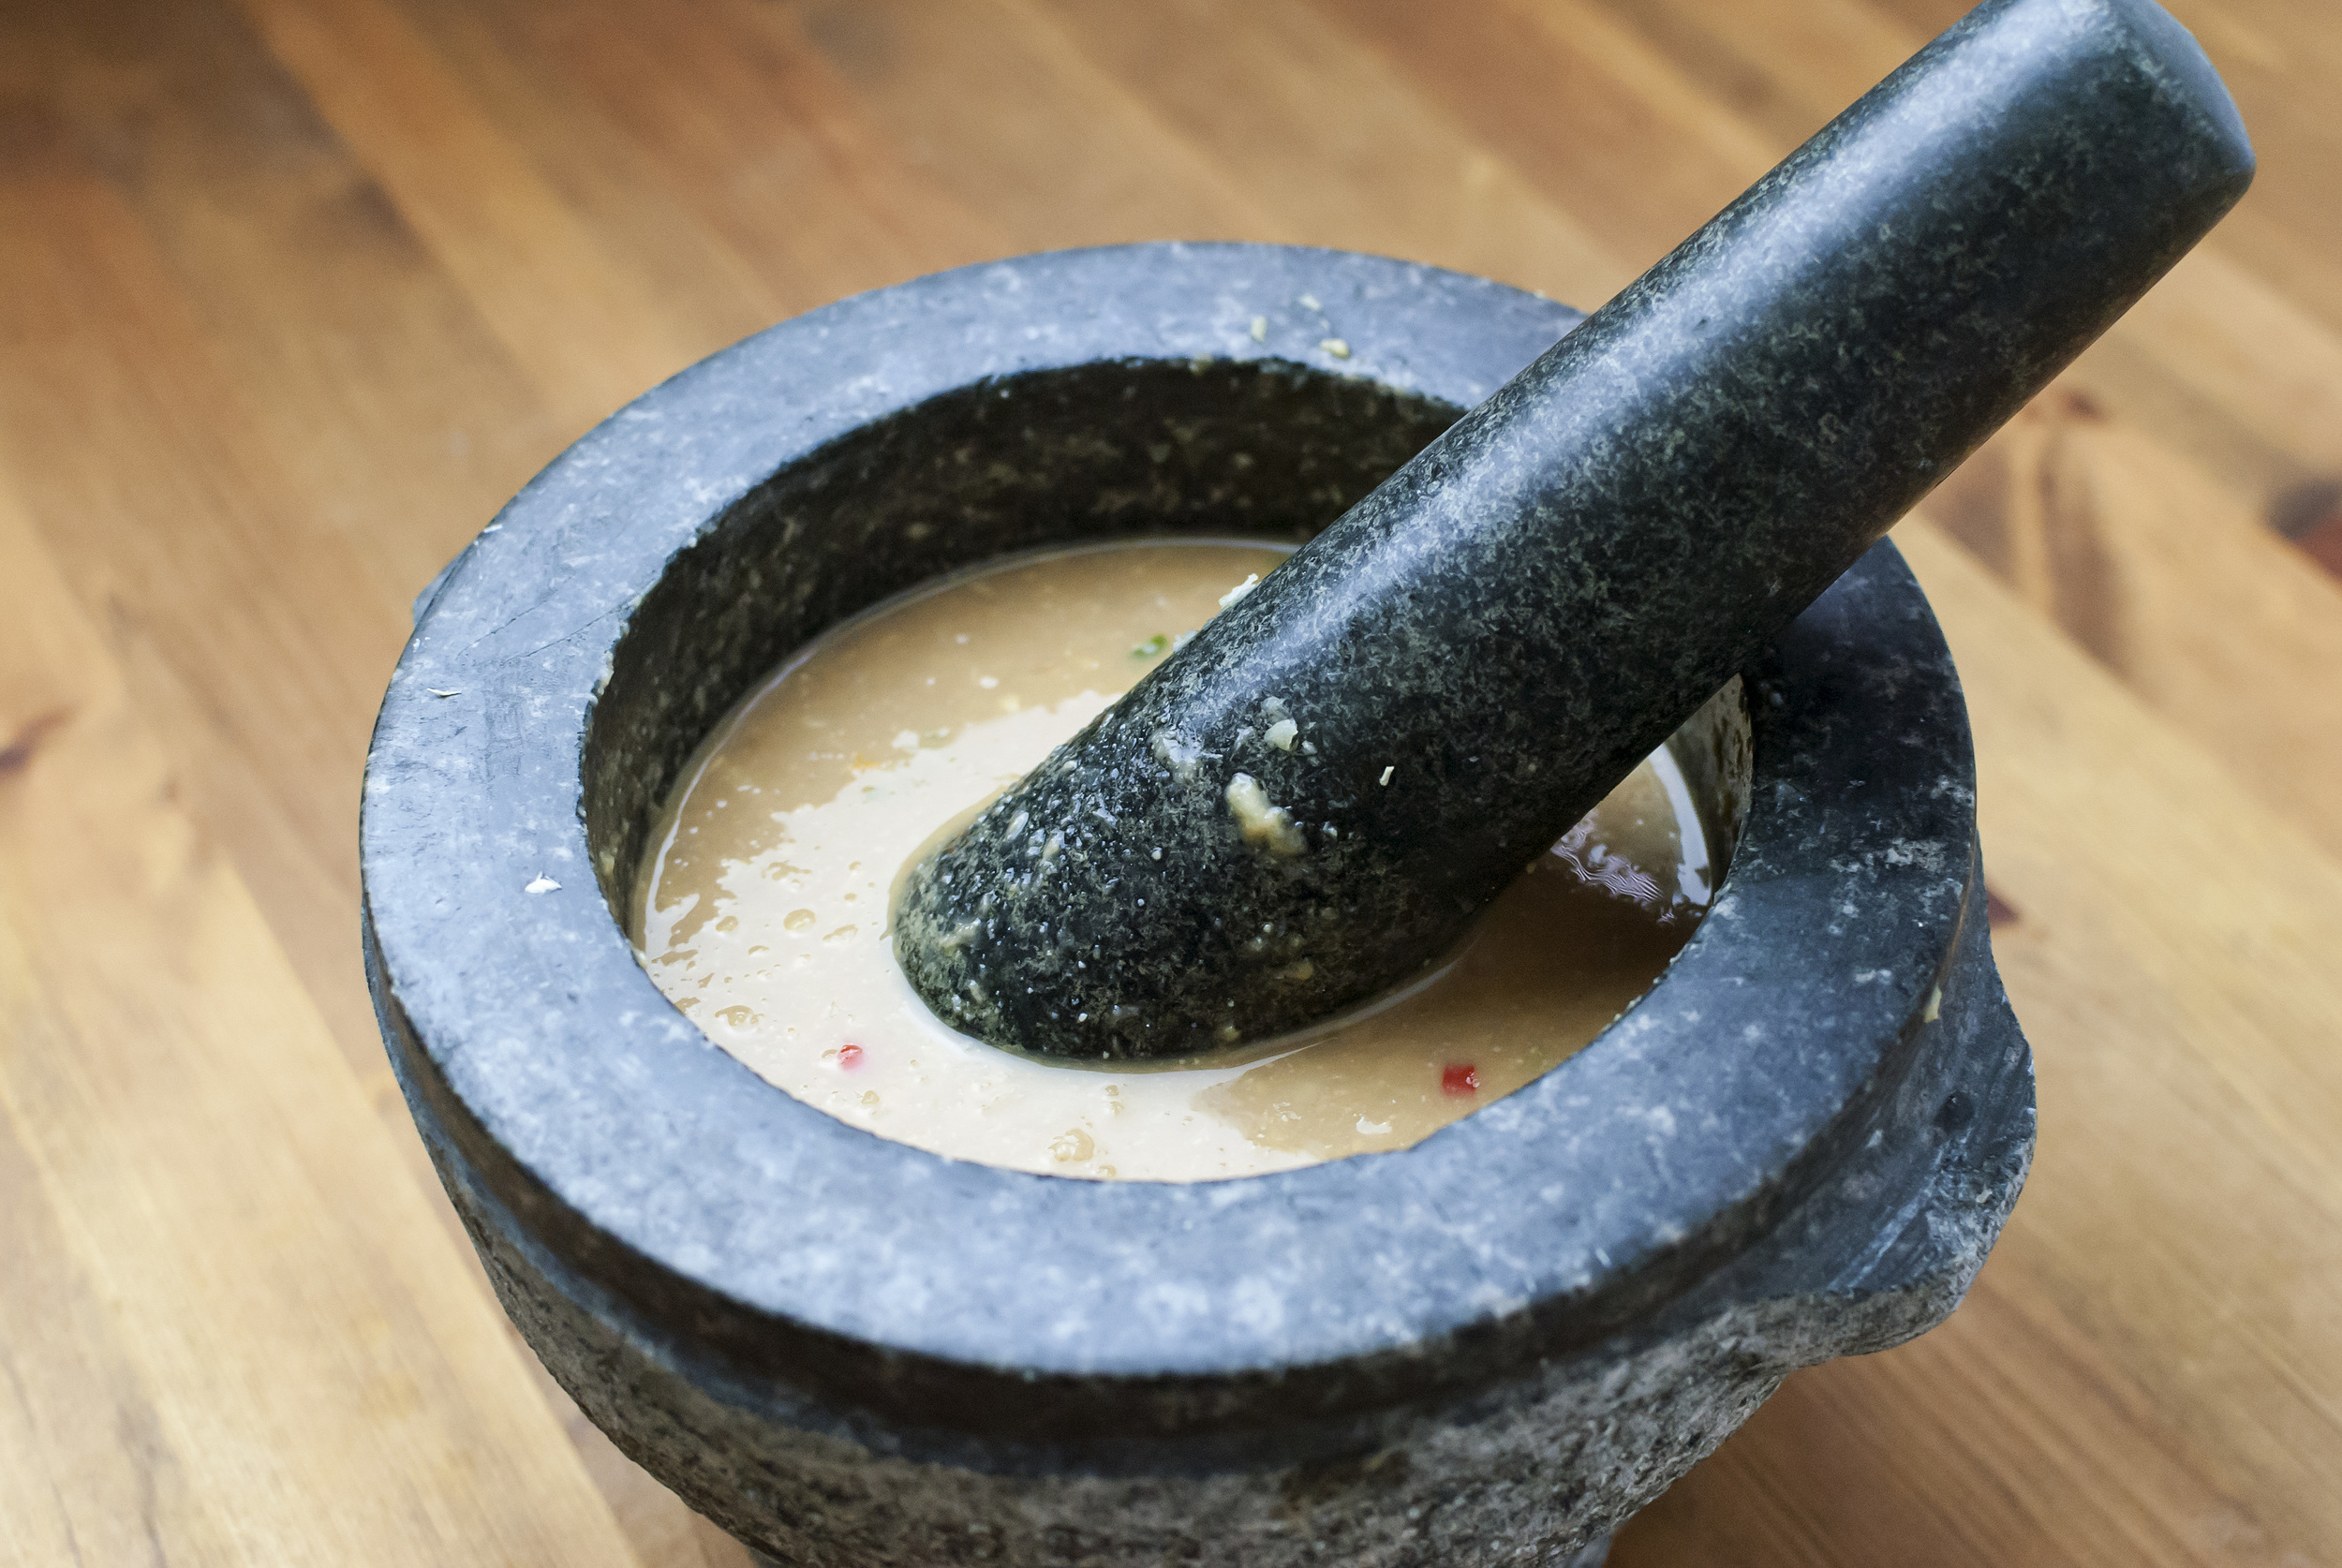
    In a mortar and pestle, pound the red pepper flakes, fennel seeds, and peppercorns until they become a powder. If you don’t have a mortar and pestle, just grind it all up in a spice or coffee grinder. Add the garlic clove to the spices and pound until the mixture becomes paste-like, or just finely chop the garlic and stir together with the spices. Transfer the paste to a small bowl and stir in the olive oil and lemon juice. Add salt to taste then set aside.


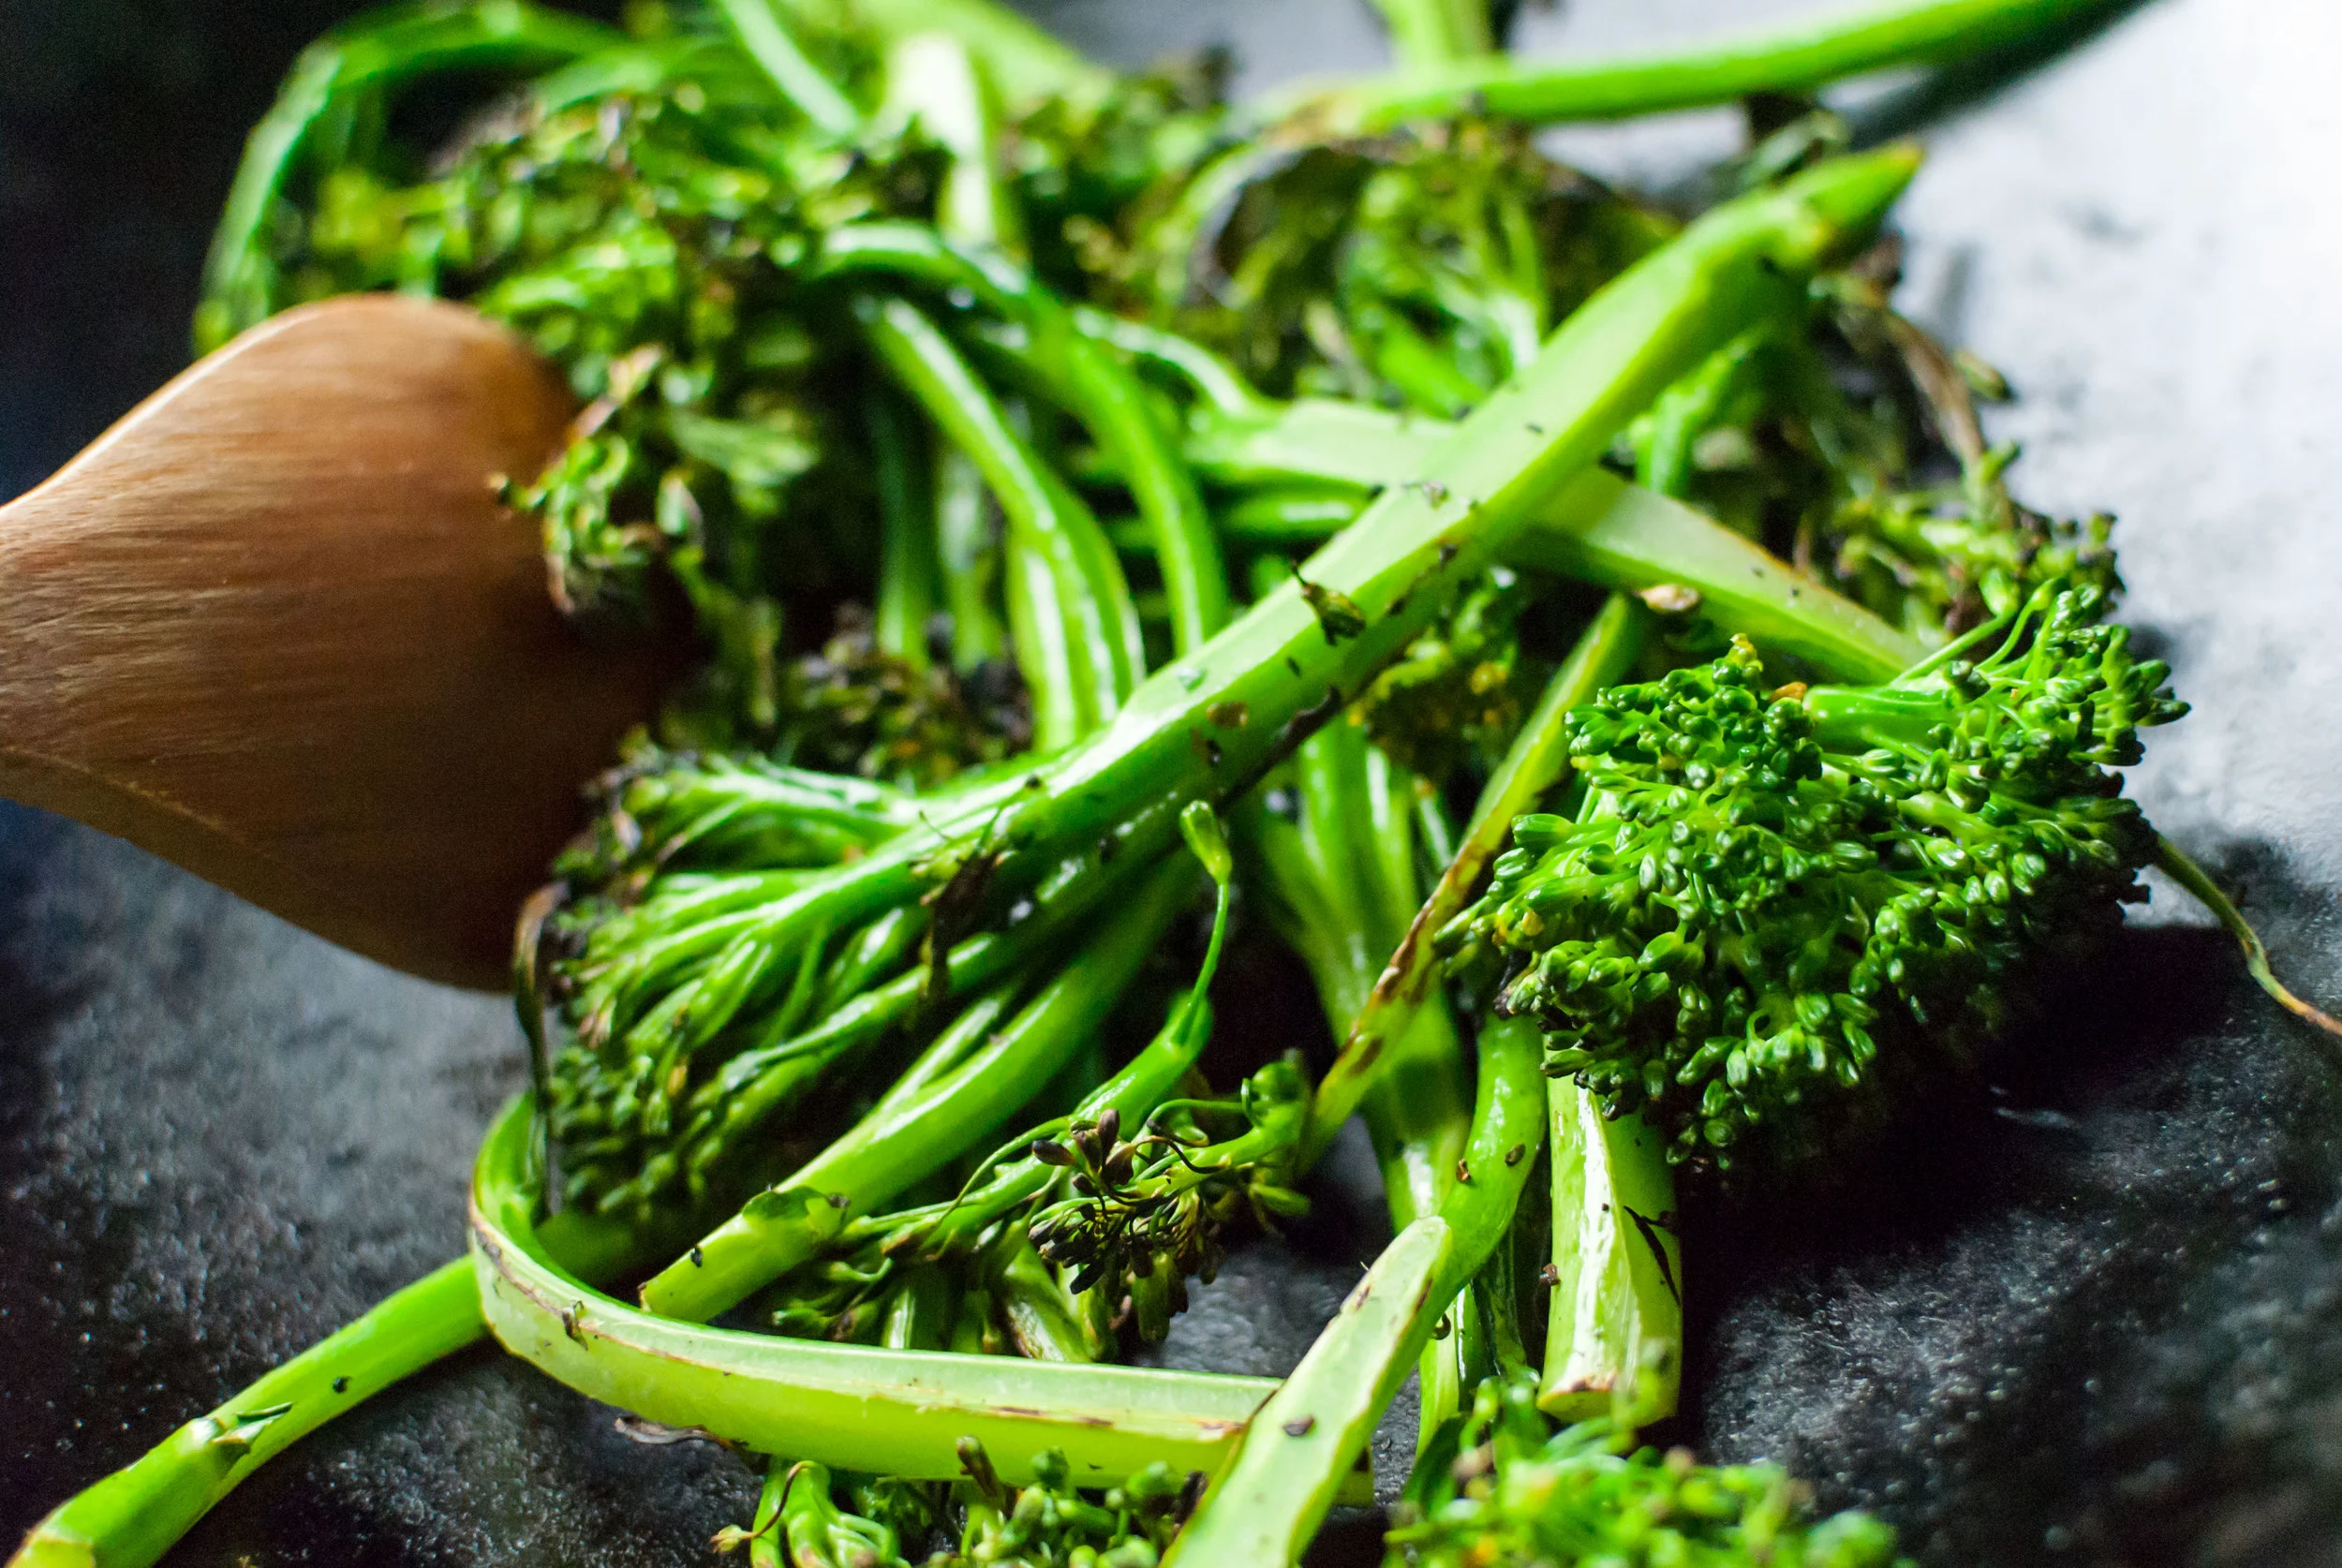
    Prepare the broccolini for cooking by slicing down the stalks, following the branches of the florets; you want nice long strands of broccolini, so let the natural growth of the stalks guide your knife. Heat a large pan (or wok) on high heat then add the vegetable oil and broccolini quickly, cooking until bright green and a little sear develops on some parts of the florets and stalk, about 2 minutes. Give the broccolini a quick stir/flip and cook for 2 more minutes after adding a teaspoon of water to the pan and putting a lid on the pan. Make sure the broccolini is cooked through, then remove from the pan and transfer to a bowl.


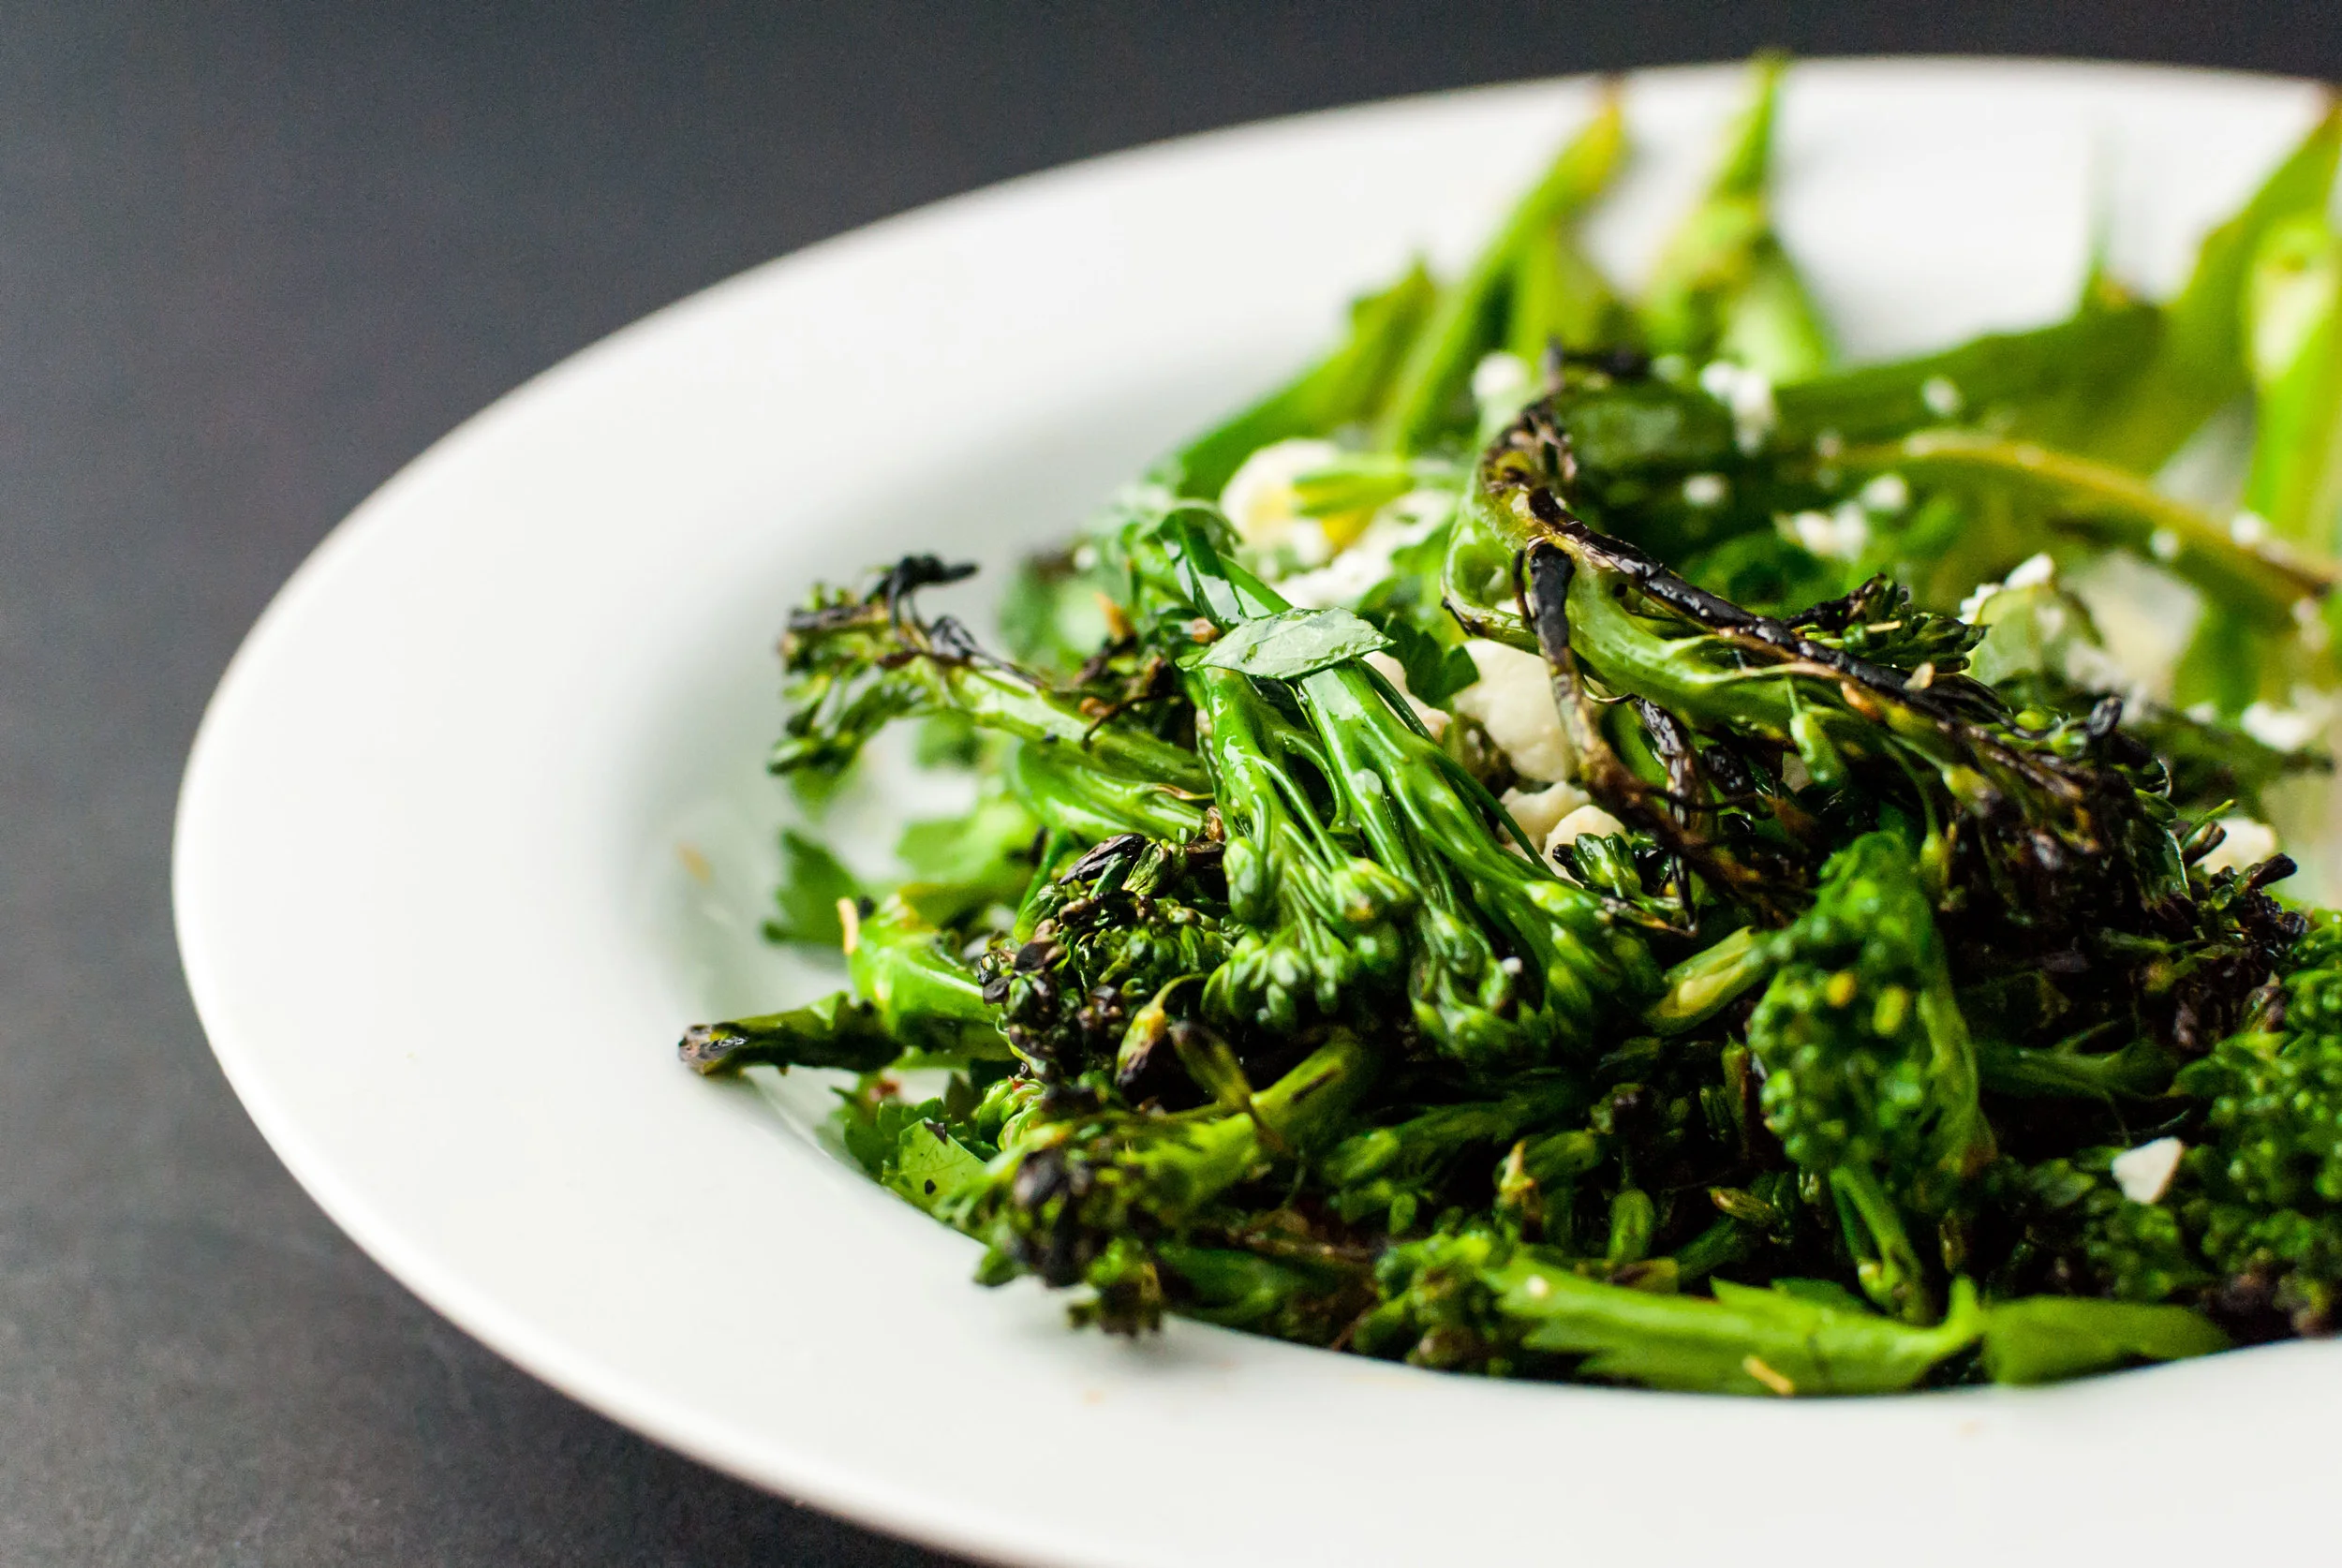
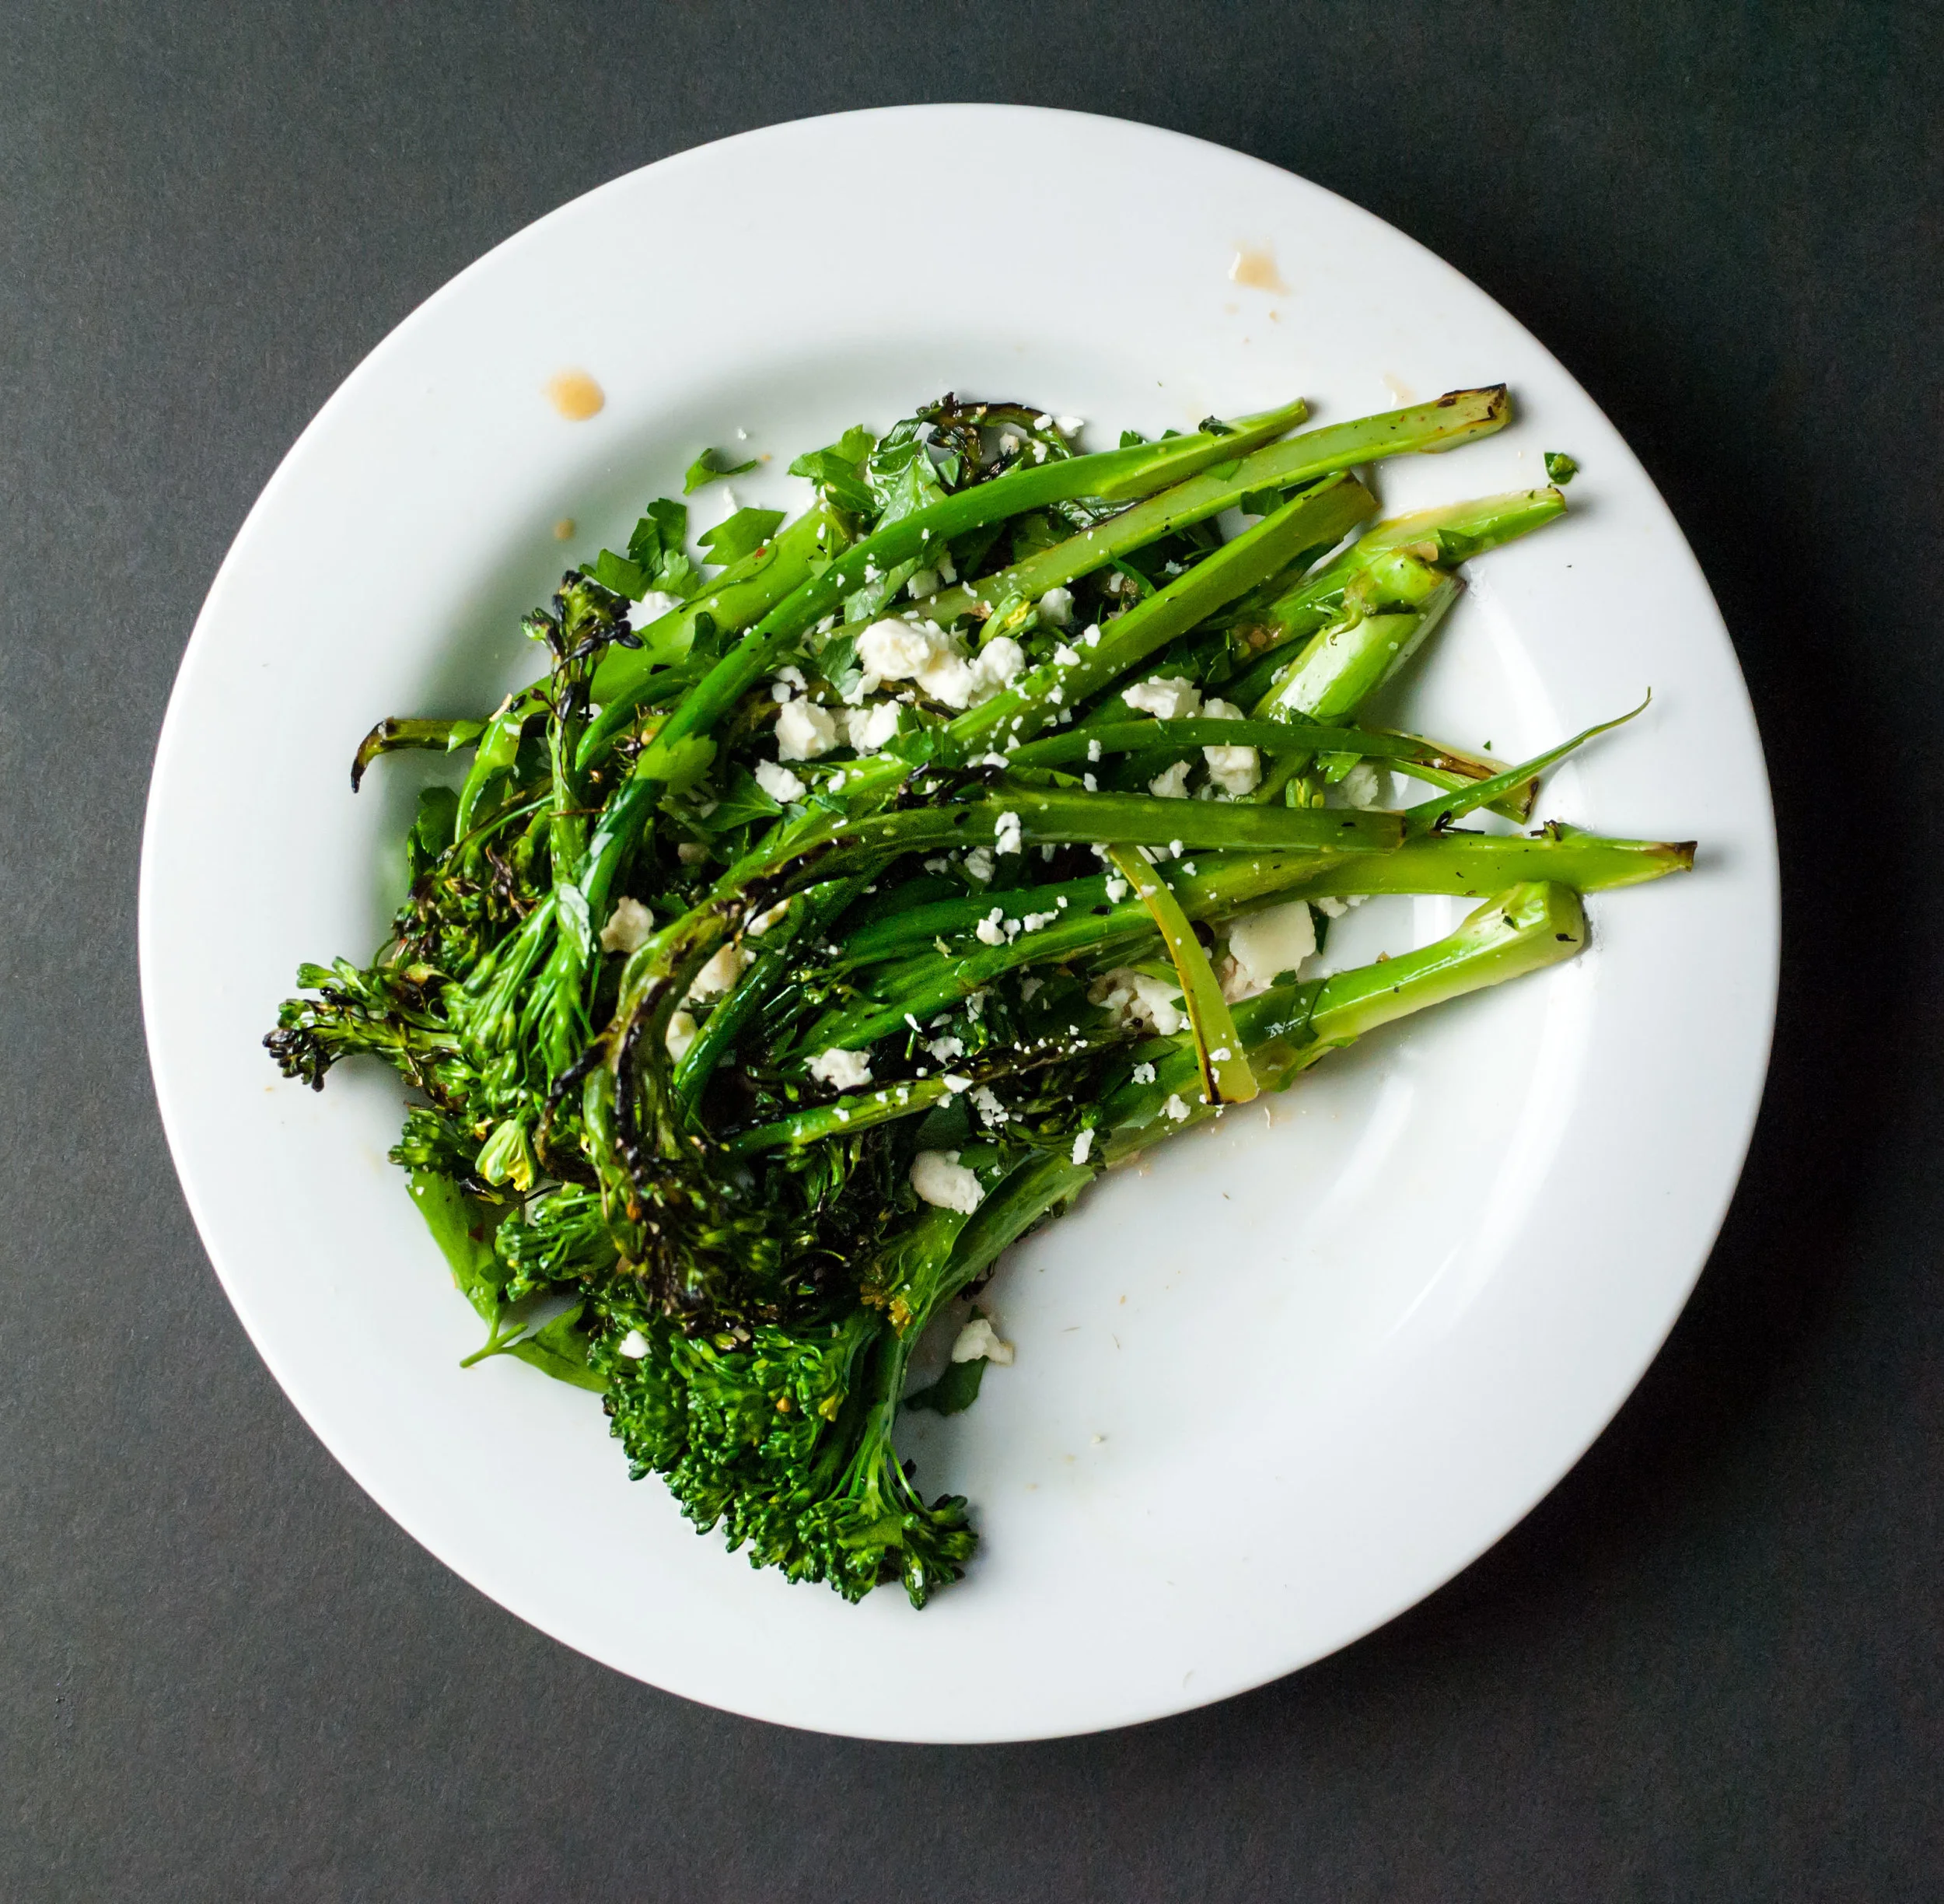
    While the broccolini is steaming, add the olive oil and lemon juice mixture as well as the parsley leaves and toss until the broccolini is thoroughly coated in the dressing and herbs, then top with the crumbled feta. Serve immediately.

    Serves 2–4.


  • Chicken Shawarma Dinner


    First and foremost, this is a multi-recipe post! Nothing here is too complicated, and when you make (and eat) all these things together, the result is immensely satisfying; it’s a favorite weeknight—yes, weeknight—spread for us. This is a dinner that really exemplifies some of our favorite flavors: bold spices, fresh herbs, and obscene amounts of garlic. While we understand that this recipe might not be exactly authentic (it isn’t), we can promise that it’s completely delicious. The styles of shawarma, after all, are completely dependent on what’s around and what’s good, and we used what was in our pantry. We can also promise that this is one of the easiest and quickest smorgasbords you can make to impress a small crowd. It makes a great sit-down meal, but also could promote casual grazing at a party. We’ve tried it both ways: 10/10, would recommend.

    The zhoug was inspired from the Jerusalem cookbook, and has since found its way into many dinners of ours. Call us predictable, but we are suckers for fresh and spicy sauces that brighten things up.

    Parsley and Mint Zhoug:

    • 1 cup of fresh parsley leaves, packed, some stems are okay
    • ½ cup fresh mint leaves, packed
    • 2 cloves of garlic, crushed
    • 2 green chiles, stems removed
      • Note: You can use whatever green chiles might be available to you for this such as jalapeños or serranos. We love using Thai chiles, and for this particular recipe we us 4–5. It all depends to how spicy you want this condiment to be.
    • 1 heaping teaspoon of ground cumin
    • Juice of 1 lemon, seeds removed
    • ¼ cup olive oil
    • Salt to taste

    Combine parsley, mint, garlic, chiles, cumin, and lemon juice in a food processor and pulse the ingredients together, occasionally scraping the sides of the bowl. Once the mixture resembles a thick paste, keep the blade running and pour in the olive oil through the top slowly, creating an emulsion. Season with salt and double check the mixture for smoothness, pulsing occasionally if needed. Serve in a small serving bowl.

    Chicken Shawarma:

    • 1 pound of chicken breasts, trimmed of silver skin
    • Kosher salt
    • Shawarma spice mix:
      • 1 tablespoon ground cumin
      • 2 teaspoons curry powder
      • 1 teaspoon ground coriander
      • 1 teaspoon sumac
      • 1 teaspoon paprika
      • ½ teaspoon ground allspice
      • ¼ teaspoon ground cinnamon
      • ¼ teaspoon ground ginger
    • Oil as needed
    • ½ large sweet onion, thinly sliced into strips


    Rinse the chicken pat dry with a paper towel. Fillet meat into pieces with even thicknesses; about an inch. Cover one side of the meat liberally in salt and spices and set aside.

    Bring a pan to medium high heat with half a tablespoon of oil or so and place the chicken in the pan. As the meat cooks, salt and cover the other side with salt and spices. Cook until the chicken starts to whiten up the sides, then flip to finish cooking. Test the chicken for doneness (160-165°F) then remove from the pan to rest for 10 minutes before serving. While the chicken rests, add the onions to the pan and a little bit of water to help the drippings from the pan release. Cook onions until they become soft, translucent, and have sopped up all the drippings. Remove from the pan and serve.

    Serve with pita, hummus, baba ghanouj, and, if you can swing it, throw together a two second Greek salad.

    Serves 4.


  • Tiger Cry Steak


    This recipe from my childhood grew up over the years as I grew as a cook and — in its final form — it has changed into something simpler and more representative of my relationship with Nate, highlighting both of our strengths in the kitchen. Nate is all about technique (and very good at cooking meat) while I tend to be more of the flavor-combiner/mad scientist sauce making type, and this recipe relies on the success of both of these schools of thought. Nate’s well executed marinated steak is the perfect platform for this fresh herb chimichurri which will sear your face off and keep you coming back for more.


    Tiger Cry Steak:

    • 2 beef or buffalo steaks (any kind will do, but we used buffalo top sirloin), 8 ounces each, trimmed of fat and silver skin

    • ¼ teaspoon freshly ground black pepper

    • 1 stalk of lemongrass, tender white interior sliced thinly, green and husks discarded

    • 2 tablespoons thin soy sauce

    • 2 tablespoons lime juice

    Mix the pepper, lemongrass, soy sauce, and lime juice together to make a quick marinade then transfer to a plastic bag big enough to hold the meat. Add the steaks to the bag, distribute the marinade evenly, then marinate the meat in the fridge for a couple of hours to overnight (overnight is best). Before cooking, allow the steaks to come up to room temperature and be patted dry.


    On the grill or stovetop, cook the steaks for 4–5 minutes on one side to create a nice sear, then flip them and cook for another 3–5 minutes. For medium-rare steak, test the temperature with a meat thermometer to make sure the interior is around 135 degrees. Allow meat to rest for 10 minutes, reserving the meat juices, then serve with chimichurri.

    Thai Style Chimichurri:

    • 2 cups of fresh cilantro leaves, packed, some stems are okay.

    • ½ cup of fresh mint leaves, packed

    • 4–5 thai chilies, stems removed

    • 1 shallot, roughly chopped

    • 2 large cloves of garlic

    • 2 tablespoons plus 1 teaspoon of fish sauce

    • ⅓ cup lime juice (about 2 limes)

    • ¼ cup vegetable oil

    • Leftover meat drippings

    In a food processor, combine the cilantro, mint, chiles, shallot, and garlic and pulse until the ingredients are all finely minced. Mix the fish sauce, lime juice, vegetable oil, and meat drippings together into a vessel with a spout and pour into the food processor with the blade running. Blend until it becomes a smooth sauce. Serve with rested meat.

    Serves 4.


  • Strawbanero Sorbet


    Sorbet gets a bad rap.

    “Why would you want to eat that when you could have ice cream?”

    “That‘s gross, no thanks. I’ll take the good stuff.”

    “Aww, I’m sorry that’s all they have for you…”

    Rude.

    I’m going to make something clear here. If you think that sorbet is gross, it’s because all the sorbet you’ve had is garbage. It’s simple as that.

    I can understand the aversion; lots of commercial sorbet can be incredibly icy, resembling more of of a sad popscicle that got crammed into a pint container, but know this: it doesn’t need to be this way. Real sorbet is light and bright, harnessing the pure and unadulterated essence of the fruit it was made with. In a way, it’s like a little time capsule, keeping the fruit at the peak of its ripeness so you can revisit it every time you open your freezer. Good sorbet outshines any alternative no-fat, low-carb, low-sugar, high-protein, “guilt-free” bullshit on the market today. We tried some just to see for ourselves what the fuss was all about (for science!) and let’s say that we won’t be returning to that arena any time soon. Or ever.

    While Nate and I love almost everything about ice cream (eating it, making it, designing it) we understand that it’s a sometimes food. So, in an effort to find a dessert lower in fat that would be a little easier on our bodies and also rid ourselves of the ungodly amount of strawberries we purchased at the farmer’s market this week (they were just so pretty) we came up with this little recipe. Using amazing strawberries make it bright and floral while the habanero lends its own sweetness to the mix along with something a little extra.

    Strawbanero Sorbet:

    • 2 pounds ripe strawberries, tops removed

    • 1 small(!) habanero

    • ¾ cup sugar

    • ¾ cup water

    • ¼ cup light corn syrup or tapioca syrup

    • 2–3 tablespoons lemon juice (to taste)

    Put the sugar and water in a sauce pan over high heat and allow the mixture to boil, dissolving all the sugar in the solution. Once it resembles a syrup, remove from the heat and let it cool to room temperature.


    Spear the habanero on a fork and flame the skin over a gas burner (or with a blow torch) until the entire body of the chile is black. Remove the habanero from the fork and place in a plastic bag for 10 minutes or so, allowing the chile to sweat and its outer skin be very tender. Rub the char off the habanero, then remove the stem and the seeds, discarding them.

    Put all of the strawberries and the processed habanero into a food processor and blend until completely smooth. Strain it, if you like. Transfer the very fine strawberry habanero pulp to a large bowl and whisk in all the simple syrup and corn syrup. Chill in an airtight container until cold, at least an hour (we recommend overnight as it will allow the subtle flavor of the habanero to develop further).

    Prepare your ice cream/sorbet churner (if you using a freezer bowl make sure that it is completely frozen—this typically takes up to 24 hours). Remove the sorbet mix from the fridge and add the lemon juice, then pour into the churning machine. Churn for 15–20 minutes, or until it becomes thick and almost smoothie-like. Transfer into an airtight container like a large tupperware; cover in plastic wrap, allowing it to stick to the entire surface of the sorbet, lid it, then chill in the freezer for at least 4 hours.

    Serve in cups, cones, or maybe even in a spritzer for a zippy float.


    strawberry_habanero_sorbet_03.jpg

  • The Bowl


    Our ideas about eating and cooking evolved pretty dramatically this year. Up until this point, things had been pretty willy-nilly/do as you please in the kitchen, and for the most part, we were totally okay with that. Our lives were filled with carbohydrates and dietary fat (beautiful, beautiful carbohydrates and fat) through the forms of heaping noodle dishes, creamy pastas, pizza, and indiscriminate amounts of grilled cheese sandwiches made on home-baked bread and cooked in quantities of butter only attainable through the accurate method of eyeballing it—”Is that a good amount?” I would say. “Yeah. That’s good. Real good,” he would say.

    You can probably guess where this story is going.

    It didn’t take long for us to realize that something was amiss, well, ahem, heavier. Luckily, Nate knew exactly what to do to help solve the problem. You’d never guess, but he’s about eighty pounds lighter than he used to be. At his heaviest, his doctor told him that he was pre-diabetic and had high cholesterol and fatty liver disease, and as you can imagine, this forced him to consider some changes. Like with all other problems he’s faced with, what did he do?

    He analyzed the hell out of it.

    He started exercising regularly and completely rebooted his diet through lots of painstaking and determined research, losing the weight in a matter of months. He knew that if he did it once, he could do it again, so we started counting our calories in an attempt to eat a more balanced diet. Since then, between the two of us, we’ve lost over 50 pounds (of body fat, not counting the muscle we’ve put on). Putting our heads together, we strove to fit some of our favorite flavors into the parameters of our food goals, and have actually created quite a few outstanding meals that have become go-tos for us. This is one of them.

    We’ve come to a conclusion: healthy food that’s bland is unacceptable. Period. If it doesn’t taste good, then you won’t keep eating that way. Cooking uninteresting healthy food isn’t a sustainable strategy for healthy living—leaving out carbs, one of the biggest dieting hacks that’s cropped up in the last ten years or so is most often counter productive as well. One of the ways that we’ve tried to make our meals more delicious is making them look less like a healthy shopping list and more like a complete meal with inspiration and flavor. Everything on the menu should work together; tailor all of your ingredients to directly correlate with each other, and the meal you’re making will be nutritious and satisfying. This is what separates diet from cuisine.

    data-animation-override>
    We’ve come to a conclusion: healthy food that’s bland is unacceptable. Period.

    This meal is inspired by a simple Southeast Asian staple: chicken and rice. We’ve transformed it into a hearty, easily made to be on-the-go meal known simply to us as “The Bowl”; packed with flavor coming from well seasoned protein and quinoa, avocado, fresh herbs, and a remarkably addictive sauce. While it isn’t the most photogenic thing in the world, don’t let this sauce’s humble appearance fool you. It’ll brighten up any savory dish it meets. While we heartily recommend using a mortar and pestle to make the sauce, it will still be delicious if you use a blender or food processor.


    Bowl Sauce:

    • ⅓ cup peeled fresh ginger, cut into thin rounds against the grain

    • ⅓ cup fresh garlic, peeled, stem nubs removed

    • 4–6 Thai chilies (or 2–3 serranos), stems removed

    • ¼ cup white shiro miso

    • ⅓ cup Thai light soy sauce

    • ¼ cup white distilled vinegar

    • Juice of half a lime

    If making in a mortar and pestle, pound the ingredients in succession according to the order listed above. The more fibrous aromatics will take more work, so starting with them first allows them to get more attention. Once the ginger, garlic, and chiles have been pounded into a thick paste, stir in the miso, soy sauce, distilled vinegar, and lime juice into the mortar and pestle and stir gently.

    If making in a food processor, add the ingredients in the same order. Pulse the ginger, garlic, chilies, and miso together until it resembles a thick paste. In a liquid measuring cup (or something with a spout) mix the soy sauce, vinegar, and lime juice together, then pour through the top of the food processor or blender while the blade is running. Blend until smooth.

    Keep refrigerated in an airtight container for about a week, if it lasts that long.

    Quinoa:

    • ½ cup quinoa

    • 1 tablespoon curry paste of your choosing (optional)

    • 1 cup chicken broth

    • Salt to taste

    Wash the quinoa in a strainer under running water and drain well. On medium heat in a deep sauce pan, toast the quinoa until it begins to give off a nutty aroma, giving it a stir from time to time. Add the curry paste if you’re using it and chop it with a spoon, making sure it’s well incorporated among the quinoa, then pour in the chicken broth. Bring the heat up to high and wait for the broth to boil. Once it has, put on a lid and bring the heat down to low.

    Cook for 15 minutes, lidded and undisturbed on low, then turn the heat off and allow it to rest for five minutes. Remove the lid, fluff, add salt to taste, and set aside to cool.

    The Bowl:

    • 1 cup cooked quinoa

    • 8 ounces chicken breast, seared and seasoned with salt and pepper

    • 2 cups greens (we like spinach)

    • Half of a large avocado

    • Bowl sauce

    • Chopped cilantro

    • Cucumber slices

    Divide the quinoa, chicken, greens, and avocado into two bowls and serve sauce on the side. Garnish with cilantro and cucumber slices.

    Serves 2.


    TheBowl5.jpg

  • Chilaquiles


    Everyone seems to have a default breakfast. You know the one. You’re mulling over what to eat in the morning, then you sigh and say “I’ll just make this. Again.” Very frequently, it’s a rag tag assembly of whatever you have on hand in your fridge on a regular basis. It’s a reflection of your cooking habits where your stock characters/ingredients all work together.
    This particular meal (if you really think about it) was probably the result of drinking way too much the night before and not wanting to go to any large lengths to create a fancy meal the following morning. I can imagine the inventor’s thought process going something like this:

    “Lets see. I’ll take some super stale tortillas that I was too drunk to put away last night (they’re still good, right?) and…fuck it, I’ll just fry ’em up with some eggs and salsa. Christ, my head hurts.”

    Pretty sure that’s how it went down.

    In a way, chilaquiles are the Mexican answer to fried rice: an excess of a starchy meal component that is used in an ingenious way to get rid of leftovers. Chilaquiles are a spicy, fresh, and satisfying breakfast situation that bring a huge variety of textures and flavors to one meal. If you haven’t made these before, you better get on it. You just might have a new favorite default breakfast.

    This recipe is designed to give you freedom to do what this dish does best: get rid of leftovers. All you really need are the things listed in the chilaquiles section, but adding a garnish or three and a couple add-ins can transform a good bowl of chilaquiles into a great one. We certainly have our preferences, and we can make this breakfast in our sleep, which is a helpful skill if you’re waiting (in vain) for your coffee to brew.

    Chilaquiles

    • 10 corn tortillas, left out overnight to become stale, cut into eighths
    • Oil for frying
    • 2 eggs, beaten
    • ½ + ¼ cup salsa, divided
      Note: Use any salsa you like: red or green. The idea is to use up whatever you have lying around. If we were to give you a recommendation, however, we would tell you to use our recipe for morita salsa. It turns out very 👌👌.

    Garnish

    • More salsa
    • Cilantro, chopped
    • Queso fresco, crumbled
    • Crema
    • Lime slices
    • Fresh avocado, sliced

    Optional add-ins

    • 4 oz. chorizo, veggie sausage, protein of choice
    • ¼ of a medium onion, chopped
    • ½ of a small zucchini, sliced
    • ½ cup roasted corn

    In a deep skillet, heat a generous amount of oil on medium high and fry the chips in several batches until they are crispy and golden. Allow them to cool slightly drain excess oil on a plate with a paper towel. Set aside. Remove almost all leftover oil from the skillet if a lot remains.


    Chilaquiles-01.jpg

    Heat the same skillet on medium heat and cook your desired add-ins at this time. When they are done, add in the eggs and cook quickly, like scrambled eggs. When the eggs are almost done, add the ½ cup of salsa and stir until all of it is evenly incorporated. Add the chips and stir well. Add the remaining ¼ cup of salsa and stir well.


    Chilaquiles-02.jpg

    Serve immediately with a few garnishes, and tuck in.


    Chilaquiles-03.jpg

    Serves 2.

  • Larb Burgers


    larb_burgers_02.jpg

    All I can really glean from this recipe is that we come up with really good ideas when we’re drunk.
    So, one hot day recently, we were making larb and drinking a questionable amount of a tasty IPA (like you do), and then one of us—of course I can’t remember who—came up with the idea that instead of sticking to the plan and making salad, that we were actually craving burgers. Sure, it might have been the alcohol talking, but tell me, when you’re sloshed, what are you more inclined to eat: salad or a burger? Yeah. That’s what I thought you’d say. Glad we are all being honest here.

    Of course it was written in the stars that we had some leftover coconut milk in the fridge that we could transform into an amazing peanut sauce, and thus, the larb burger was born. After the incident, we made it three times in two weeks. We just couldn’t get it off our minds, and we also constructed some additions to spruce it up. What we’ve ended up with, we felt we really needed to share on the blog.

    For those of you who don’t know what larb is, it is ground chicken salad blended with Thai aromatics and chili, dressed in lime and fish sauce, then traditionally served on big leaves of lettuce. What we’ve done is form the ground chicken with aromatics into patties, then seared (or grilled) them up. We serve them on huge lettuce leaves, then smother those bitches in homemade peanut sauce. The burger is then topped with a fresh slaw dressed in lime, a juicy slice of mango, and crispy fried shallots. Wrap up burger. Put in face.

    You’re welcome.


    larb_burgers_03

    larb_burgers_03

    Larb Burgers

    • 1 lb. boneless, skinless chicken thighs
    • 1 shallot, thickly sliced
    • 3 cloves garlic, peeled
    • 6–8 kaffir lime leaves
    • 1 stalk lemongrass, roughly chopped
    • 1 tbs. fish sauce
    • 2-inch piece of ginger or galangal, peeled, roughly chopped
    • ripe mango, peeled sliced
    • 2 small shallots, thinly sliced
    • green leaf lettuce

    Peanut Sauce

    • ½ 15-oz can coconut milk.
    • ½ cup creamy peanut butter
    • 2 tsp. fish sauce
    • ½ tsp. chili paste (or Sriracha)
    • 2 tsp. palm sugar simple syrup
    • ⅓ cup water

    Slaw

    • 1 cup cabbage, shredded
    • ¼ cup cilantro, chopped
    • ¼ cup mint, chopped
    • Juice of 1 lime
    • ½ tsp. fish sauce

    In a food processor, pulse shallot, garlic, kaffir lime leaves, lemongrass, fish sauce, and ginger or galangal until minced, scraping sides as needed. Add chicken and process until chicken is ground up and the aromatics are evenly distributed. Set aside to rest.

    In a small skillet, heat coconut milk, peanut butter, fish sauce, chili paste, and palm sugar simple syrup over low heat. Stir constantly until warmed through and it starts to thicken and eventually congeal. Remove from heat. Gently stir in water until a smooth paste. Set aside.

    Heat a large skillet to medium high heat and coat with oil. Form 6 patties from the chicken mixture and cook until done (160°F), about 5–7 minutes a side. Remove burgers from heat and set aside to rest. In the same pan, add a little more oil and toss in the sliced shallots. Fry until golden and crispy. Set aside on a plate to cool and crisp up.

    In a small bowl, combine cabbage, cilantro, mint, lime juice, and fish sauce. Set aside.

    Serve burgers immediately topped with peanut sauce, mango, slaw, and shallots.


    larb_burgers_01

    larb_burgers_01

    Yields 6 burgers.

  • Morita Salsa


    There are many different kinds of salsas out there, but more often than not, for one person who is educated in “salsa literacy” there is just The One. When someone finds The One, they usually end up putting it on everything. For some people this might be Tabasco. For others, Sriracha, Tapatio, Cholula. You get the picture. We have The One for us, too. But we don’t go out and buy ours. We make it at home. And this recipe tells you how to do it.
    Finding out which salsa will be yours takes time. You need to experiment. It’s kinda like dating. You gotta spread yourself around a little bit and maybe go outside of your comfort zone from time to time. Finding your salsa will require you to be in touch with yourself and really understand what you like to eat. Do you like bold flavors, or subtle complex ones? Do you prefer a fresh flavor profile, or a smoky one? Tart or sweet? Do you like your spicy food to tickle or tackle you? Your salsa should represent what you wish every food had, so that when you use it, it does!

    Our salsa is made with a special little chile called a morita. Moritas are smoked jalapeños, just like chipotles are, but they aren’t smoked for as long. They still have some of that dark, smoky, sexy-ness that chipotles have, but they have also retained some sweetness from their fresher form. We like that they are balanced. We blend a lot them with charred tomatoes, onions, garlic, and spices to make a light and smoky, slightly sweet and savory sauce. You best believe it’s in our fridge at all times.

    • 5 ripe roma tomatoes, halved, divided
    • ½ large onion, halved
    • 4 large cloves of garlic, peeled
    • 6 morita chiles, de-stemmed
    • 1 tbs. ground cumin
    • ¼ cup white vinegar
    • ⅓ cup vegetable oil
    • salt to taste

    Note: Moritas aren’t exactly easy to find. You won’t find them at any standard corporate grocery store. You need to go to a Mexican market for these babies. For this recipe, use ones on the bigger side as opposed to the little uns.

    Rehydrate the moritas by placing them in a microwave safe dish with enough water to cover. Microwave for 90 seconds then set aside.


    Morita_Salsa_02

    Coat a non-stick pan with vegetable oil and bring to medium high heat. When the oil shimmers, add four halved tomatoes flat face down, onion, and garlic to the pan. Sear until slightly charred. When the tomatoes are golden, flip them over to char the skin slightly. Stir onions and garlic occasionally. When the tomato skins wrinkle, transfer everything to a food processor. Remove the moritas from the water and add them to the food processor. Add the cumin and vinegar. Blend until completely smooth. Put the mixture back in your pan and cook on medium low heat to reduce the liquid, about 20–30 minutes, stirring frequently.

    When your mixture is paste-like, place it back in the food processor and blend in the last tomato you set aside. Keep the food processor running and drizzle the oil through the top to emulsify. Add salt to taste. If the salsa is still too thick, add some water. The desired consistency should resemble heavy whipping cream. Use immediately. Refrigerate any unused salsa for around a month, perhaps longer (trust your nose).

    Yields one pint, plus a little extra.


    Morita_Salsa_03