I have a fascination with recipes that utilize ingredients that seem to have lost their value: vegetable tops and bottoms, stalks and skins, bones and bits, crusts and scraps. I don’t like wasting food, so when I discover something that allows me to use these delicious rejects in a creative way, I get a little thrill out of it. And do you wanna know what’s laying around our home that’s sometimes challenging to use before it becomes hard as a rock and “useless?”
Bread. Lots and lots of effing bread.
My partner bakes some of the best damn bread around and posts saliva inducing photographs of it on our Instagram, but alas, we can only eat so much of it at once, and sometimes we don’t consume all of it before it goes stale. Toward the beginning of his bread kick, we actually started to give the bread away to our friends, but even that didn’t keep us out of the clear, and I was starting to hear creaky protests coming from our food processor that seemed to say, “Please, God, not one more batch of breadcrumbs. PLEASE, NO MORE.” Luckily for our food processor, and for us, I discovered a type of recipe that changed the way I cooked with bread.
Bread sauces.
There are several, actually. The Brits have one (it’s just called “bread sauce,” because of course it is). Romesco sauce is also technically a bread sauce, utilizing stale bread to bind all its parts together. There’s even a Peruvian stale bread and cheese sauce that’s intended to be served with potatoes. I cycled through a few of different variations of this style of disposing of Nate’s hearty loaves, but it didn’t take long for me to stumble upon what became far and away my favorite one of the bunch: skordalia. Skordalia is easy to make, versatile in its use, keeps for a long time, and it focuses on two of my all time favorite flavors: garlic and lemon.
Side note: using a good stale French loaf would be great for this, but in our house, we like sourdough. It really latches onto the lemon flavor, which is the backbone of the sauce. Also, you don’t even need to use stale bread for this recipe, just know that you can. I mean, you’re dousing it in oil and lemon juice and water then blending it into oblivion, so don’t get too hung up on that.
Skordalia:
-
One 1” slice of stale bread from a large, hearty loaf of bread (we like sourdough)
-
6–8 cloves of garlic (or, like, more if you’re into that)
-
A heaping ½ cup of slivered almonds
-
½ cup olive oil, divided
-
Juice of one whole juicy lemon
-
¾ cup of water
-
Salt to taste
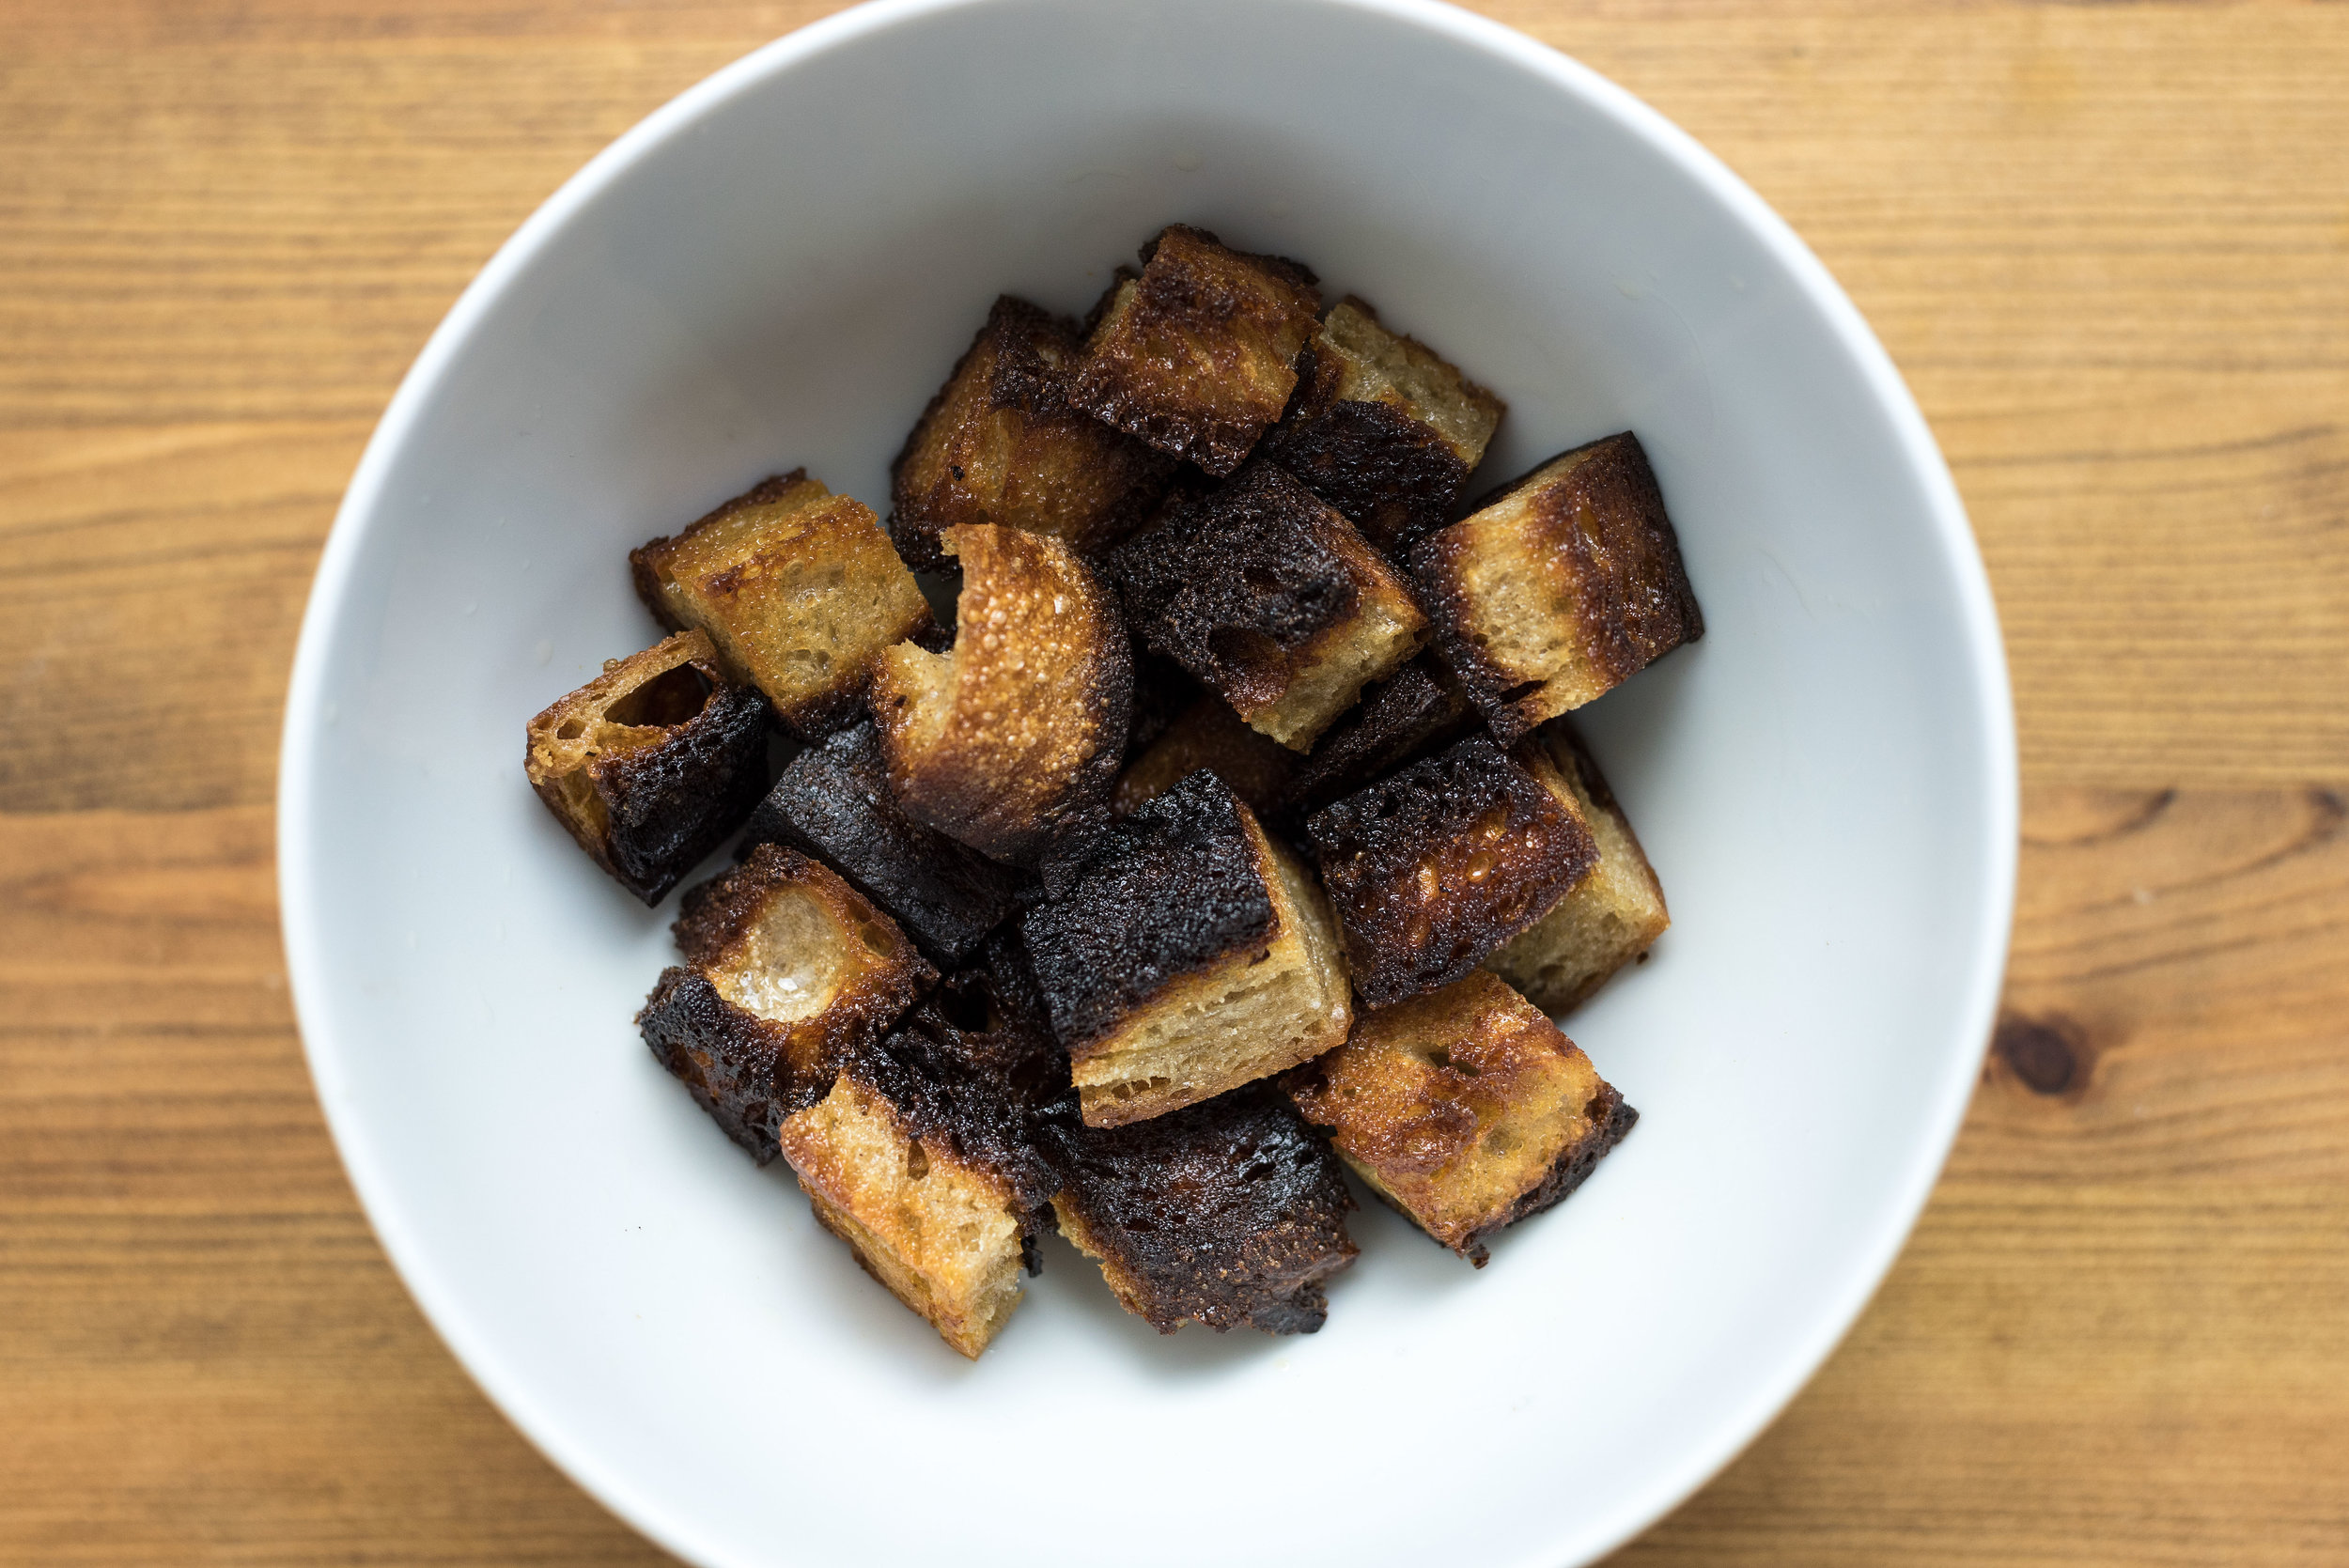
In a skillet on medium heat, warm ¼ cup of the olive oil until it begins to shimmer. While the pan is coming up to heat, cut your stale bread into 1-inch cubes. Think of it like you’re making some big-ass croutons, because, well, you kind of are. When the oil is ready, add the bread to the pan. It should begin to fry immediately, making a satisfying “deep frying” noise (you know what I’m talking about). If it doesn’t, remove the bread and wait until it gets hotter and try again.
Fry the bread cubes on all sides, moving them around the pan from time to time. You have a couple options here: fry the bread until it’s golden brown OR until it’s just a little more than that. This will determine the flavor character of your skordalia. Golden brown bread will be a nuttier, milder, and buttery skordalia whereas slightly charred bread will be a more sour, punchy, and smoky skordalia; they both have their place. If you’re using your skordalia as a dip, meant to be eaten more on its own, I’d opt for golden bread since it’ll be milder. If you’re using your skordalia to accompany a meal as a hearty bread sauce component, then I’d do charred bread since it’ll stick out a little bit more. The sourness of the charred flavor bonds with the lemon really nicely, and the smokiness responds really well to meat or roasted vegetables.
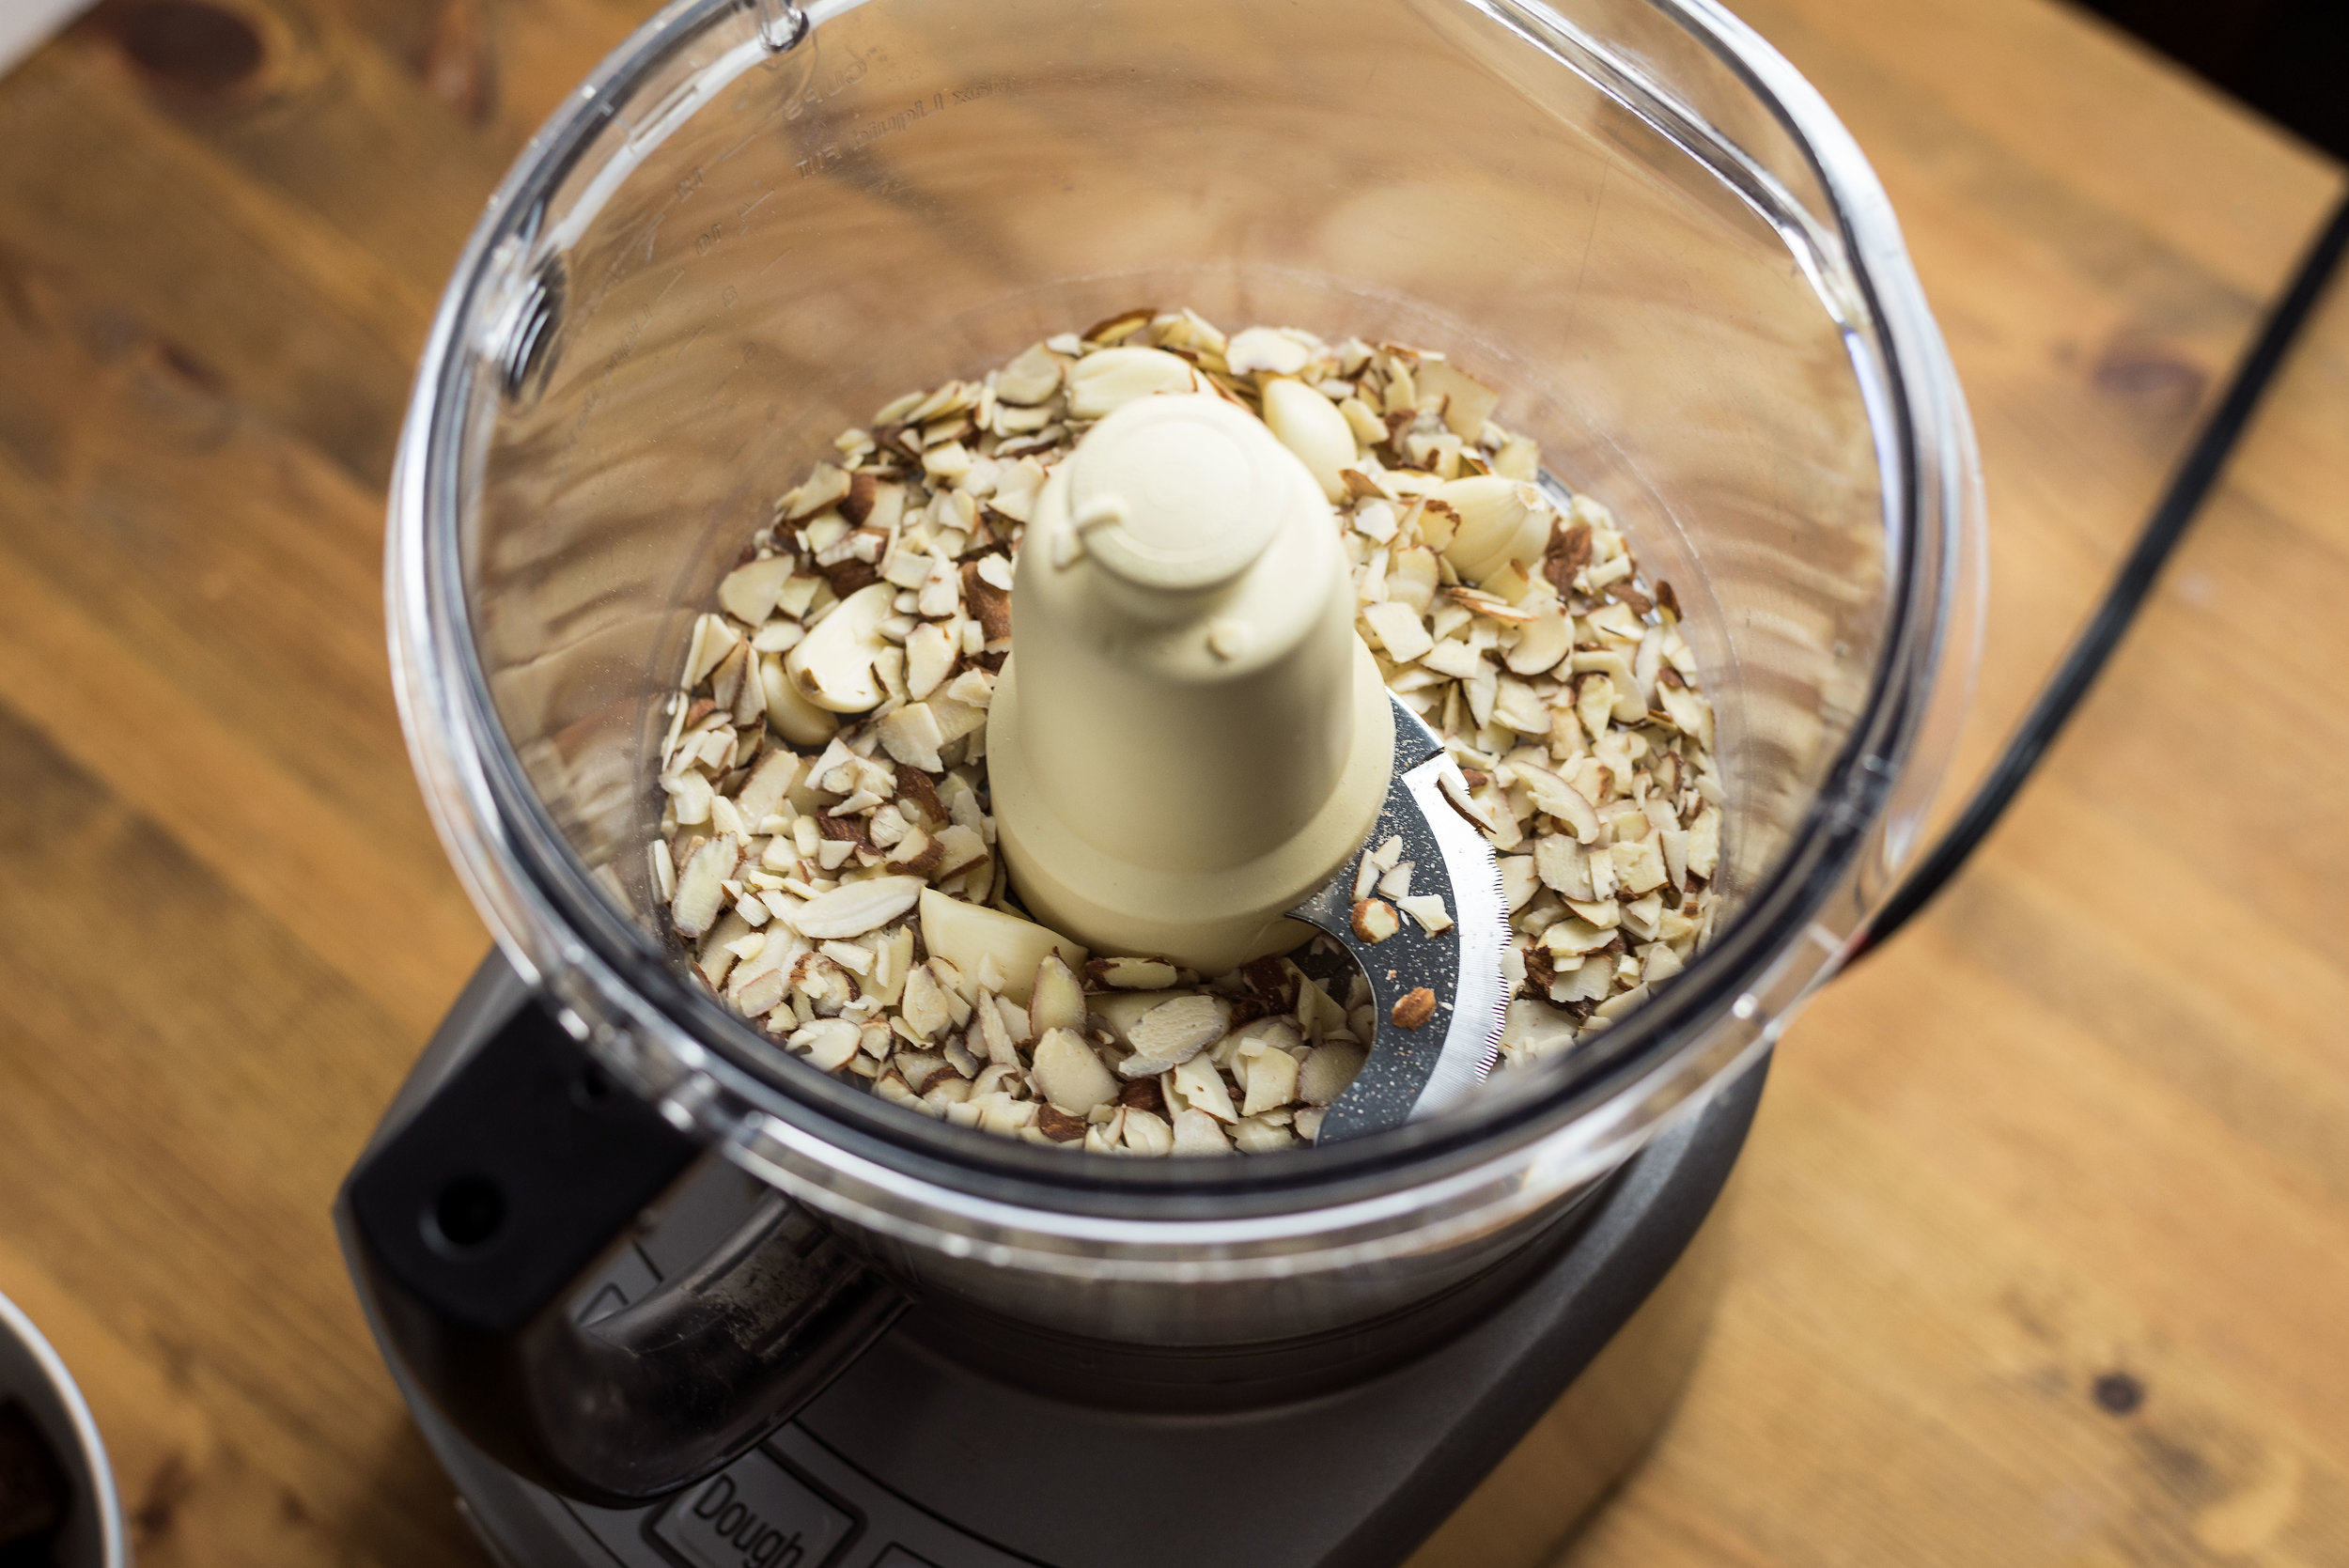
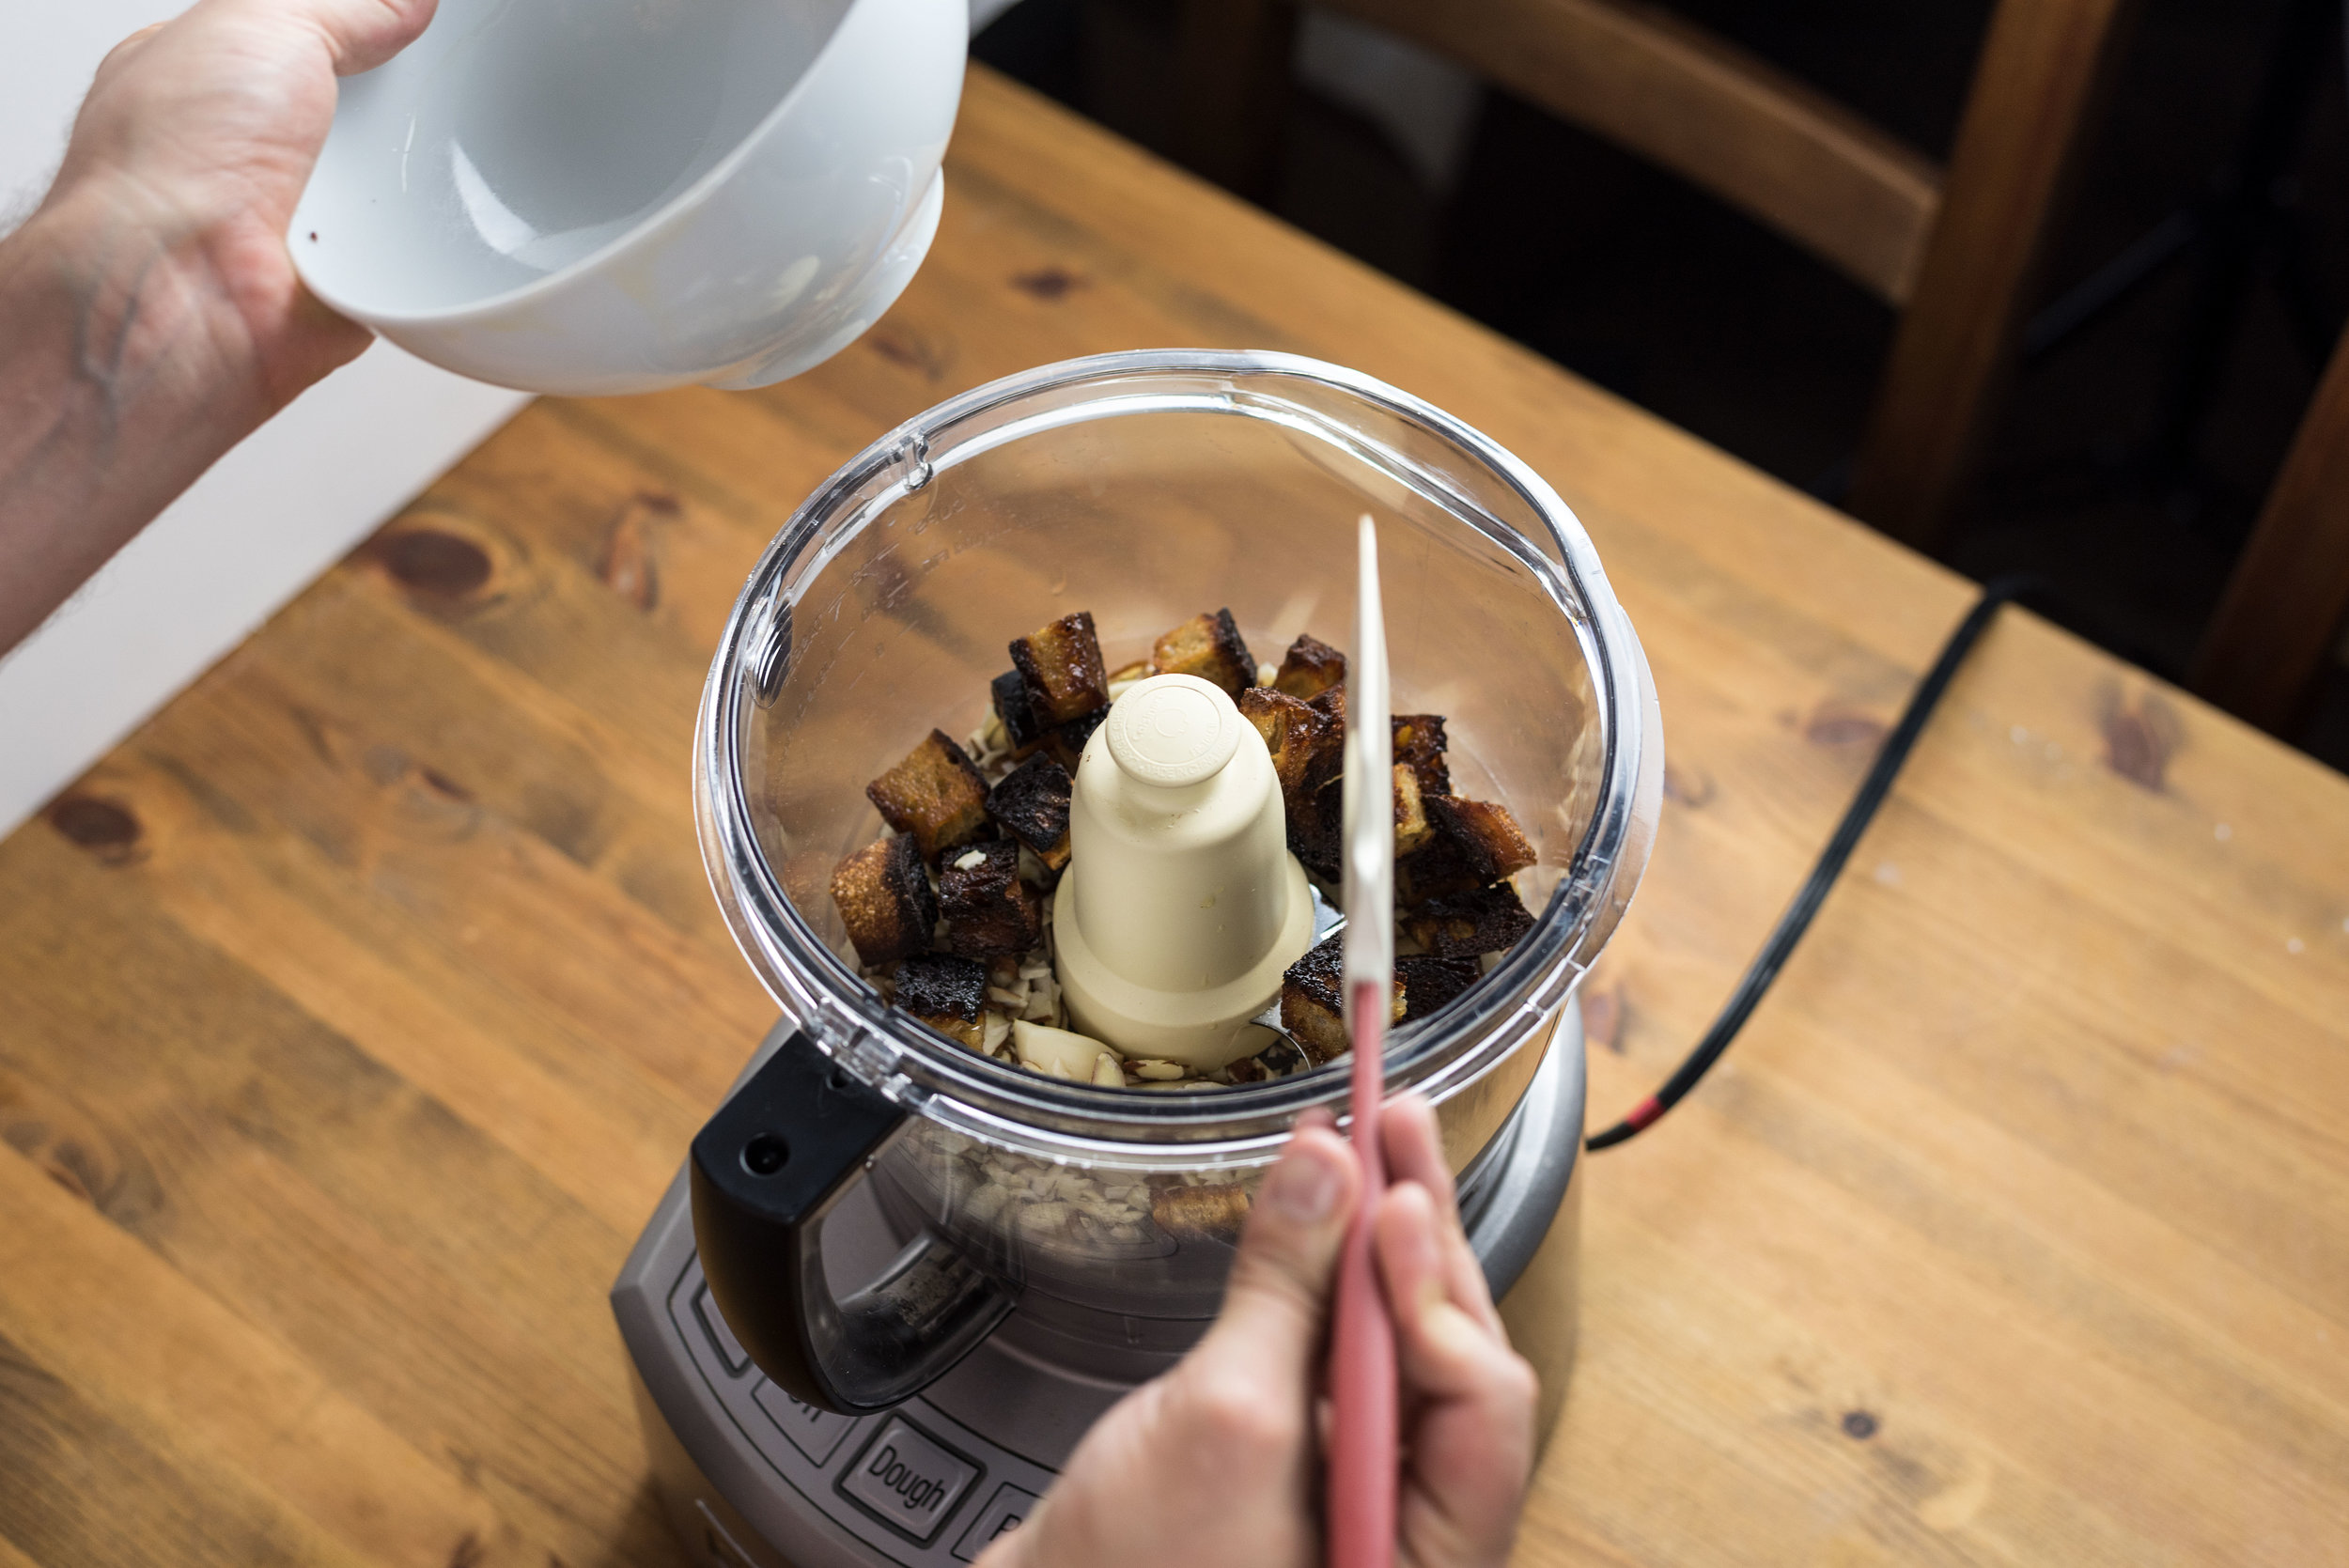
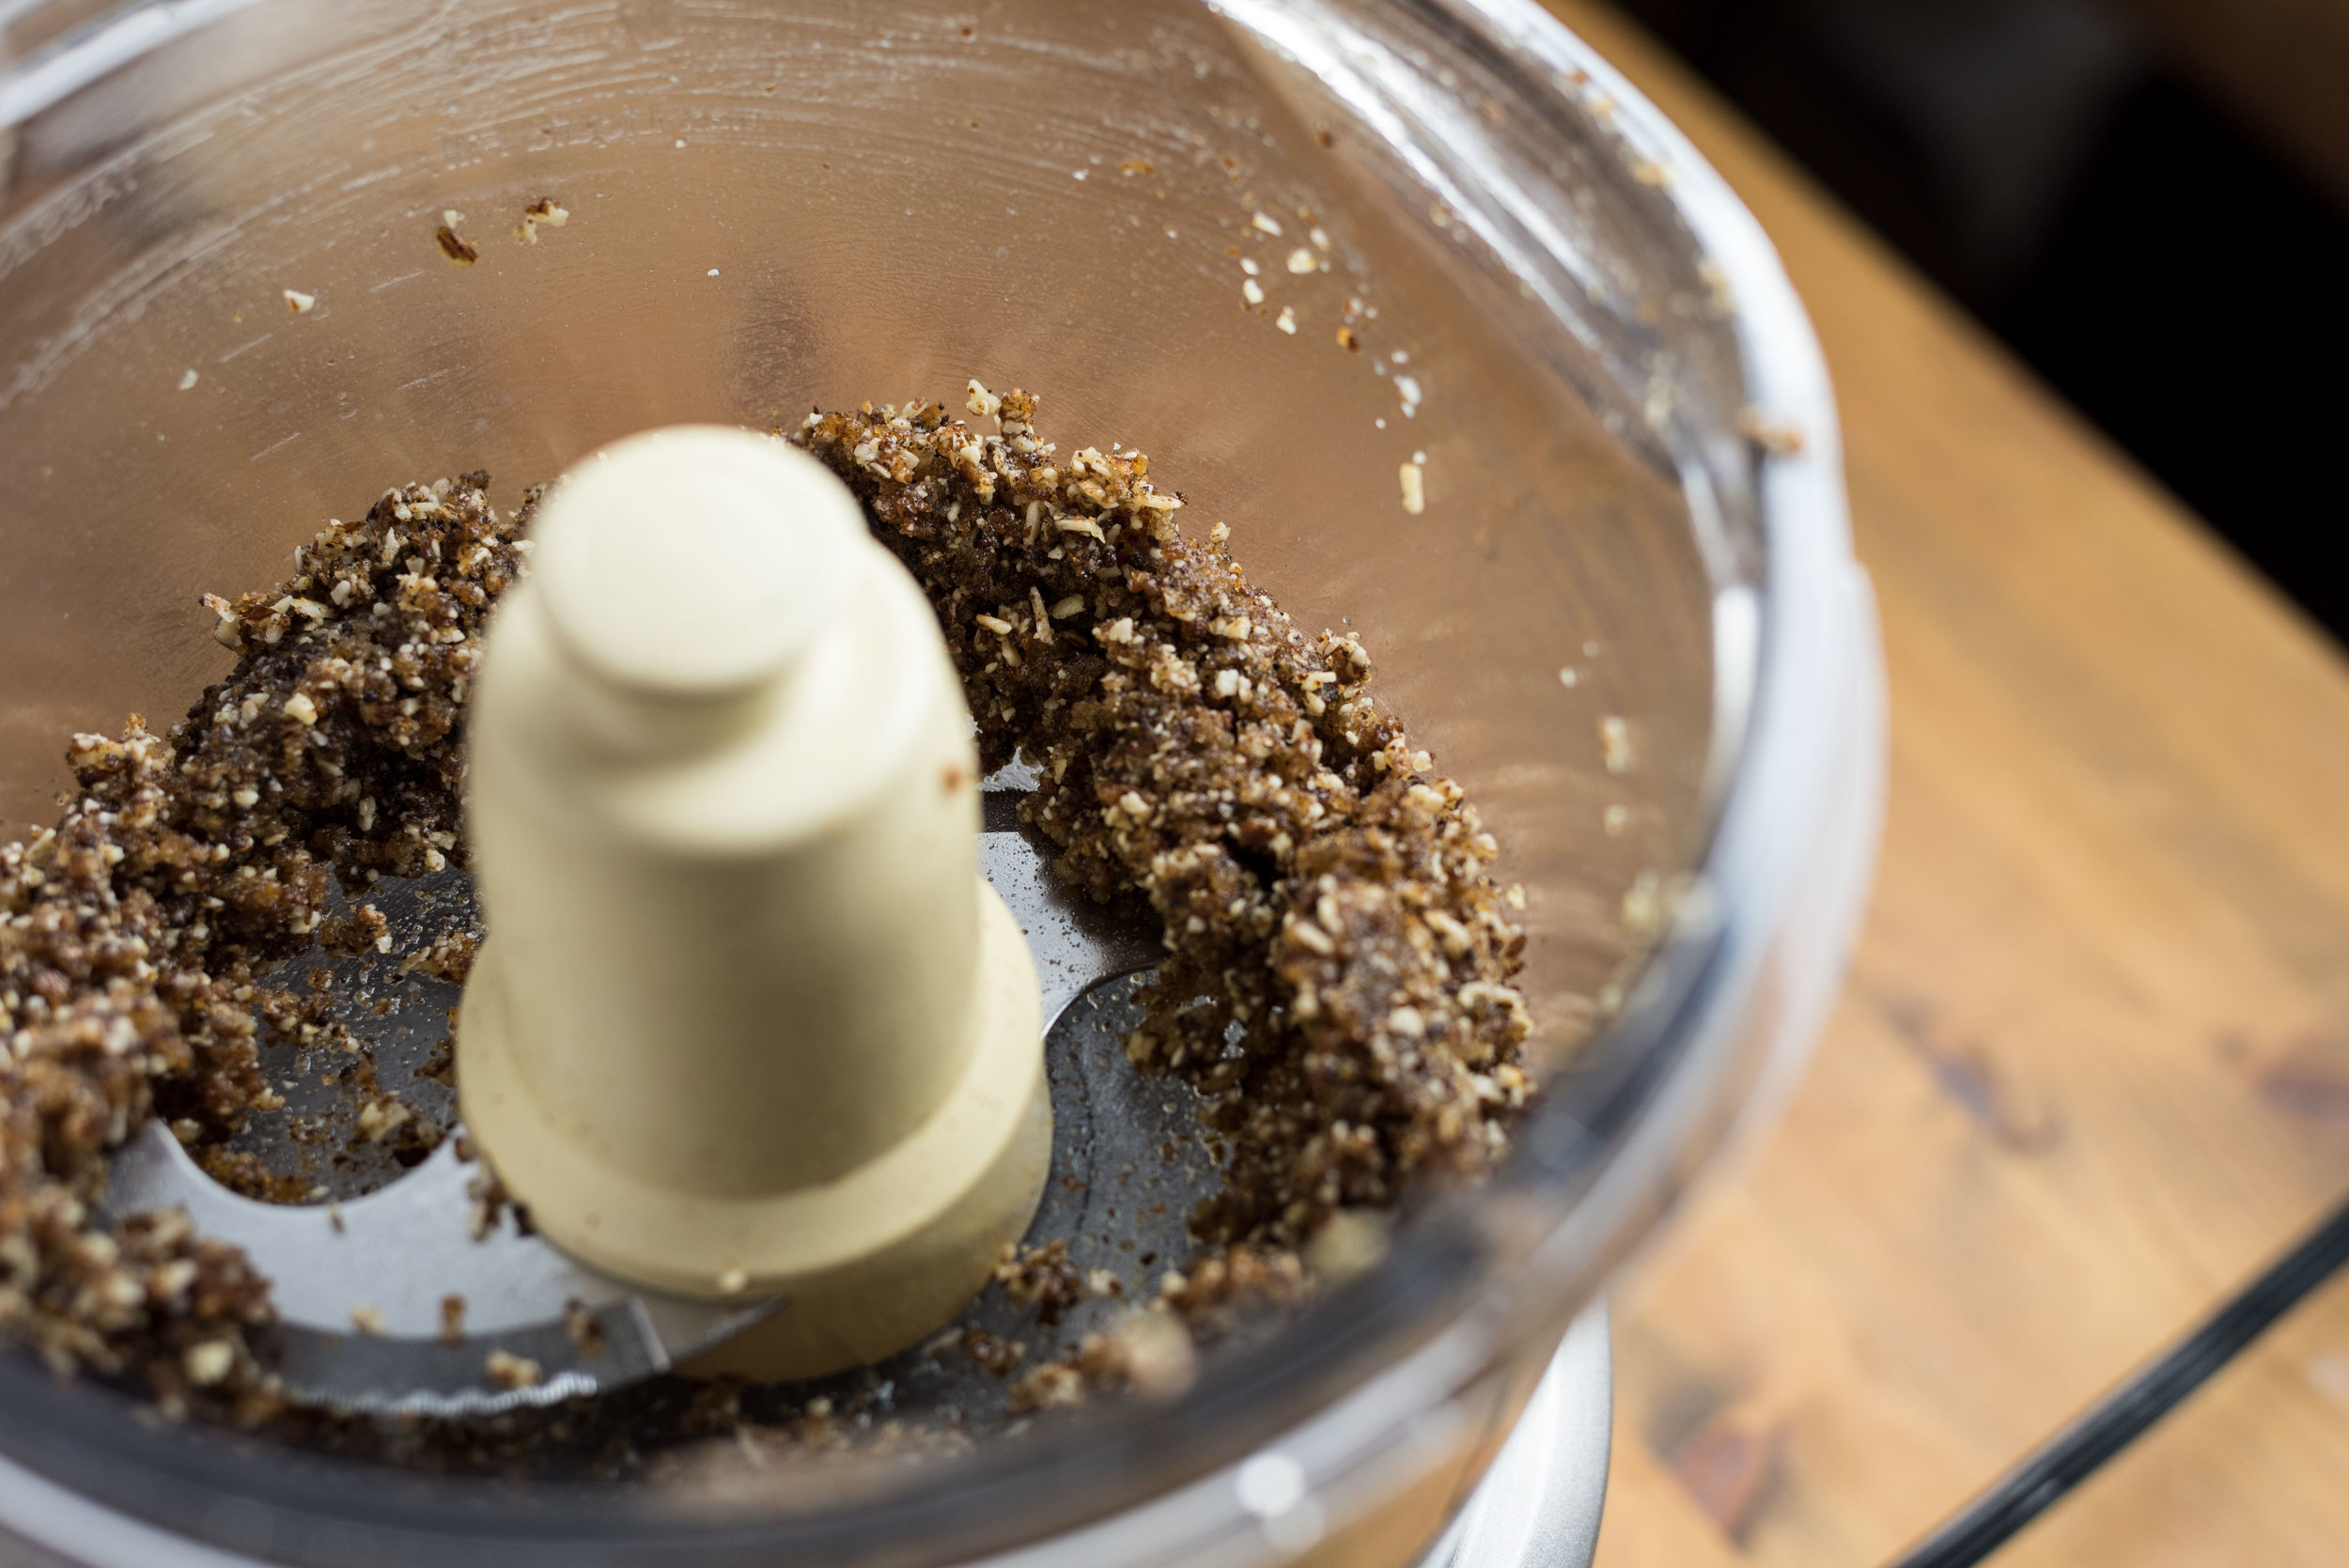
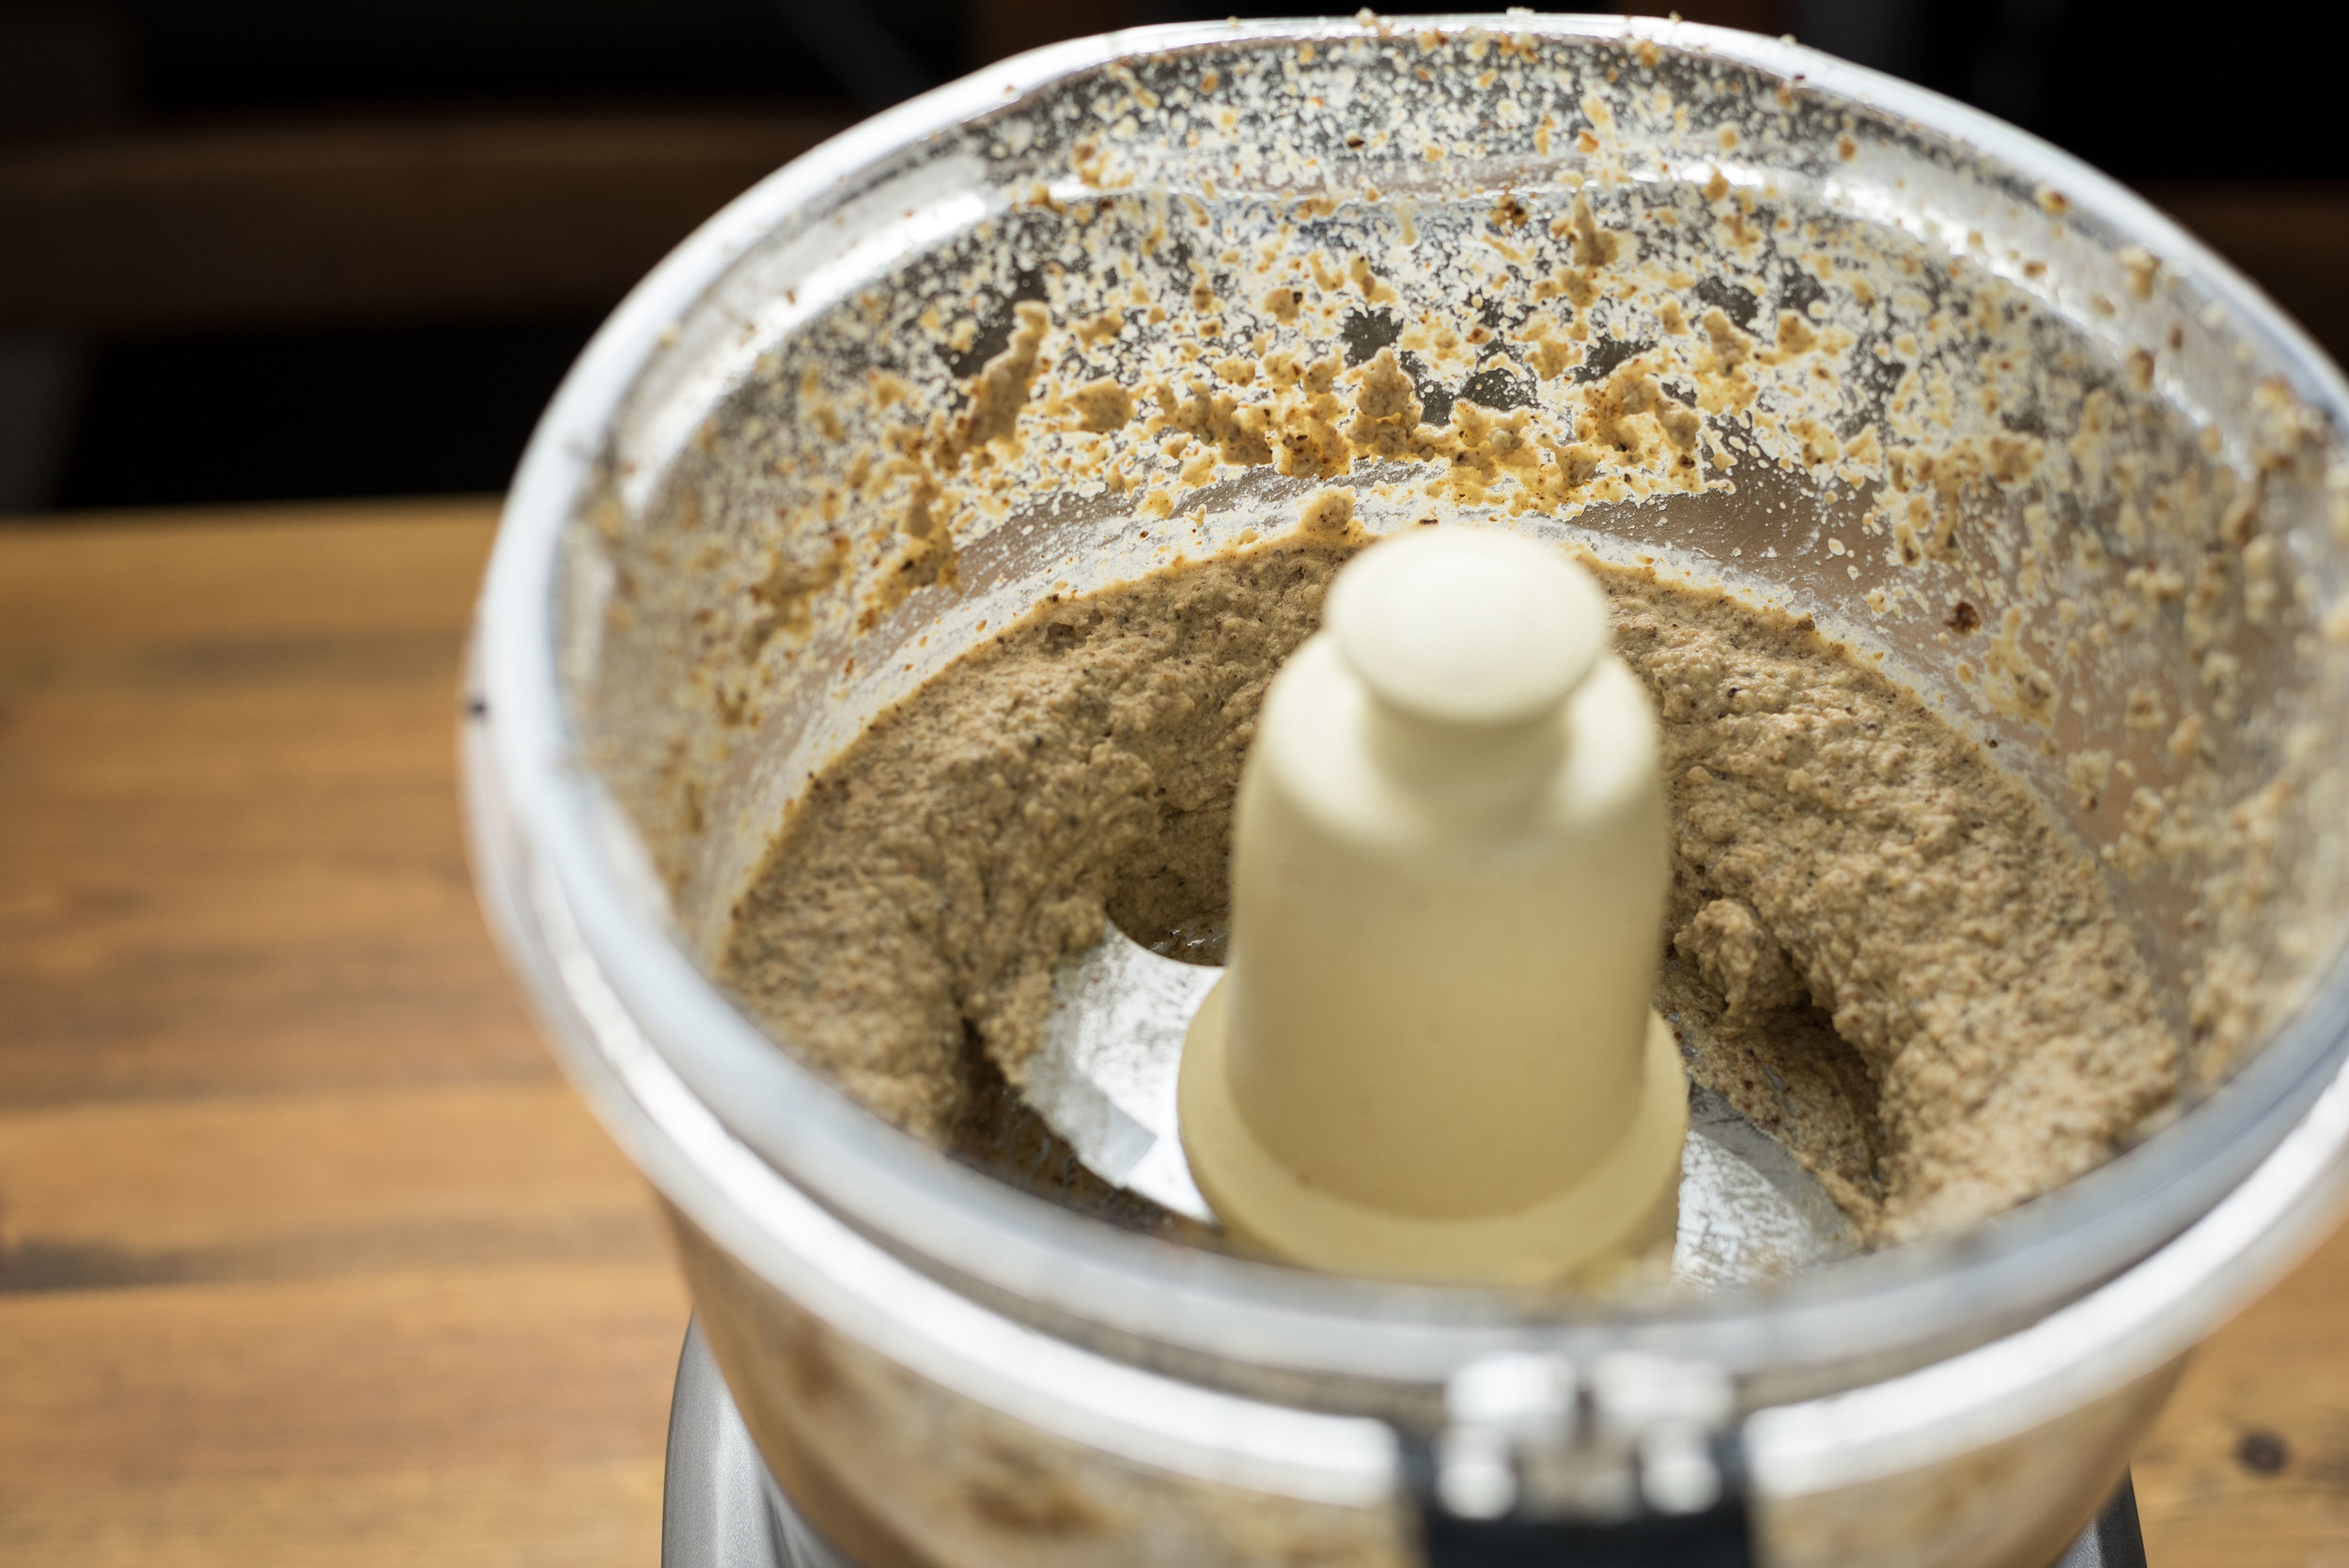
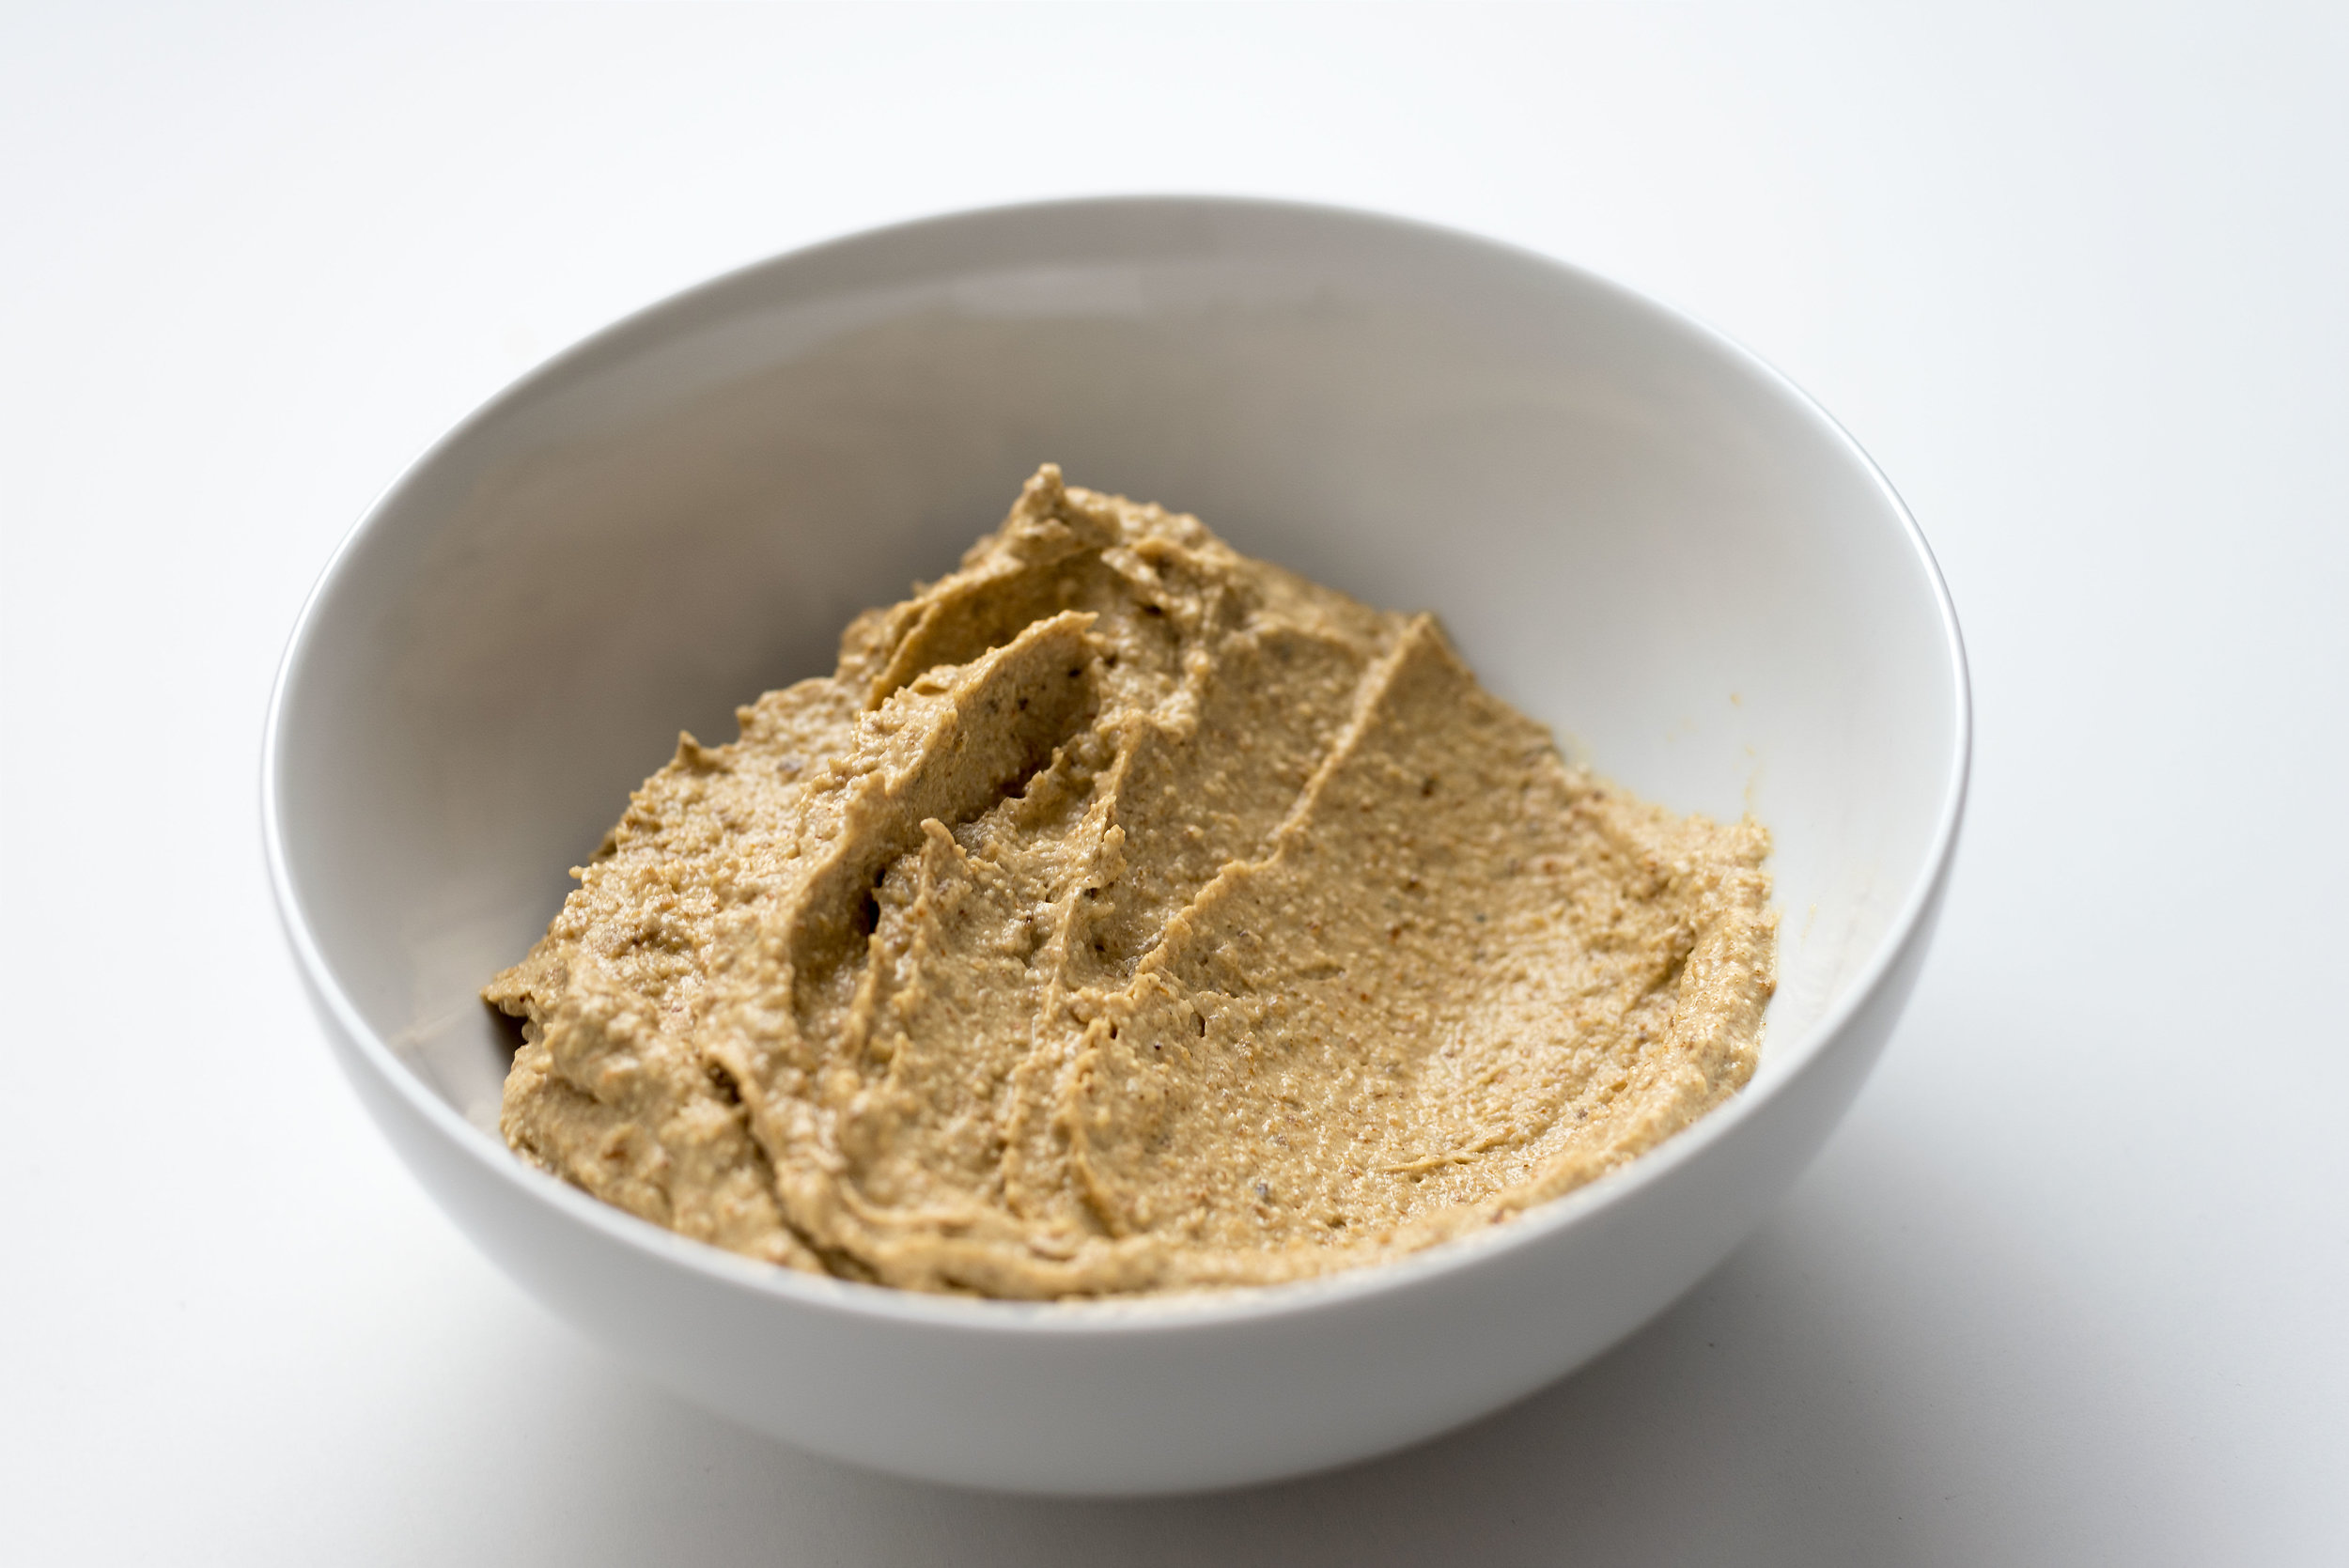
Once your bread is fried to your desired shade of sexiness, remove it from the pan and add it to a food processor or blender along with all the remaining oil in the pan, the garlic, and slivered almonds. Pulse the ingredients to break them down, scraping the sides of the bowl frequently, then give it a good long blend to get them as fine as you can. While the ingredients are whirring away, consolidate the remaining ¼ cup of olive oil, water, and lemon juice into a vessel with a lip so you can slowly pour it out in a steady stream without making a mess. Through the opening at the top of the food processor or blender, slowly add all of the liquid, allowing your skordalia to loosen up and emulsify. You’ll probably need to let it blend on its own for a minute or two afterwards to break down the last few chunks. When finished, your skordalia should be smooth and resemble hummus. Salt your skordalia to taste and pulse to incorporate. Serve immediately or store in your fridge for up to two weeks.
Side note: if you’re taking your skordalia out of the fridge to use for later, we’d recommend having it come up to room temperature on its own as opposed to microwaving it, since the application of heat really alters the fresh lemon juice flavor. That being said, don’t let that stop you from adding a dollop of this goodness to a lunch on-the-go that you’ll heat up at work or wherever you go later. It’ll still be delicious, just know that it’ll be a little different. The garlic flavor will come out more and the lemon will play less of a role.
Yield: about 2 cups
