Category: Main Courses

  • Gnocchi with Gorgonzola Cream Sauce


    There’s not a lot to say about this recipe other than that whenever we have gnocchi in the freezer, this is usually the sauce we pair it with. From start to finish, this sauce is ready in about 10 minutes. We’ve made it countless times for ourselves, and several times for company. One time, we even had someone inform us that they could drink the sauce straight; so if you want a little insight into how good this recipe is, think about that. But, please, just think about it.

    If you’re cooking this for more than just yourself, resist the temptation to make more than one batch of this recipe at a time. Once you’ve got your water boiling and your pan hot enough, you’ll be able to knock out all the servings super quick, I promise. Plus, who wants to count gnocchi individually for a large group of people and extract them from a pan filled with sauce? That’s just annoying. And portioning a sauce this good by eyeballing? Forget it. That just leads to animosity and possible passive aggressive behavior if someone gets less sauce than someone else. It’s a great way to lose friends.

    Don’t do it.

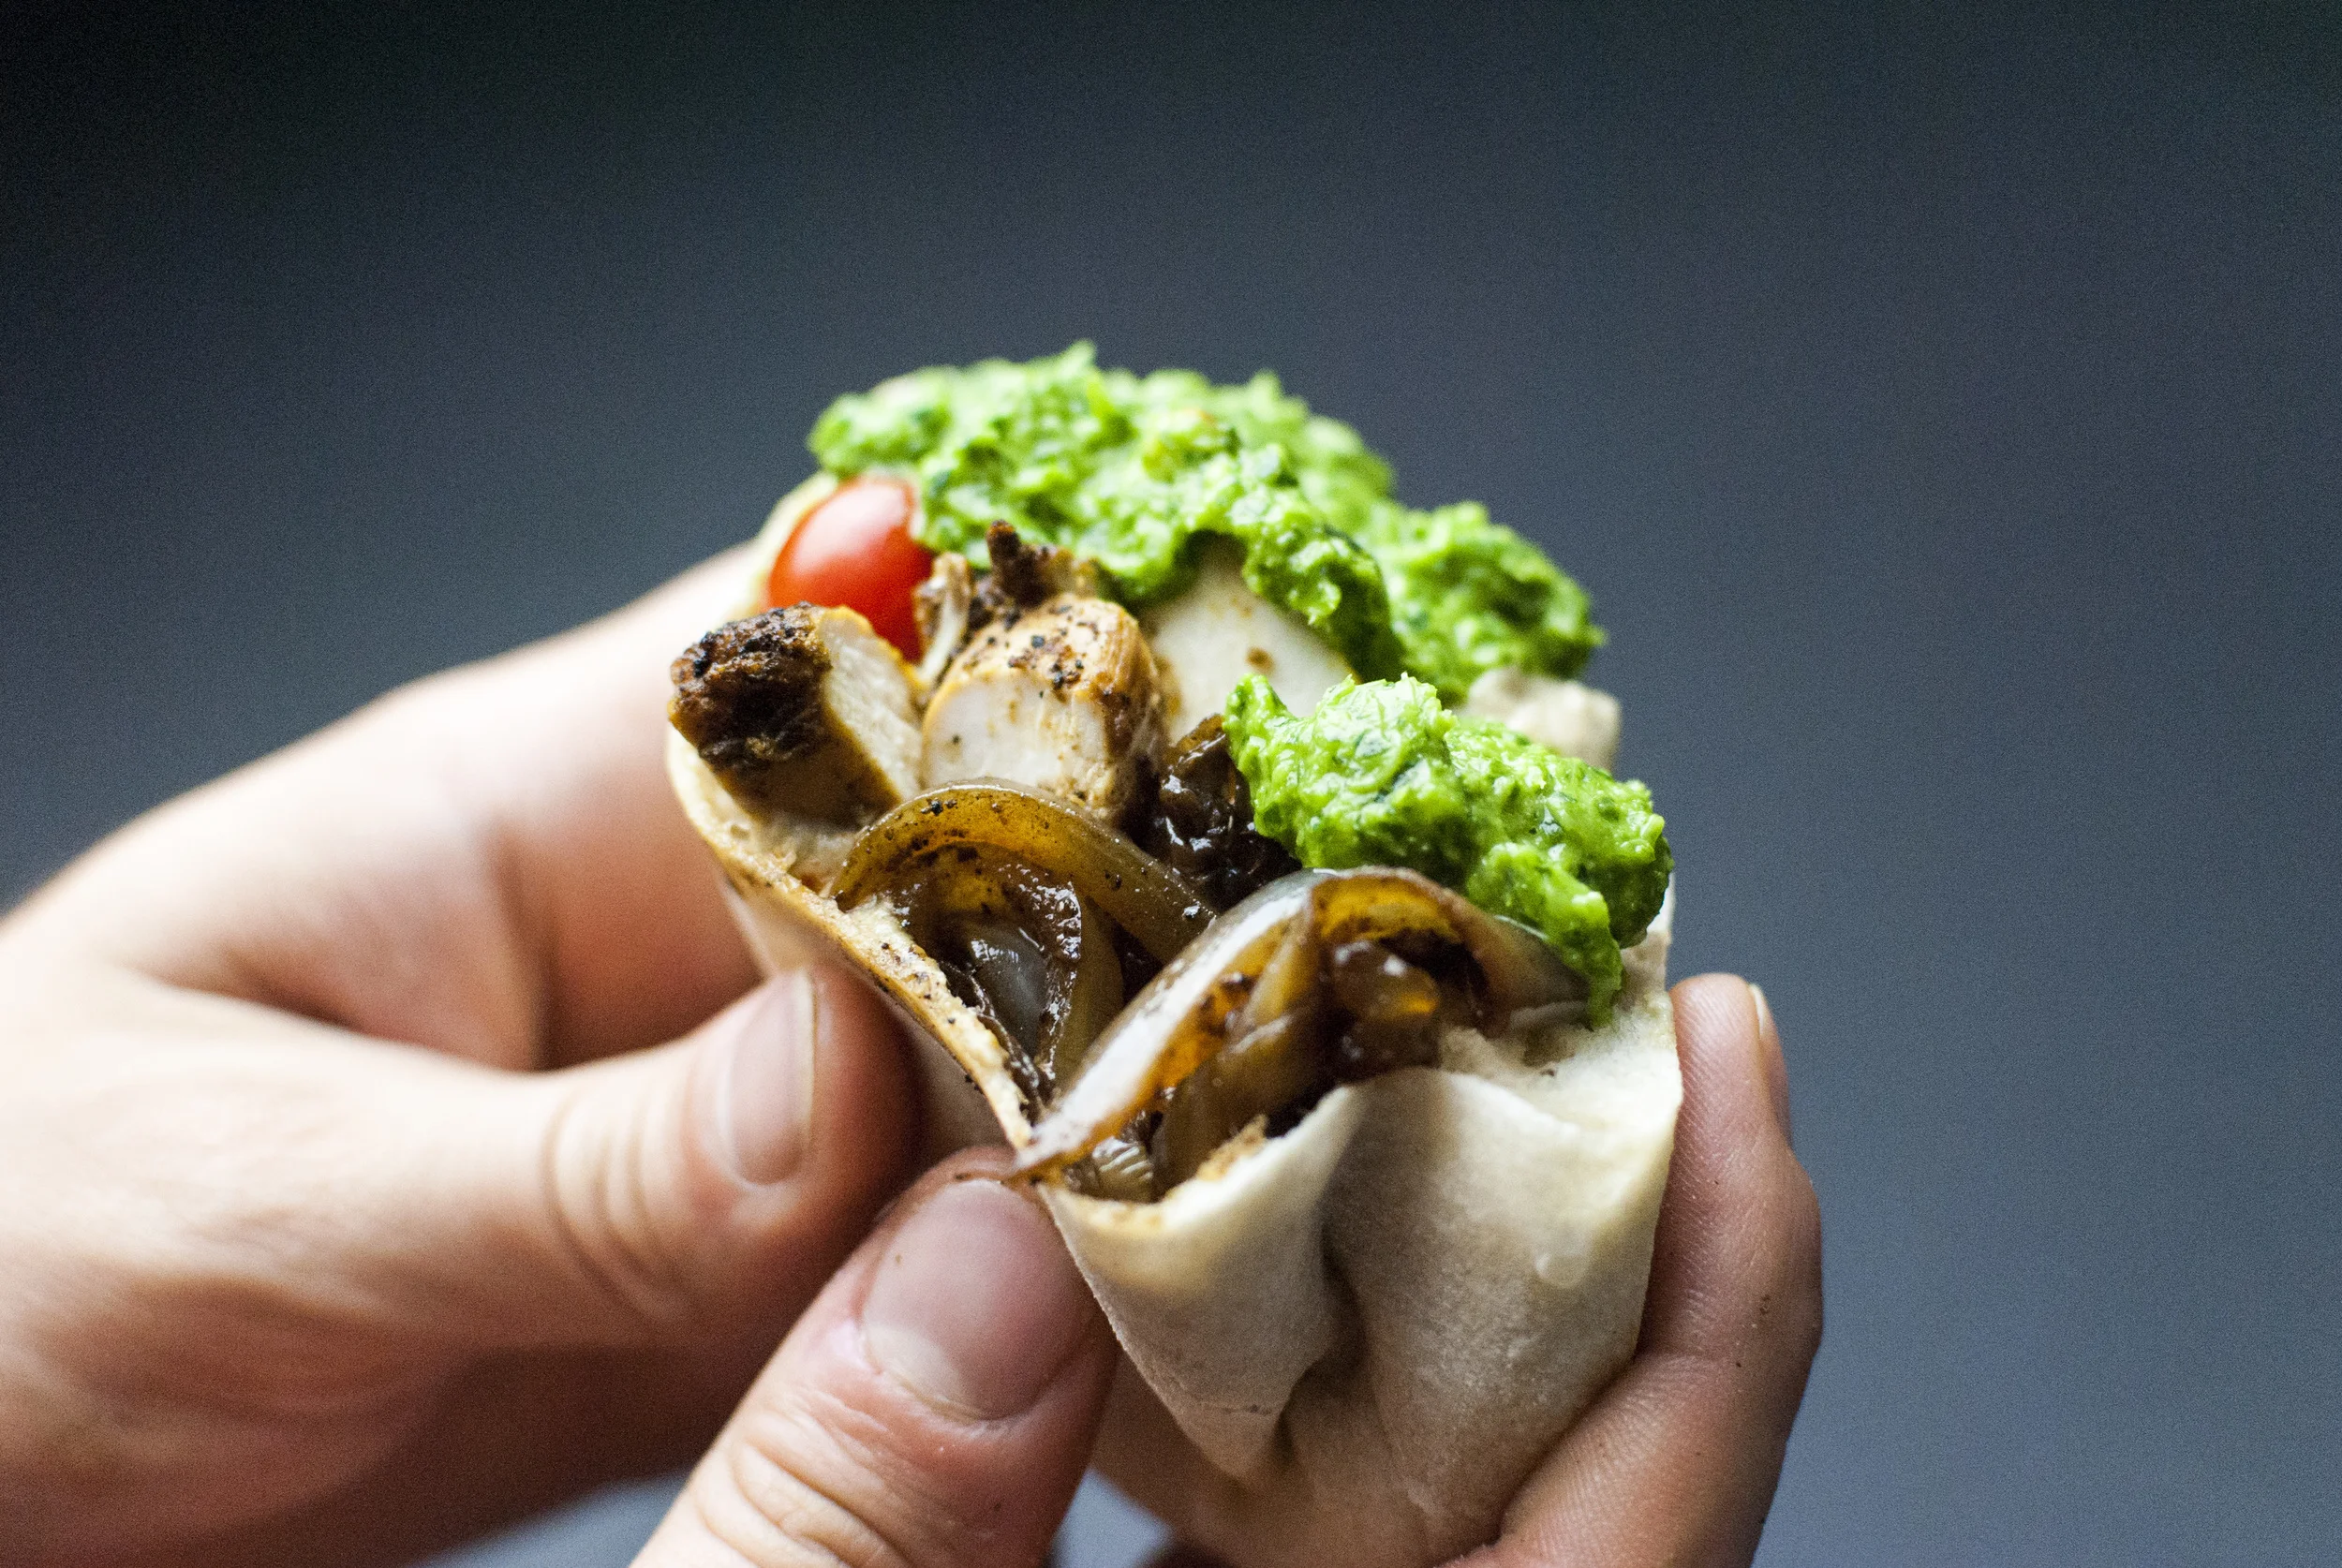
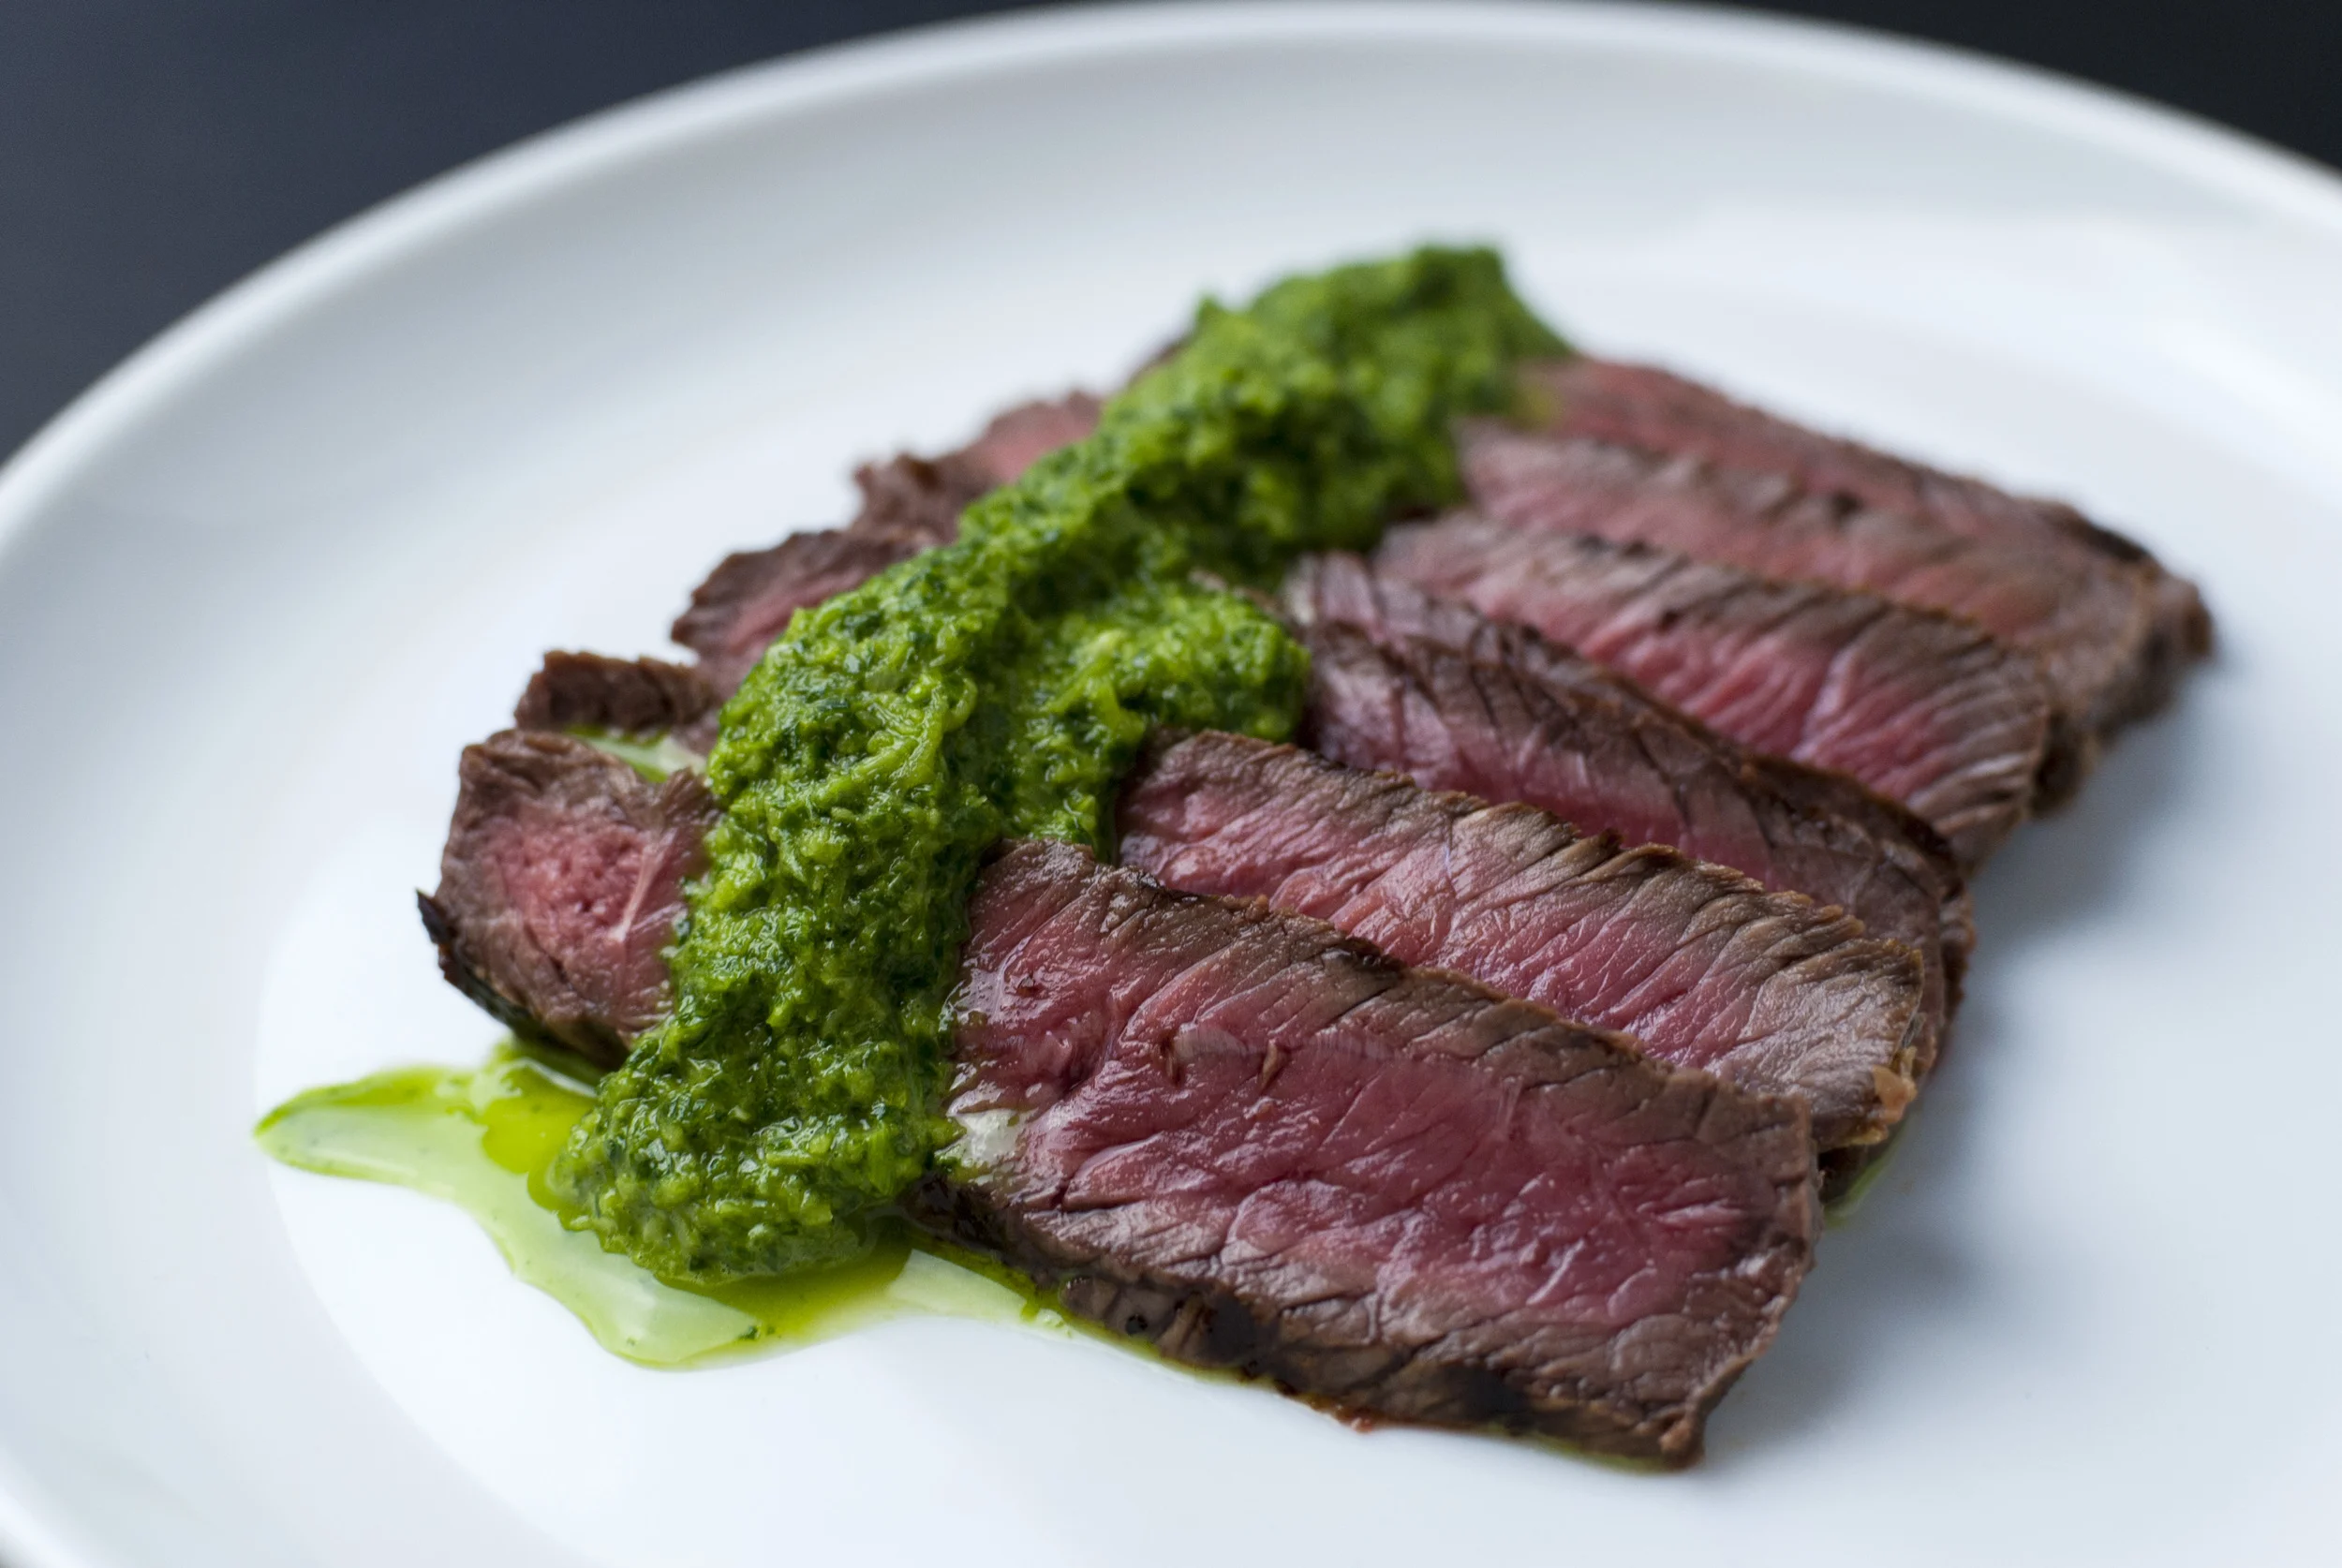
    Side note: if you’re serving your gnocchi with some kind of protein (like seared chicken breast, for instance) we highly recommend that you begin the cooking process by deglazing with the leftover drippings in the pan. The sauce is already pretty deep in flavor, but this little step just pushes it over the edge. You’re also welcome to add a little bit of chicken broth, or even the leftover water from boiling the gnocchi, to the sauce to lengthen it out if it starts to get too thick. If you’re purposefully making this vegetarian and you wanna use a stock, I’d swap out chicken stock for a hearty mushroom stock if you have it; go full-on umami bomb, you know you want to.

    Gnocchi with Gorgonzola Cream Sauce:

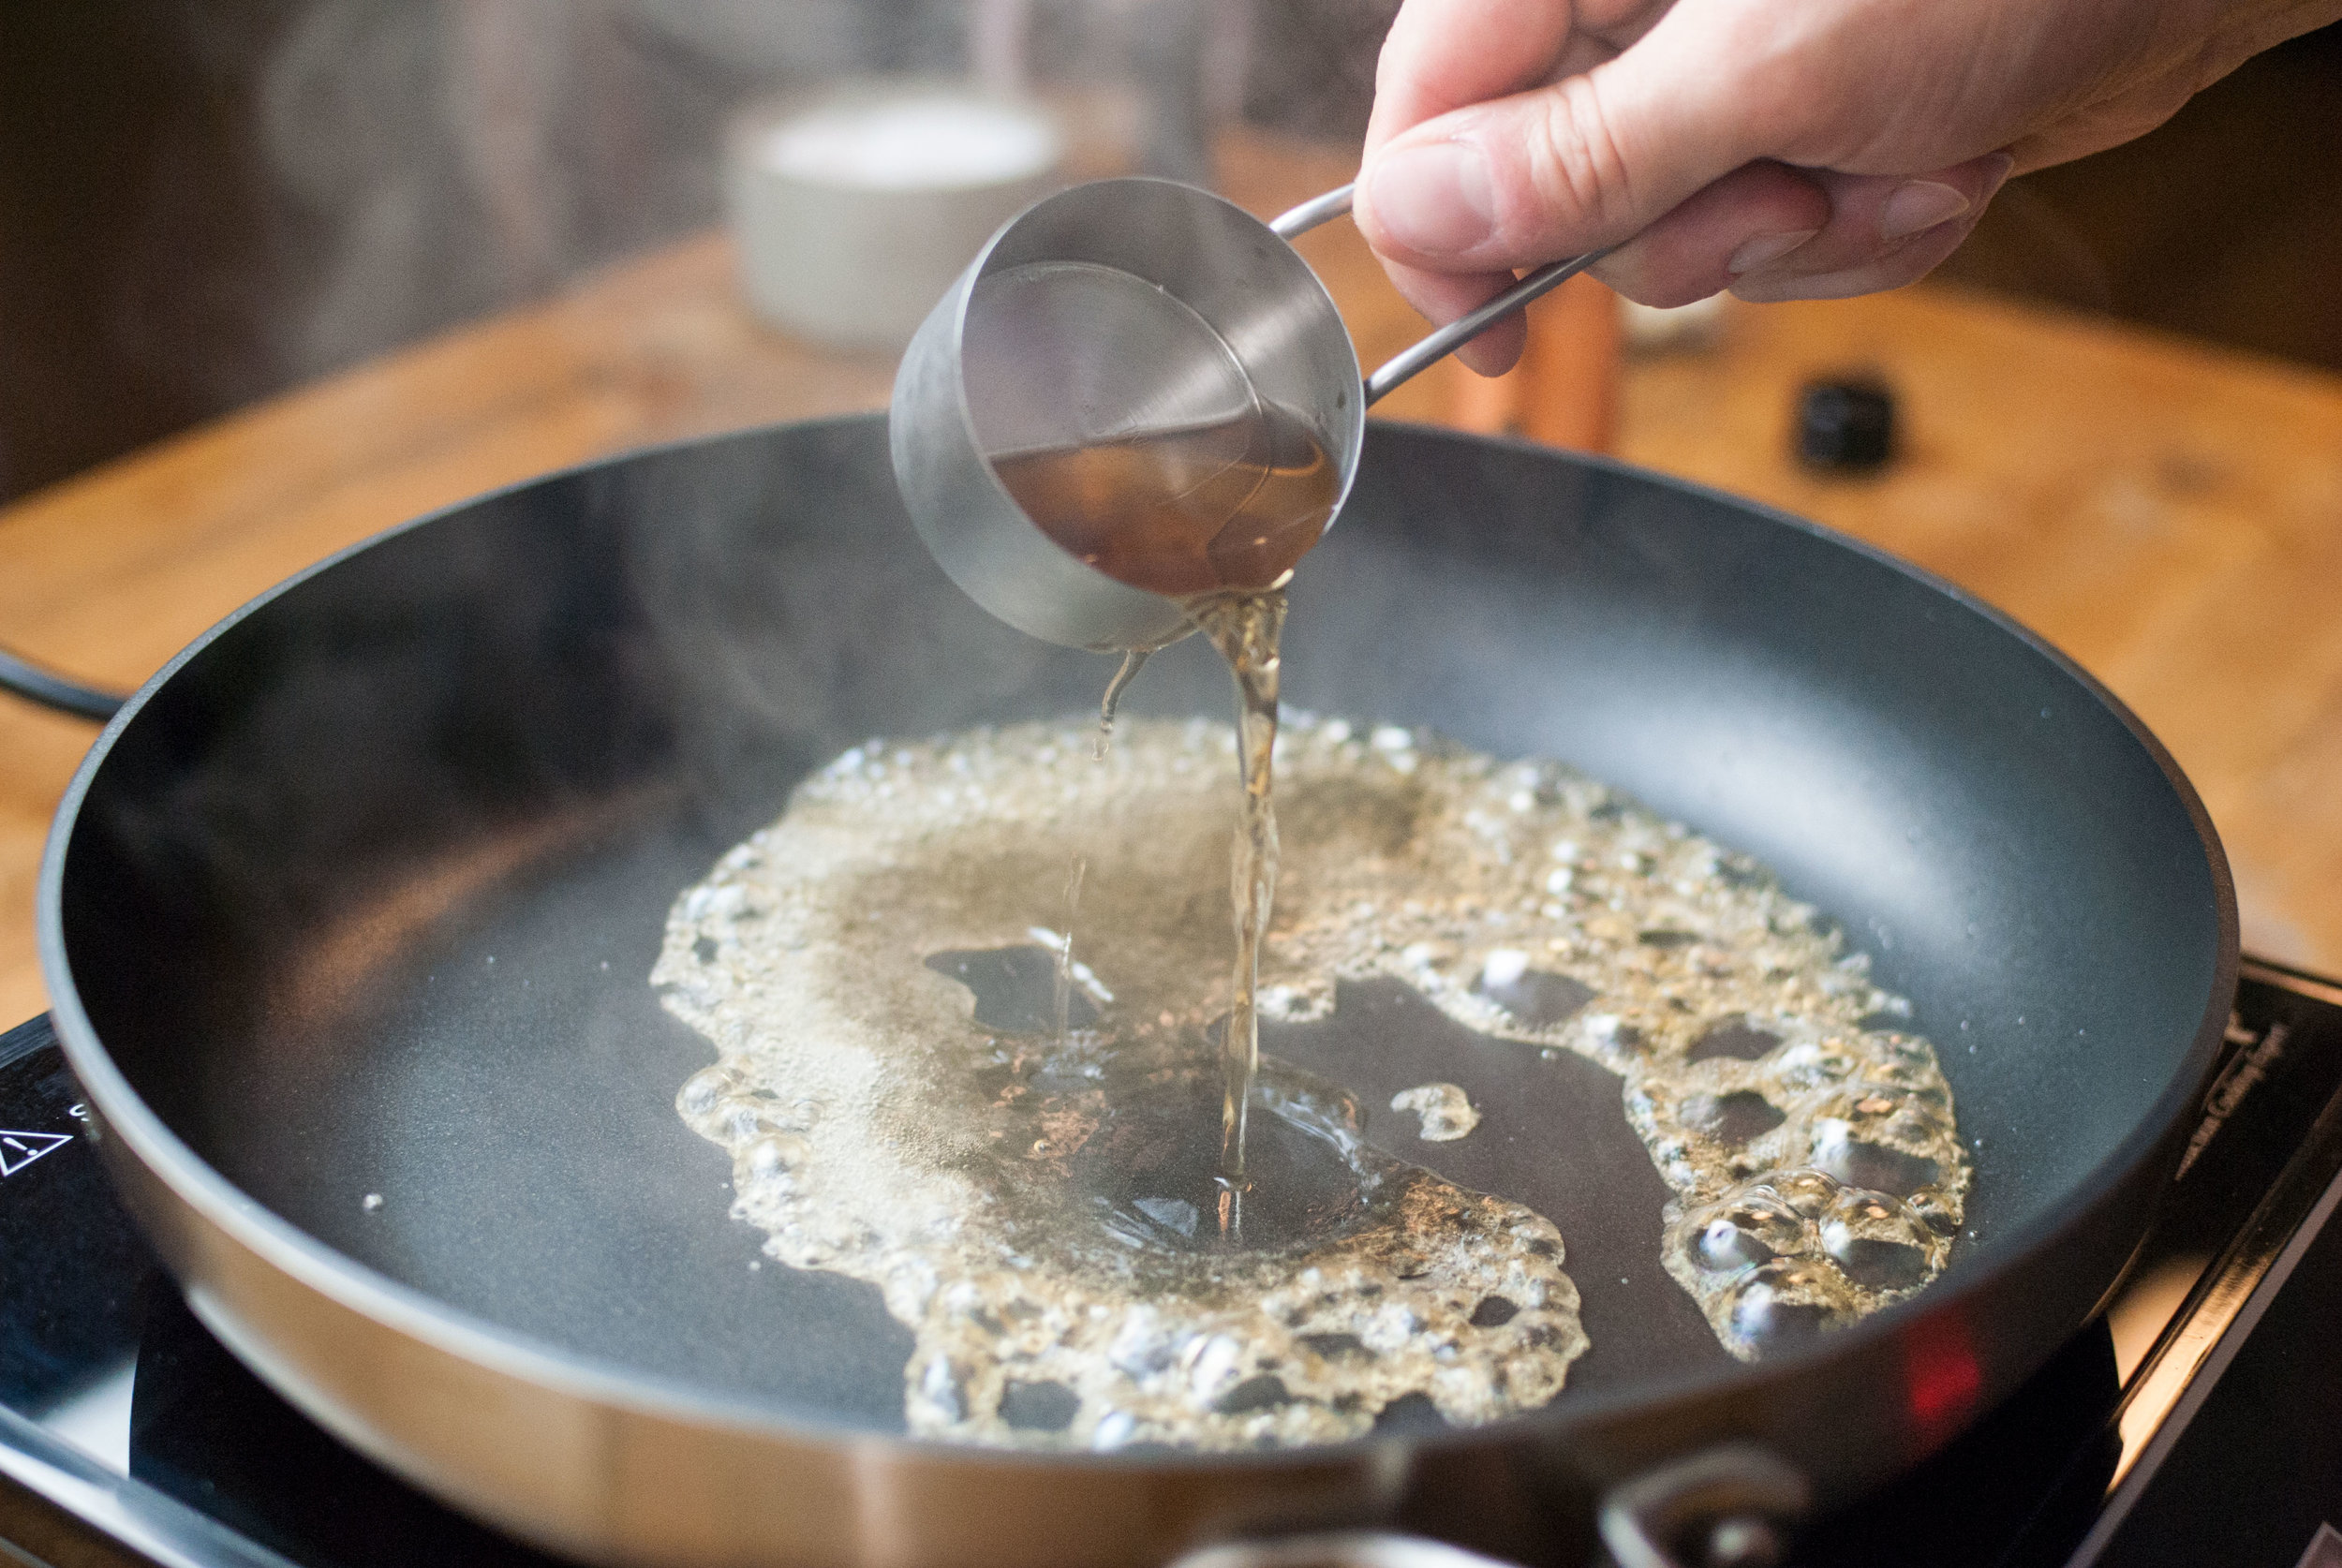
    • ¼ cup dry cooking sherry

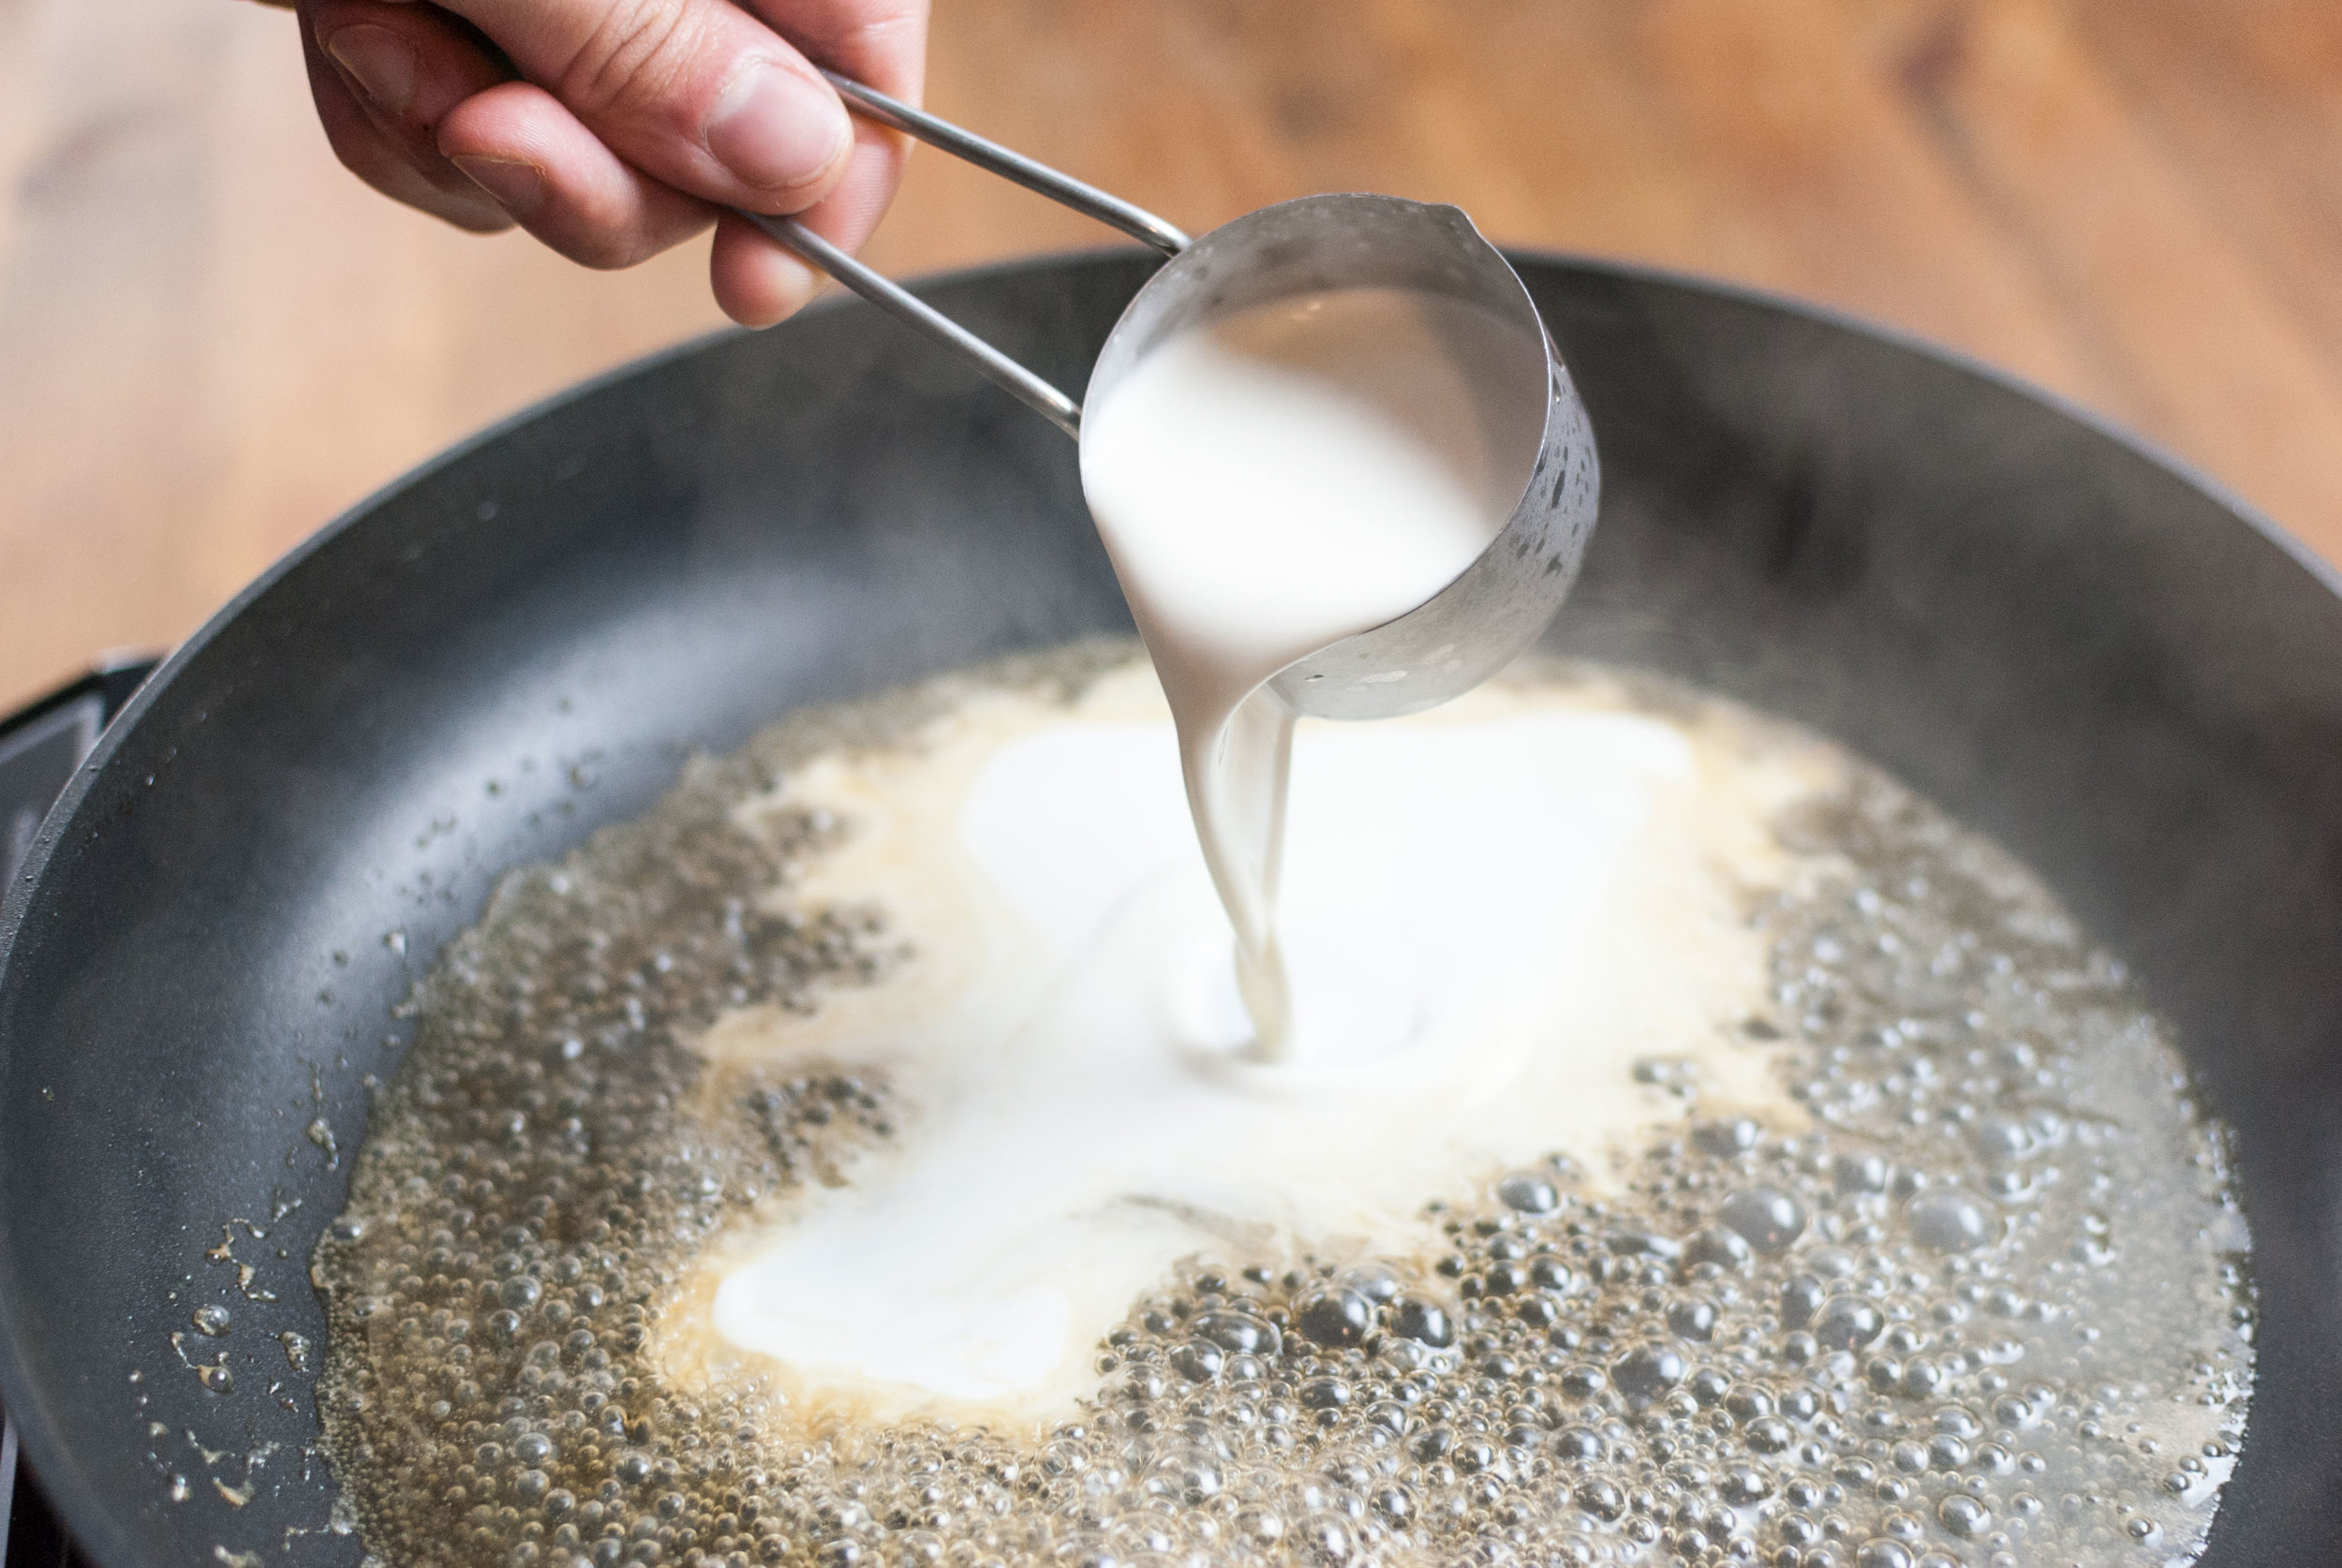
    • ¼ cup whipping cream

    • 1 oz. gorgonzola, creamy preferred, but pre-crumbled works just fine

    • Leftover gnocchi water or broth of choice, as needed

    • Salt to taste

    • Freshly ground black pepper

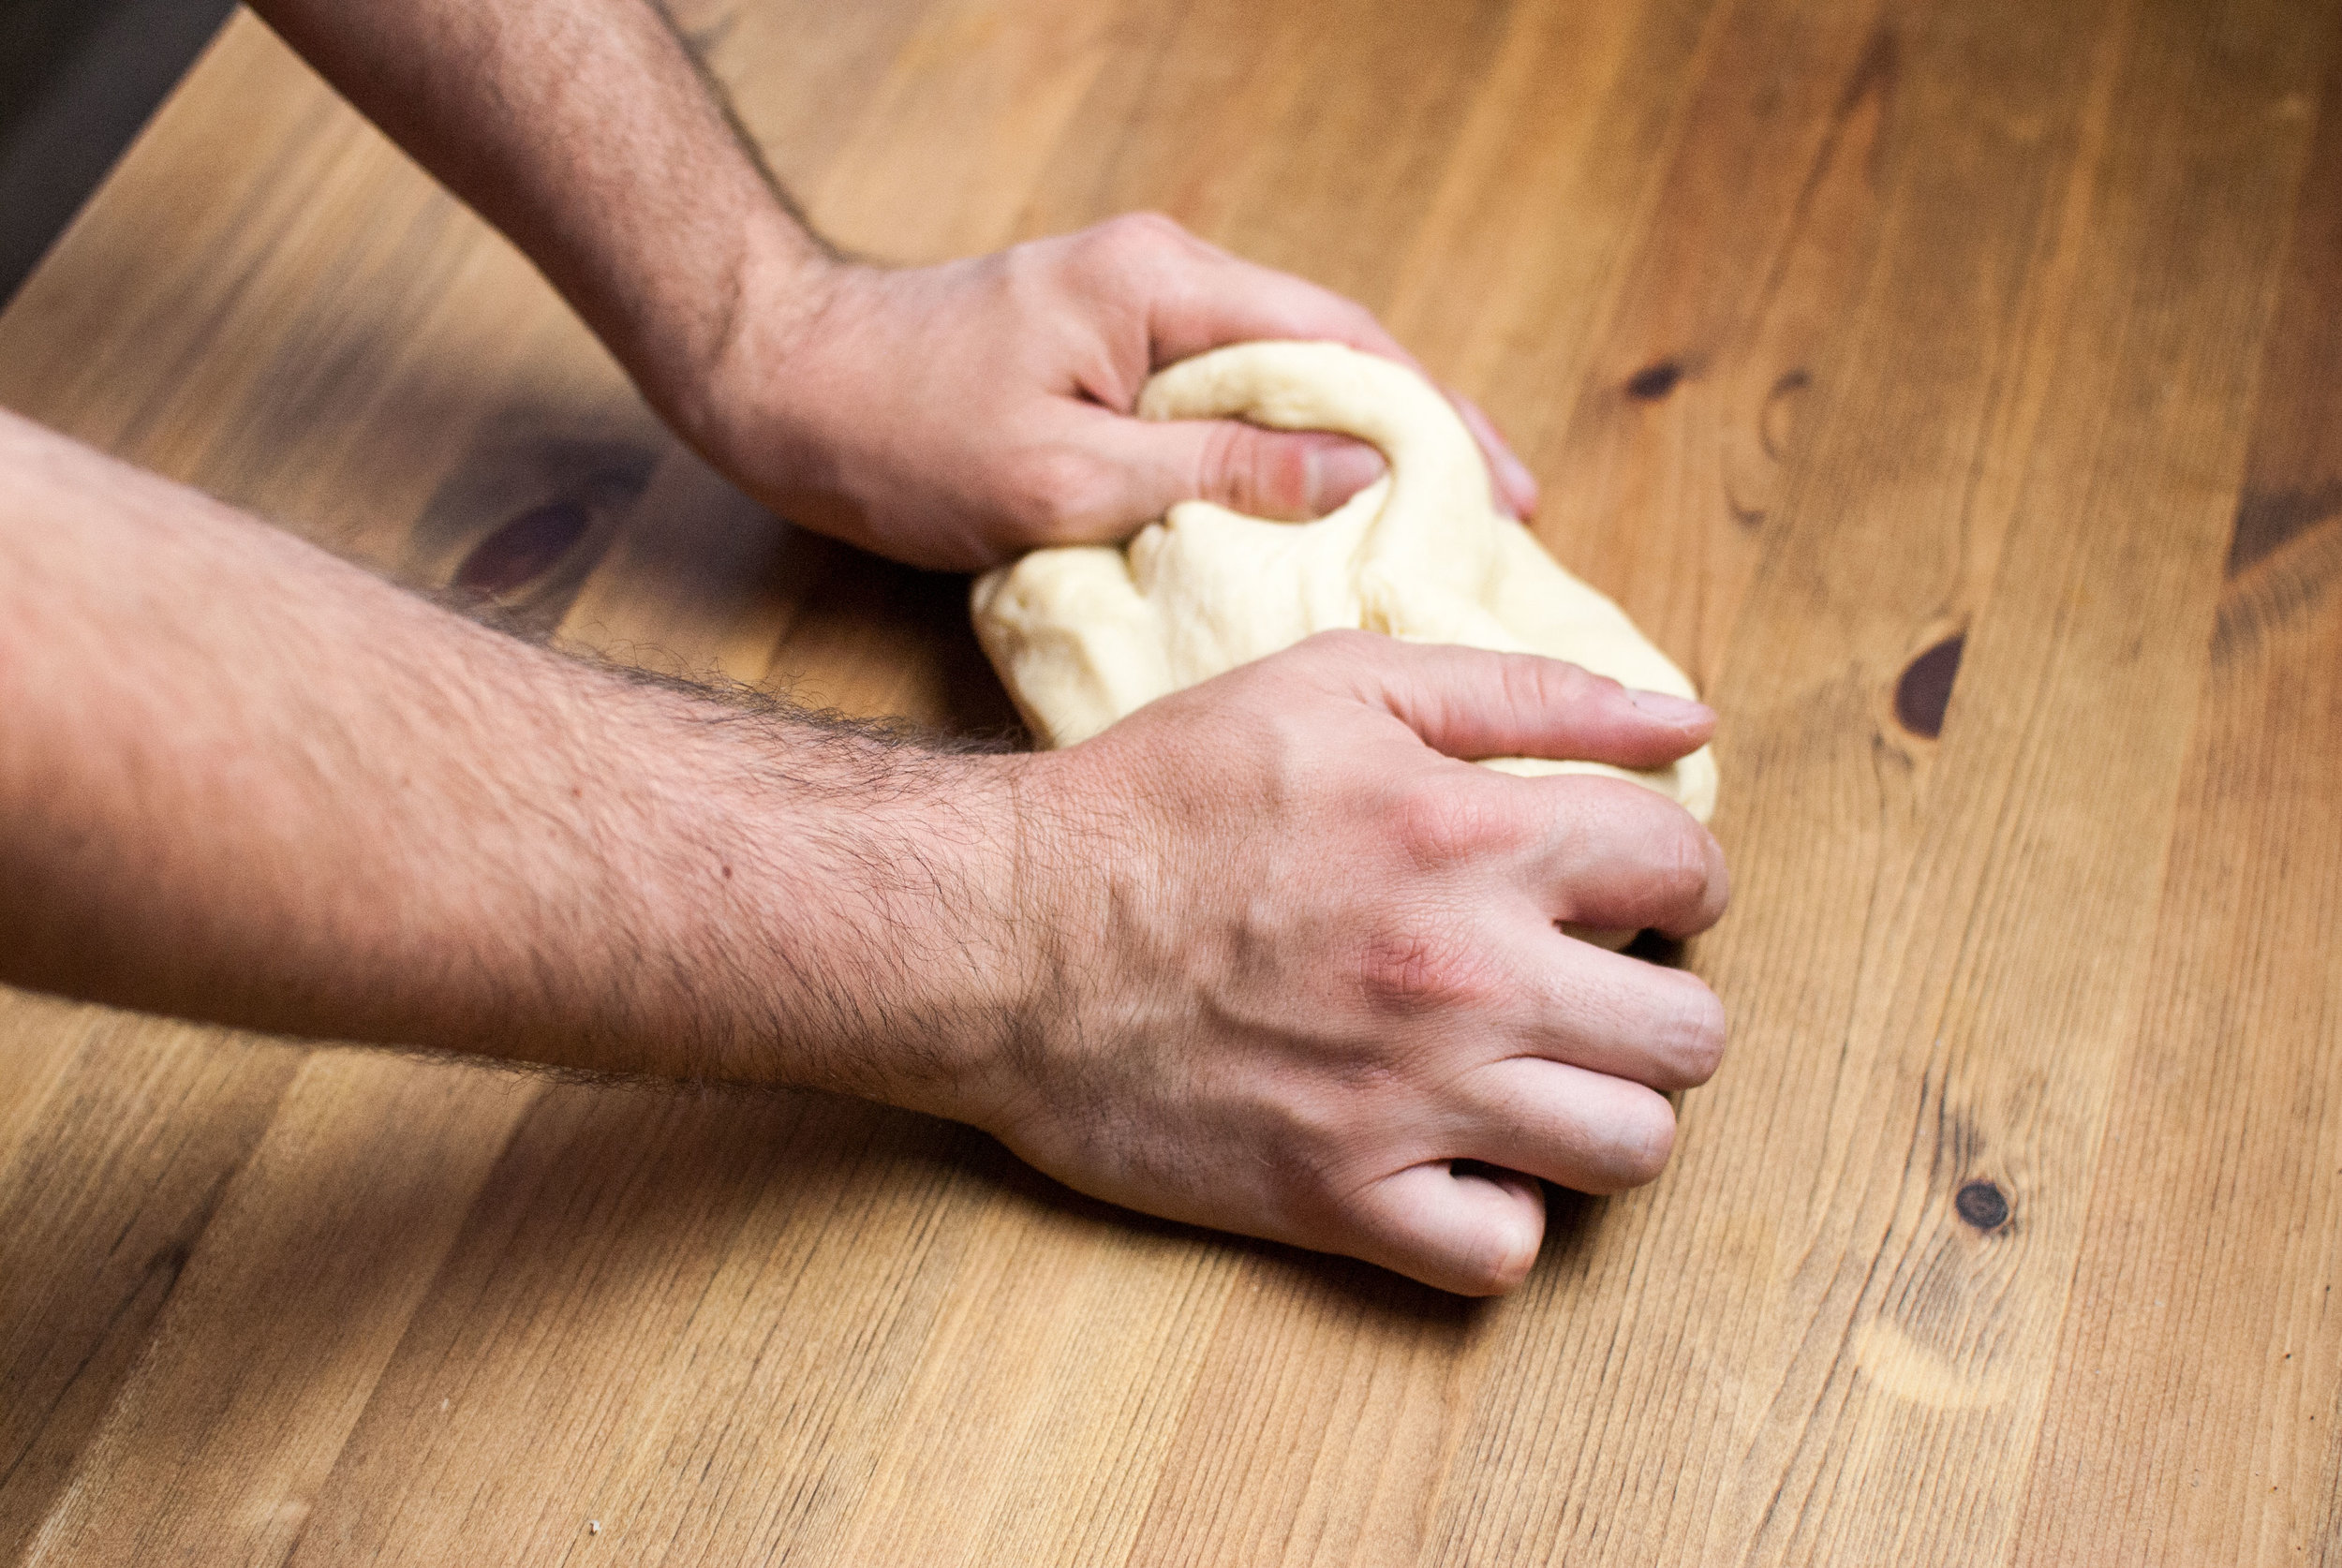
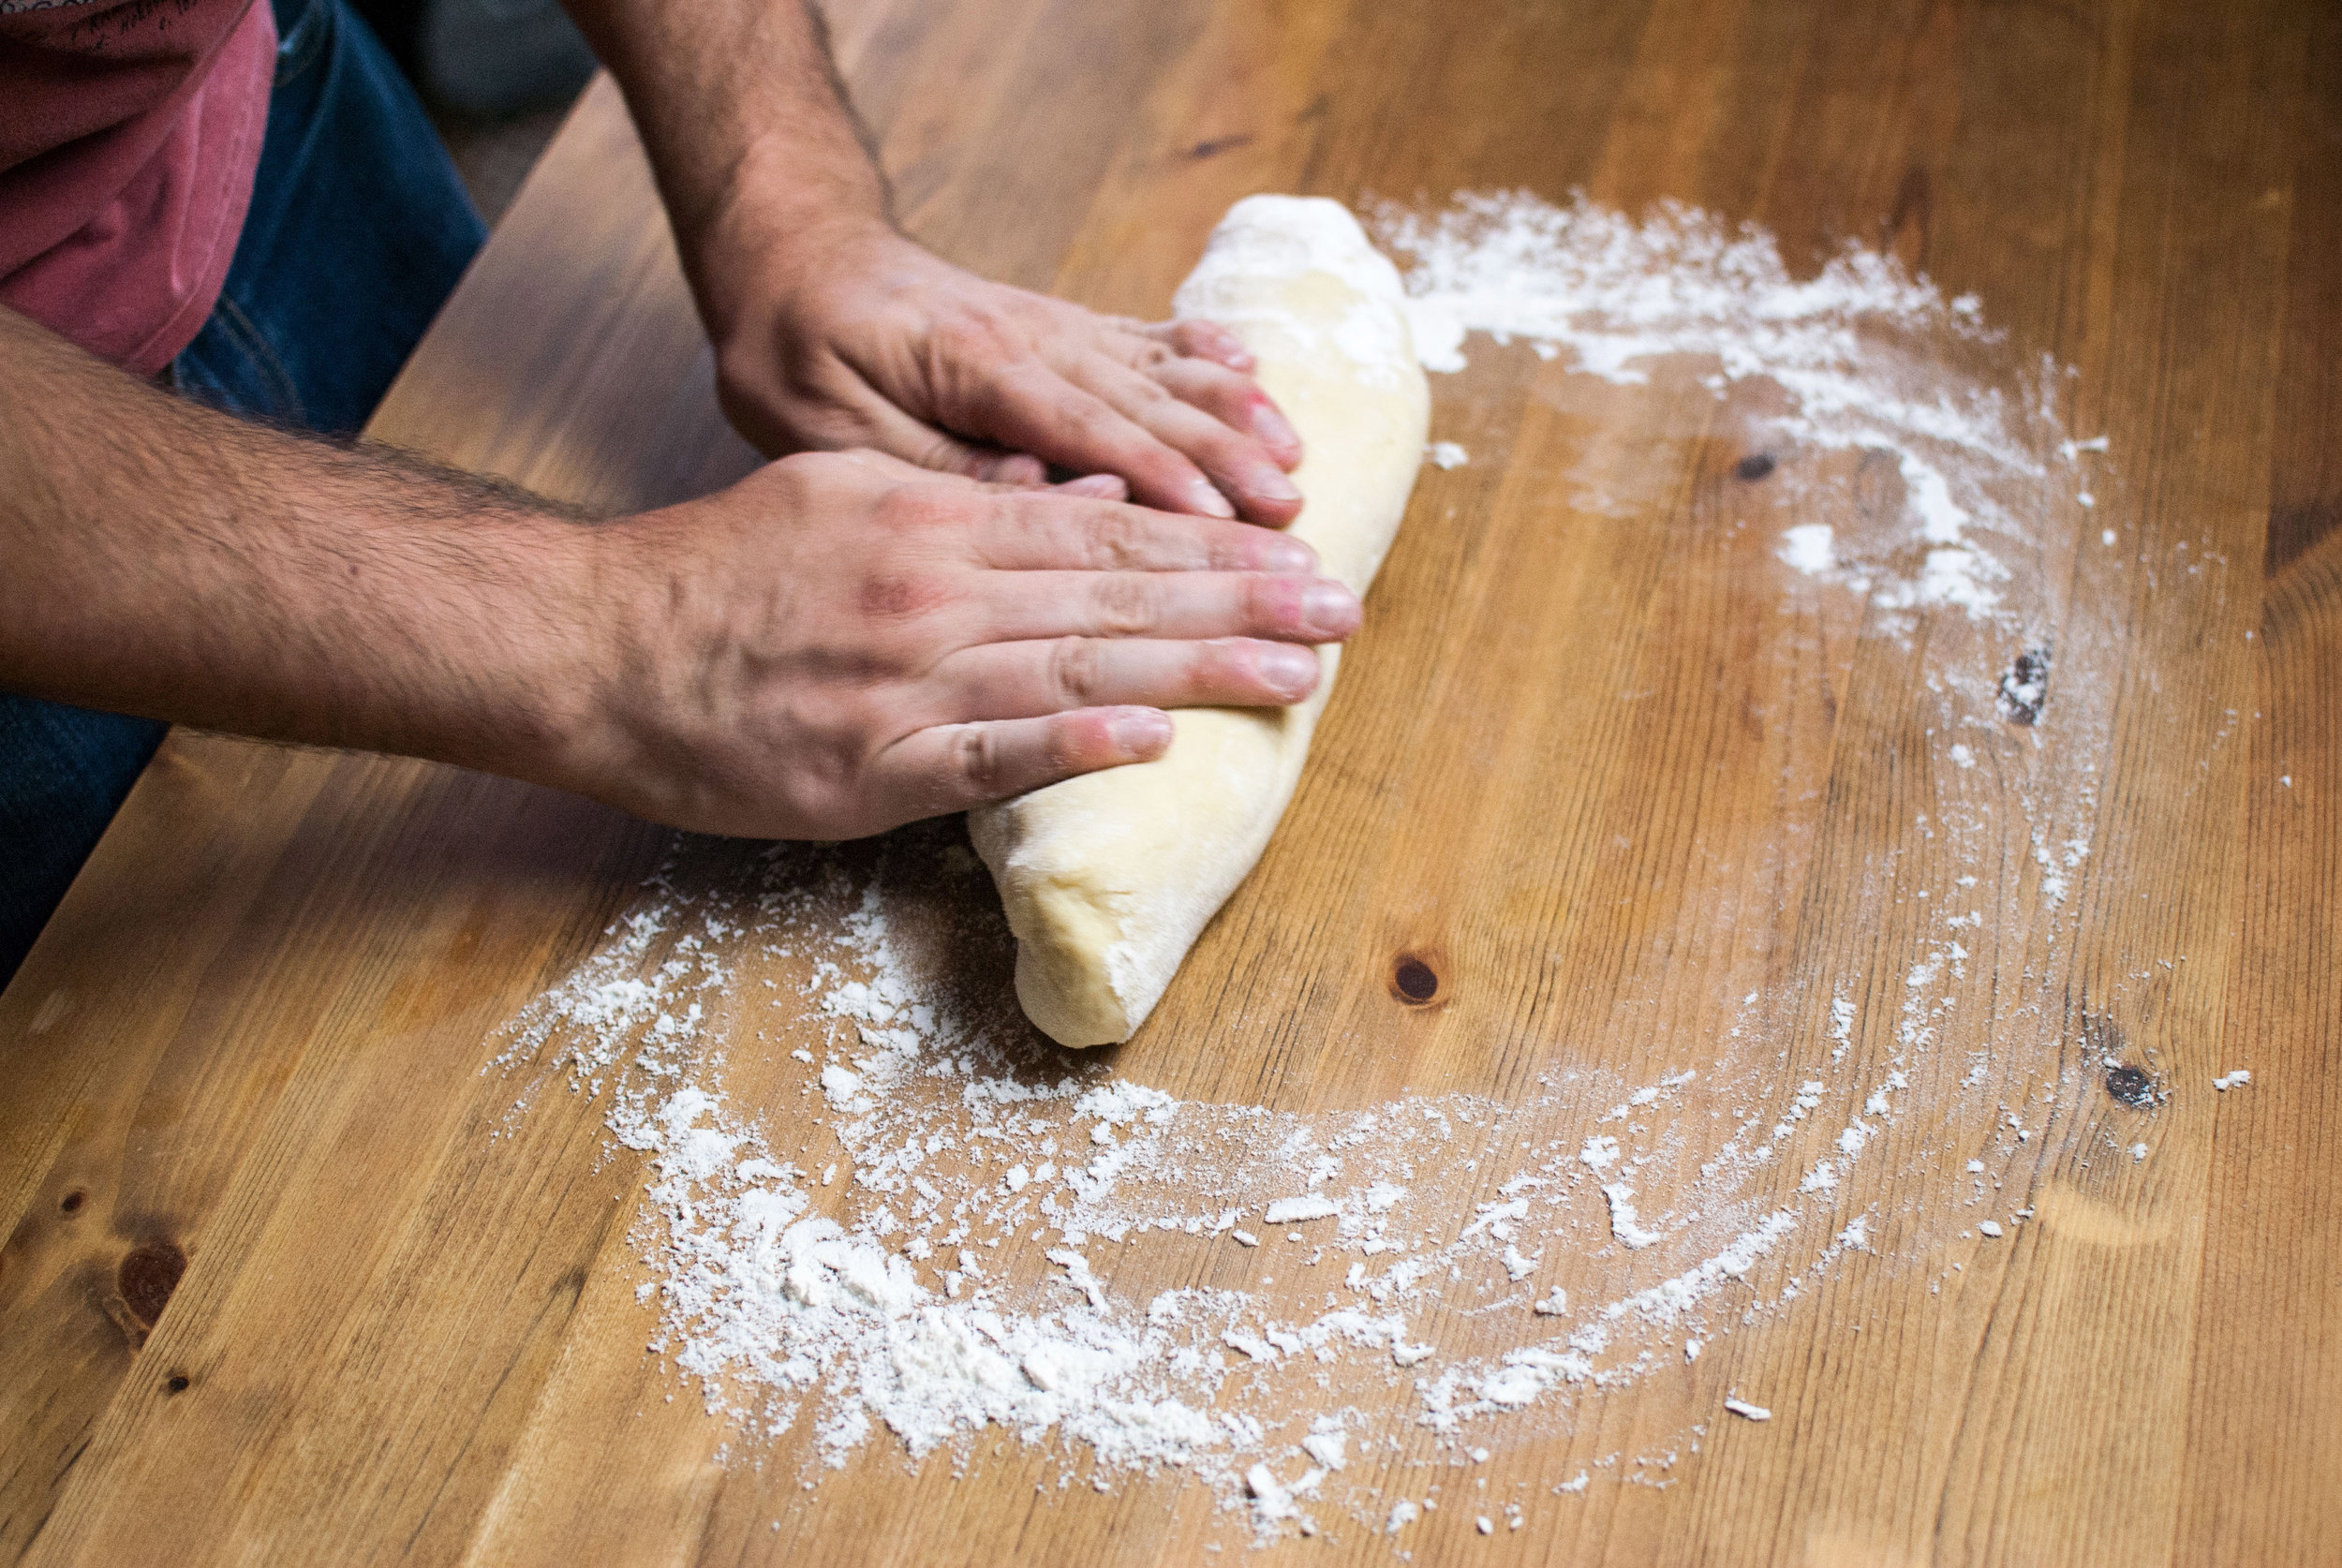
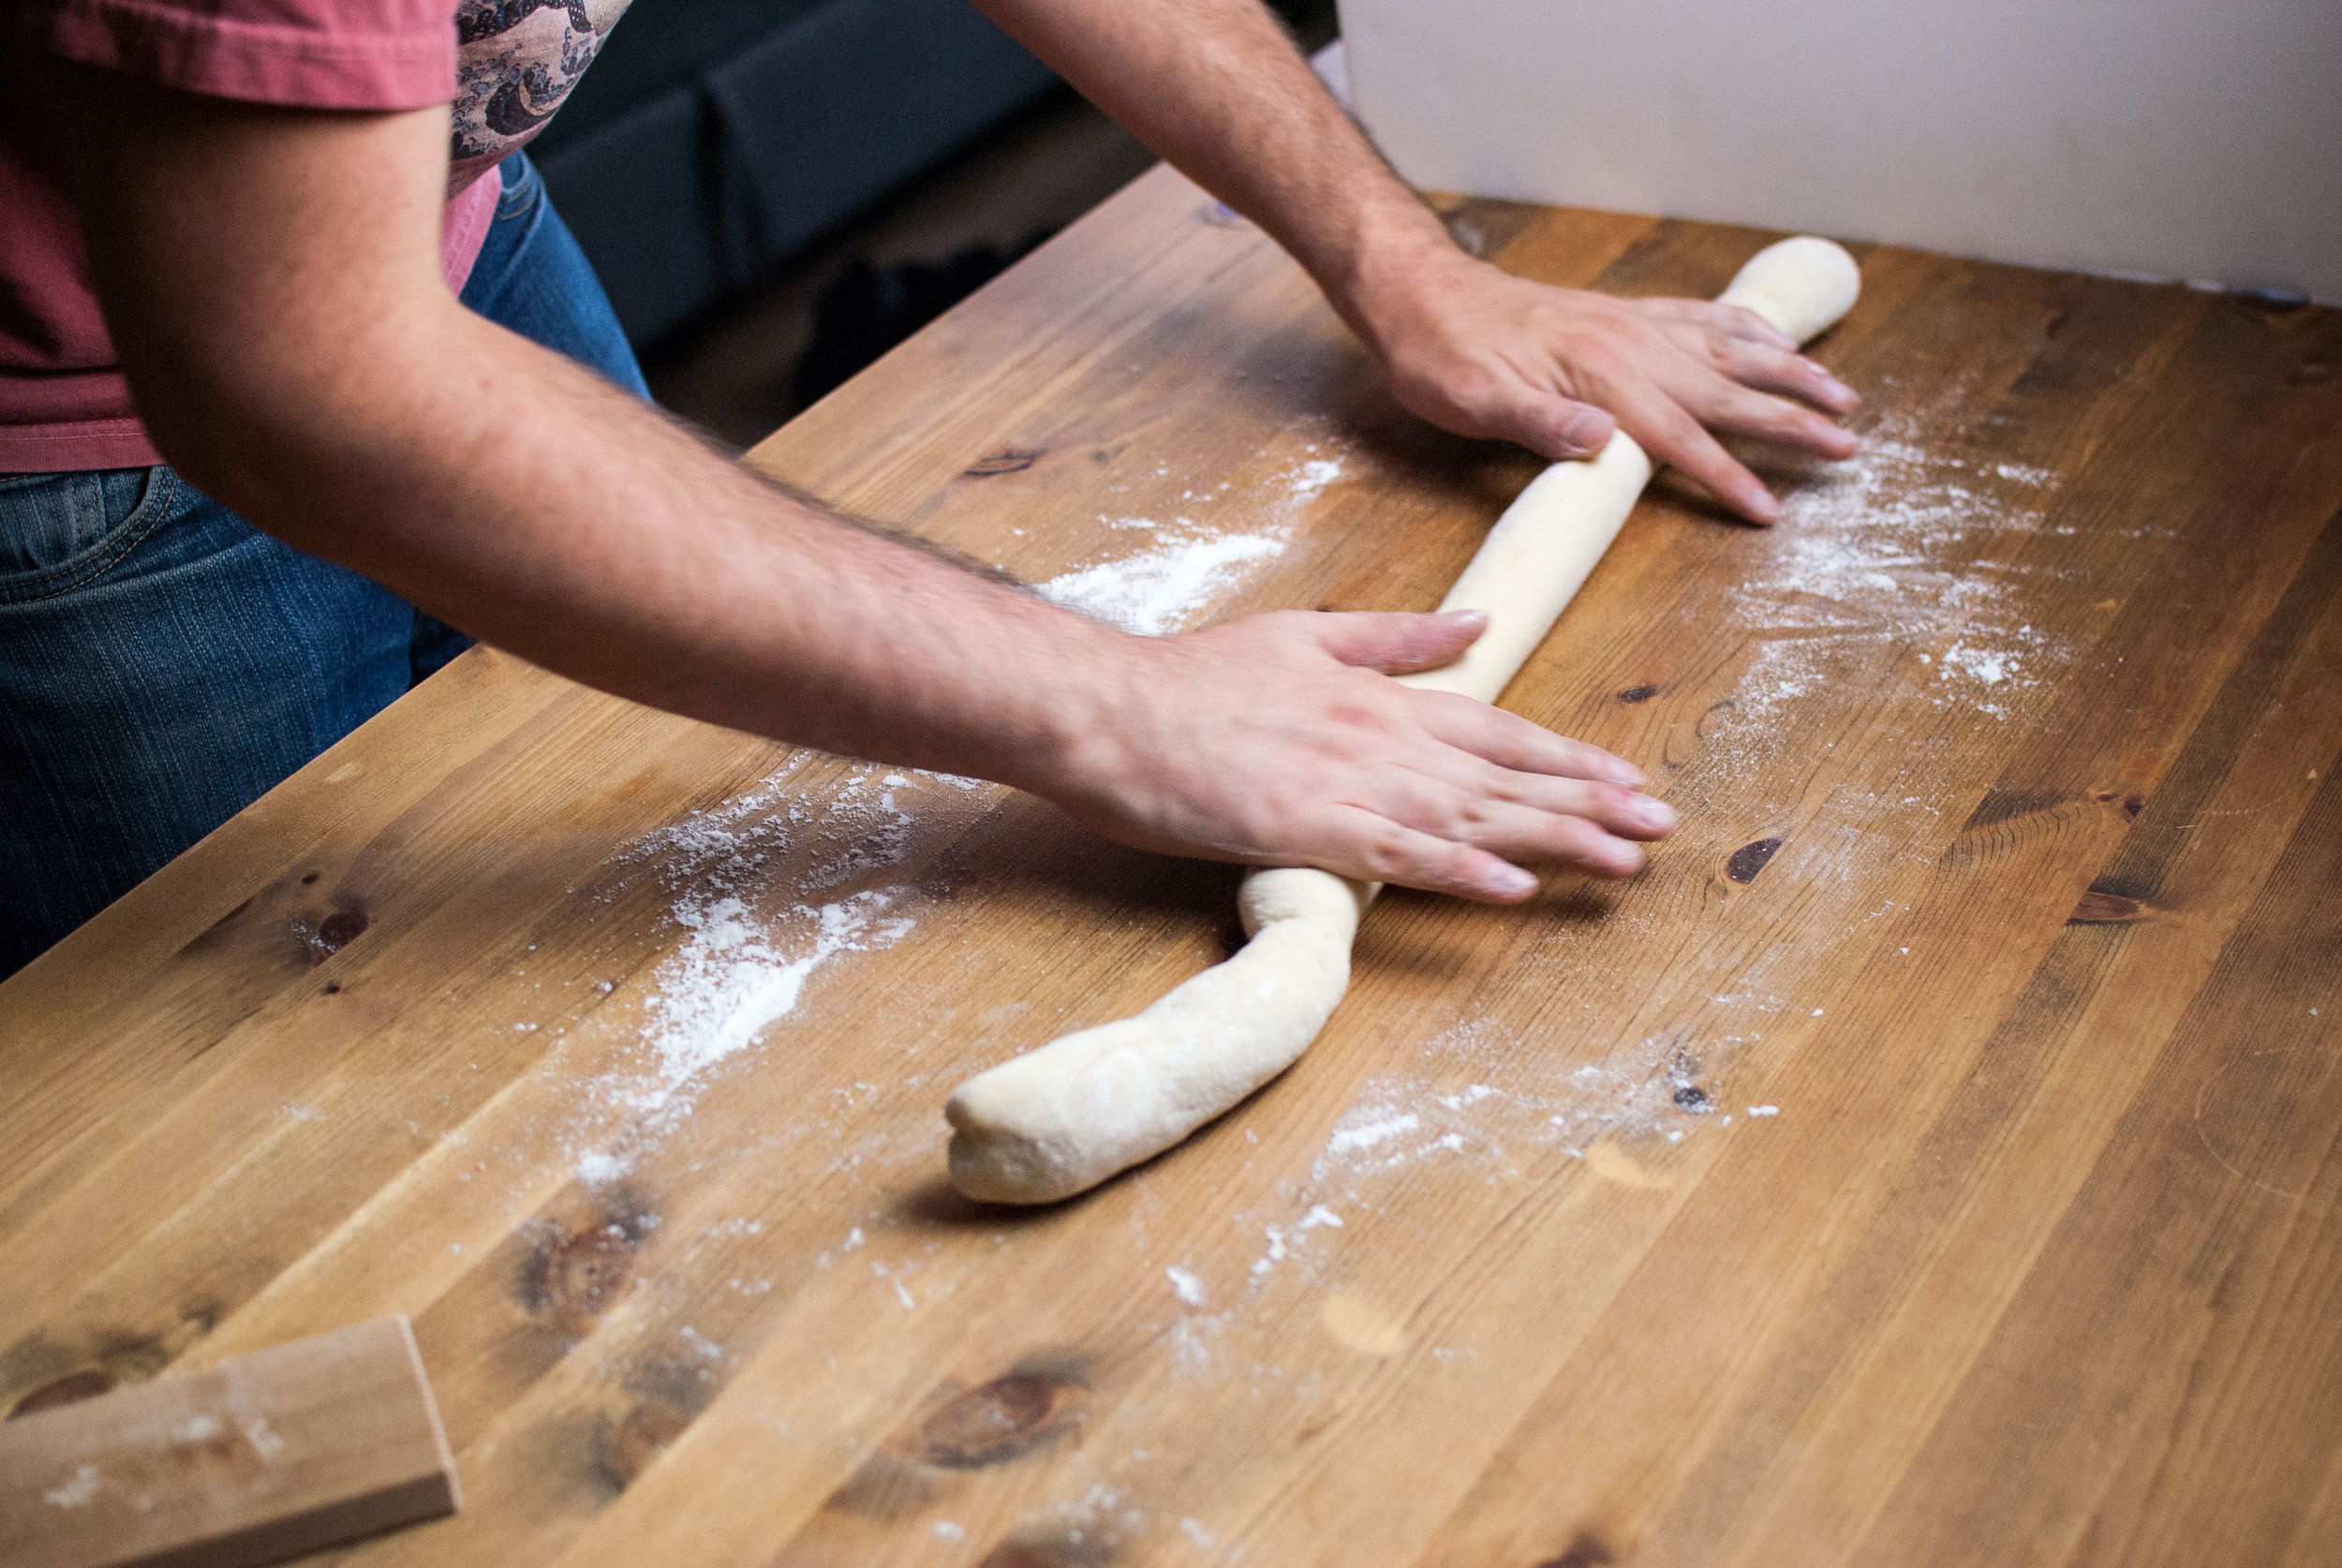
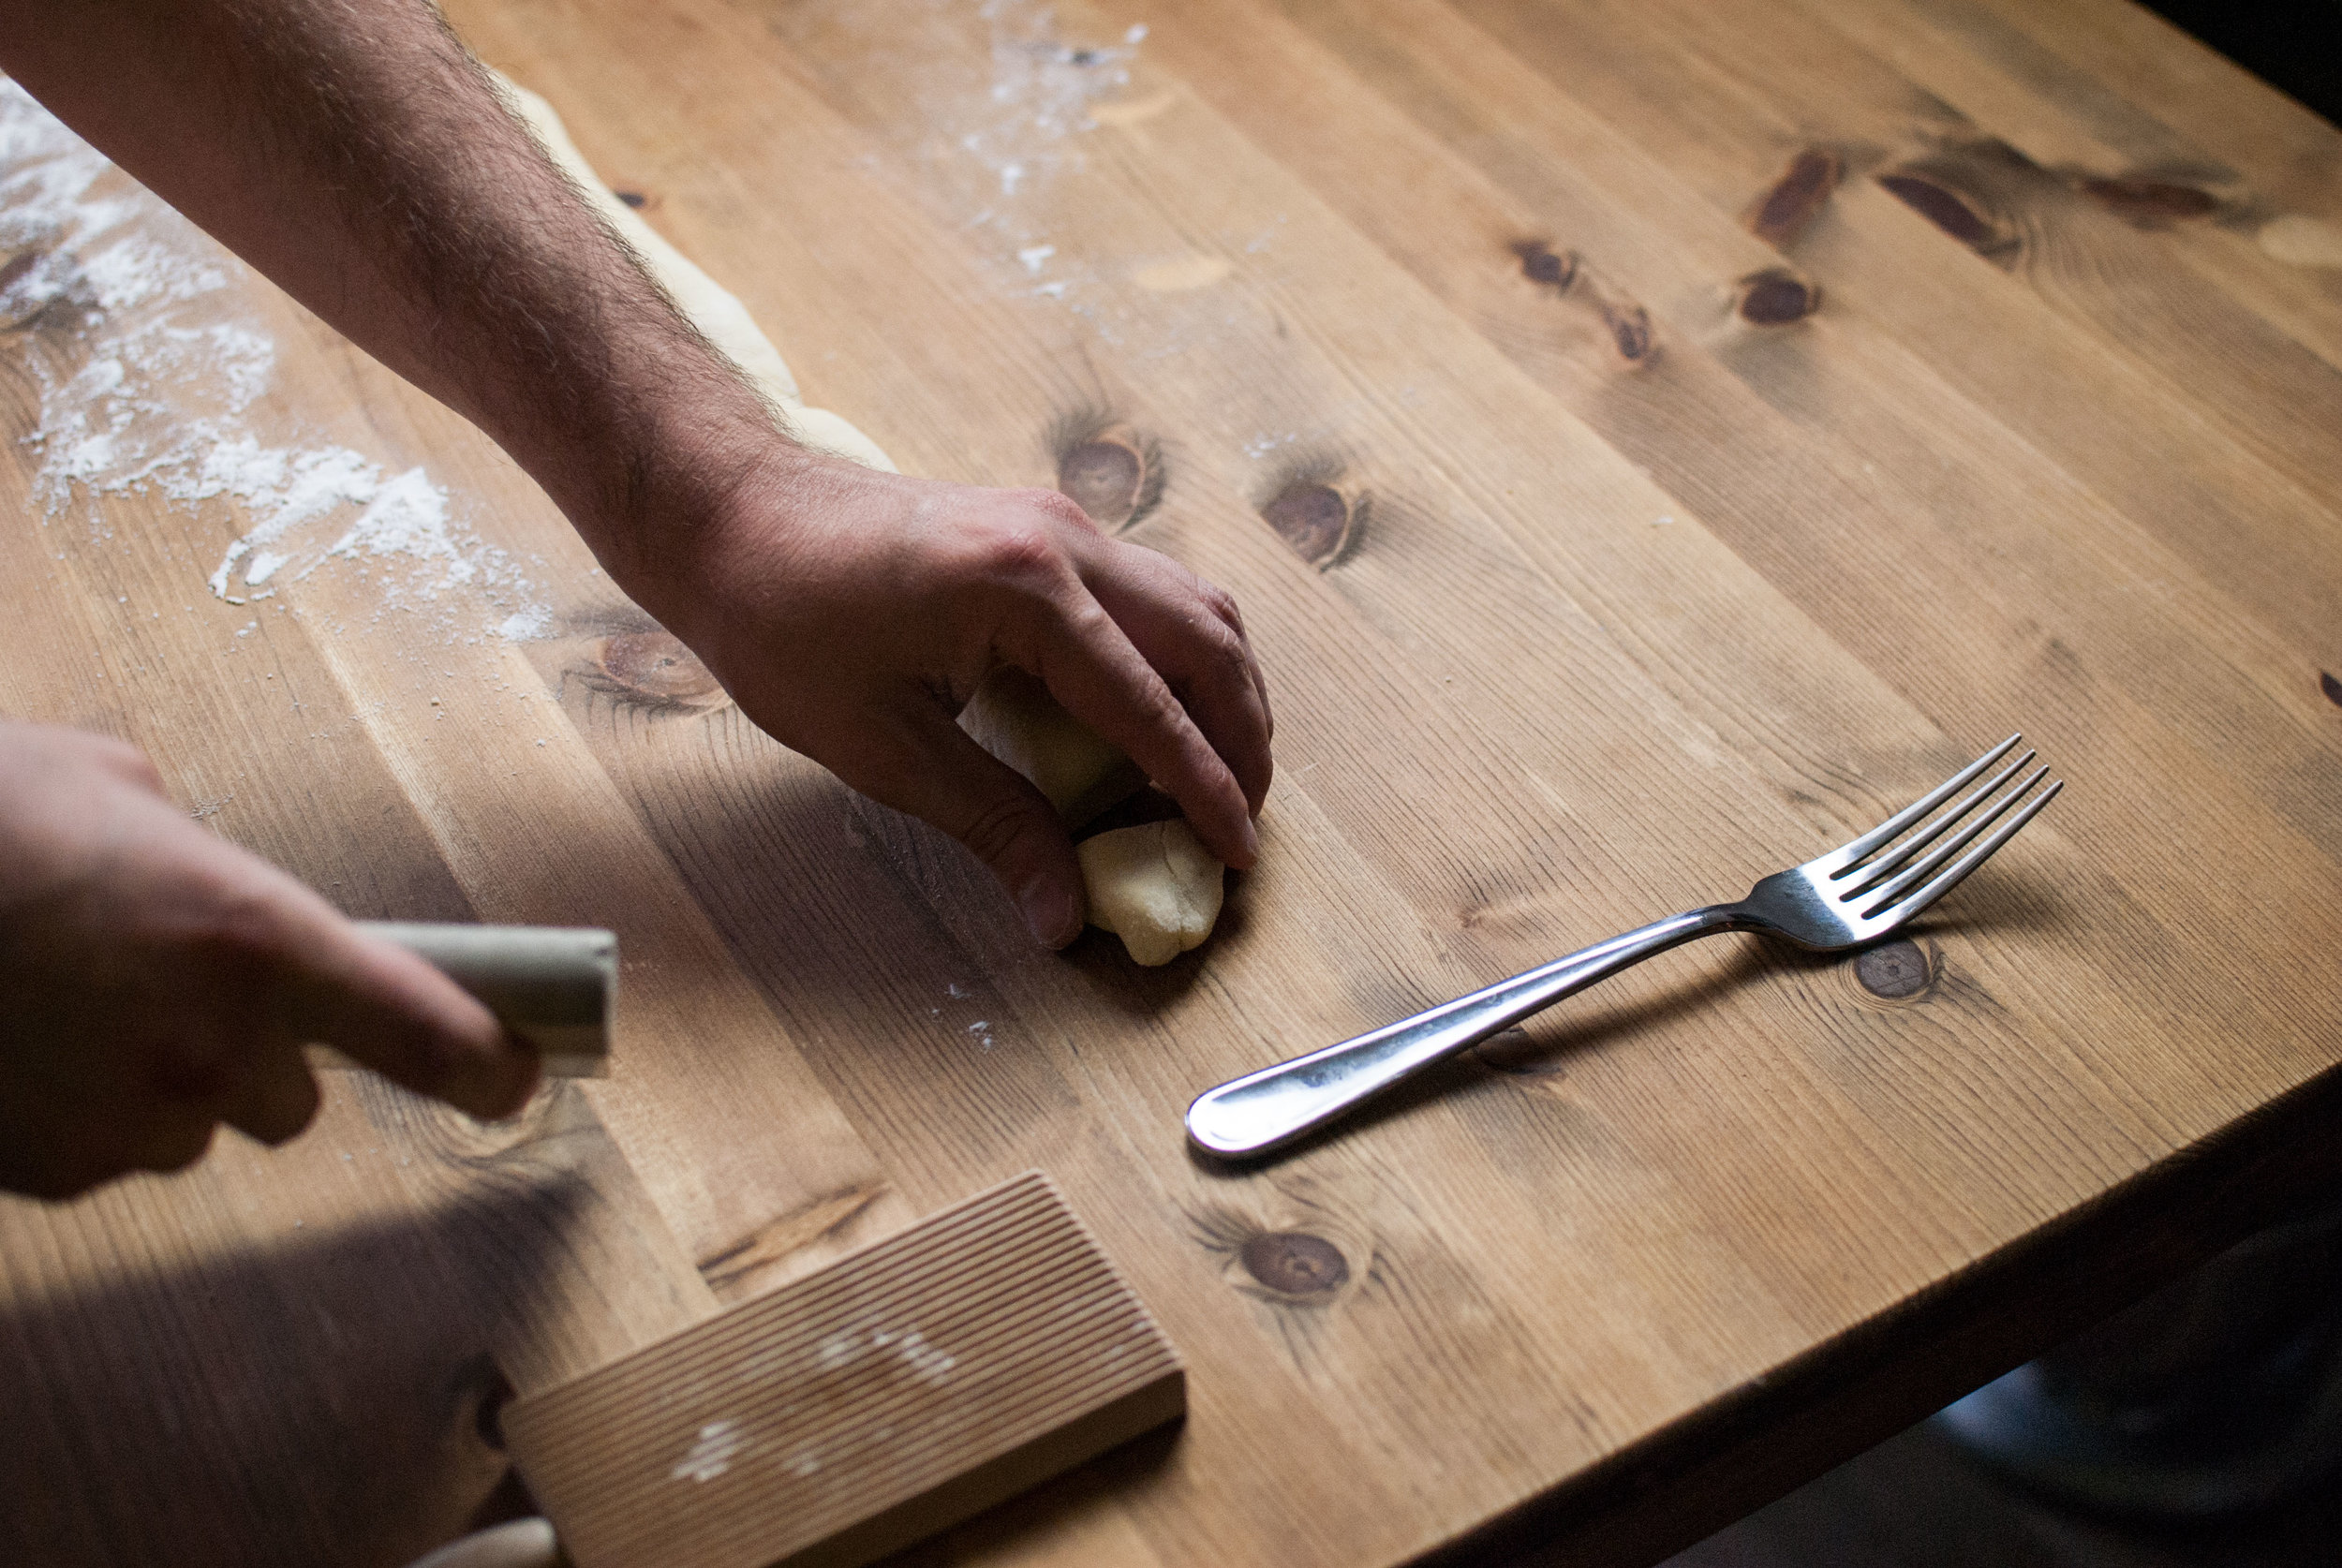
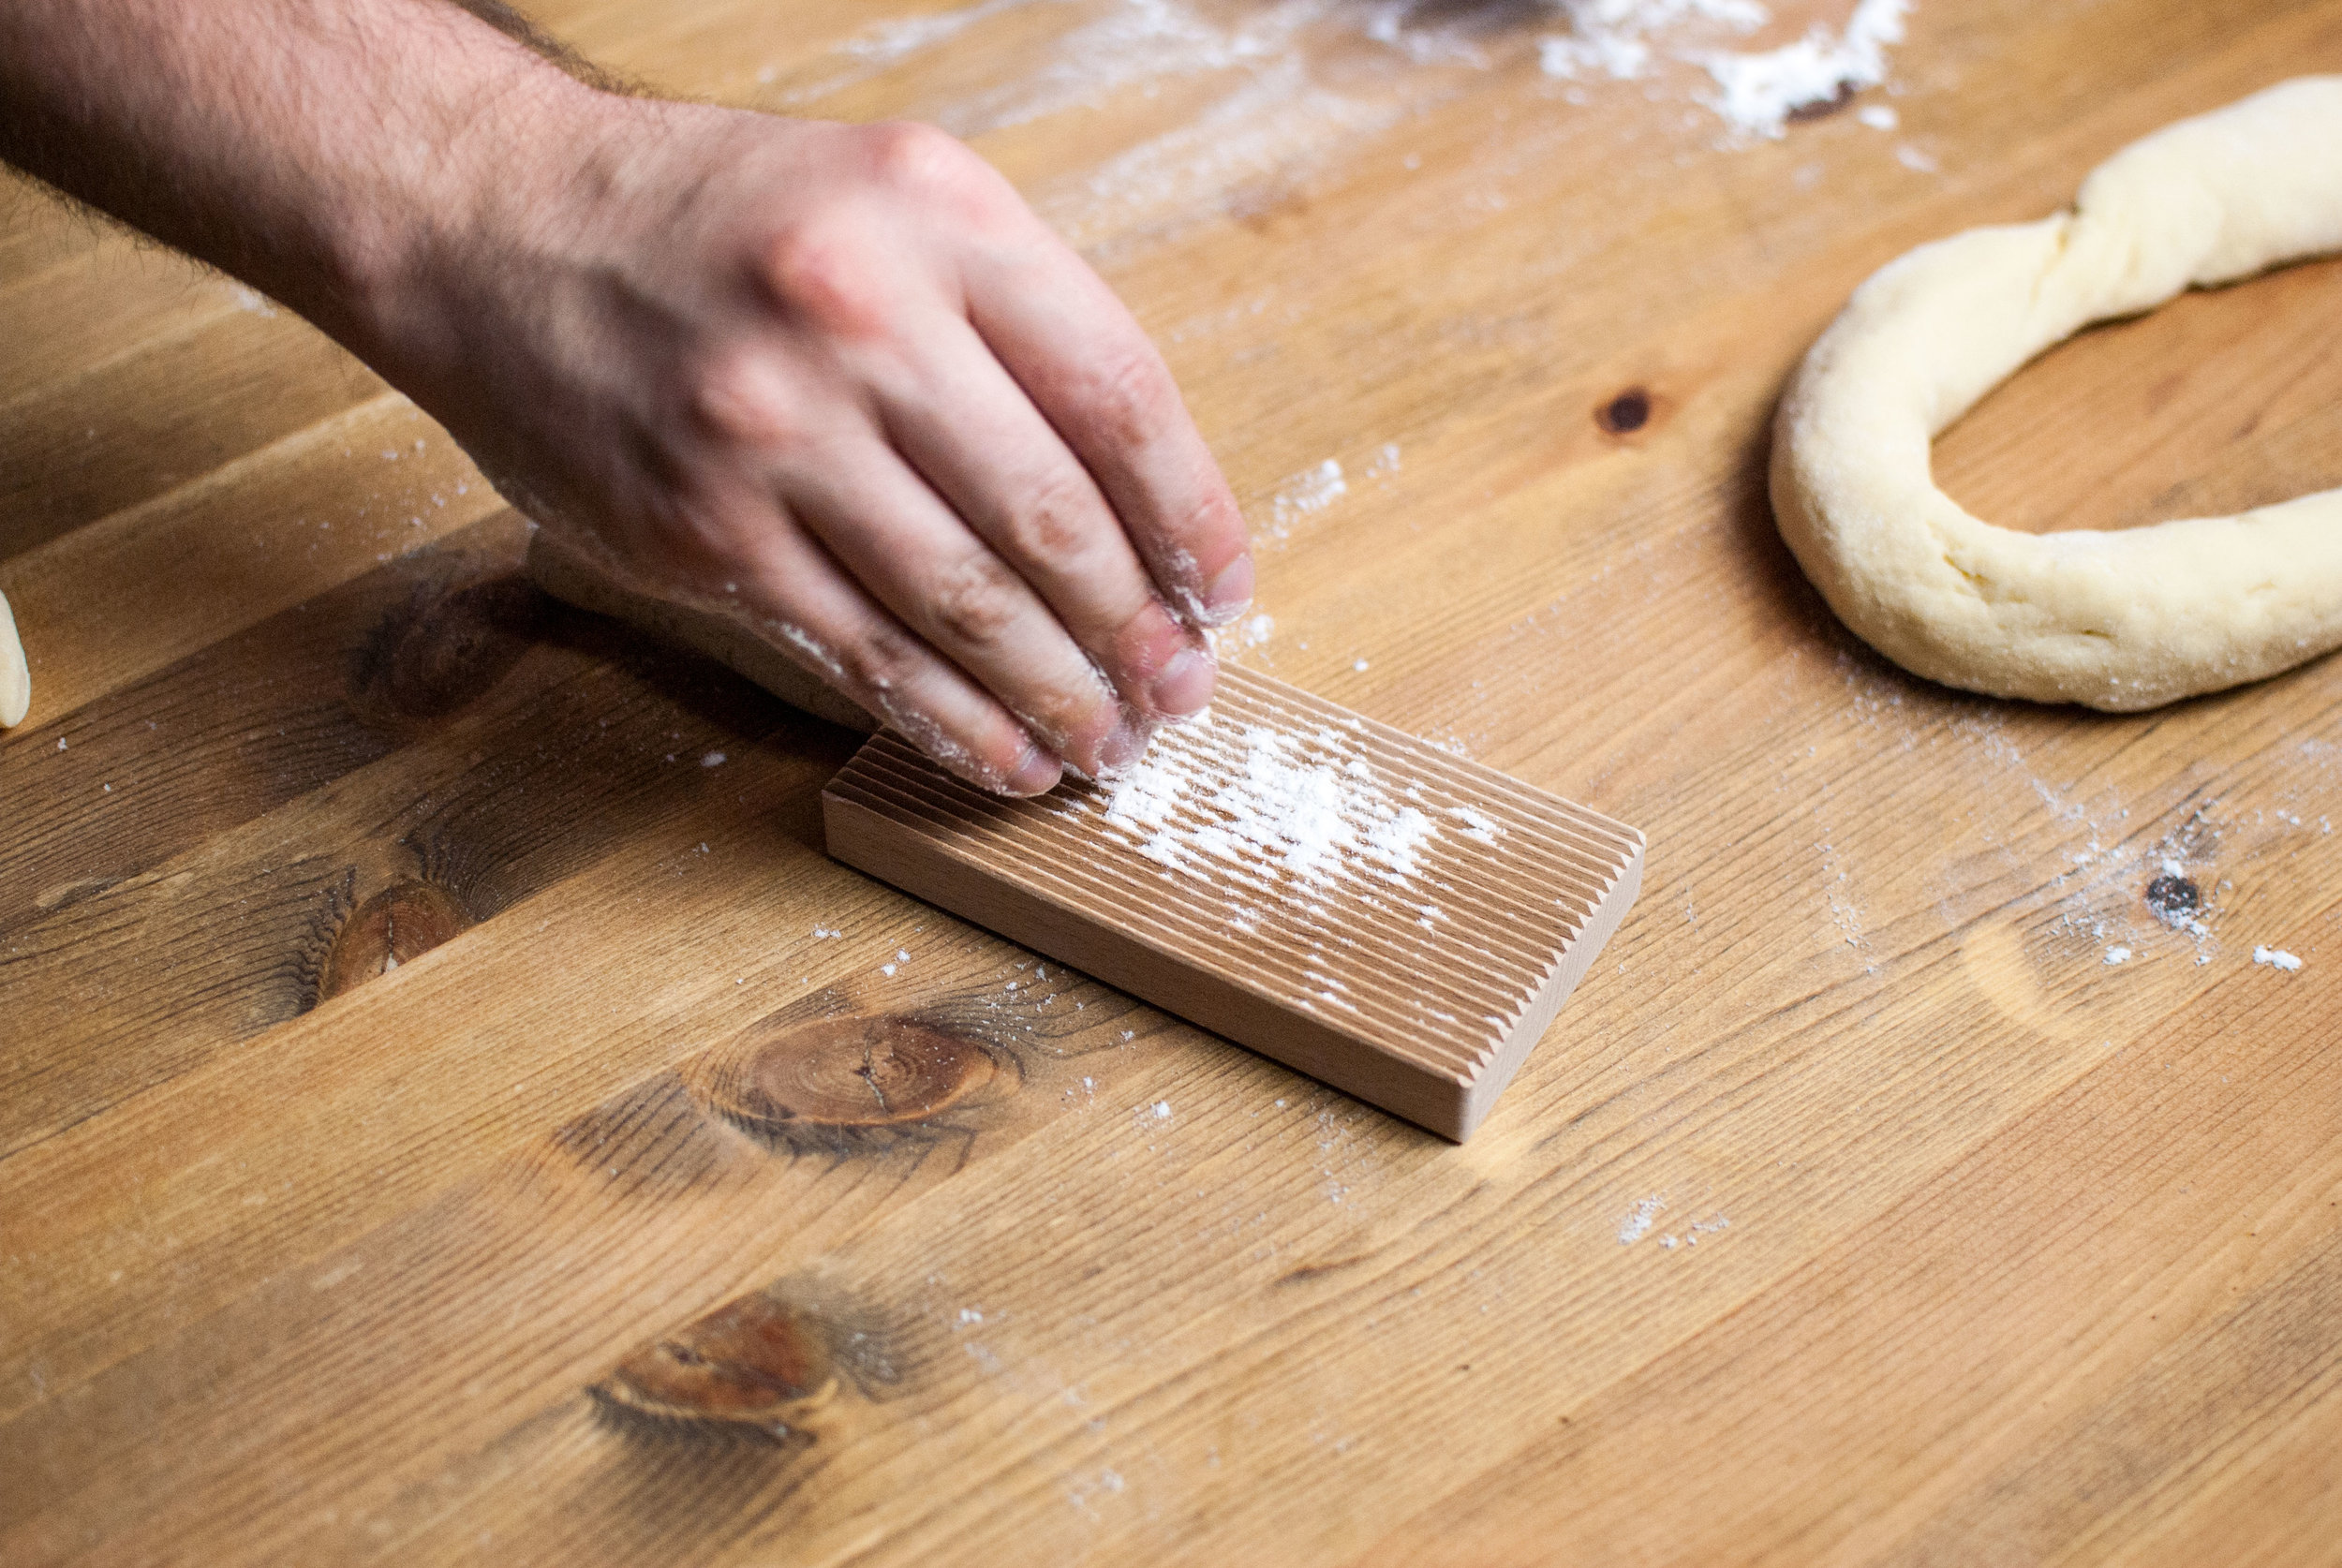
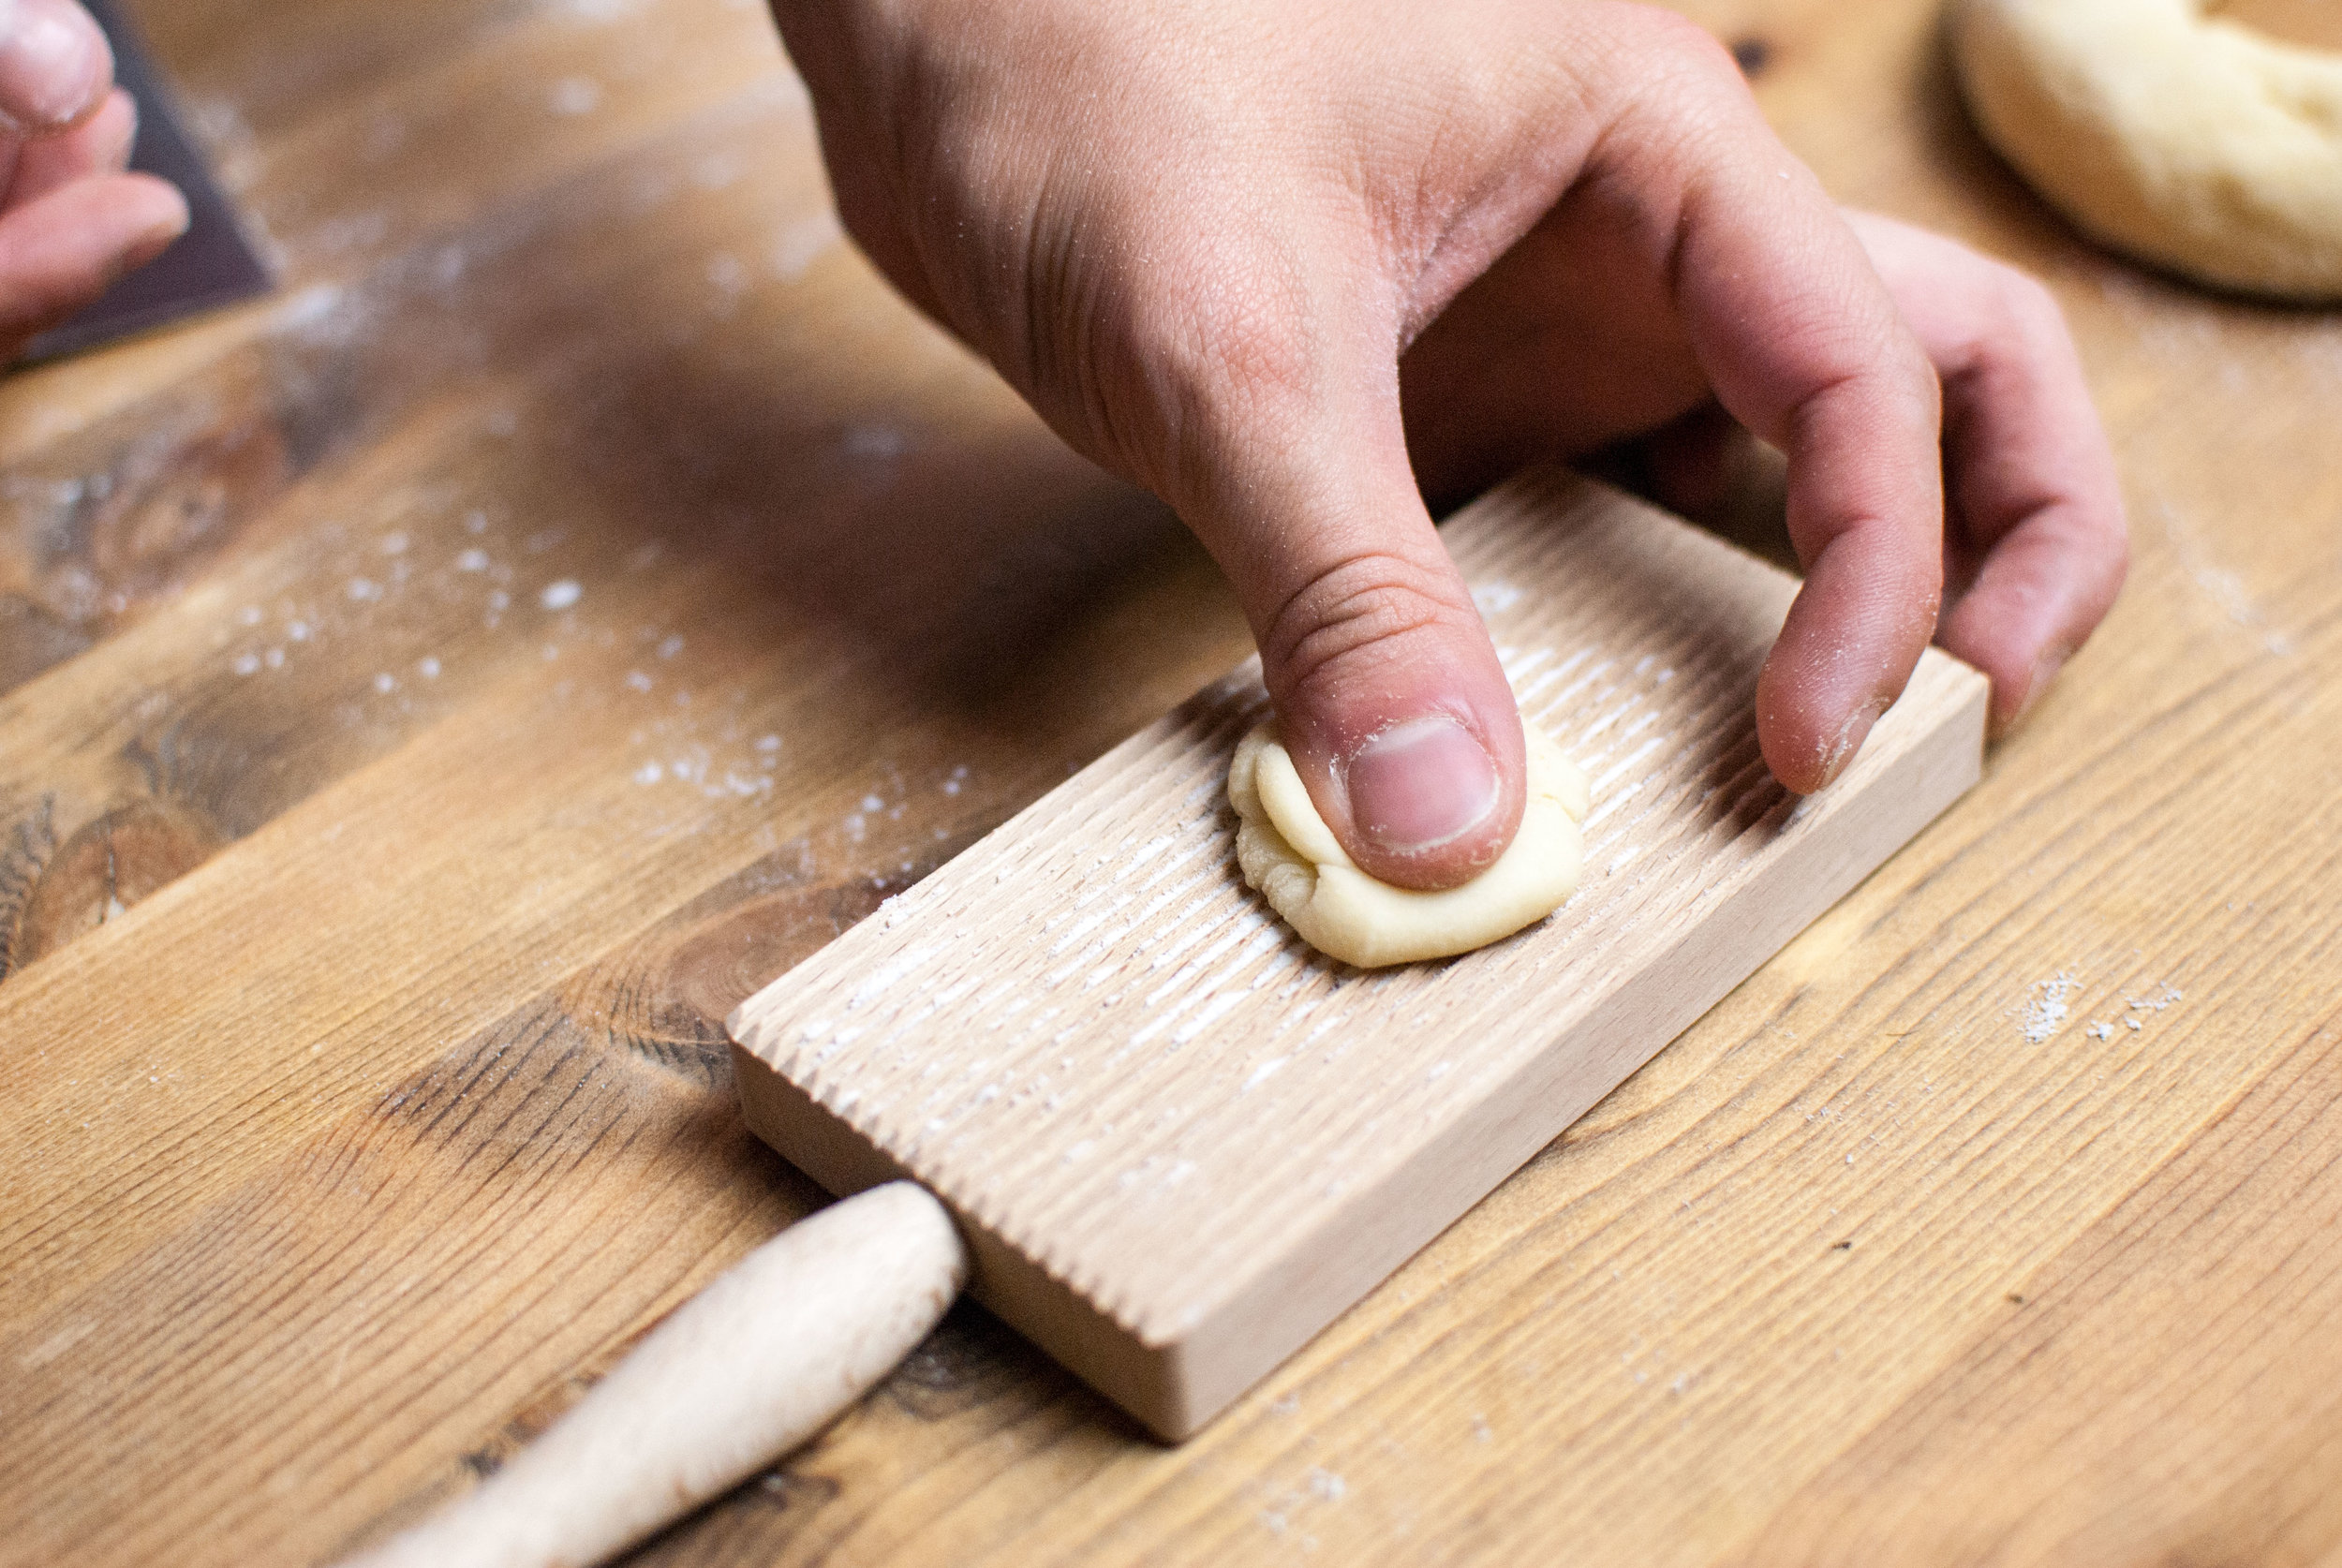
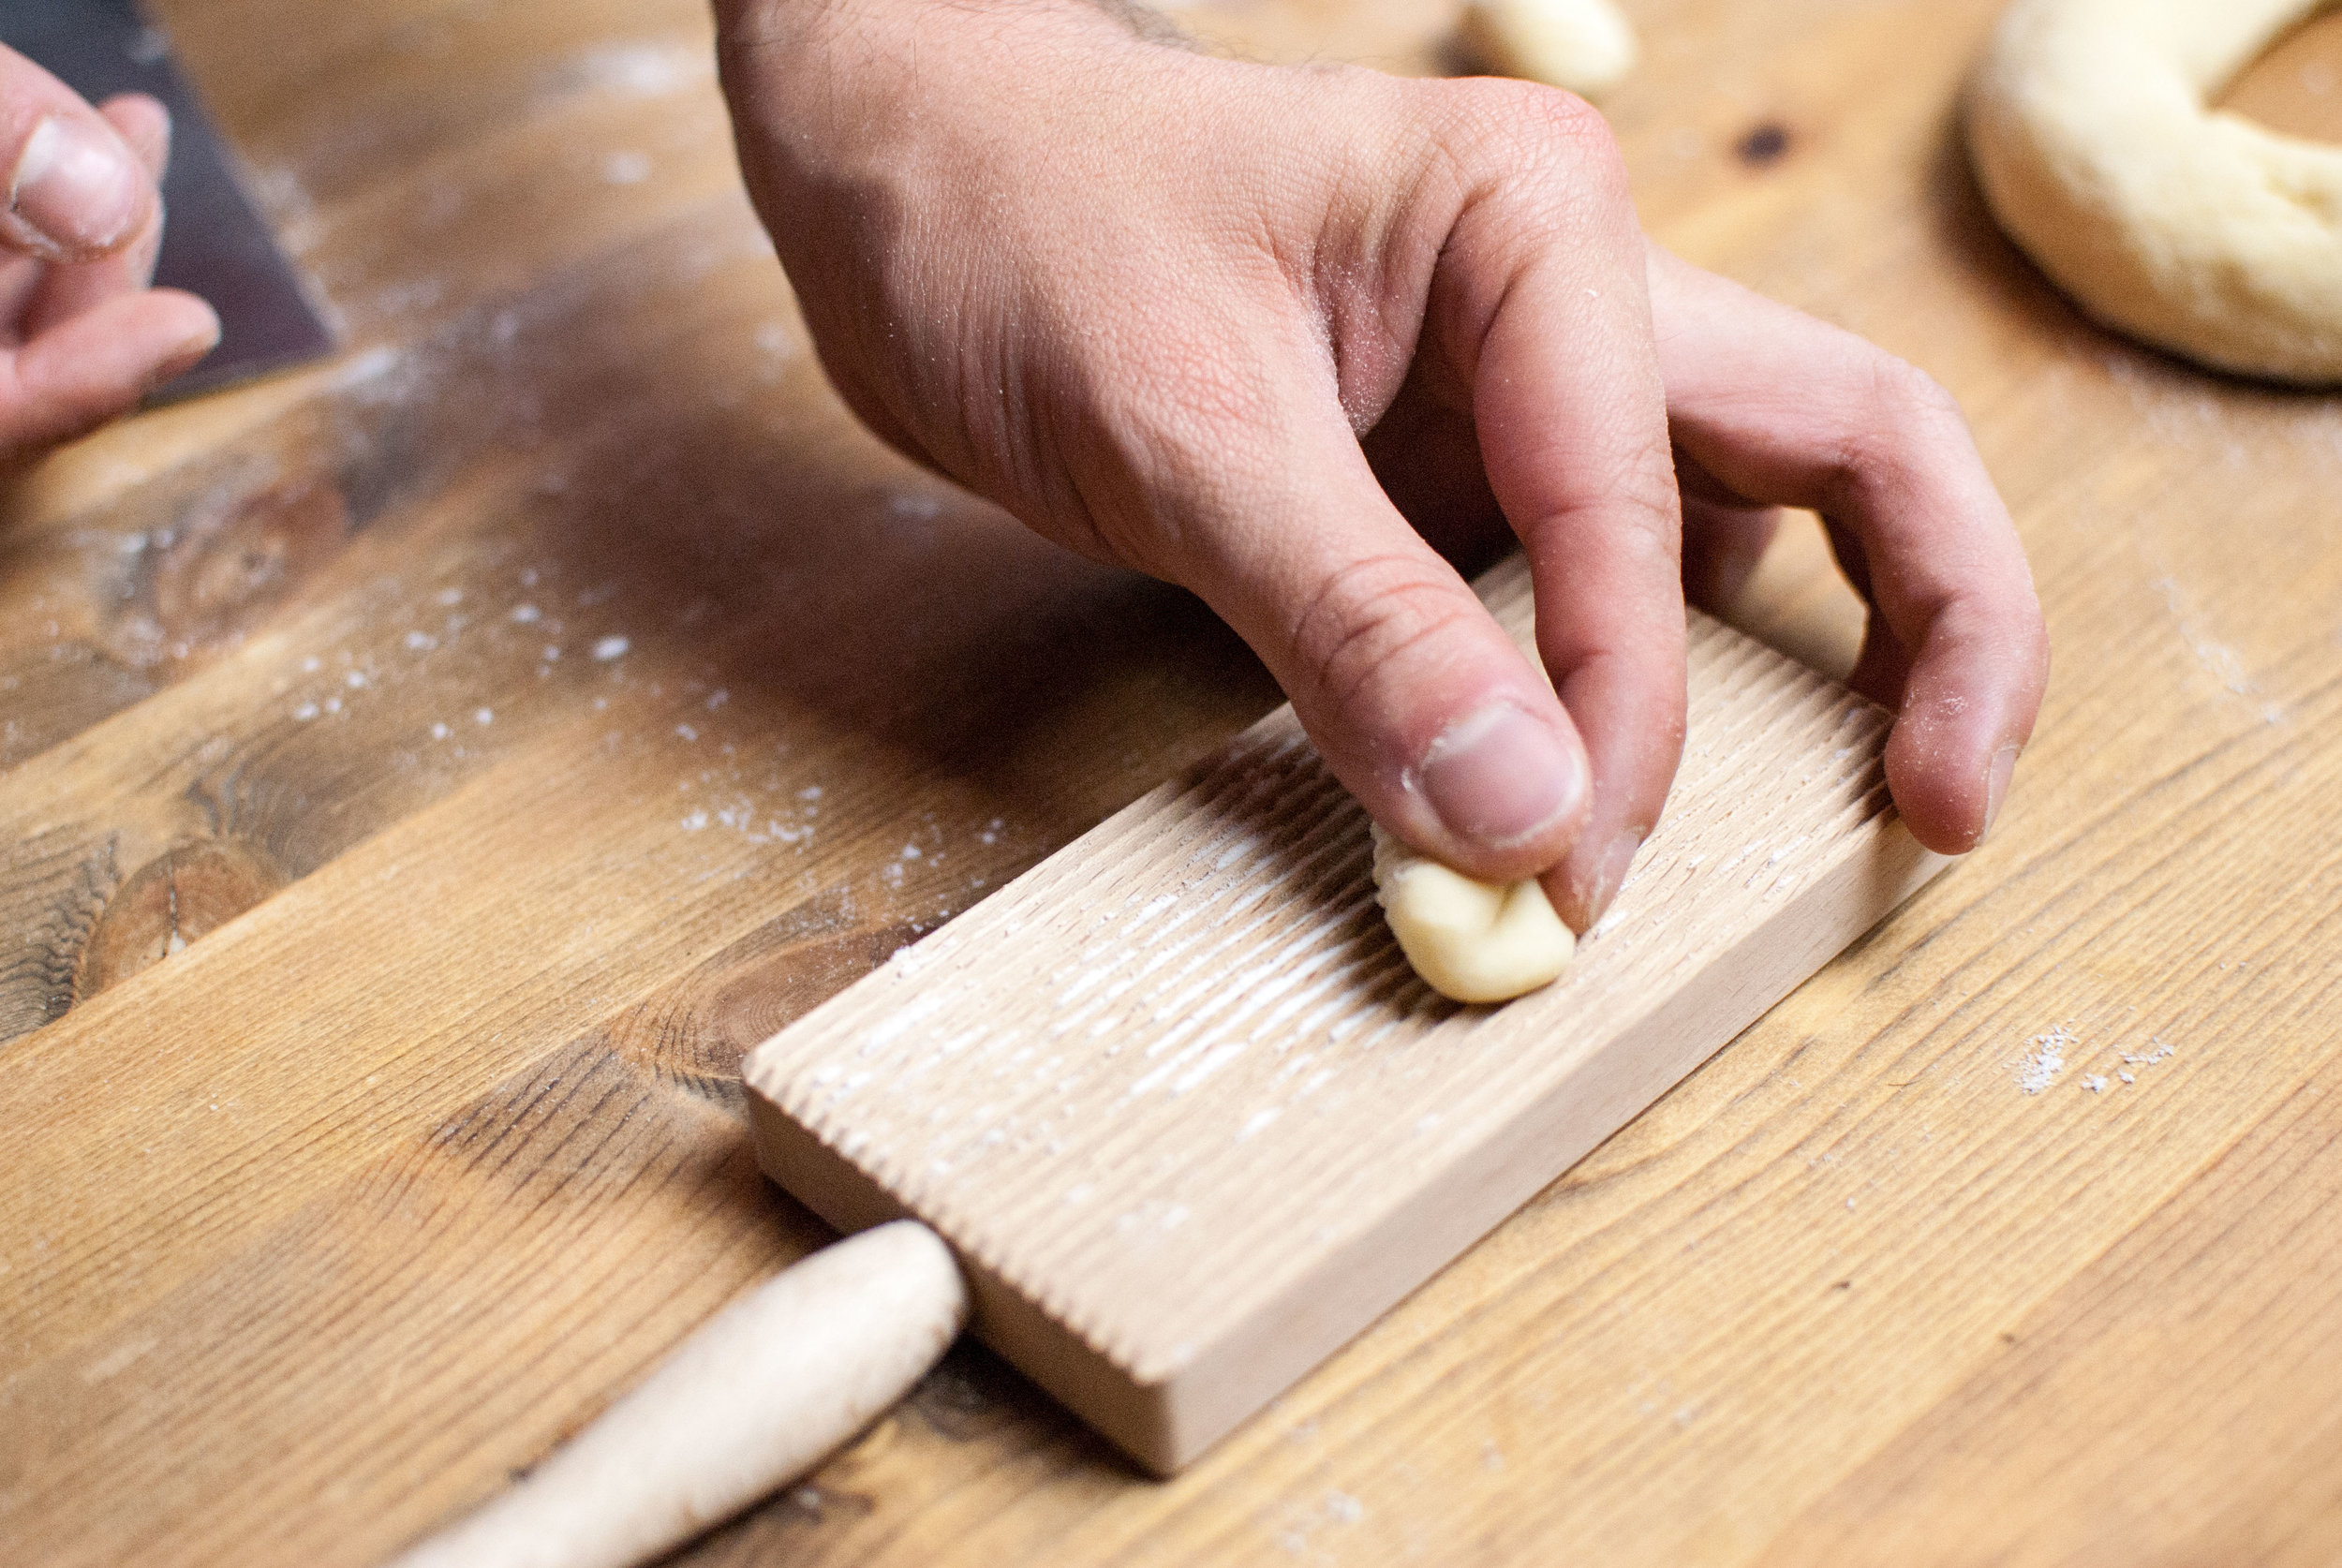
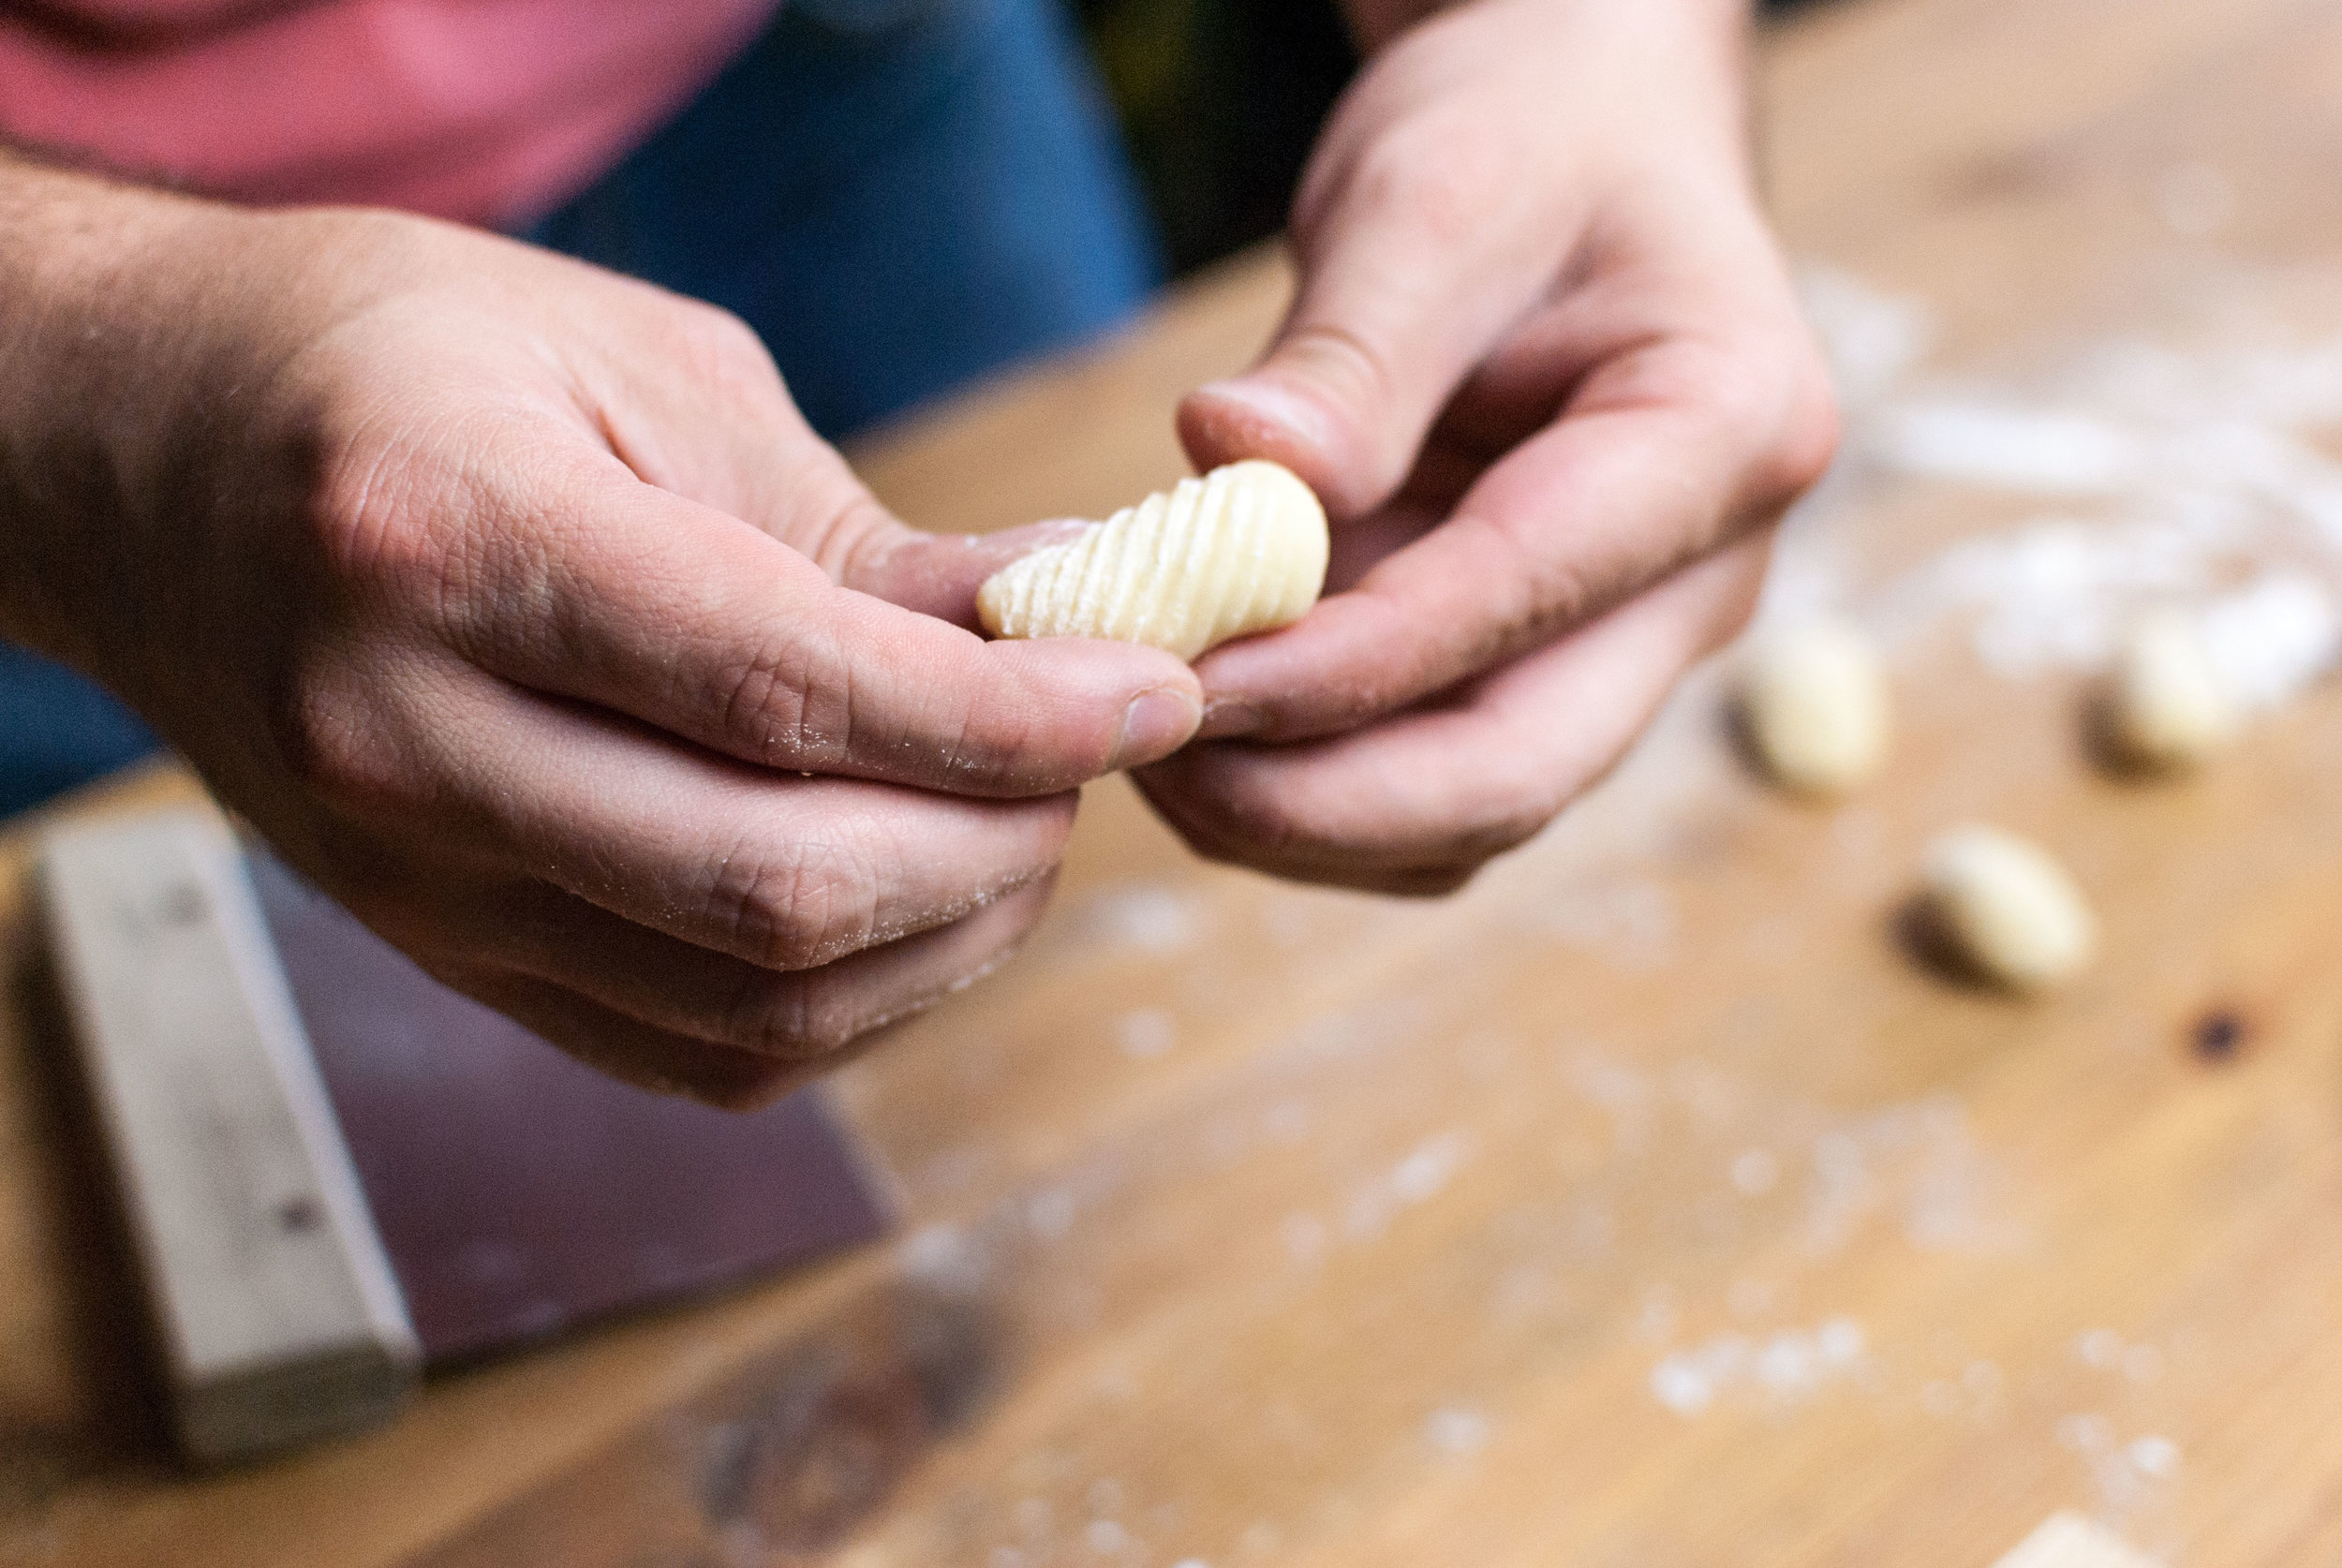
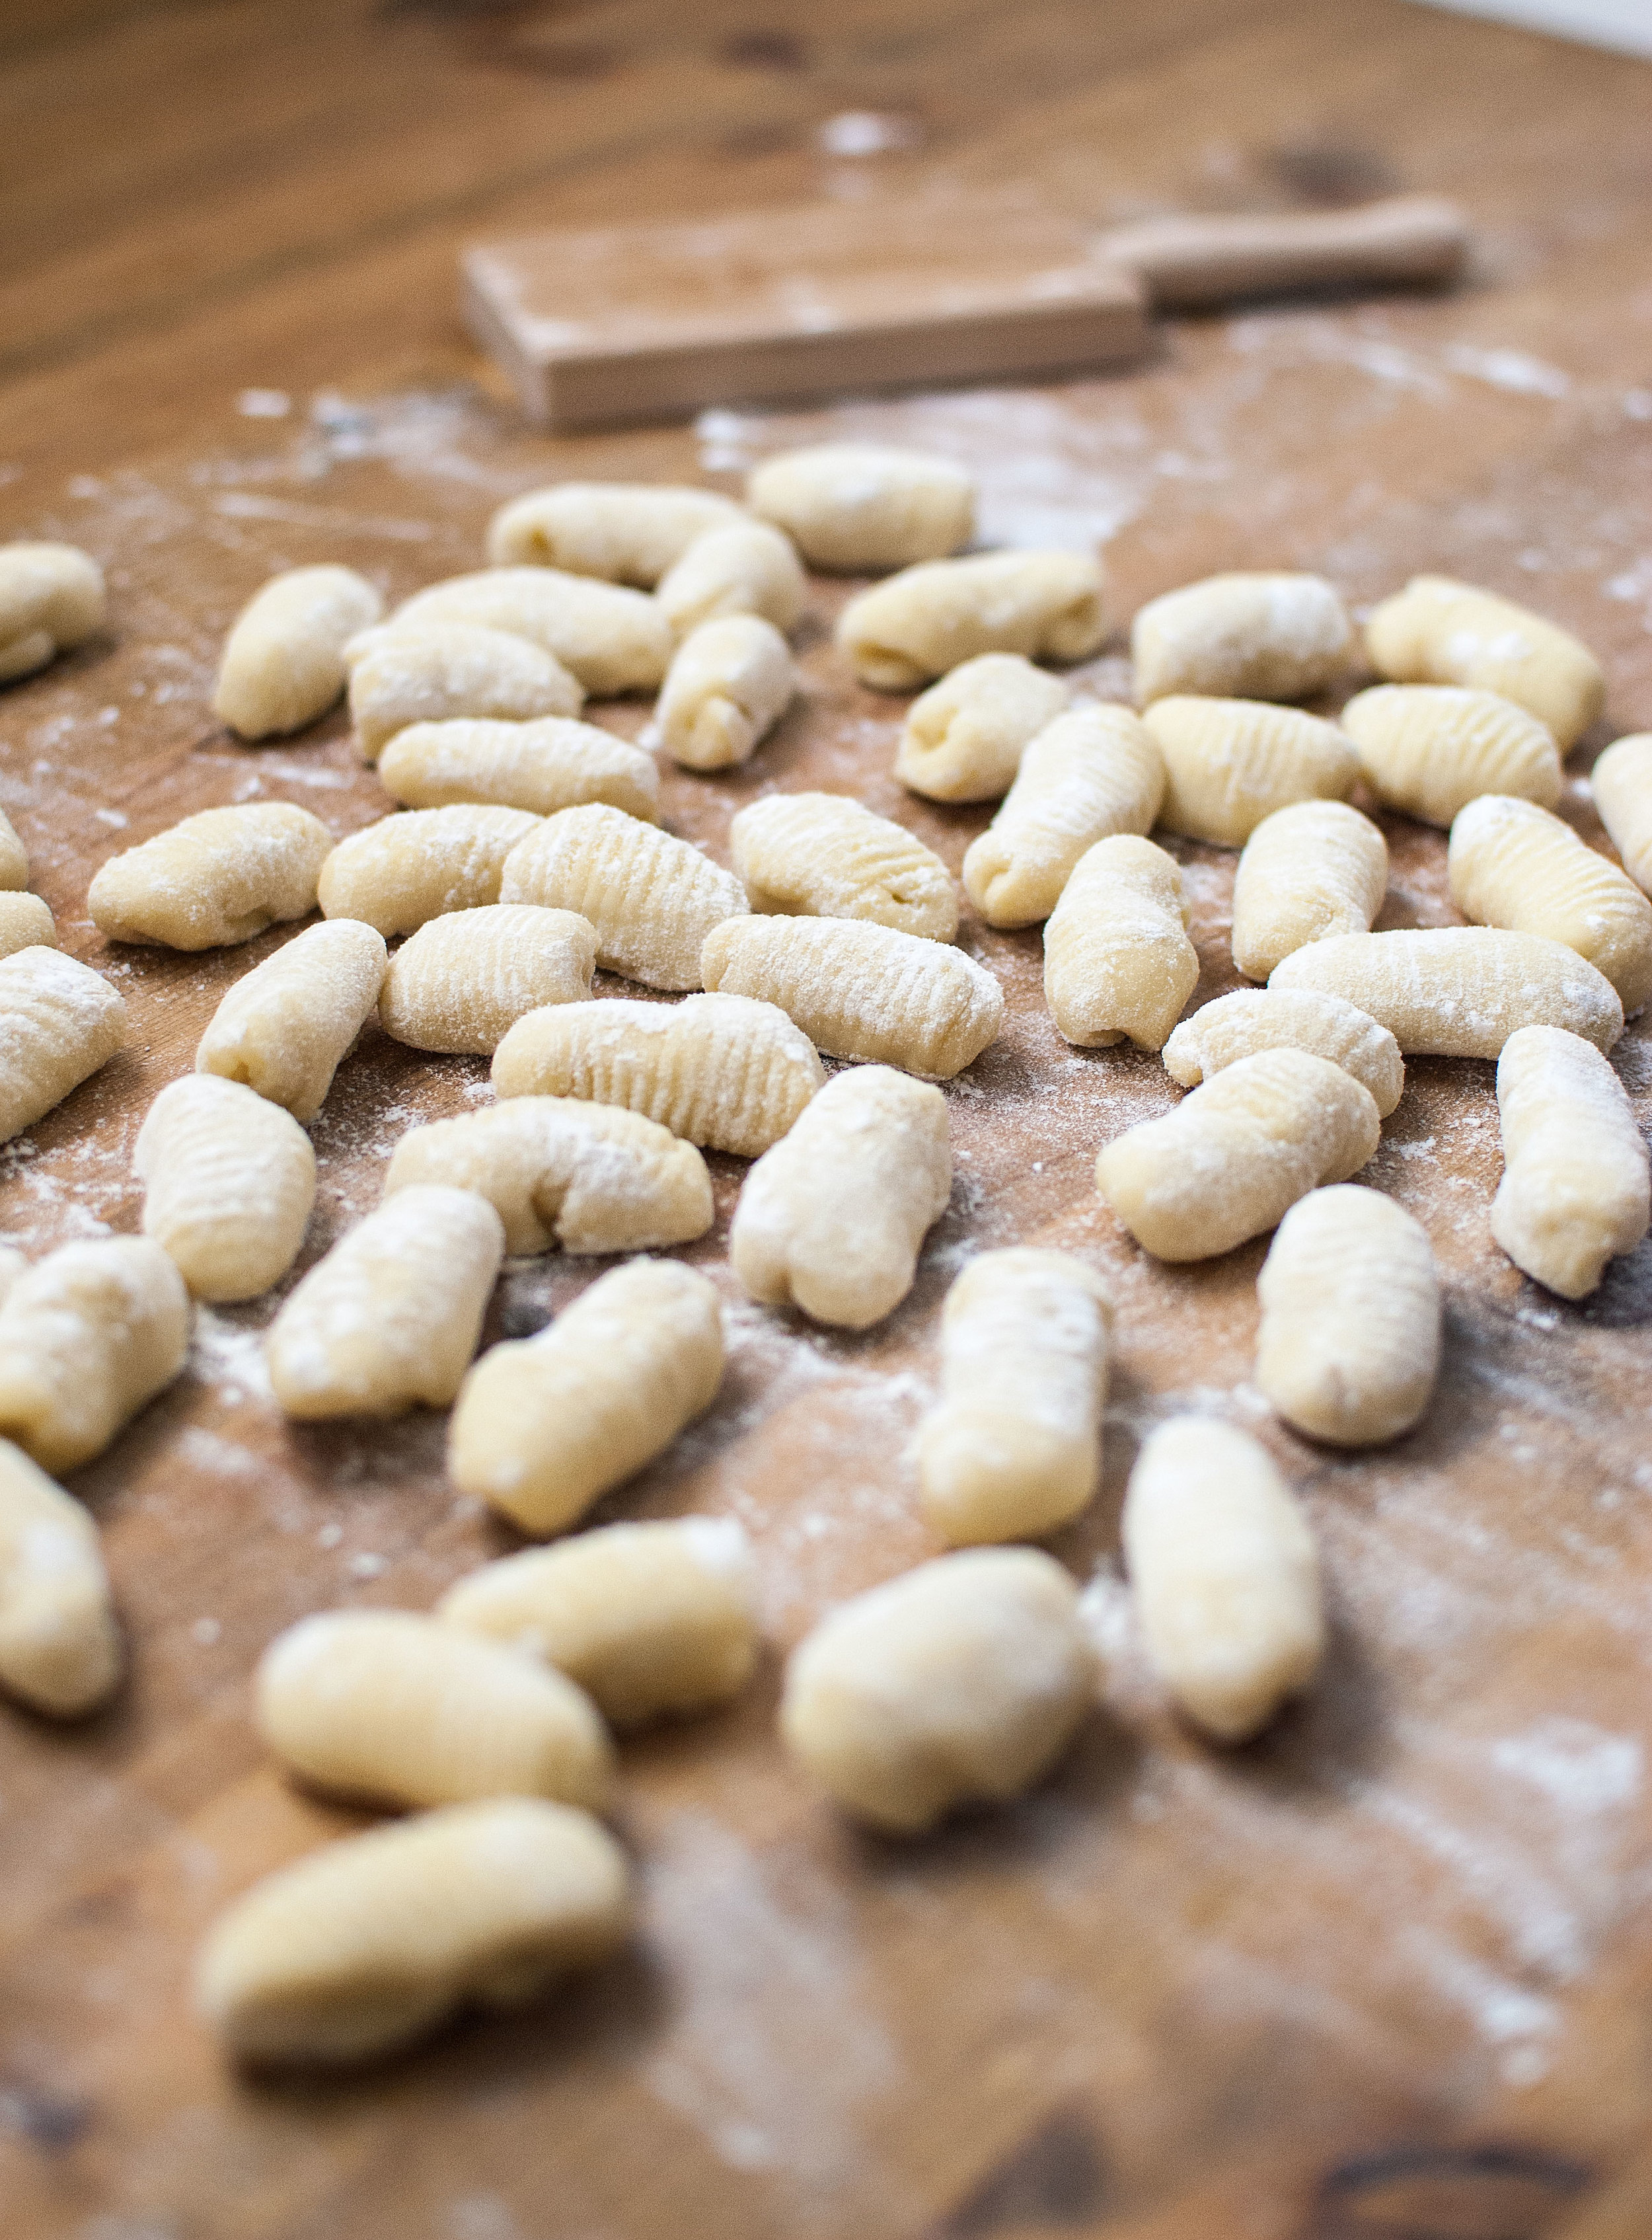
    • 200 g of fresh or frozen Everyday Gnocchi

    Bring water to a boil in a pot large enough to hold all your gnocchi. Heat a medium sized skillet to medium heat and keep them on standby until all your ingredients are ready to be used rapidly in succession. The water should be a rolling boil (especially if you’re using frozen gnocchi) and the pan should be able to sizzle away a little bit of water instantly. If you’ve seared off protein for this meal in advance in your skillet, please please please do not clean it before making the sauce. Use all that goodness for your gnocchi.

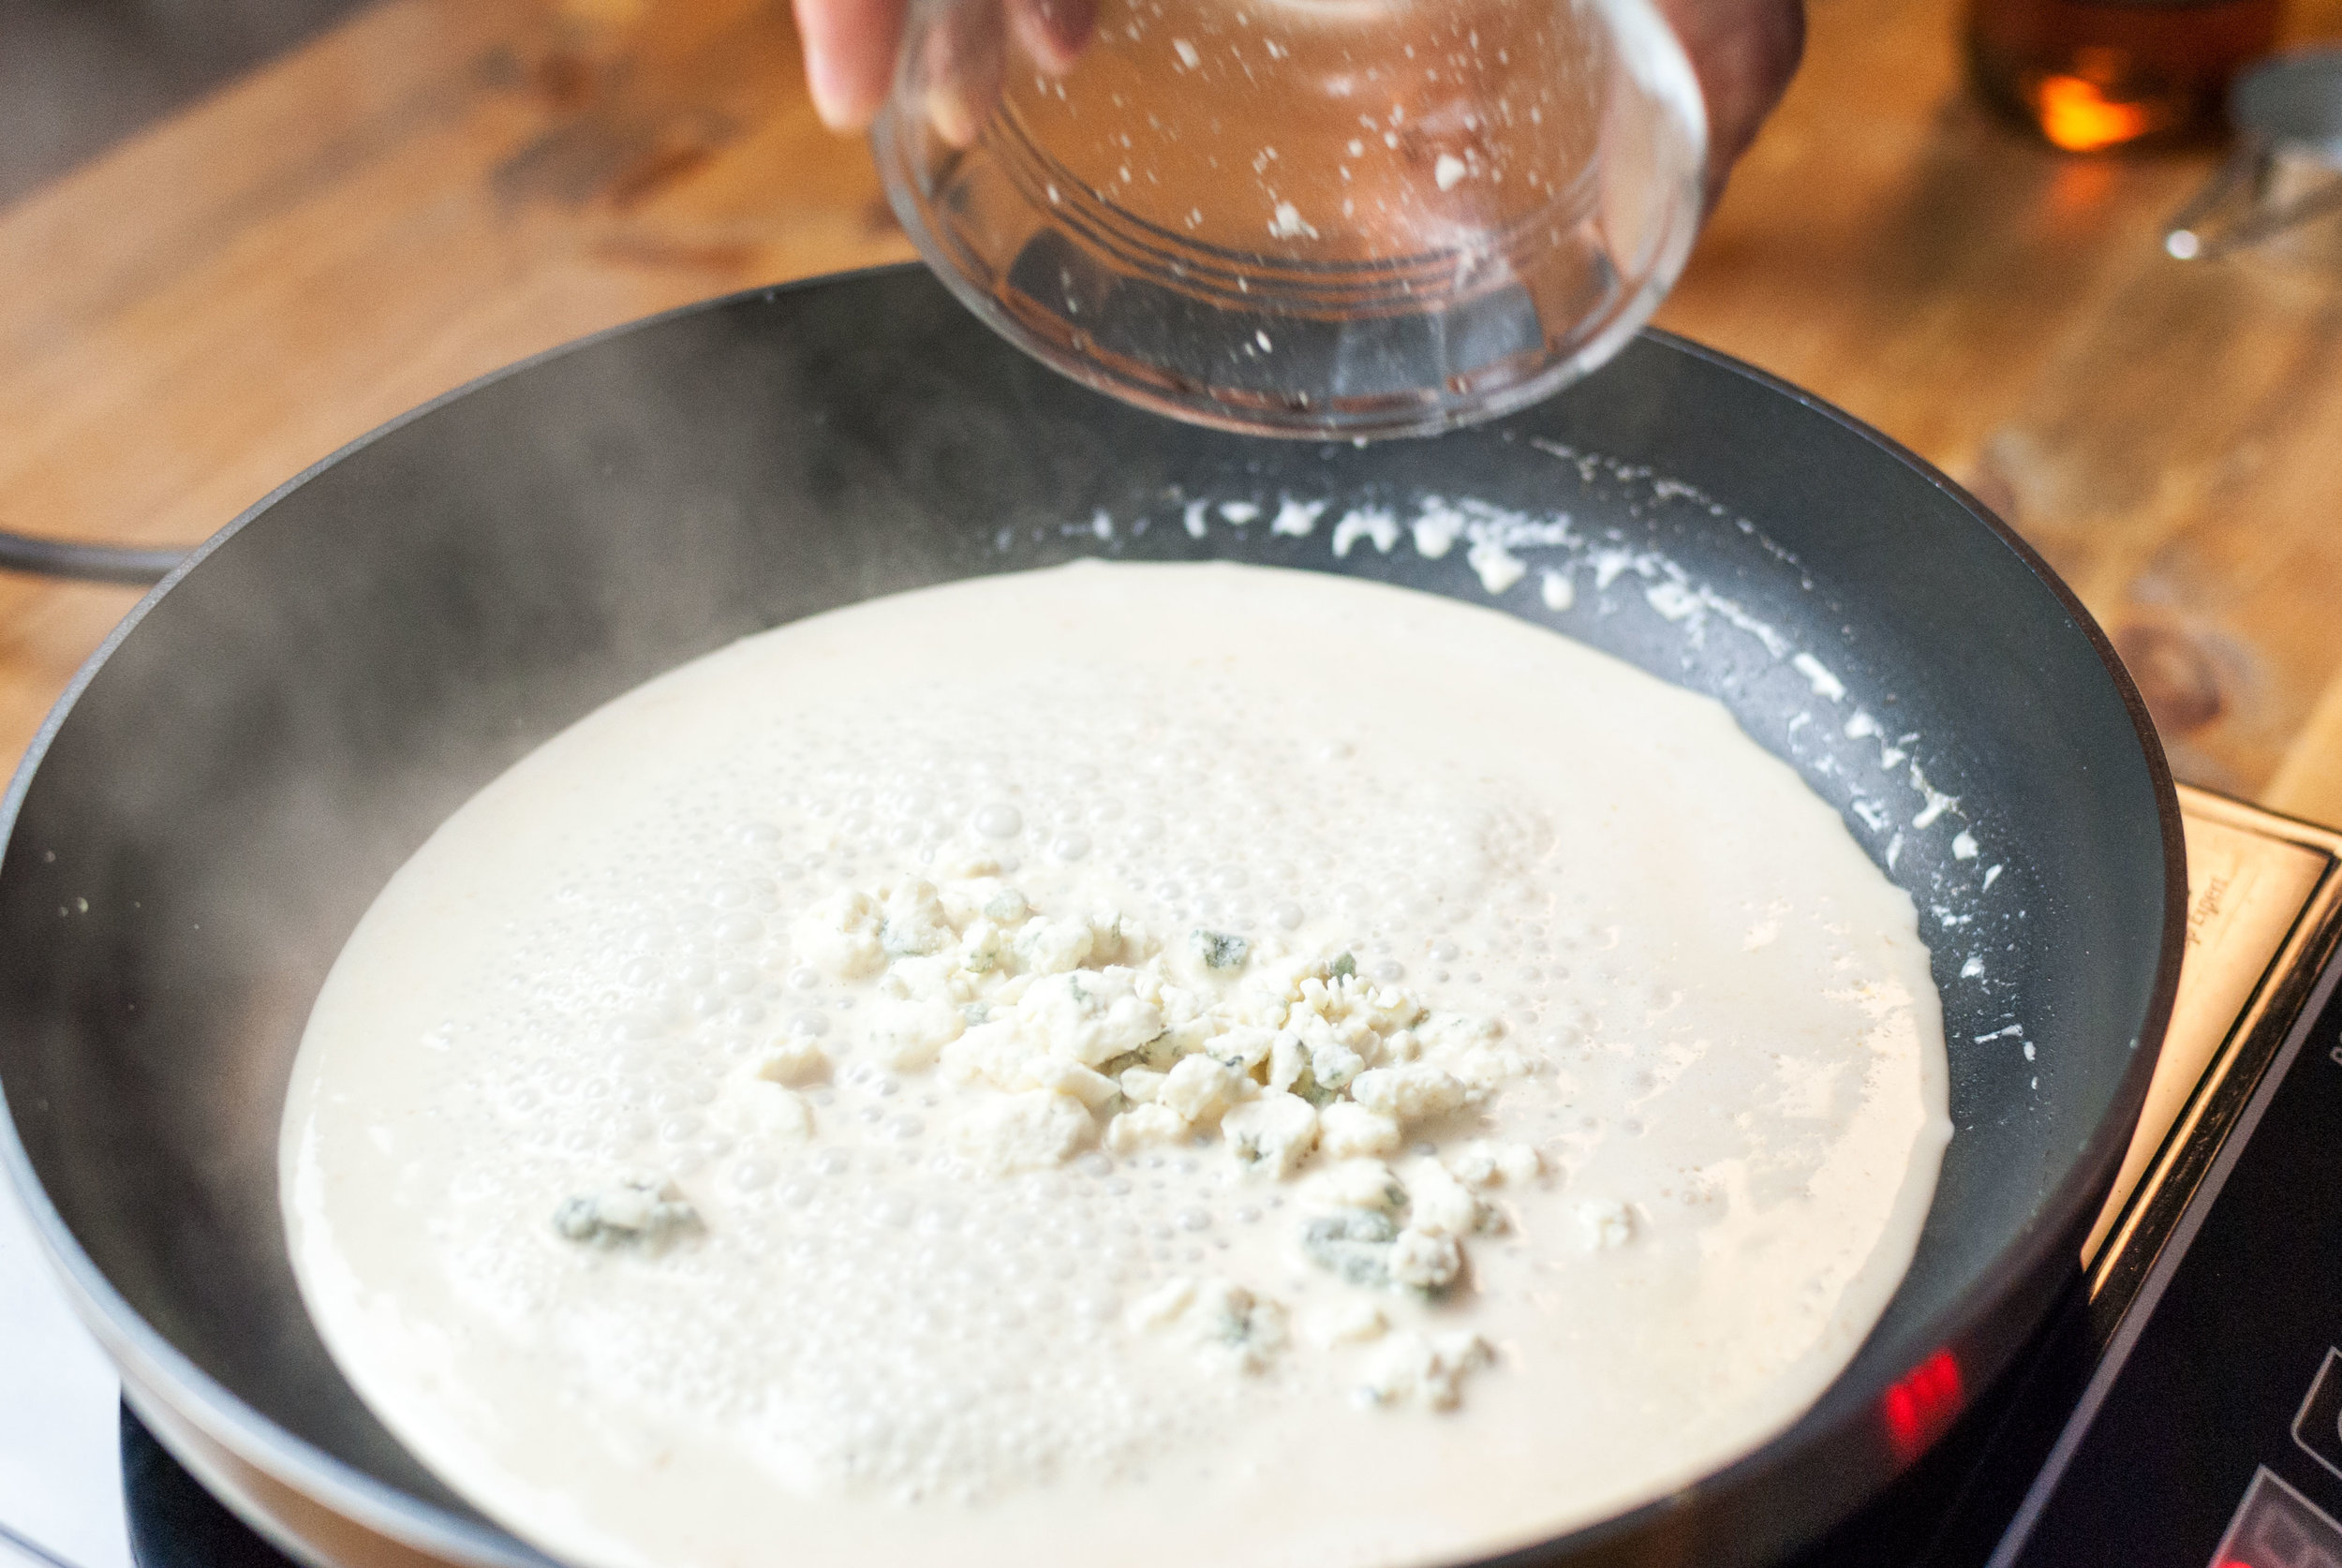
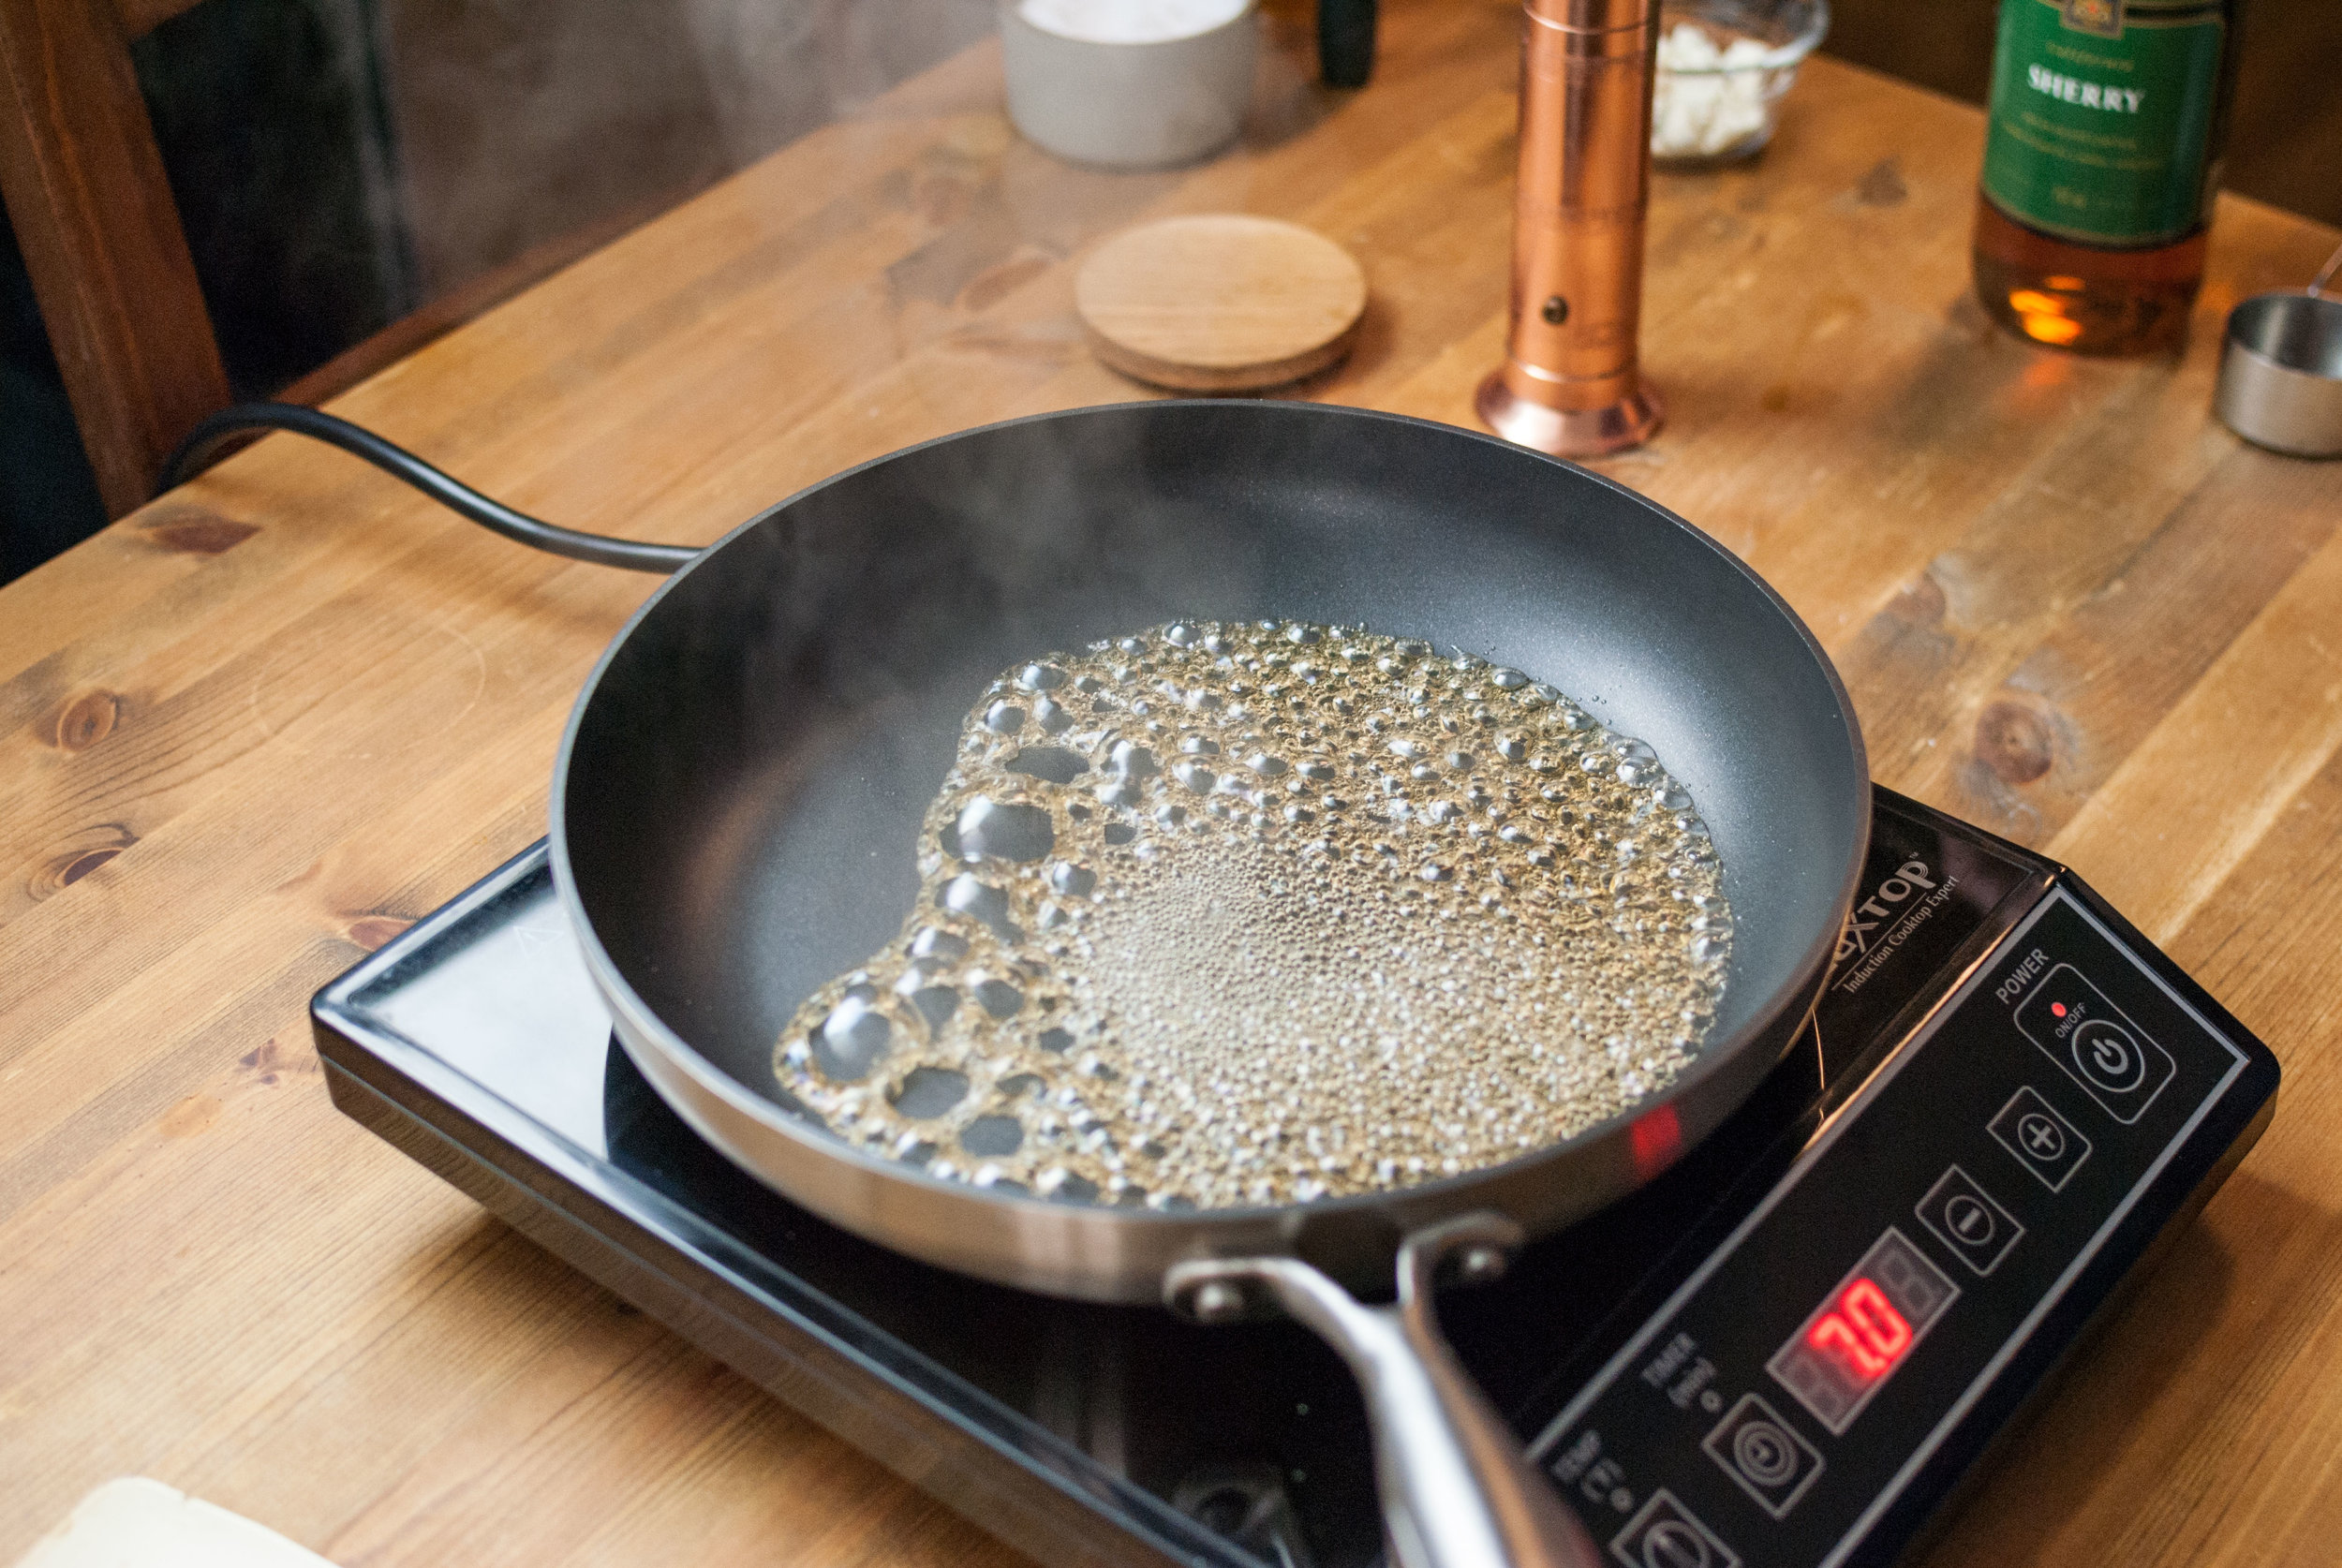
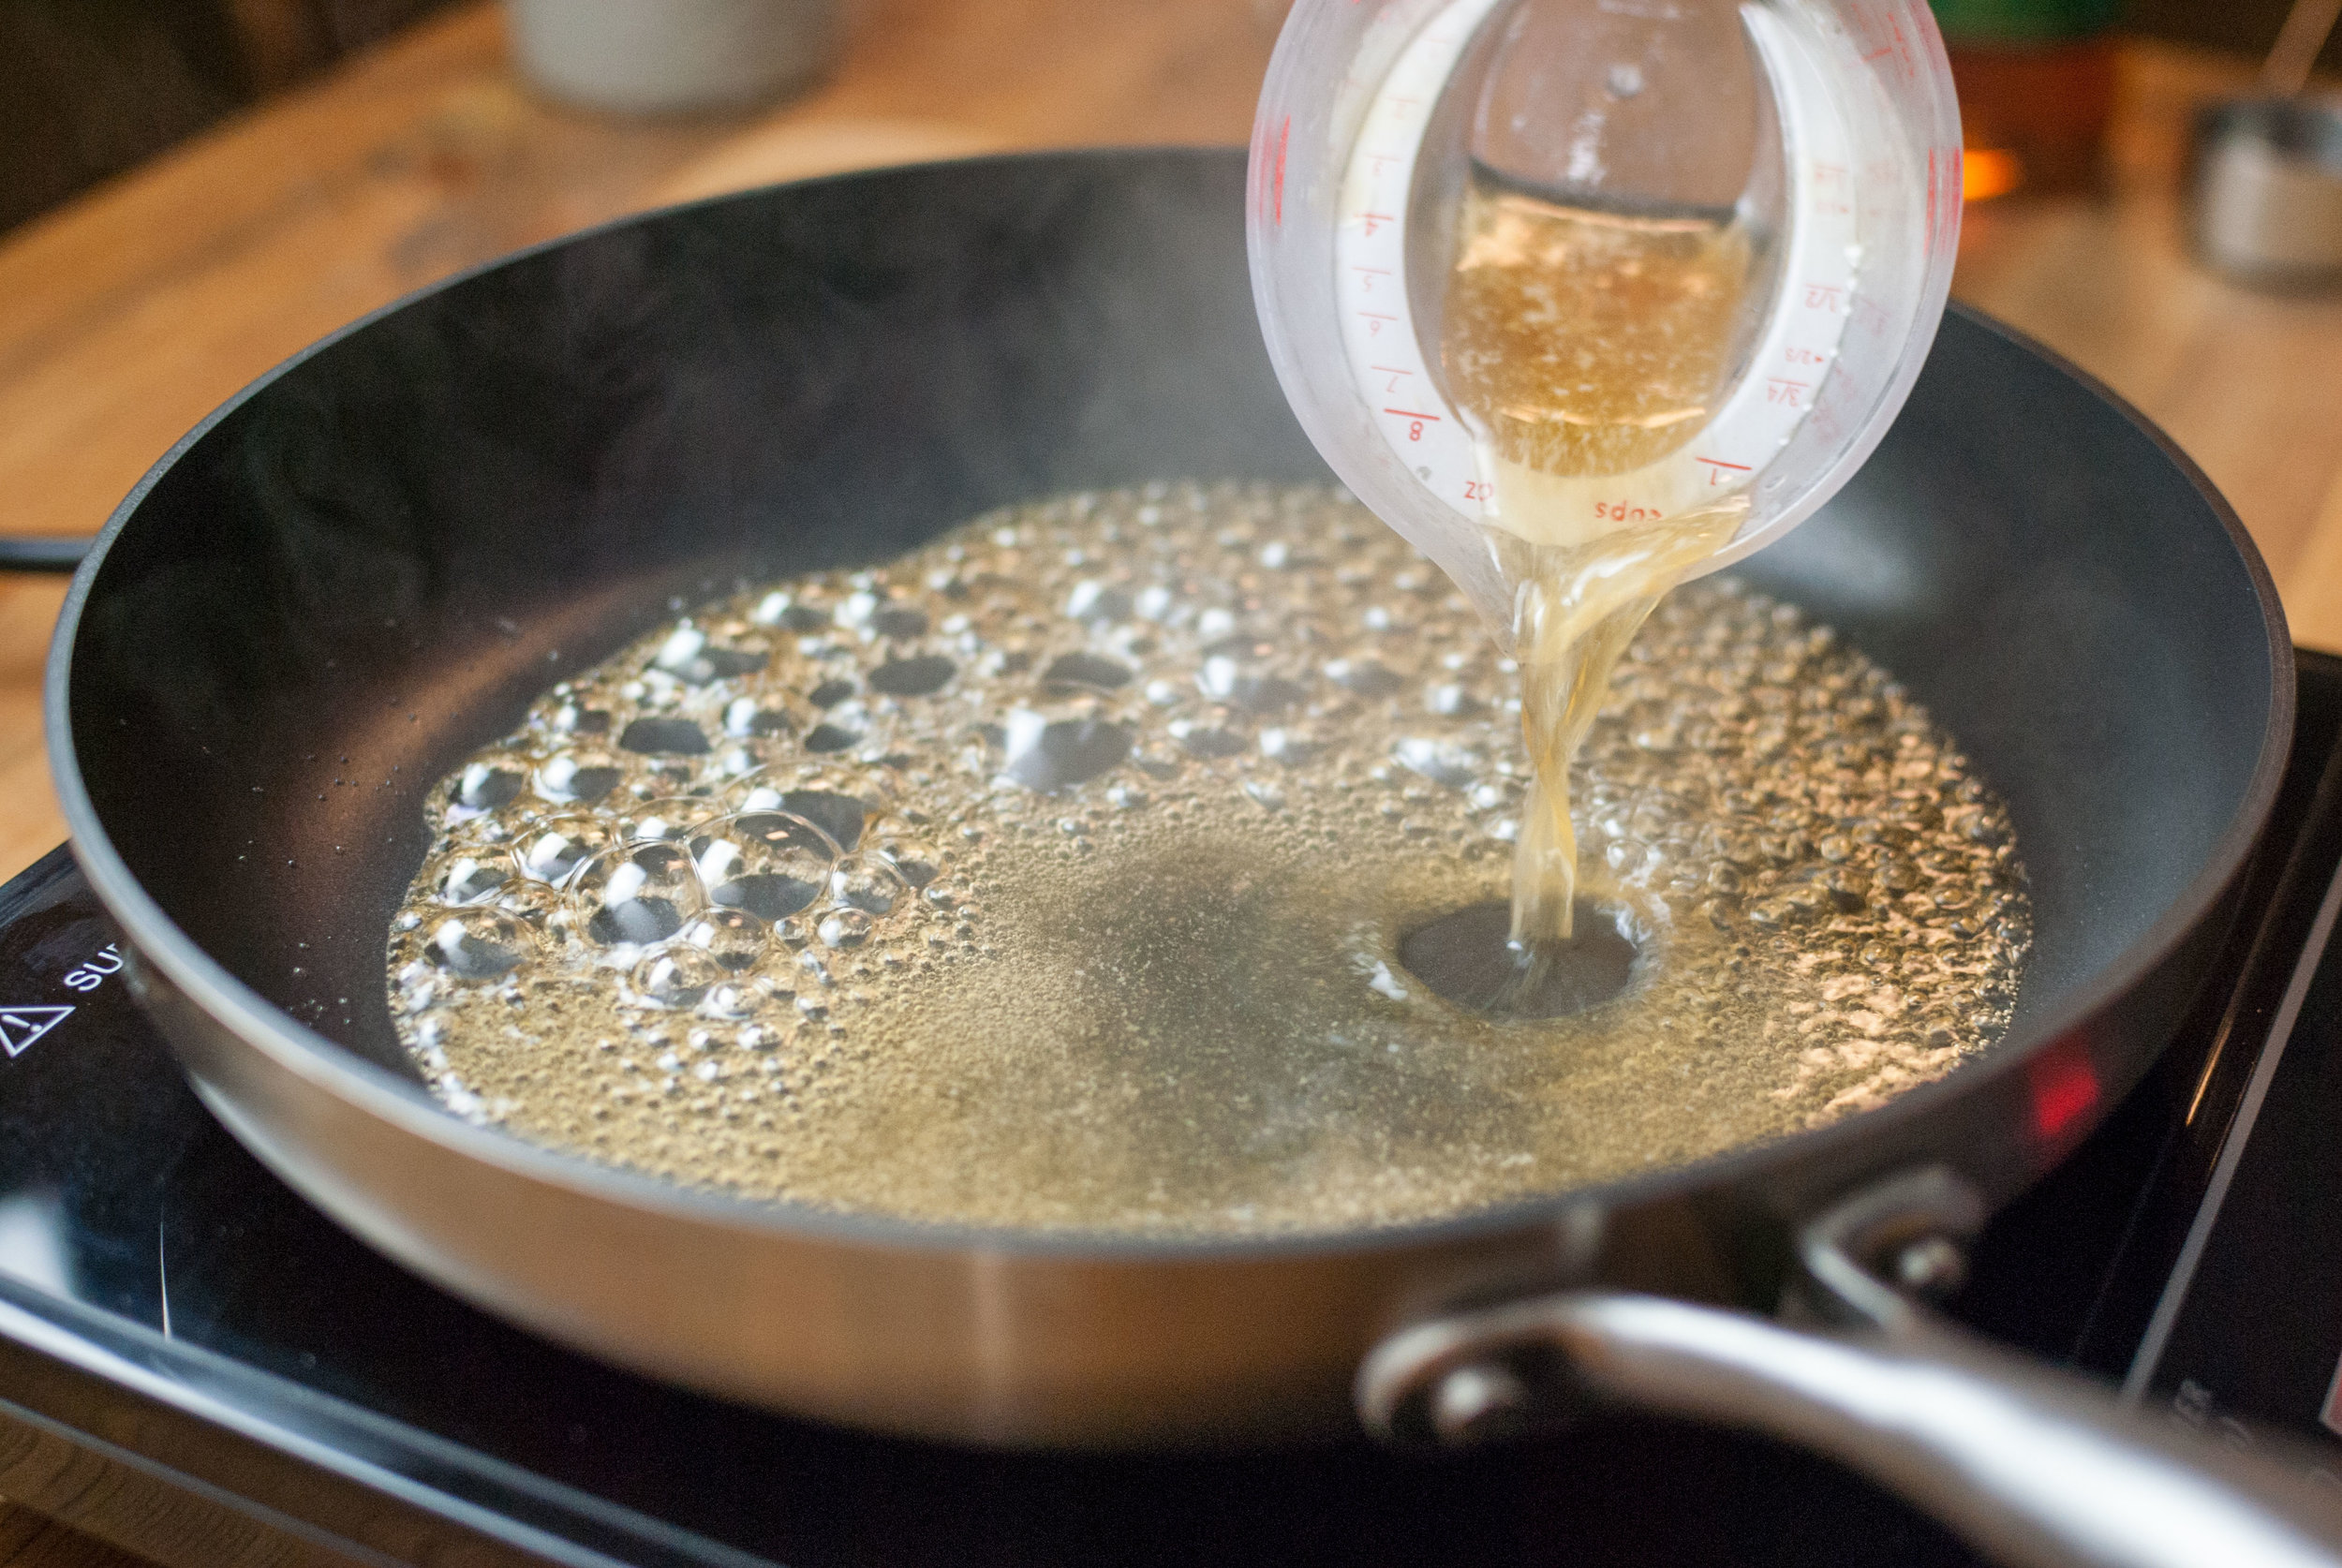
    When you’re good to go, throw your gnocchi into the boiling water. If you’re using freshly made gnocchi, they should be done cooking in a couple of minutes. If you’re using frozen, they’ll take a bit longer, maybe five or so. Just keep an eye on your gnocchs; a tell-tale sign that they’re done is when they float to the surface of the water. Don’t freak out if they’re done before it’s time to transfer them to your skillet. Gnocchi are pretty forgiving, so you can let them hang out in the water for a bit longer until you’re ready for them.  At the same moment when you start boiling your gnocchs, add the sherry to your pre-heated skillet. The sherry should reduce by half-ish in 10-15 seconds, and if you’re deglazing, be sure to scrape off all the tasty bits from the bottom of the pan. Add the cream and gorgonzola to the skillet and move them around to push the sherry and cream together, as well as encourage the cheese to melt.

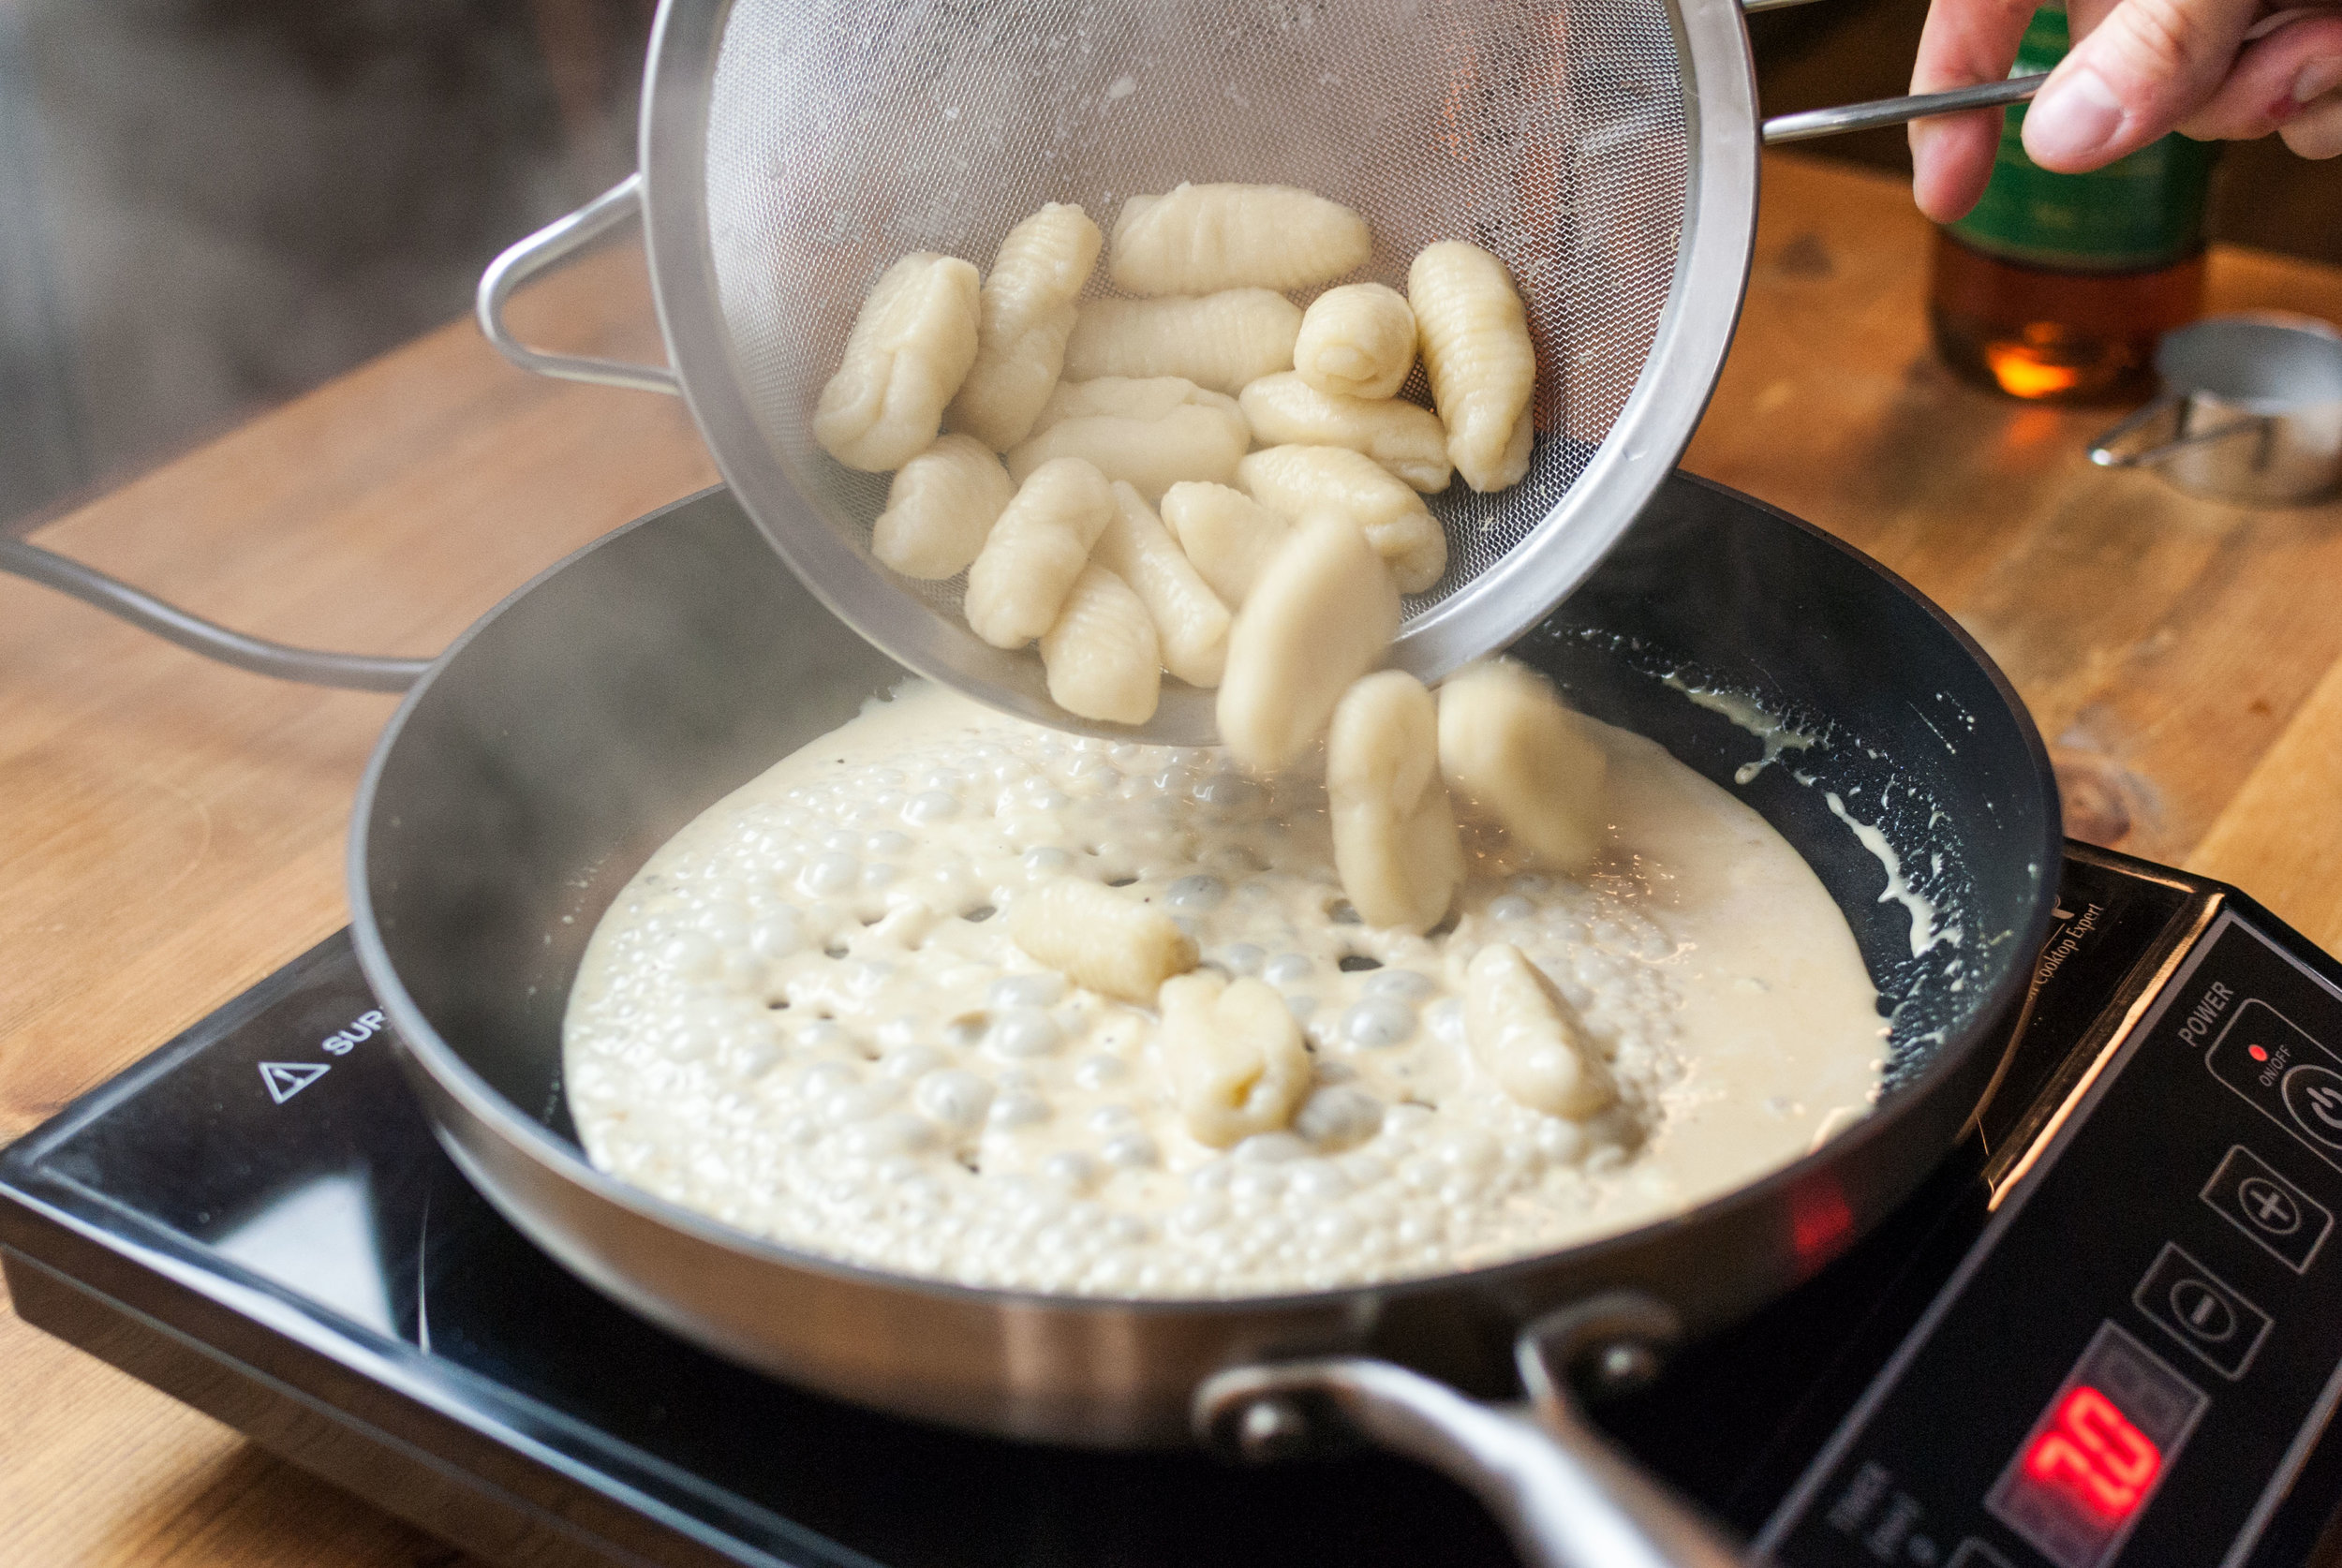
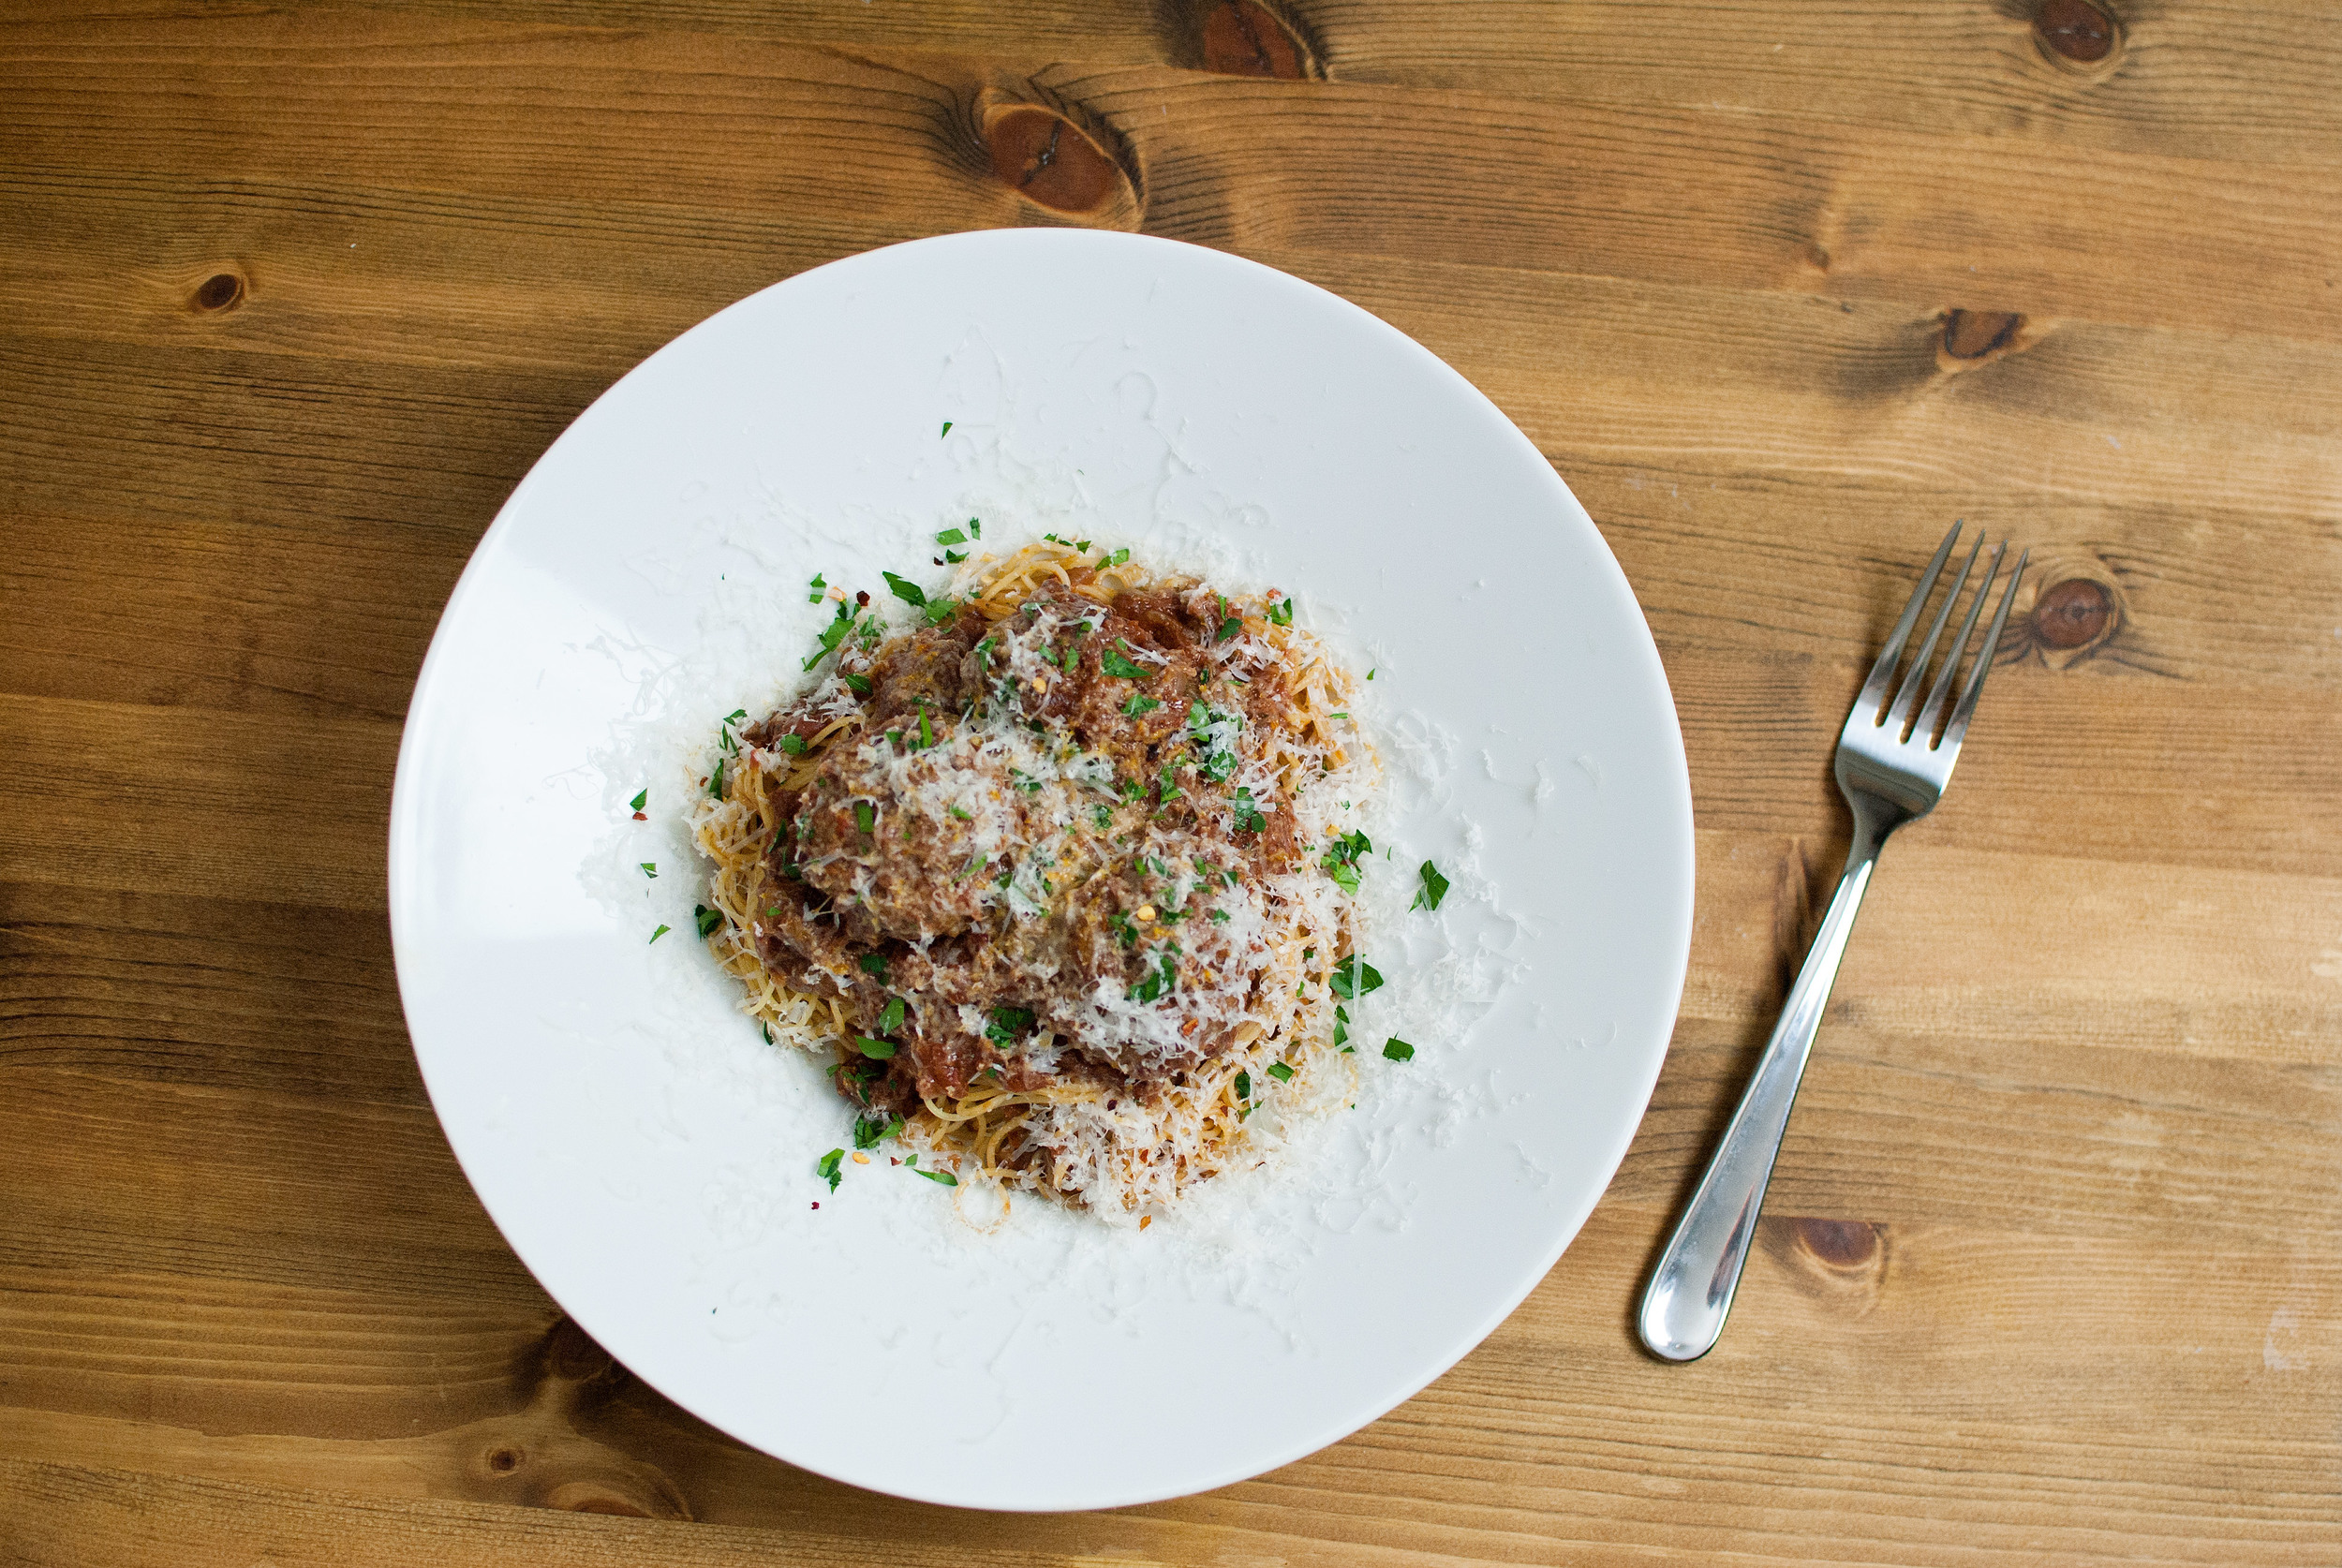
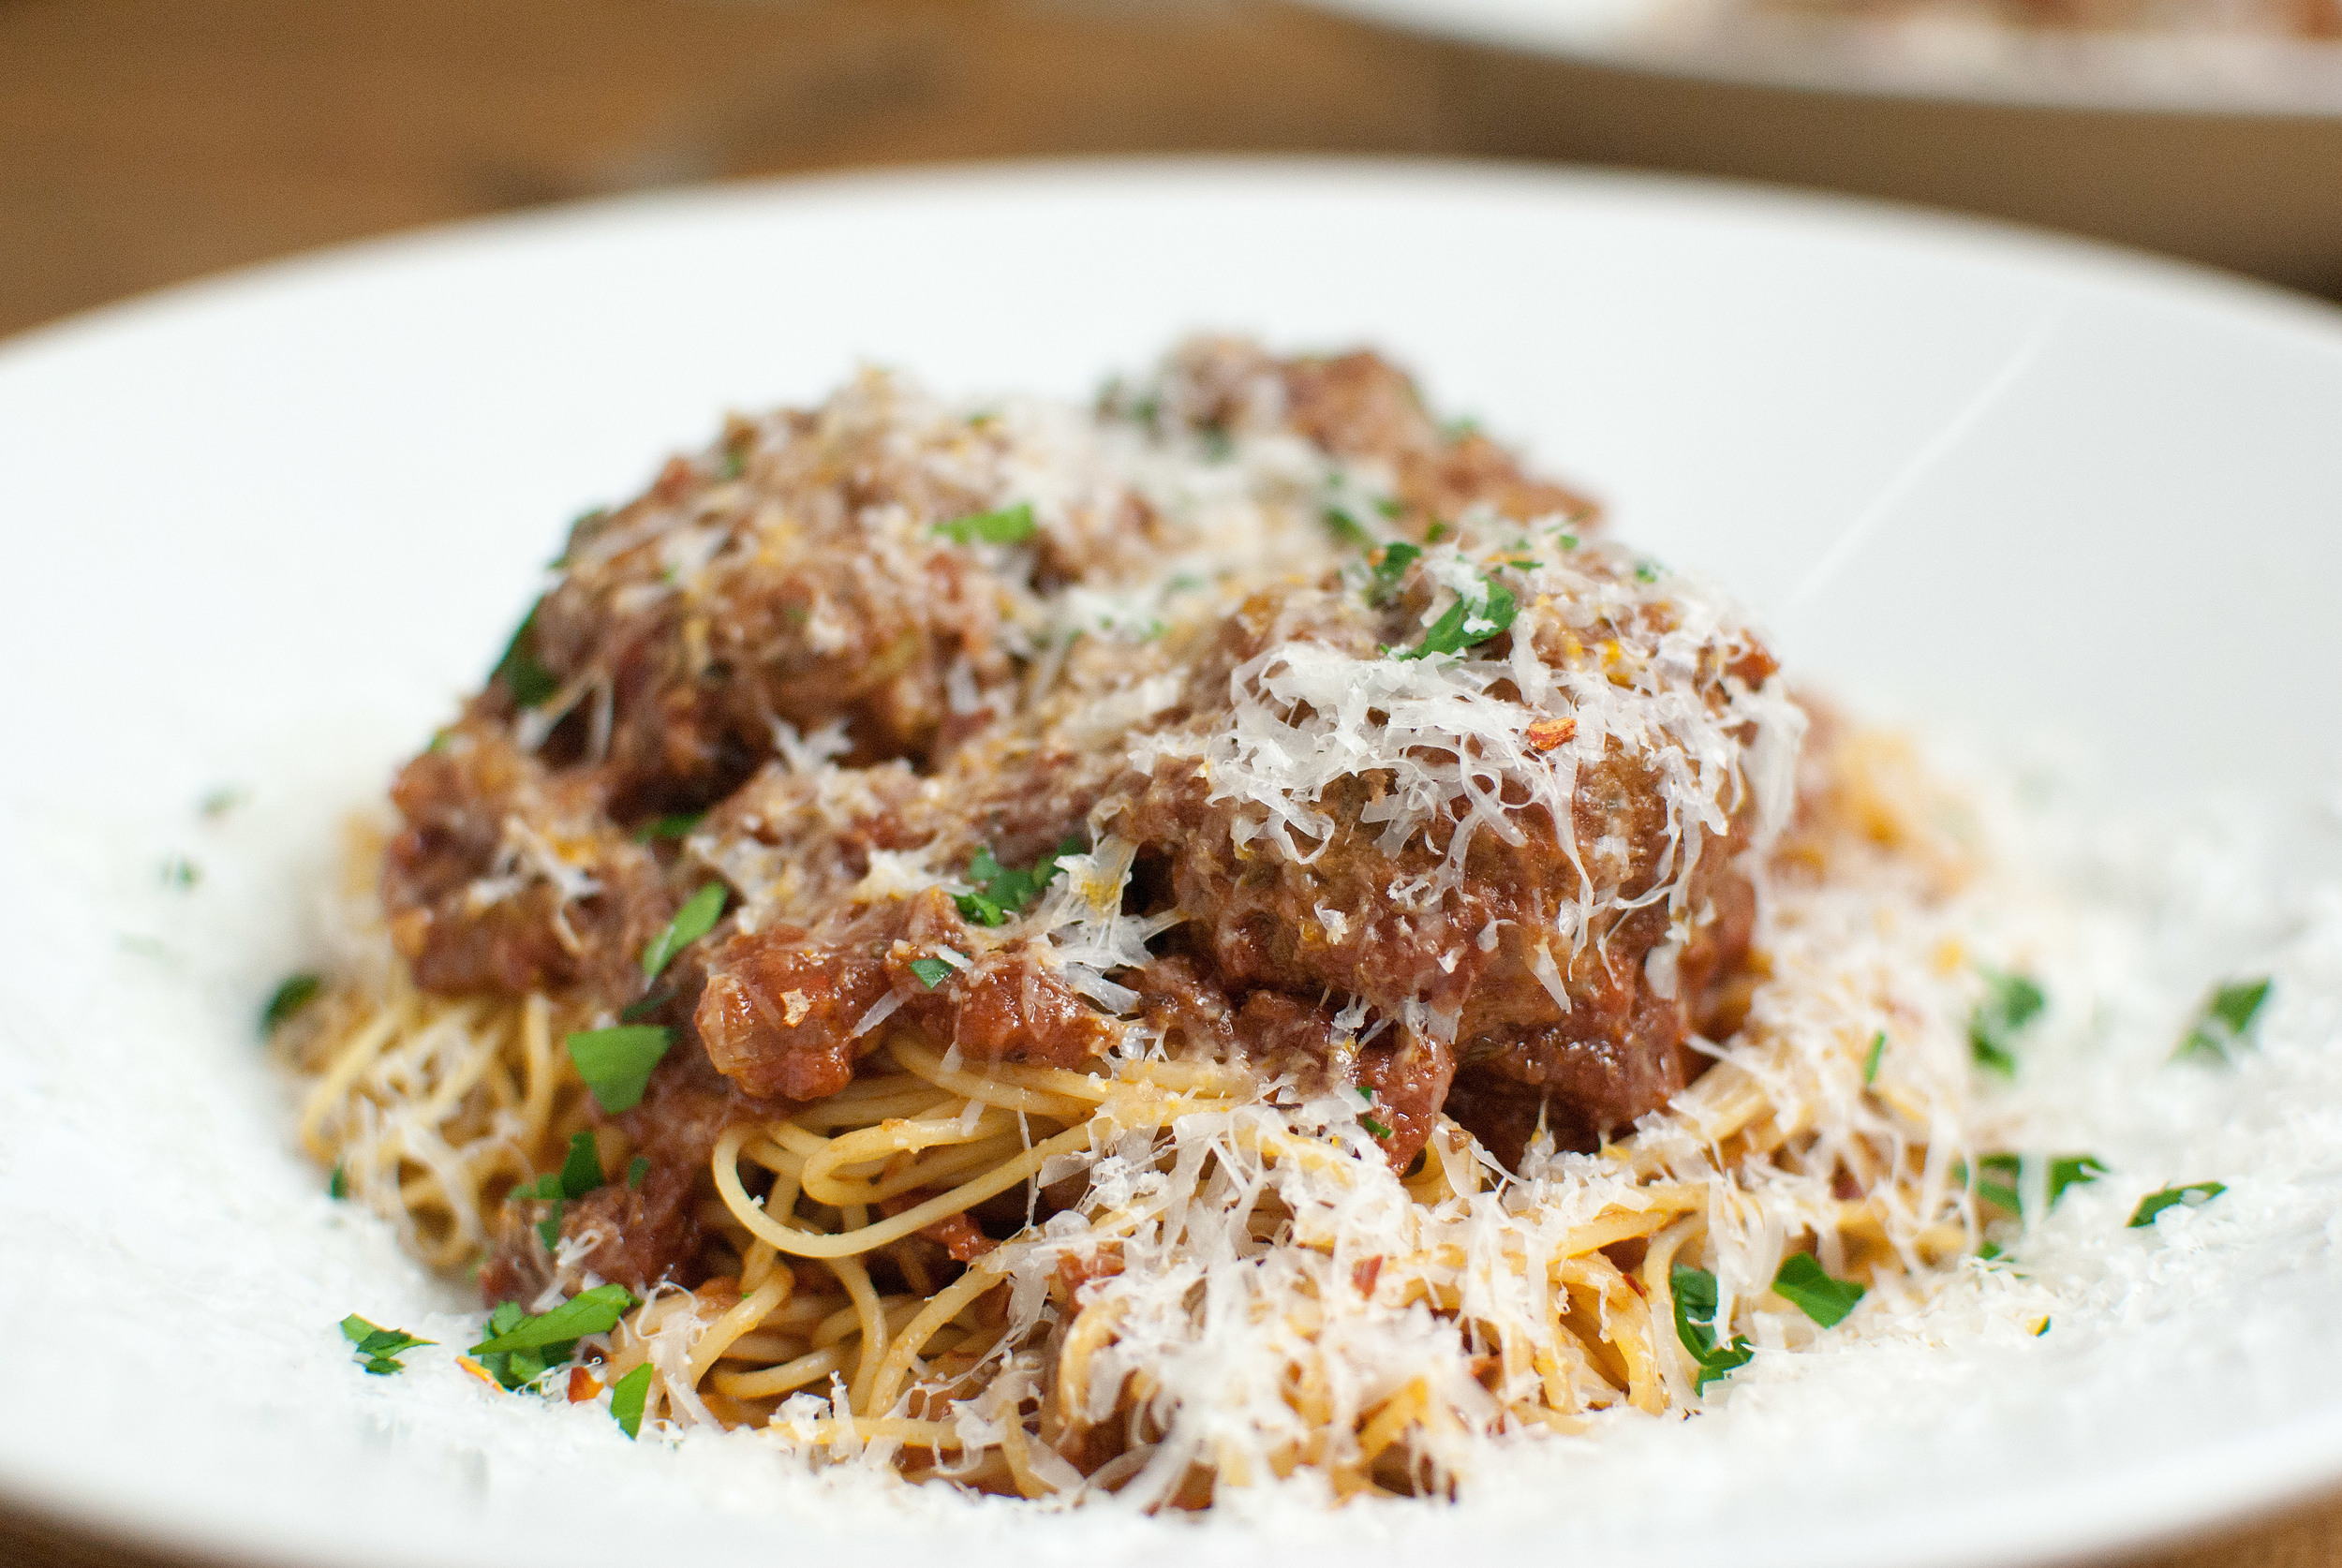
    The sauce will reduce a little and darken slightly, and once the cheese is melted, give it a little taste to check for salt. It shouldn’t need much, if at all, since the cheese is salty on it’s own, but it’s good to check. Your gnocchi should be ready around this time. Fish them out of the boiling water with a slotted spoon and add them to your sauce. Depending on how much your sauce has reduced, you might want to add a little bit of gnocchi water or broth to lengthen out your sauce because the addition of all this starch is going to make your sauce seize up. Toss the gnocchi in the sauce and weigh in to see what it needs for your own desired texture. We like our sauce to cling to the gnocchi, but we also like to have some leftover sauce in the pan since it thickens as it cools. Plus, it’s nice to have a little extra sauce in your bowl to mop up while you’re eating. Once you’ve got your sauce where you want it, remove the skillet from the heat and grind some black pepper over your gnocchi. We are, ah, liberal with our pepper; we like the floral quality it adds to the dish, but you ought to make that call for yourself. Serve in a bowl with protein or just on it’s own; you’re done!
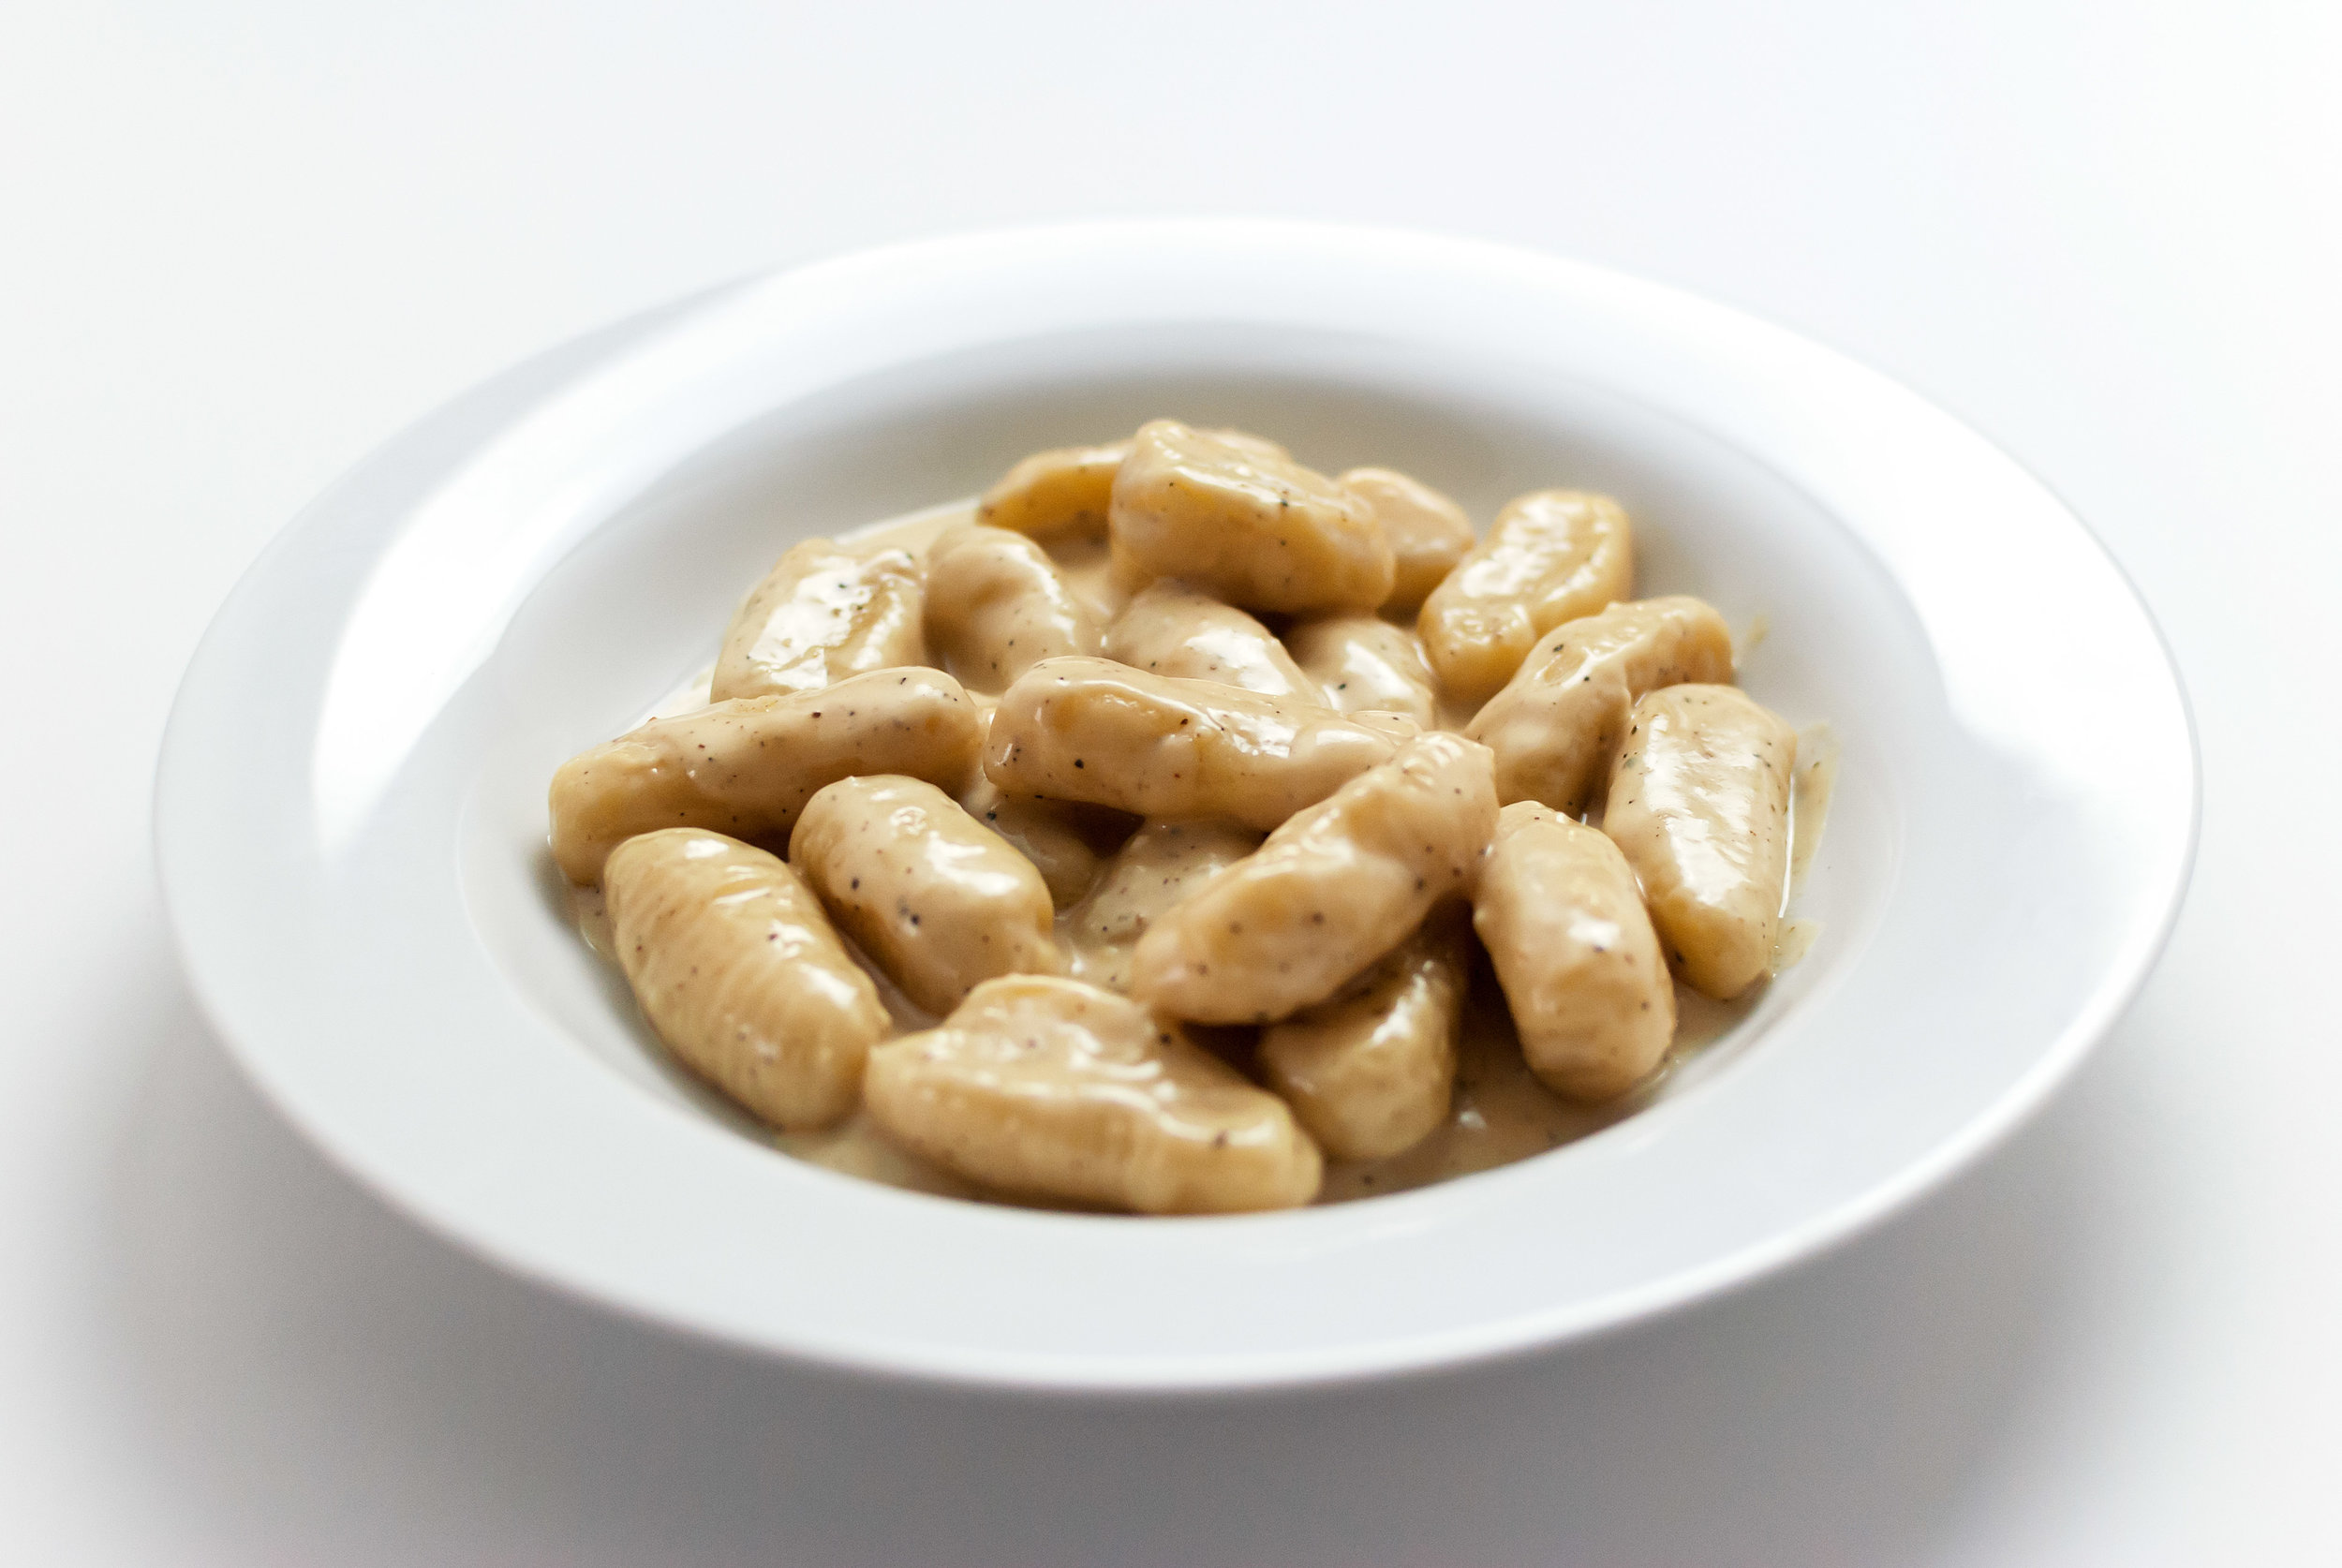

    gnocchi_cream_sauce_09.jpg

    Serves one. Maybe.

  • Everyday Gnocchi


    Gnocchi is one of those recipes that mystifies me when I find out that someone thinks that it’s difficult to make, because not only is it really easy (and cheap) to produce, it’s also easy to produce a lot of it; and that’s exactly what we do. It’s common for me to whip out about four batches at a time of this recipe (a standard mixer should be able to hold two at once) then freeze the lot on a sheet tray and store these little guys in a large plastic bag. It’s such a satisfying meal for us, and the knowledge that we can put in minimal effort for it makes it all the more alluring after a long day of work where you just want something delicious and quick. Just pick your sauce, pop these kids out of the freezer and boil ’em in water till they float, and you’re set.

    Side note: yes, the gnocchi in this recipe are pressed onto a gnocchi board. Do you need to do that? No, no you don’t. Do grooves hold more sauce? Yeah, they do. Will your dinner be any less delicious if your gnocchs are just little grooveless potato lumps that you cut off from your giant slab of dough? Nope, it’ll be awesome.

    Did we press these onto a groove board just for this post so our gnocchi will look awesome even though we almost never do it in real life?

    You bet your ass we did.

    Everyday Gnocchi:

    • 1 cup of cooked skinless russet potato flesh, thoroughly mashed with as few clumps as possible.

      • Side note: When I do big batches of gnocchi, I will often add my cooked potato to a food processor and blend it until it’s very smooth, along with the olive oil. This changes the texture of the potato dramatically, making it much smoother (almost like a potato cake batter, and makes a much stickier dough after you add the flour to it. I’d recommend doing this, but if you’re tired and just wanna mash the potatoes by hand, your gnocchi won’t be any less delicious.

    • 2 tablespoons olive oil

    • 1 large egg

    • a big three-finger pinch of good salt

    • 2 cups flour

    Mix the mashed potato, egg, olive oil, and salt until thoroughly combined. Add the flour all at once and mix (your hands are the best tool for this if you don’t have a mixer) until all the flour is integrated. Continue to knead the dough until it becomes firmer and pulls away from the sides of the bowl.  The dough should be smooth, not unlike bread dough but much less springy. If you’re using a mixer, you’ll need to use the paddle at first to blend the flour into the wet ingredients, then switch to the dough hook once the it all begins to come together. Knead it for a minute or two until it becomes a tight dough. Let the dough rest at room temperature for about 30 minutes in a bowl with a cloth over it before proceeding to shaping.

    Transfer the rested dough to a lightly floured table or counter and begin to roll it into a long snake-like shape; it should be a little less than an inch in circumference when you’re finished. The dough will be quite tough and glutinous, so I’ve found that letting gravity stretch it a bit by pulling it and letting it hang in the air (as well as giving a few good thwacks on the table) works quite well to elongate it. Once you’ve got it rolled, take a knife or dough cutter and cut the dough into little nubs. The ideal size of a single gnocch for us is about the size of your thumb pad, so when you’re done, your table might look like it’s covered in a bunch of little floury thumbs (not to be grotesque, but hey, it’s an image you won’t forget).

    Your gnocchi are ready. They’re good to boil in the moment, or just place them on a sheet tray lined with baking parchment and freeze them for later. They keep for…well, we don’t actually know how long they really keep for; we’ve never let them sit around for too long. Oh, well…

    Optional: After cutting the dough, you’re welcome to press your little gnocs onto a gnocchi board to get their groove on. Simply take a gnocch and press it with your thumb onto a floured board, almost like a thumb print cookie, then remove it and fold it into itself so it returns it’s round shape once again with the grooves facing outward (duh). I’ll admit, it’s a bit of a tedious process, but they do look lovely when they’re finished and they really do hold more sauce. I’d recommend this method if you’re tossing them in a tomato sauce.


    gnocchi_dough_19.jpg

    Yields about 65-70 gnocchi, roughly 4 servings.

  • Chicken Shawarma Dinner


    First and foremost, this is a multi-recipe post! Nothing here is too complicated, and when you make (and eat) all these things together, the result is immensely satisfying; it’s a favorite weeknight—yes, weeknight—spread for us. This is a dinner that really exemplifies some of our favorite flavors: bold spices, fresh herbs, and obscene amounts of garlic. While we understand that this recipe might not be exactly authentic (it isn’t), we can promise that it’s completely delicious. The styles of shawarma, after all, are completely dependent on what’s around and what’s good, and we used what was in our pantry. We can also promise that this is one of the easiest and quickest smorgasbords you can make to impress a small crowd. It makes a great sit-down meal, but also could promote casual grazing at a party. We’ve tried it both ways: 10/10, would recommend.

    The zhoug was inspired from the Jerusalem cookbook, and has since found its way into many dinners of ours. Call us predictable, but we are suckers for fresh and spicy sauces that brighten things up.

    Parsley and Mint Zhoug:

    • 1 cup of fresh parsley leaves, packed, some stems are okay
    • ½ cup fresh mint leaves, packed
    • 2 cloves of garlic, crushed
    • 2 green chiles, stems removed
      • Note: You can use whatever green chiles might be available to you for this such as jalapeños or serranos. We love using Thai chiles, and for this particular recipe we us 4–5. It all depends to how spicy you want this condiment to be.
    • 1 heaping teaspoon of ground cumin
    • Juice of 1 lemon, seeds removed
    • ¼ cup olive oil
    • Salt to taste

    Combine parsley, mint, garlic, chiles, cumin, and lemon juice in a food processor and pulse the ingredients together, occasionally scraping the sides of the bowl. Once the mixture resembles a thick paste, keep the blade running and pour in the olive oil through the top slowly, creating an emulsion. Season with salt and double check the mixture for smoothness, pulsing occasionally if needed. Serve in a small serving bowl.

    Chicken Shawarma:

    • 1 pound of chicken breasts, trimmed of silver skin
    • Kosher salt
    • Shawarma spice mix:
      • 1 tablespoon ground cumin
      • 2 teaspoons curry powder
      • 1 teaspoon ground coriander
      • 1 teaspoon sumac
      • 1 teaspoon paprika
      • ½ teaspoon ground allspice
      • ¼ teaspoon ground cinnamon
      • ¼ teaspoon ground ginger
    • Oil as needed
    • ½ large sweet onion, thinly sliced into strips


    Rinse the chicken pat dry with a paper towel. Fillet meat into pieces with even thicknesses; about an inch. Cover one side of the meat liberally in salt and spices and set aside.

    Bring a pan to medium high heat with half a tablespoon of oil or so and place the chicken in the pan. As the meat cooks, salt and cover the other side with salt and spices. Cook until the chicken starts to whiten up the sides, then flip to finish cooking. Test the chicken for doneness (160-165°F) then remove from the pan to rest for 10 minutes before serving. While the chicken rests, add the onions to the pan and a little bit of water to help the drippings from the pan release. Cook onions until they become soft, translucent, and have sopped up all the drippings. Remove from the pan and serve.

    Serve with pita, hummus, baba ghanouj, and, if you can swing it, throw together a two second Greek salad.

    Serves 4.


  • Tiger Cry Steak


    This recipe from my childhood grew up over the years as I grew as a cook and — in its final form — it has changed into something simpler and more representative of my relationship with Nate, highlighting both of our strengths in the kitchen. Nate is all about technique (and very good at cooking meat) while I tend to be more of the flavor-combiner/mad scientist sauce making type, and this recipe relies on the success of both of these schools of thought. Nate’s well executed marinated steak is the perfect platform for this fresh herb chimichurri which will sear your face off and keep you coming back for more.


    Tiger Cry Steak:

    • 2 beef or buffalo steaks (any kind will do, but we used buffalo top sirloin), 8 ounces each, trimmed of fat and silver skin

    • ¼ teaspoon freshly ground black pepper

    • 1 stalk of lemongrass, tender white interior sliced thinly, green and husks discarded

    • 2 tablespoons thin soy sauce

    • 2 tablespoons lime juice

    Mix the pepper, lemongrass, soy sauce, and lime juice together to make a quick marinade then transfer to a plastic bag big enough to hold the meat. Add the steaks to the bag, distribute the marinade evenly, then marinate the meat in the fridge for a couple of hours to overnight (overnight is best). Before cooking, allow the steaks to come up to room temperature and be patted dry.


    On the grill or stovetop, cook the steaks for 4–5 minutes on one side to create a nice sear, then flip them and cook for another 3–5 minutes. For medium-rare steak, test the temperature with a meat thermometer to make sure the interior is around 135 degrees. Allow meat to rest for 10 minutes, reserving the meat juices, then serve with chimichurri.

    Thai Style Chimichurri:

    • 2 cups of fresh cilantro leaves, packed, some stems are okay.

    • ½ cup of fresh mint leaves, packed

    • 4–5 thai chilies, stems removed

    • 1 shallot, roughly chopped

    • 2 large cloves of garlic

    • 2 tablespoons plus 1 teaspoon of fish sauce

    • ⅓ cup lime juice (about 2 limes)

    • ¼ cup vegetable oil

    • Leftover meat drippings

    In a food processor, combine the cilantro, mint, chiles, shallot, and garlic and pulse until the ingredients are all finely minced. Mix the fish sauce, lime juice, vegetable oil, and meat drippings together into a vessel with a spout and pour into the food processor with the blade running. Blend until it becomes a smooth sauce. Serve with rested meat.

    Serves 4.


  • Braised Pork in Lazy Cherry Ancho Mole


    I’m going to be completely honest here; I’m not the biggest fan of cherries.

    It’s not that I have anything against them, they’re just not really my steeze. But this blog is supposed to be a challenge, and that means transforming whatever is in season, whether I like it or not, into something unique and delicious.


    Doing research for cherry flavor profiles ended up giving us the key for what we would do with them. While cherries aren’t toward the top of my list, there are a multitude of flavors that I do love that have an affinity for them: chocolate, nuts, coffee, dried fruit or chiles, vanilla, and other spices like cinnamon to name a few. I had trouble picking a direction until I realized that I didn’t have to, after browsing through a Mark Miller cookbook. There’s already something out there that uses most of these things and that I was certain would welcome the presence of cherries: mole.

    Sometimes containing upwards of 60 ingredients and often demanding an entire day to make, mole is definitely an undertaking. While all the work is certainly worth it, sometimes I’m just not up to it. Sometimes I just feel like being lazy while something braises in the oven for hours while I troll my way through an RPG or a good book. I’ve made so many damn lazy moles in my day, and while they aren’t as complex as they could be, I still find that they hit the spot; plus they’re really fun to make and easy to experiment with. Never under-estimate the amount of joy I can derive from dumping a bunch of shit in a food processor, blending it together, and seeing what happens. I certainly had a lot of fun fooling around with this recipe.


    Lazy Cherry Ancho Mole:

    • 1½  ounces ancho chiles, stems and seeds removed
    • 1 pound of fresh dark cherries (we like Bings), pitted and halved
    • ½ small onion, roughly chopped
    • 1 cup of brewed strong coffee, hot
    • 2 chipotles in adobo sauce
    • ¼ cup whole almonds, toasted
    • 1 ounce chocolate (over 60%, please, none of that milk chocolate nonsense), finely chopped
    • 2 tablespoons apple cider vinegar
    • 2 teaspoons of salt
    • 1 teaspoon cumin
    • ¼ teaspoon of cinnamon
    • ⅛ teaspoon of allspice
    • A pinch of clove
    • A few grates of fresh nutmeg

    Rehydrate the chiles by submerging them in water and microwaving for 2–3 minutes. They should be soft and have changed in color, becoming more red. Remove from the water and set aside. Discard the water.

    In a food processor, combine all of the ingredients for the mole except for the coffee and the vinegar. Pulse repeatedly, scraping the sides until the mixture is as smooth as you can get it. Combine the coffee and vinegar together and pour through the top of the food processor while the blade is running. The mole should loosen up and blend until completely smooth. The quick mole is ready to use, but can be stored in an airtight container for up to a week before using.

    Braised Pork in Lazy Cherry Ancho Mole:

    • 4 pounds lean pork shoulder, cut into 2-3 inch cubes
    • 1 batch of Lazy Cherry Ancho Mole

    Preheat oven to 350°F.

    In a casserole dish (or dutch oven), pour in the mole and place the pieces of pork on top. If using a dutch oven, simply place all the pork inside and give it a quick stir. Cover in aluminum foil or lid and braise for about 3 hours or until the meat becomes tender and falls apart. After braising, remove the meat from the mole, allowing it to rest and be shredded later. Remove the excess fat and, if you like, use an immersion blender to make sure the mole has a really smooth texture.

    Shred the meat with forks and serve after cooling with sauce on the side. Accompaniments can include corn tortillas, rice and beans, or just eat it out of the pan over the stove.


  • The Bowl


    Our ideas about eating and cooking evolved pretty dramatically this year. Up until this point, things had been pretty willy-nilly/do as you please in the kitchen, and for the most part, we were totally okay with that. Our lives were filled with carbohydrates and dietary fat (beautiful, beautiful carbohydrates and fat) through the forms of heaping noodle dishes, creamy pastas, pizza, and indiscriminate amounts of grilled cheese sandwiches made on home-baked bread and cooked in quantities of butter only attainable through the accurate method of eyeballing it—”Is that a good amount?” I would say. “Yeah. That’s good. Real good,” he would say.

    You can probably guess where this story is going.

    It didn’t take long for us to realize that something was amiss, well, ahem, heavier. Luckily, Nate knew exactly what to do to help solve the problem. You’d never guess, but he’s about eighty pounds lighter than he used to be. At his heaviest, his doctor told him that he was pre-diabetic and had high cholesterol and fatty liver disease, and as you can imagine, this forced him to consider some changes. Like with all other problems he’s faced with, what did he do?

    He analyzed the hell out of it.

    He started exercising regularly and completely rebooted his diet through lots of painstaking and determined research, losing the weight in a matter of months. He knew that if he did it once, he could do it again, so we started counting our calories in an attempt to eat a more balanced diet. Since then, between the two of us, we’ve lost over 50 pounds (of body fat, not counting the muscle we’ve put on). Putting our heads together, we strove to fit some of our favorite flavors into the parameters of our food goals, and have actually created quite a few outstanding meals that have become go-tos for us. This is one of them.

    We’ve come to a conclusion: healthy food that’s bland is unacceptable. Period. If it doesn’t taste good, then you won’t keep eating that way. Cooking uninteresting healthy food isn’t a sustainable strategy for healthy living—leaving out carbs, one of the biggest dieting hacks that’s cropped up in the last ten years or so is most often counter productive as well. One of the ways that we’ve tried to make our meals more delicious is making them look less like a healthy shopping list and more like a complete meal with inspiration and flavor. Everything on the menu should work together; tailor all of your ingredients to directly correlate with each other, and the meal you’re making will be nutritious and satisfying. This is what separates diet from cuisine.

    data-animation-override>
    We’ve come to a conclusion: healthy food that’s bland is unacceptable. Period.

    This meal is inspired by a simple Southeast Asian staple: chicken and rice. We’ve transformed it into a hearty, easily made to be on-the-go meal known simply to us as “The Bowl”; packed with flavor coming from well seasoned protein and quinoa, avocado, fresh herbs, and a remarkably addictive sauce. While it isn’t the most photogenic thing in the world, don’t let this sauce’s humble appearance fool you. It’ll brighten up any savory dish it meets. While we heartily recommend using a mortar and pestle to make the sauce, it will still be delicious if you use a blender or food processor.


    Bowl Sauce:

    • ⅓ cup peeled fresh ginger, cut into thin rounds against the grain

    • ⅓ cup fresh garlic, peeled, stem nubs removed

    • 4–6 Thai chilies (or 2–3 serranos), stems removed

    • ¼ cup white shiro miso

    • ⅓ cup Thai light soy sauce

    • ¼ cup white distilled vinegar

    • Juice of half a lime

    If making in a mortar and pestle, pound the ingredients in succession according to the order listed above. The more fibrous aromatics will take more work, so starting with them first allows them to get more attention. Once the ginger, garlic, and chiles have been pounded into a thick paste, stir in the miso, soy sauce, distilled vinegar, and lime juice into the mortar and pestle and stir gently.

    If making in a food processor, add the ingredients in the same order. Pulse the ginger, garlic, chilies, and miso together until it resembles a thick paste. In a liquid measuring cup (or something with a spout) mix the soy sauce, vinegar, and lime juice together, then pour through the top of the food processor or blender while the blade is running. Blend until smooth.

    Keep refrigerated in an airtight container for about a week, if it lasts that long.

    Quinoa:

    • ½ cup quinoa

    • 1 tablespoon curry paste of your choosing (optional)

    • 1 cup chicken broth

    • Salt to taste

    Wash the quinoa in a strainer under running water and drain well. On medium heat in a deep sauce pan, toast the quinoa until it begins to give off a nutty aroma, giving it a stir from time to time. Add the curry paste if you’re using it and chop it with a spoon, making sure it’s well incorporated among the quinoa, then pour in the chicken broth. Bring the heat up to high and wait for the broth to boil. Once it has, put on a lid and bring the heat down to low.

    Cook for 15 minutes, lidded and undisturbed on low, then turn the heat off and allow it to rest for five minutes. Remove the lid, fluff, add salt to taste, and set aside to cool.

    The Bowl:

    • 1 cup cooked quinoa

    • 8 ounces chicken breast, seared and seasoned with salt and pepper

    • 2 cups greens (we like spinach)

    • Half of a large avocado

    • Bowl sauce

    • Chopped cilantro

    • Cucumber slices

    Divide the quinoa, chicken, greens, and avocado into two bowls and serve sauce on the side. Garnish with cilantro and cucumber slices.

    Serves 2.


    TheBowl5.jpg

  • Mapo Doufu

    If it isn’t obvious yet, serious comfort food for us usually involves something really spicy and filling coupled with a beer. There are going to be a lot of recipes on here that fit that description, and this is one of them.
    I have a lot of memories of this dish growing up since it was one of my dad’s favorite things to make. Naturally it was a recipe that I inherited from him and brought with me when I went to college. I made it all through school, afterward, and eventually, for Nate. Since our tastebuds are eerily similar, he likes it almost as much as I do.

    I would describe mapo doufu as a gravy. A spicy, meaty, savory gravy.  You simmer pork and tofu together with some black bean paste, soy sauce, and a huge amount of garlic, ginger, and chile paste. Feel free to adjust the chile paste levels, but we have to say that the benefits of a nice chile glow are underrated. (more…)

  • Larb Burgers


    larb_burgers_02.jpg

    All I can really glean from this recipe is that we come up with really good ideas when we’re drunk.
    So, one hot day recently, we were making larb and drinking a questionable amount of a tasty IPA (like you do), and then one of us—of course I can’t remember who—came up with the idea that instead of sticking to the plan and making salad, that we were actually craving burgers. Sure, it might have been the alcohol talking, but tell me, when you’re sloshed, what are you more inclined to eat: salad or a burger? Yeah. That’s what I thought you’d say. Glad we are all being honest here.

    Of course it was written in the stars that we had some leftover coconut milk in the fridge that we could transform into an amazing peanut sauce, and thus, the larb burger was born. After the incident, we made it three times in two weeks. We just couldn’t get it off our minds, and we also constructed some additions to spruce it up. What we’ve ended up with, we felt we really needed to share on the blog.

    For those of you who don’t know what larb is, it is ground chicken salad blended with Thai aromatics and chili, dressed in lime and fish sauce, then traditionally served on big leaves of lettuce. What we’ve done is form the ground chicken with aromatics into patties, then seared (or grilled) them up. We serve them on huge lettuce leaves, then smother those bitches in homemade peanut sauce. The burger is then topped with a fresh slaw dressed in lime, a juicy slice of mango, and crispy fried shallots. Wrap up burger. Put in face.

    You’re welcome.


    larb_burgers_03

    larb_burgers_03

    Larb Burgers

    • 1 lb. boneless, skinless chicken thighs
    • 1 shallot, thickly sliced
    • 3 cloves garlic, peeled
    • 6–8 kaffir lime leaves
    • 1 stalk lemongrass, roughly chopped
    • 1 tbs. fish sauce
    • 2-inch piece of ginger or galangal, peeled, roughly chopped
    • ripe mango, peeled sliced
    • 2 small shallots, thinly sliced
    • green leaf lettuce

    Peanut Sauce

    • ½ 15-oz can coconut milk.
    • ½ cup creamy peanut butter
    • 2 tsp. fish sauce
    • ½ tsp. chili paste (or Sriracha)
    • 2 tsp. palm sugar simple syrup
    • ⅓ cup water

    Slaw

    • 1 cup cabbage, shredded
    • ¼ cup cilantro, chopped
    • ¼ cup mint, chopped
    • Juice of 1 lime
    • ½ tsp. fish sauce

    In a food processor, pulse shallot, garlic, kaffir lime leaves, lemongrass, fish sauce, and ginger or galangal until minced, scraping sides as needed. Add chicken and process until chicken is ground up and the aromatics are evenly distributed. Set aside to rest.

    In a small skillet, heat coconut milk, peanut butter, fish sauce, chili paste, and palm sugar simple syrup over low heat. Stir constantly until warmed through and it starts to thicken and eventually congeal. Remove from heat. Gently stir in water until a smooth paste. Set aside.

    Heat a large skillet to medium high heat and coat with oil. Form 6 patties from the chicken mixture and cook until done (160°F), about 5–7 minutes a side. Remove burgers from heat and set aside to rest. In the same pan, add a little more oil and toss in the sliced shallots. Fry until golden and crispy. Set aside on a plate to cool and crisp up.

    In a small bowl, combine cabbage, cilantro, mint, lime juice, and fish sauce. Set aside.

    Serve burgers immediately topped with peanut sauce, mango, slaw, and shallots.


    larb_burgers_01

    larb_burgers_01

    Yields 6 burgers.

  • Carnitas Amargas


    The name of this dish translates to “bitter little meats.” Carnitas are a pretty standard protein in Mexican food, and why wouldn’t they be? It’s pork slow cooked in spices until it falls apart then is fried in its own fat. Sounds pretty great, right?
    We’ve made carnitas too many times to count. They’re easy, they keep well, and they also lend themselves to an incredible amount of quick and satisfying dinners. There are so many recipes for this, and it’s pretty hard to go wrong with carnitas, but we wanted to make something that stood out among the rest. So Nate had the great idea of making it taste more complex by enhancing a flavor profile that is often underrated but present in them already: bitterness.

    Initially, I was dubious. Classifying anything bitter right off the bat is often a turnoff for many. However, after he made me a first batch, I was hooked, and we’ve made them the same way ever since. Cuts of pork shoulder are coated in salt and cocoa powder then seared in a pan, then cooked in their own juices with onions, garlic, some spices, and whole lime. The result is a tasting experience in two definitive stages: fatty and salty followed by a hint of bitterness, almost even floral.

    Carnitas Amargas

    • 2 lbs pork shoulder
    • 1 tsp. cocoa powder
    • 1 tsp. salt
    • 5 cloves of garlic, peeled, whole
    • ½ yellow onion, thinly sliced
    • 1 lime, halved
    • 1 tbs. Mexican oregano
    • 1 bay leaf

    Preheat oven to 350.

    In a small bowl, mix the cocoa powder and salt together, then rub mixture over the pork. In a hot pan on medium high heat, sear all sides of the pork.

    When the pork is done searing, place it in a dutch over or clay pot (something with a cover) along with the garlic, onion, lime, Mexican oregano, and bay leaf. Cover and bake for about 2.5 hours, or until the pork is tender and falling apart. Remove from the oven and discard the lime and bay leaf. Tear the pork apart with a fork until it becomes stringy, then transfer everything in the clay pot into a hot pan (ideally the pan you used at first) and cook off all the liquid while crisping up the meat a little bit. Taste test for salt, then the carnitas are ready for use.

  • Spaghetti and Meatballs


    spaghetti_and_meatballs_04.jpg

    We’ve been on a pasta kick, and what good is a that if you don’t have spaghetti and meatballs in there somewhere? If you play your cards right and have the marinara prepared ahead of time, you can make this rich and relatively quick spaghetti and meatballs easily…perhaps a bit too easily.
    Instead of using homemade noodles for this, we opted for packaged angel hair spaghetti, which we think gives the dish more diverse textures. Any pasta will do. At the end of the day, though, it’s all about the sauce and the balls.


    spaghetti_and_meatballs_01

    spaghetti_and_meatballs_01

    One trick we use is to soak the breadcrumbs in red wine. Since we use Pinot noir in our marinara, it’s a perfect match. This recipe will make a lot of meatballs, so hope is that you’ll have enough for leftovers.

    Spaghetti and Meatballs

    • ¼ cup homemade breadcrumbs
    • ¼ cup Pinot noir red wine
    • ½ lb. ground pork
    • ½ lb. ground beef (not lean)
    • ½ oz. (about ¼ cup) Italian parsley, packed
    • ½ onion, diced
    • 3 cloves garlic
    • 1 egg
    • ½ tsp. fresh ground black pepper
    • 1 tsp. salt
    • 1 quart marinara (we recommend Nate’s Pinot Noir Marinara)
    • 6 oz. dried angel hair pasta
    • parmesan, Italian parsley, red pepper flakes to finish

    Preheat oven to 350°F.

    Soak the breadcrumbs in the wine in a small bowl until the breadcrumbs have absorbed all of the wine, about five minutes. Place meats, onion, parsley, garlic, egg, salt, pepper, and soaked breadcrumbs in the bowl of a large food processor. Pulse until combined. Don’t process too much or you’ll whip the egg, which isn’t what you want here.

    Prepare a 13 x 9 baking dish with about half the marinara spread evenly. Set aside.

    Divide meat into 1.5-inch balls and place into the baking dish, leaving some room around the meatballs so they don’t stick together. Cover the meatballs with the rest of the marinara.

    Bake, uncovered, for 45 minutes, or until a meat thermometer reads 160°F.

    Put a large pot to boil.

    Remove from oven and let cool for 10 minutes. Stir the marinara to incorporate the rendered fat and roasted bits that were on top of the meatballs. While the meat cools, cook pasta al dente. Strain and toss noodles with just enough marinara to coat the noodles. Serve with more marinara and three meatballs. Garnish with parmesan cheese, chopped parsley, and red pepper flakes to taste.

    Yields about 18 meatballs.


    spaghetti_and_meatballs_03

    spaghetti_and_meatballs_03